If you were in elementary school in the United States any time in the past, oh I don’t know, 40 years, you probably played the Oregon Trail computer game. The most old school version looked something like this: 
Several weeks ago, a group of my friends and I got the chance to recreate part of that Oregon Trail gaming experience, in live action form, for about 200 people (all grown ups, mind you!). And of course, we took a do-it-yourself approach to the task. Join me on an image-heavy DIY journey full of Bison Hunting, River Fording, Dying of Dysentery, and more! 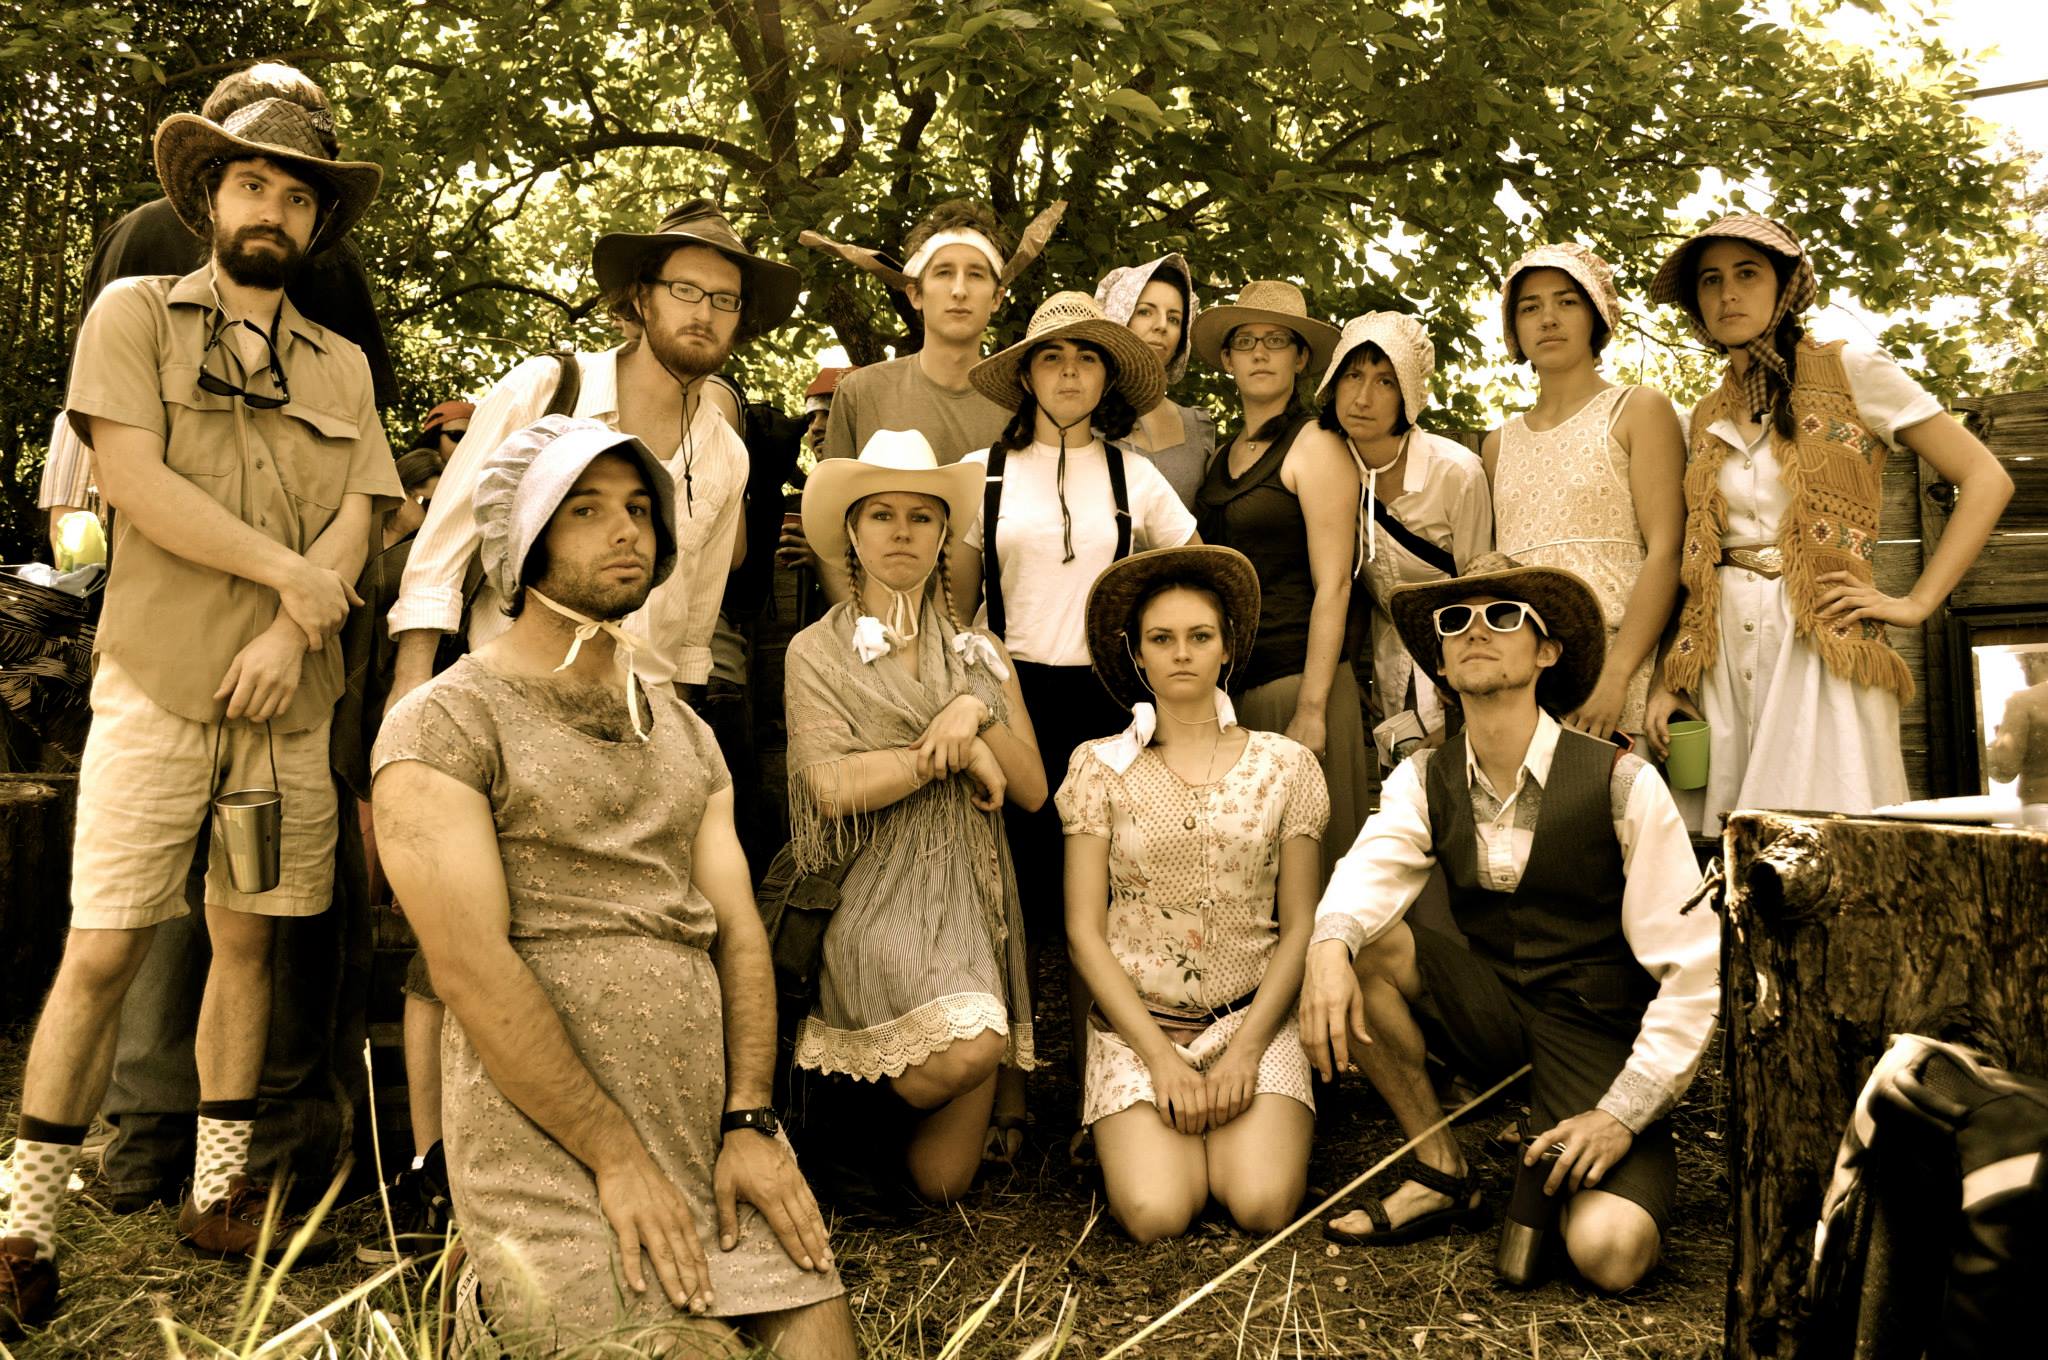
The Setting First, a little bit of background. We were part of an all-day event that could best be described as a moving/progressive party, with costumes, on bicycles. Everyone was in teams, the teams had themes (hence the co-ordinated costumes), and at each place we stopped for food and drink, one team hosted and the other teams competed in games. So as Team Oregon Trail, we needed to provide food, drinks, games, and of course, ambiance for our guests.
Since we were hosting at a rather rustic venue down an unpaved road, we took advantage of the opportunity to make it part of the trail, with painted cardboard signposts and gravestones: 
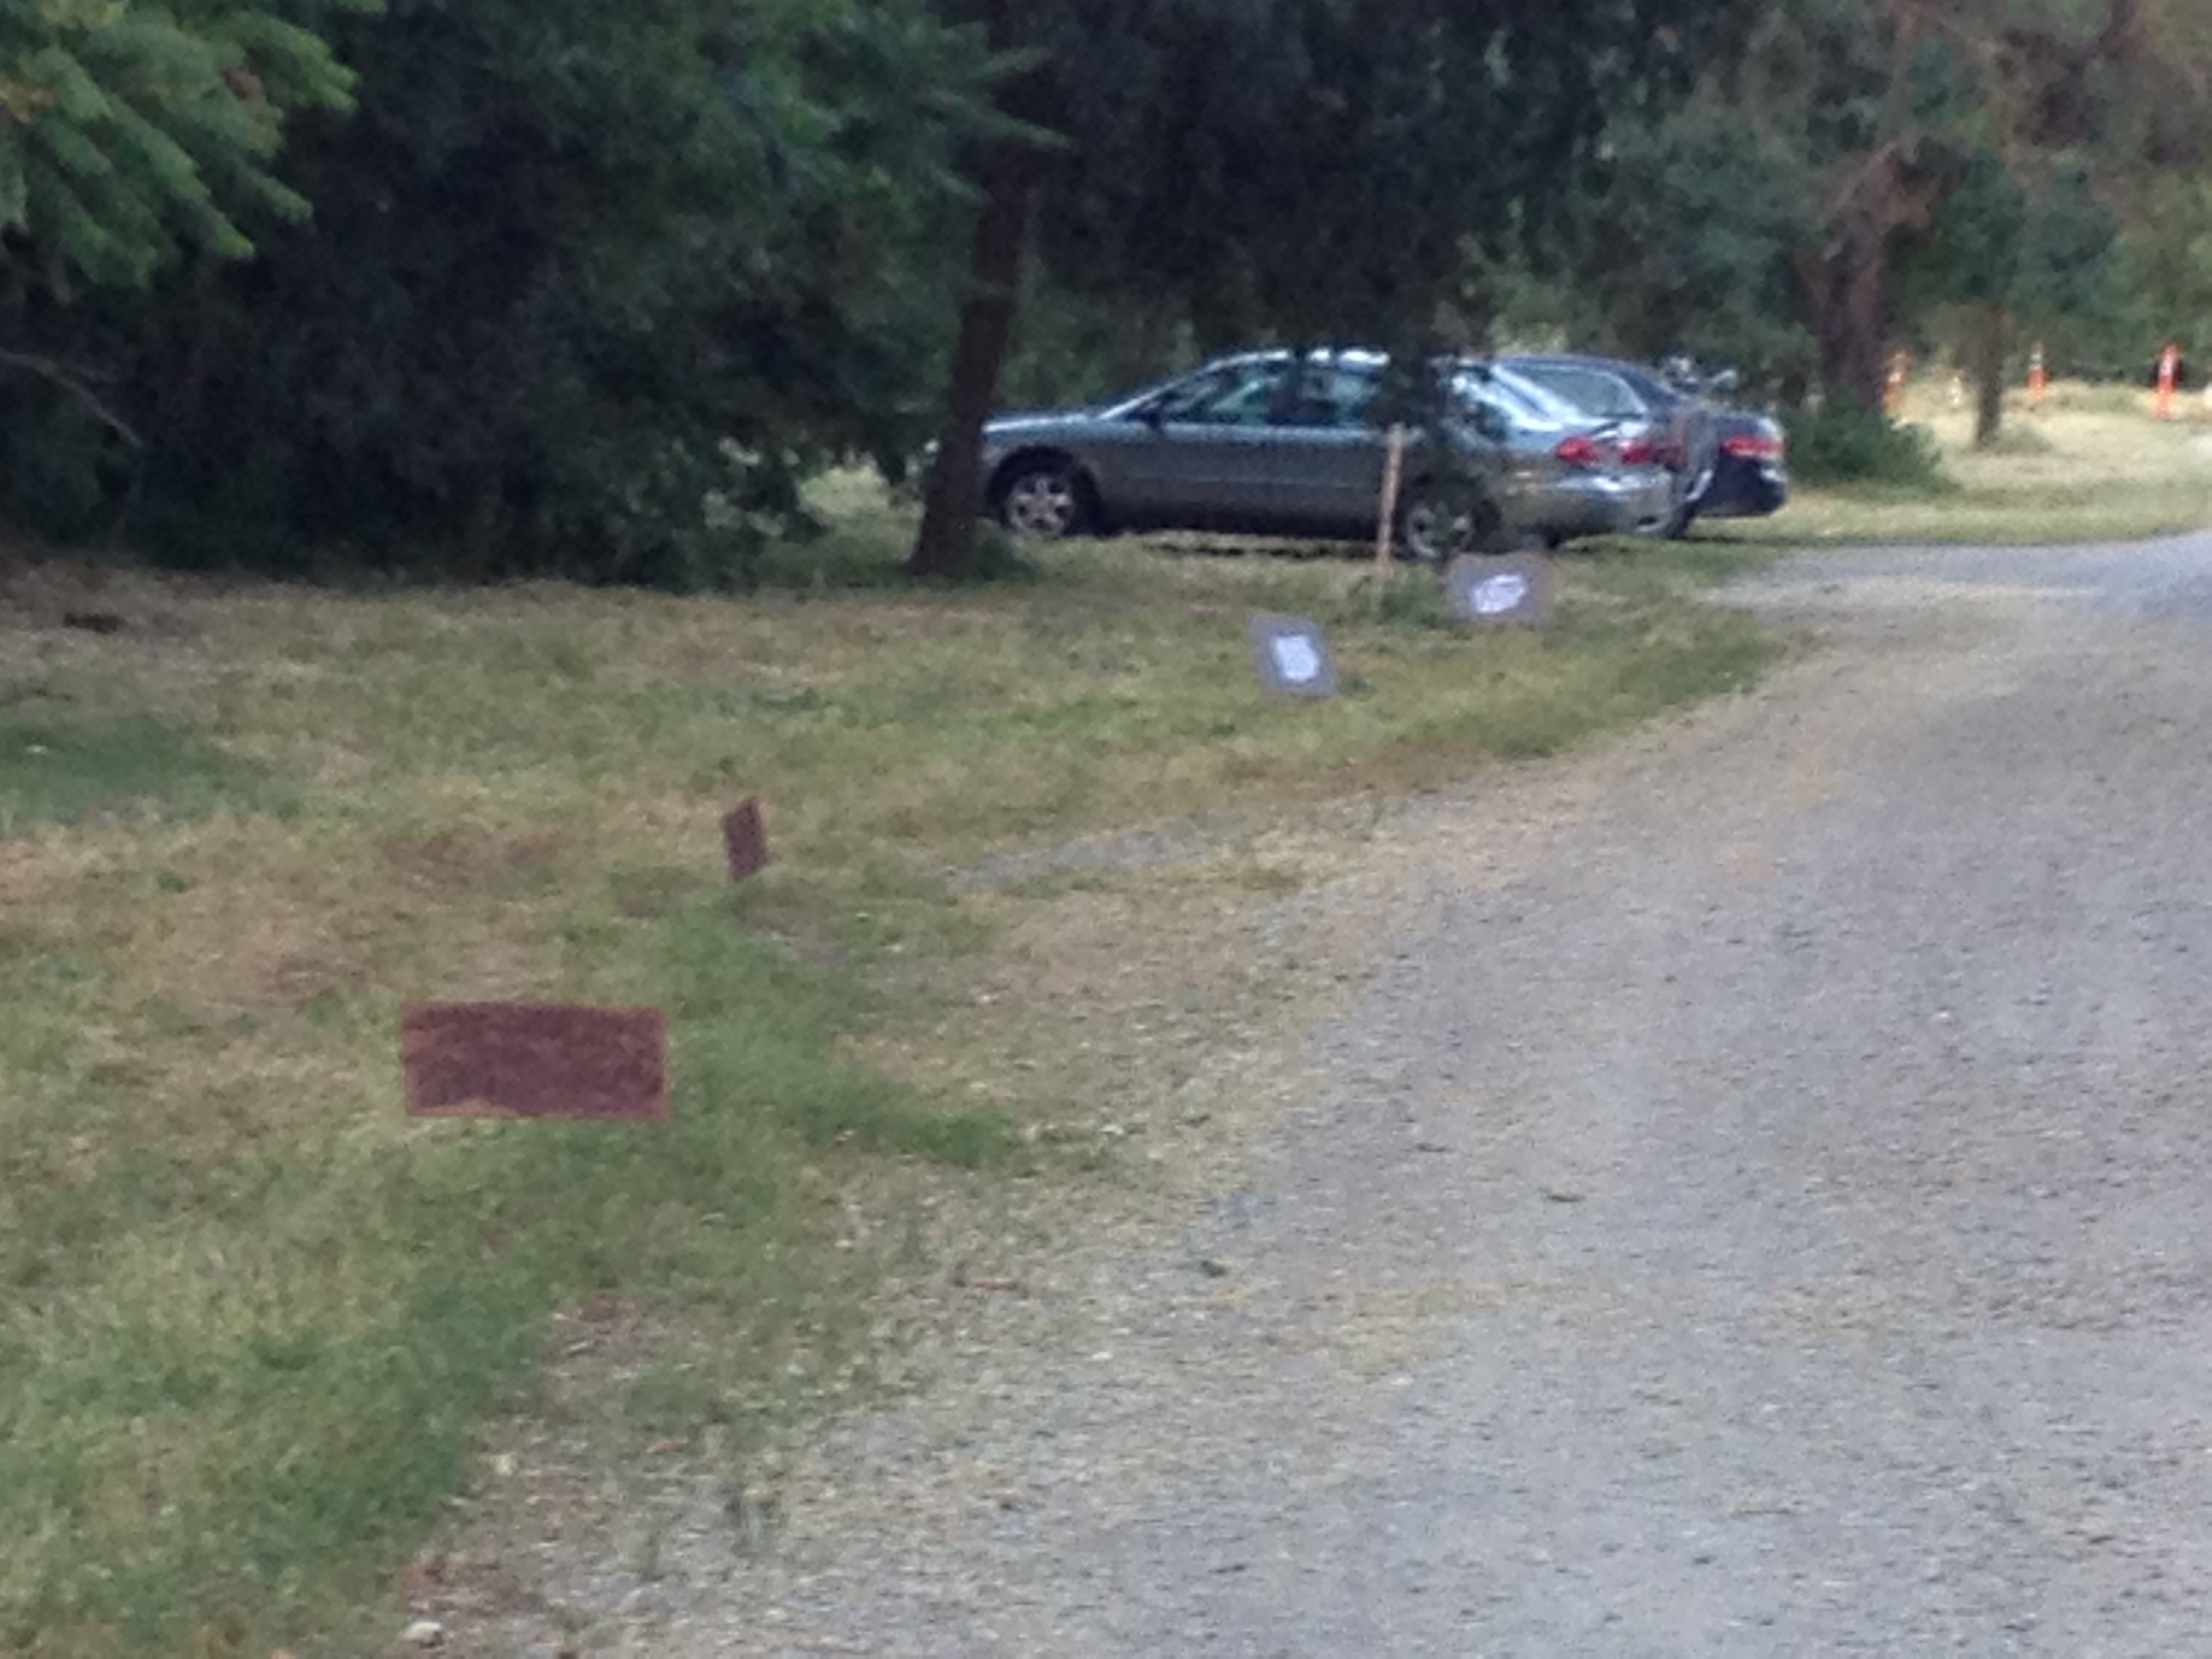
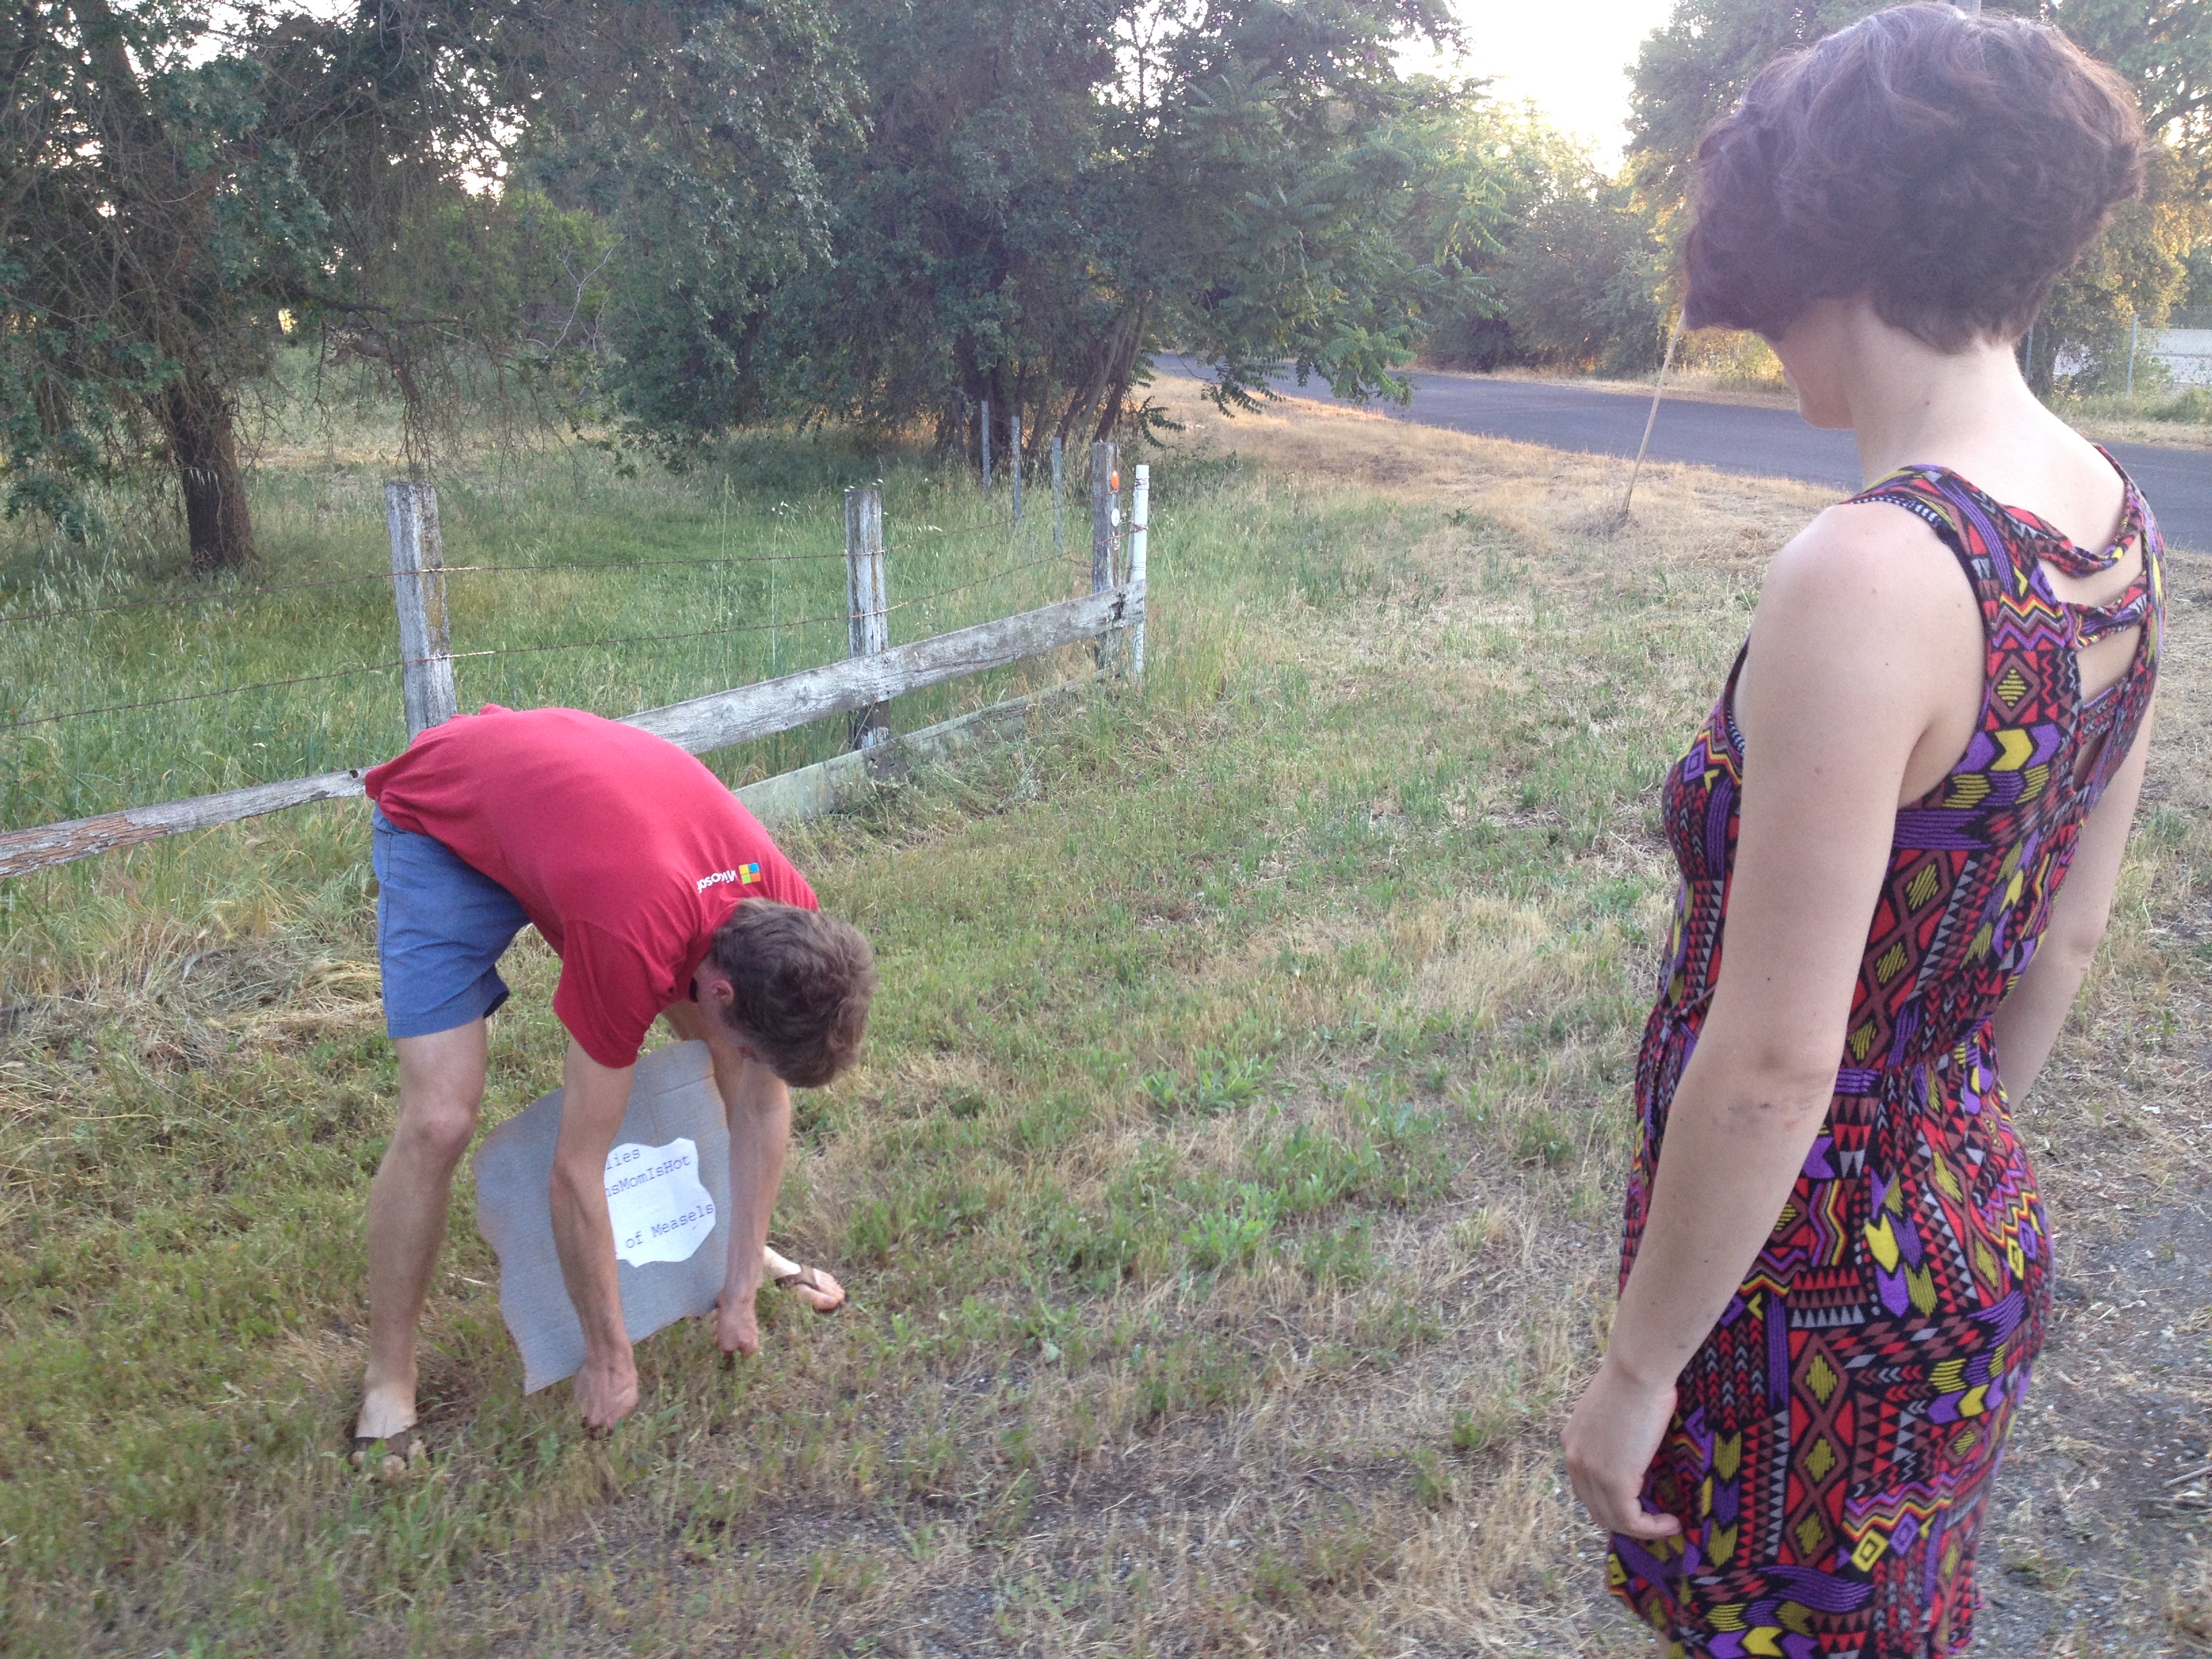
I’m so bummed I didn’t get a close up of the headstones, because I figured out a really cool way to make them look like stone: I found this speckled stone spray paint! I used gray primer and then gray stone spray paint, then we pasted printouts with epitaphs on them in courier font. To stick them in the ground, we taped them to those little signal flags—the kind you see to mark gas or water lines in construction sites—and pushed the metal parts into the ground.
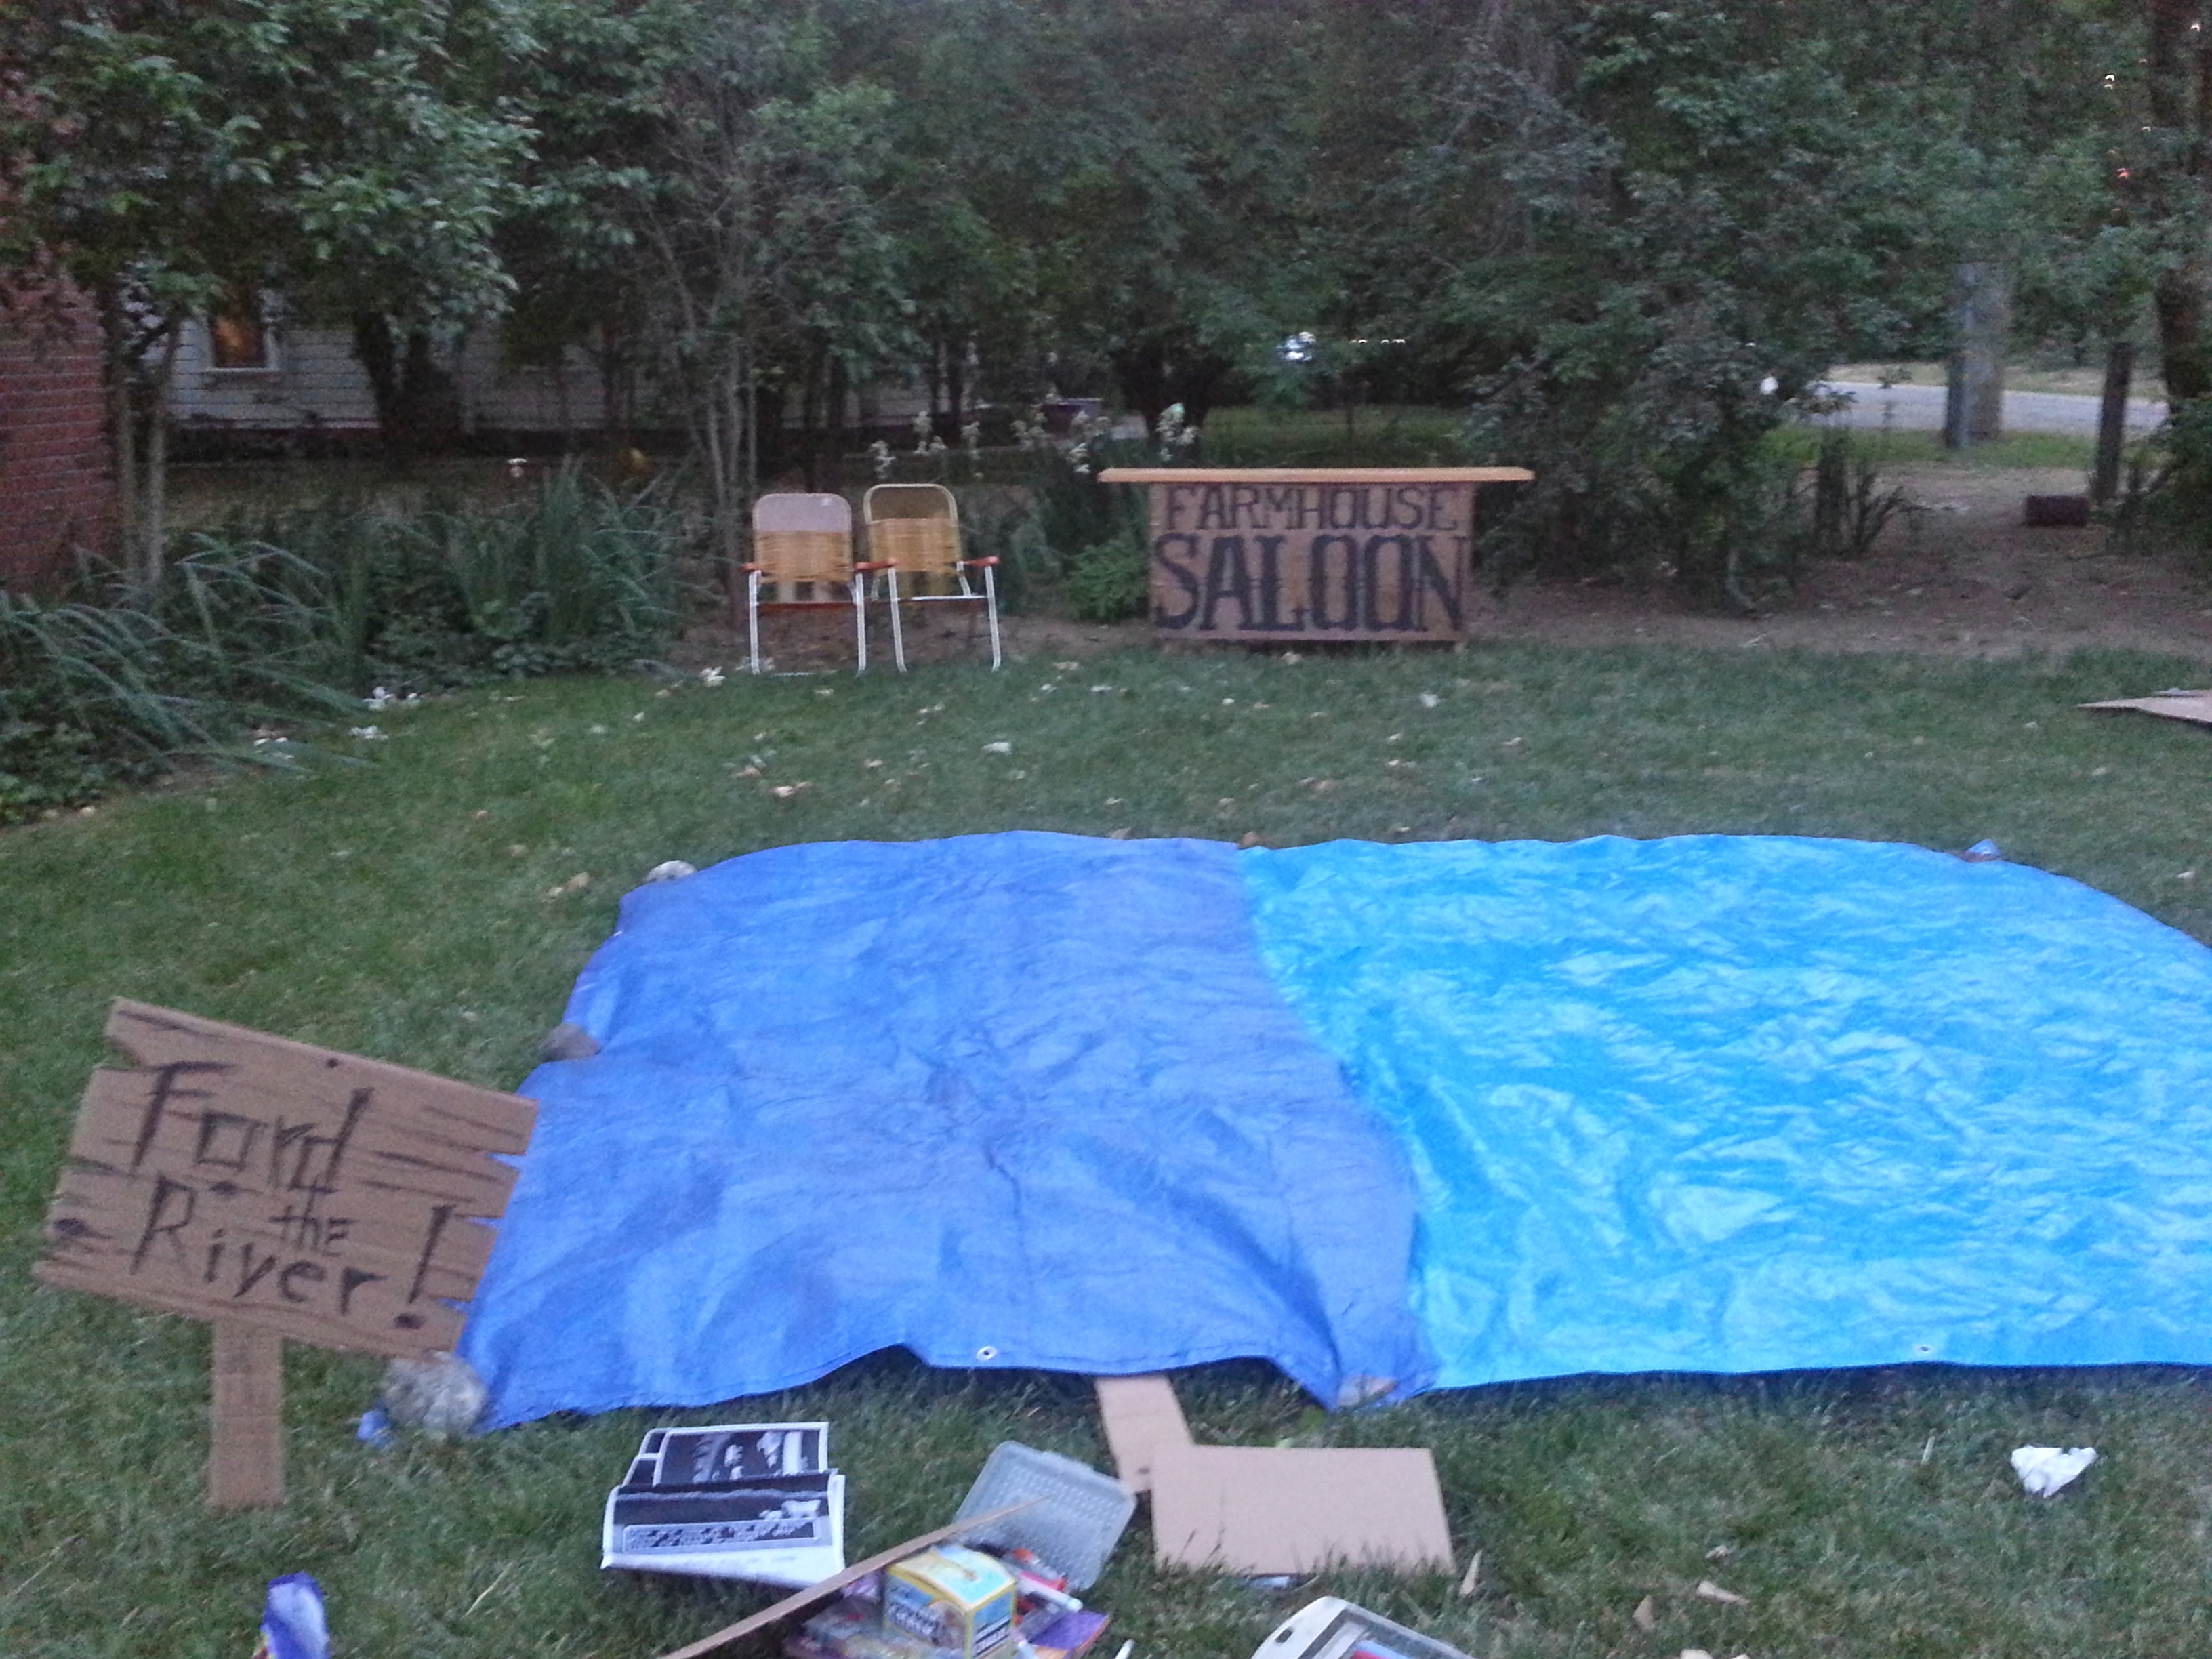
Then of course, for the travelers who made it through alive, we needed a watering hole. So we made a bar! 
Using the backing of a warped bookshelf that was left at the dumpster and some acrylic black paint, we created this sign. Making the sign involved looking at some Old West style fonts online, blocking and sketching them out onto the wood, and filling it in with paintbrushes.

Some of out team members had a tall table that was already rather DIY to begin with (the top was an old door), so we nailed the sign to the front of it.
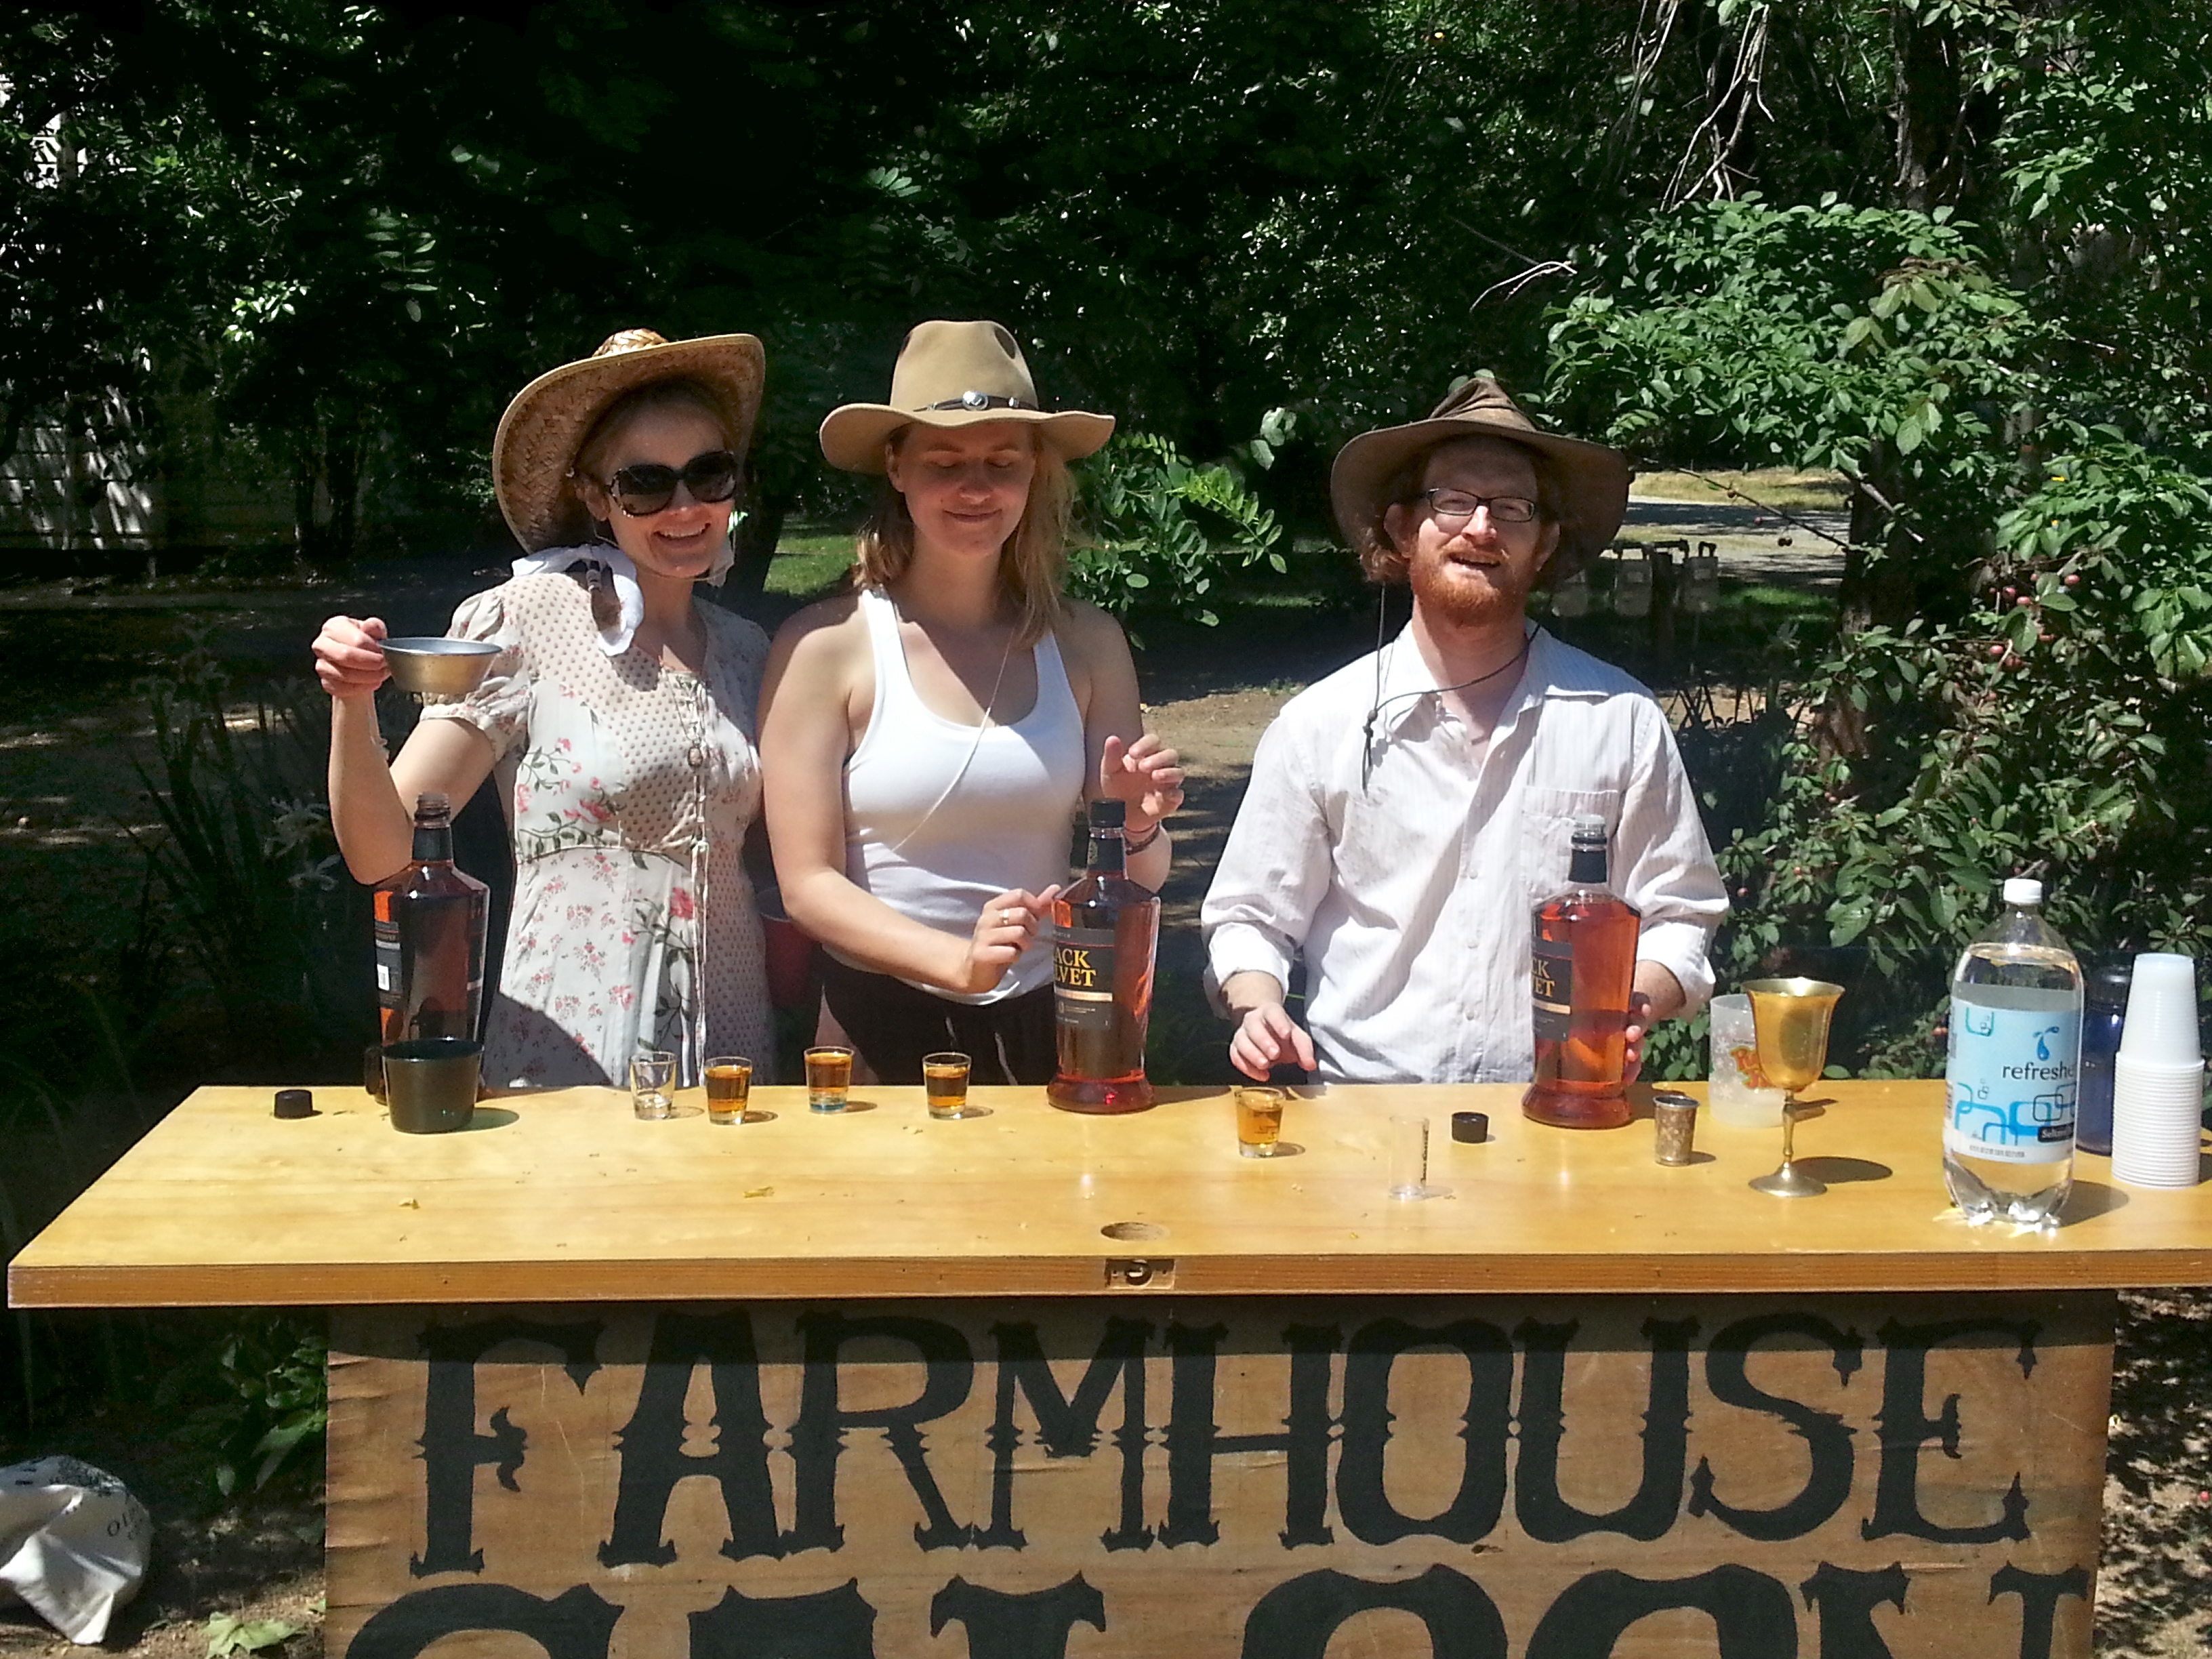
It made for a great bar! Not pictured is the table off to the right with lemonade and water. (If you were to re-create this event for children, I’d suggest sticking to those).
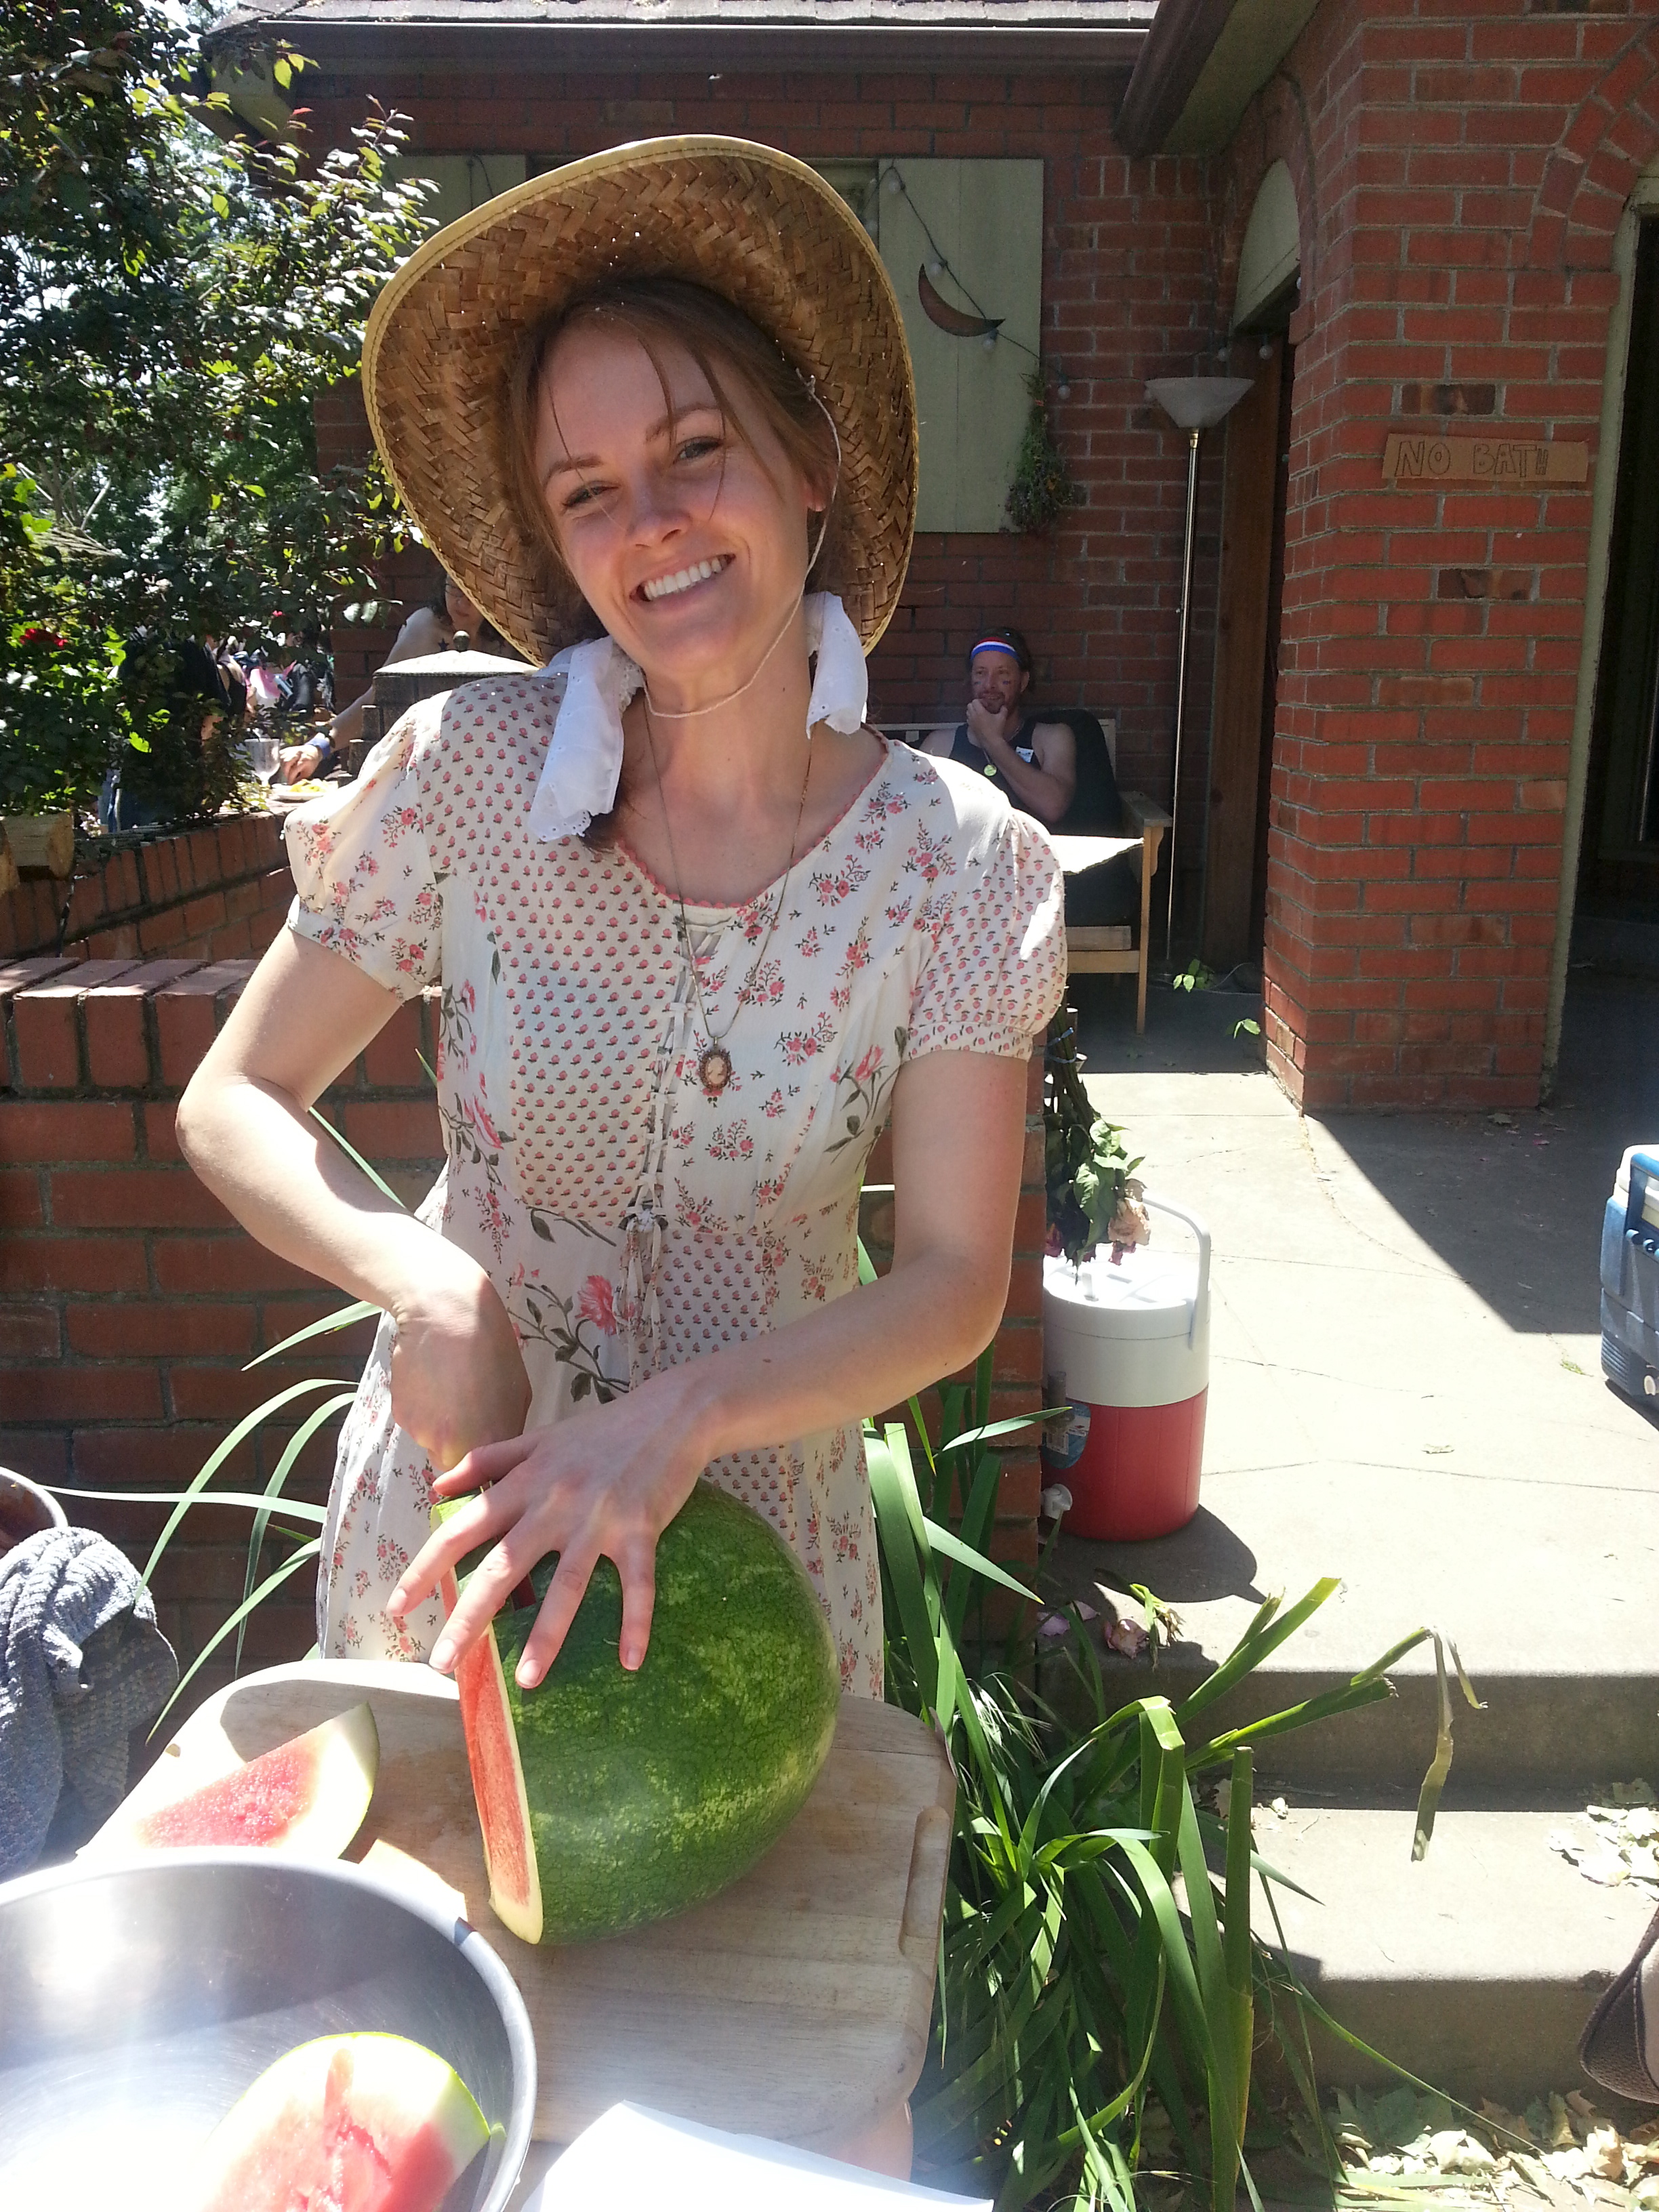
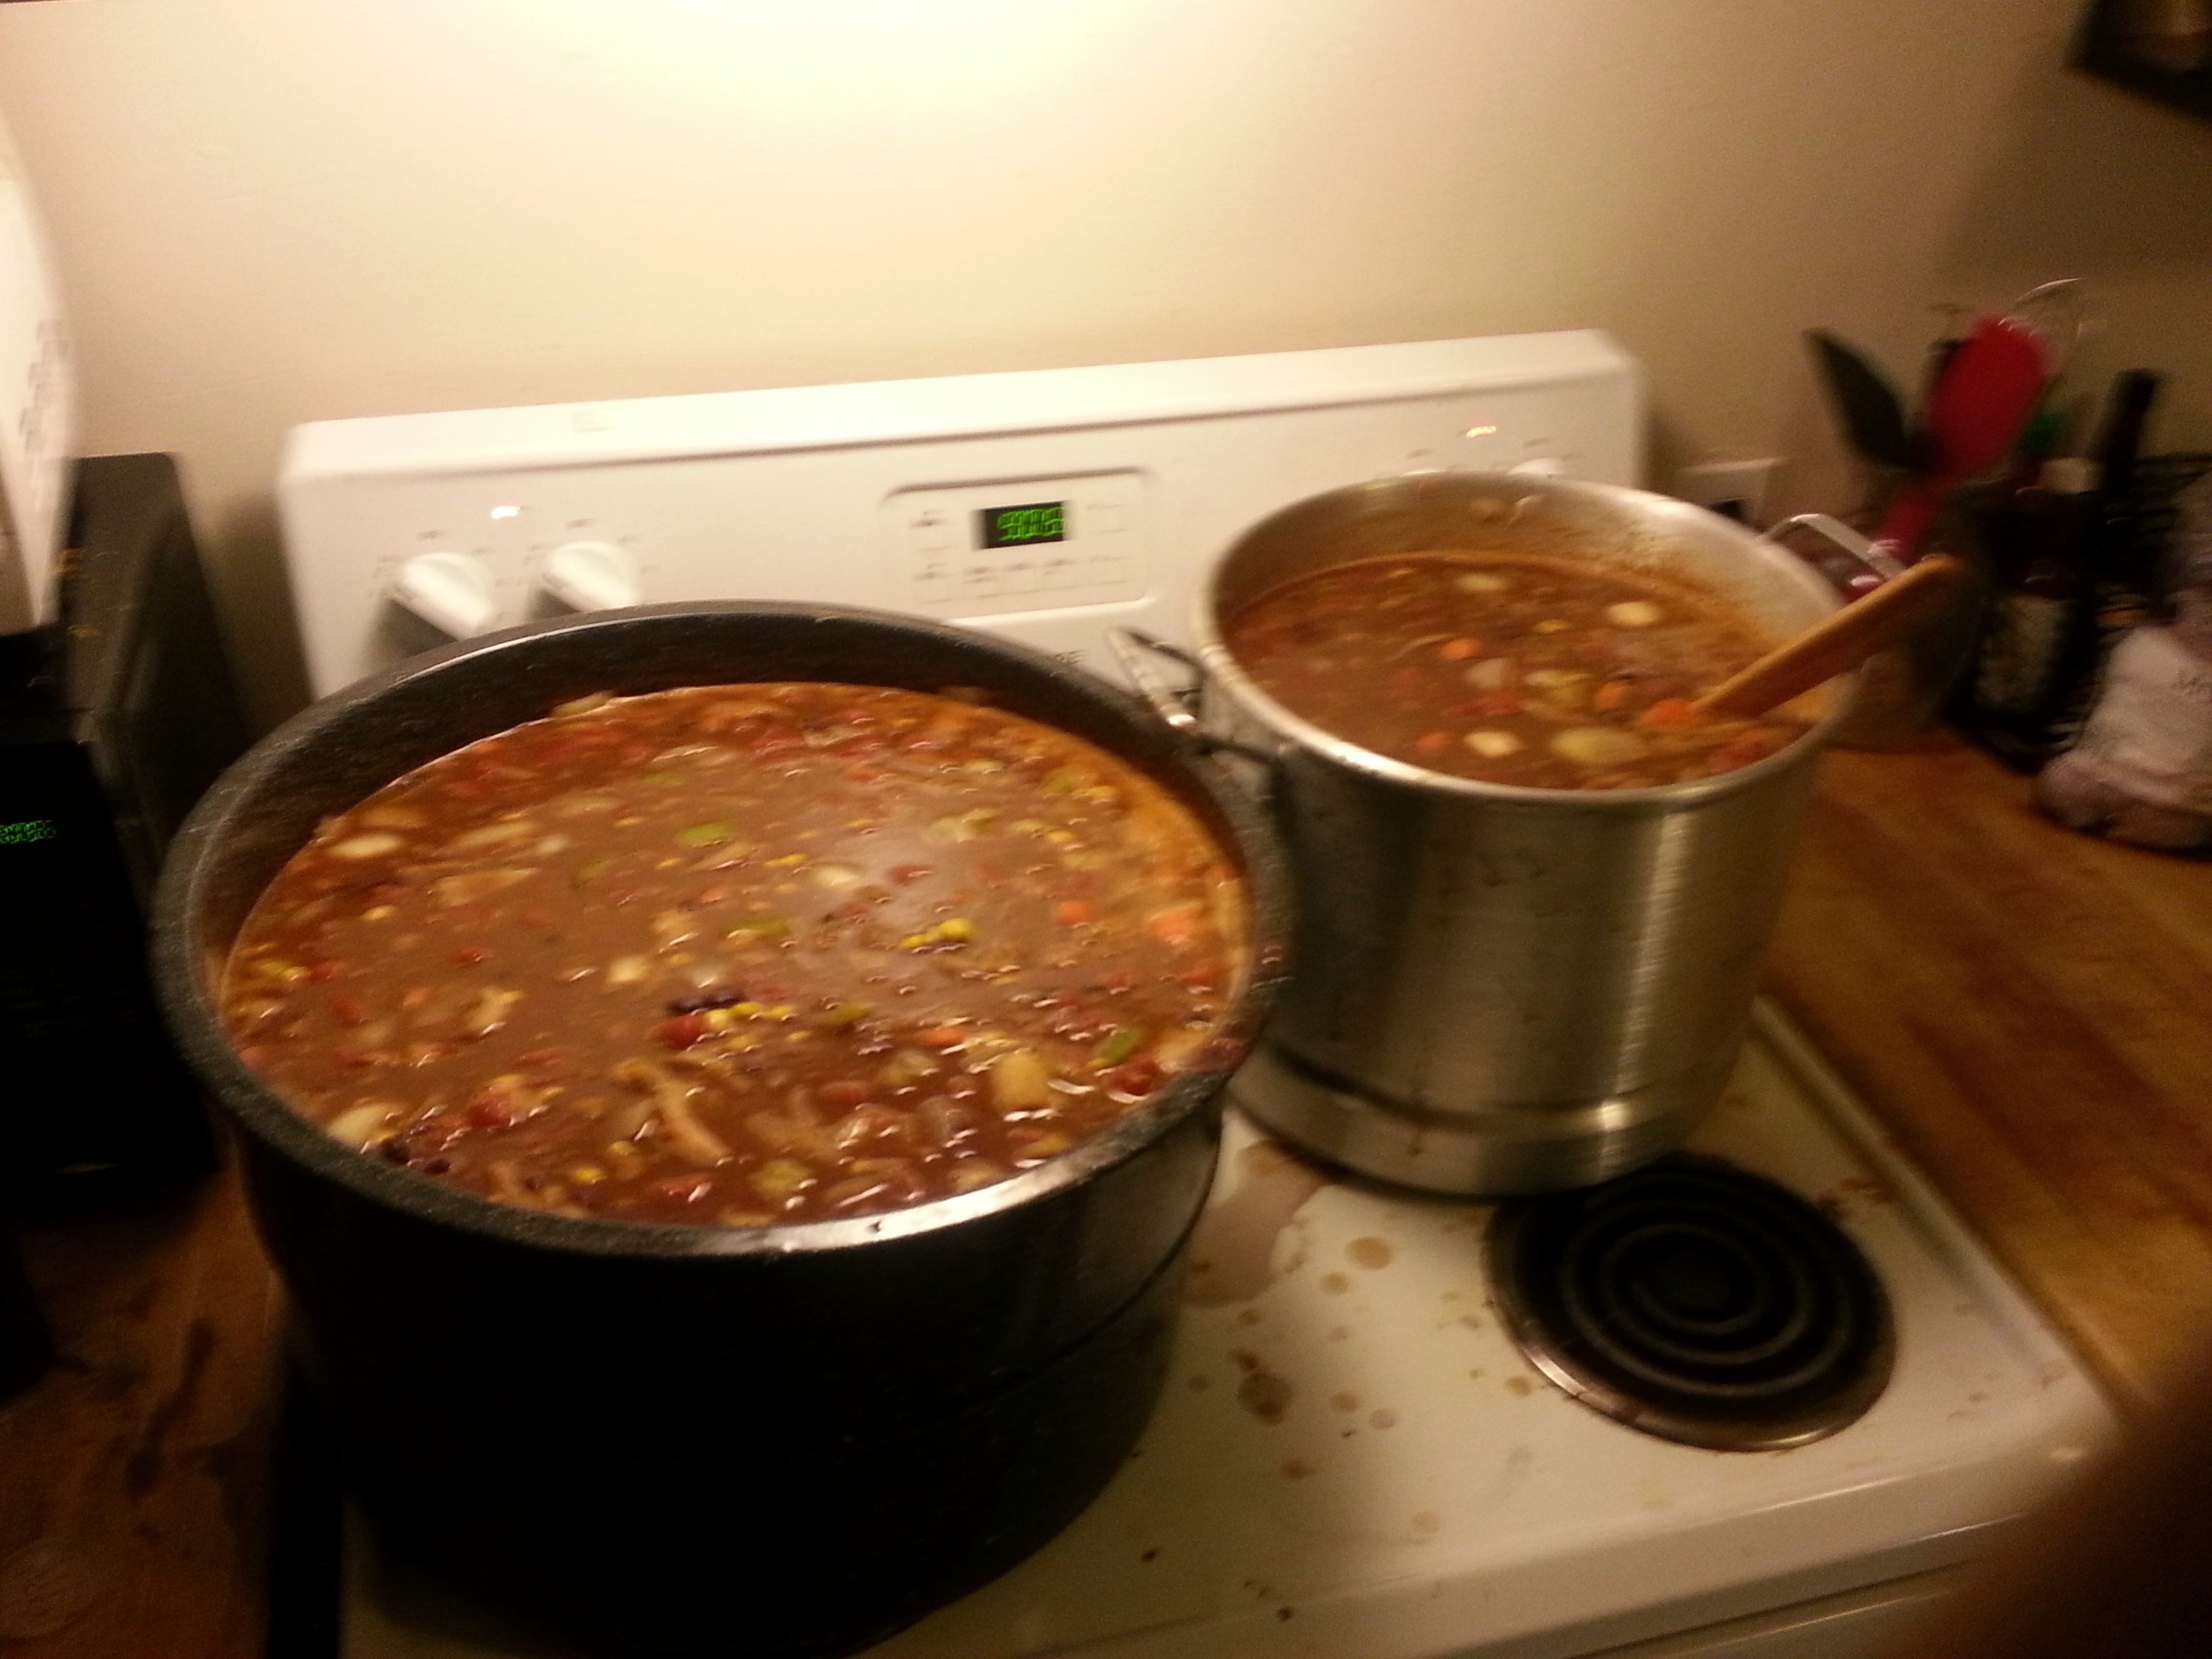
For food, we had chili, cornbread, chips, watermelon, and trail mix (the last was my idea—I couldn’t resist the pun!) Have you ever wondered what chili for 200 people looks like? Would you believe that this isn’t even all of it??
The Activities We debated what our official game should be for some time, but in the end, we decided that it would be hunting. Just like in the Oregon Trail game, you would have to shoot at pixelated animals. But with a twist! (or to be more exact, a twister.)
But first, a look at the animals:
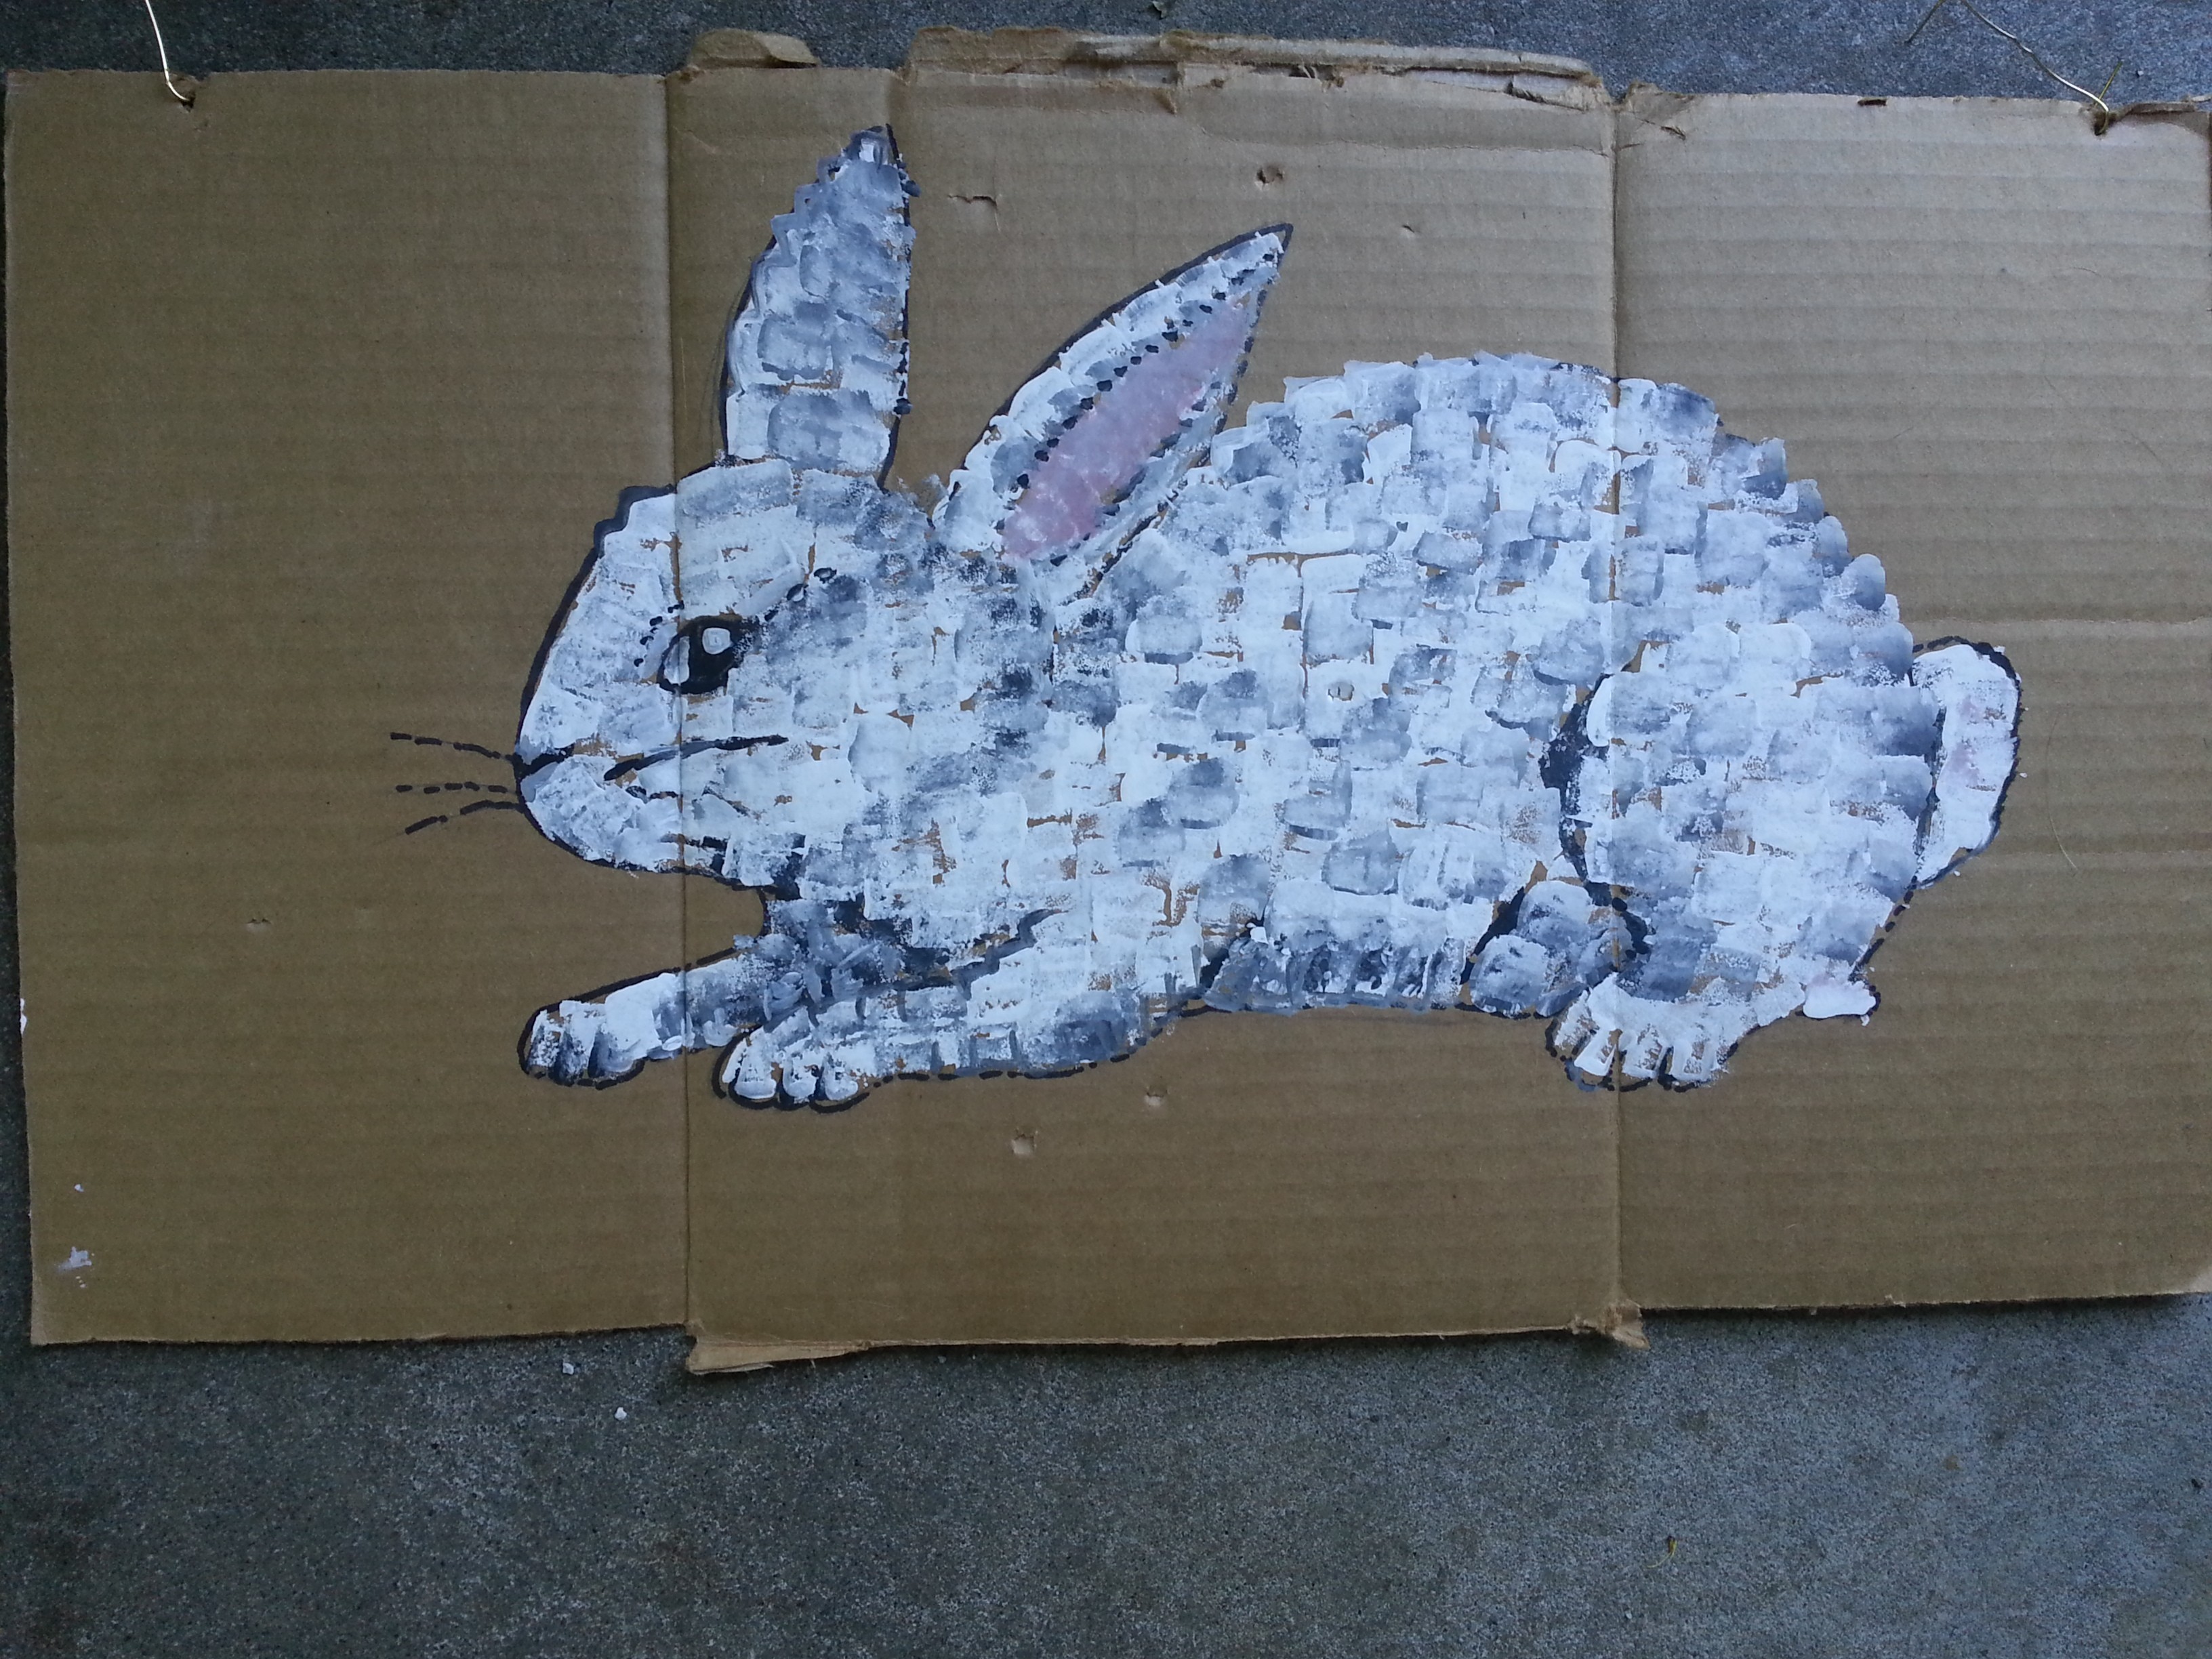

We had a rabbit, a bison, a deer, a squirrel, and a bird. All of them were done on cardboard with either acrylic paints or markers. For the pixelated style, they were filled in with squares of color instead of smooth lines.
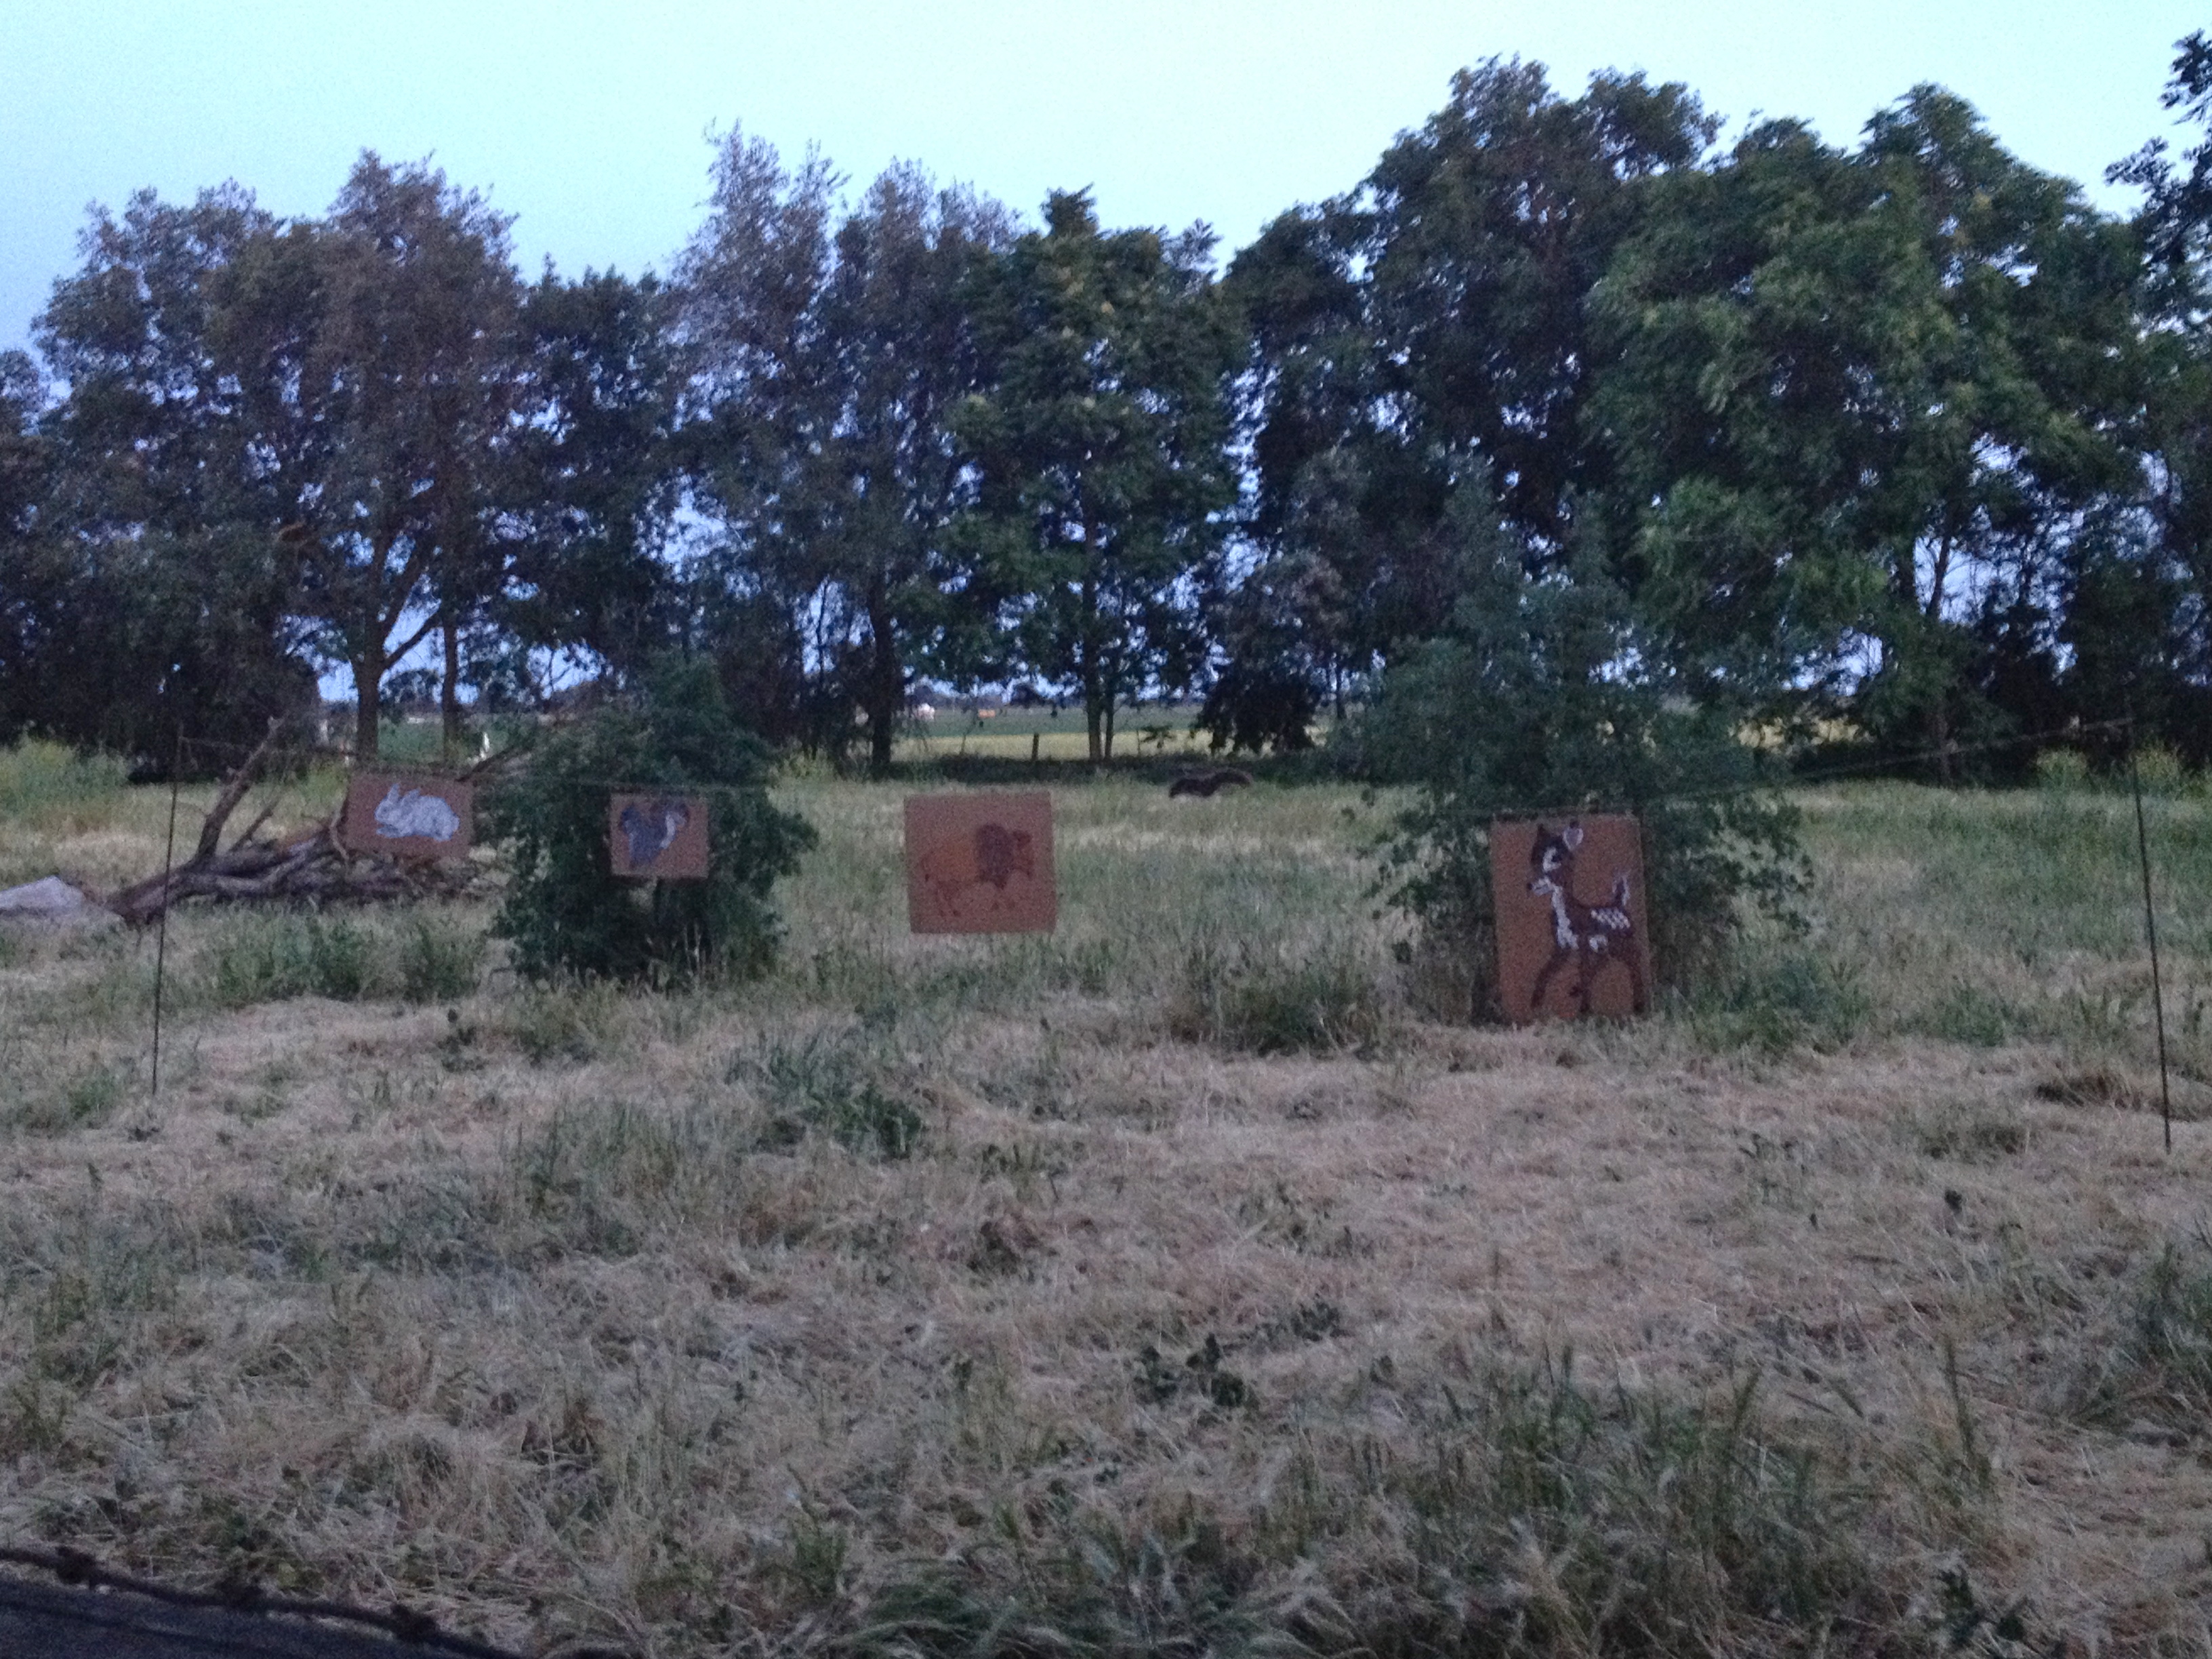


Ironically, from a distance they looked normal! They were attached with string to poles out in a field, kind of like a laundry line, but with animals.

The actual “hunting” game required players to shoot the animals with airsoft guns from a distance. To add an element of challenge to this game of skill, my idea was to add some possible handicaps based on all the bad things that can happen to in you in the original game—like dysentery, for example. Players from the competing teams had to spin the twister spinner and see if they would have to shoot with a handicap. There were eight such things that could happen, so I put all of them onto a twister spinner with my label maker, and then made list of their handicaps:

Whenever possible, I made them roughly correspond to the disease or injury—for dysentery, you had to squat while shooting.

But since not all 200 people could play the hunting game, we had a few other activities. First up: Fording the river!

We made the “river” out of two blue tarps, held down by rocks on the sides (we changed the layout a little bit after the photo below to make it a wider river).We left out a sign, a few pieces of cardboard, and instructions for getting across (you can only have as many pieces of cardboard as you have people on the water, and everyone has to be in the river before the first person can reach the other side):
Then we pretty much let people fend for themselves and do whatever they wanted. They could just play it like a version of “the floor is lava” and have a good time. I think everyone made it across safely…

…But for those who wanted to see how they died on the Oregon Trail (and who didn’t?) we had the Wagon Wheel O’Death:
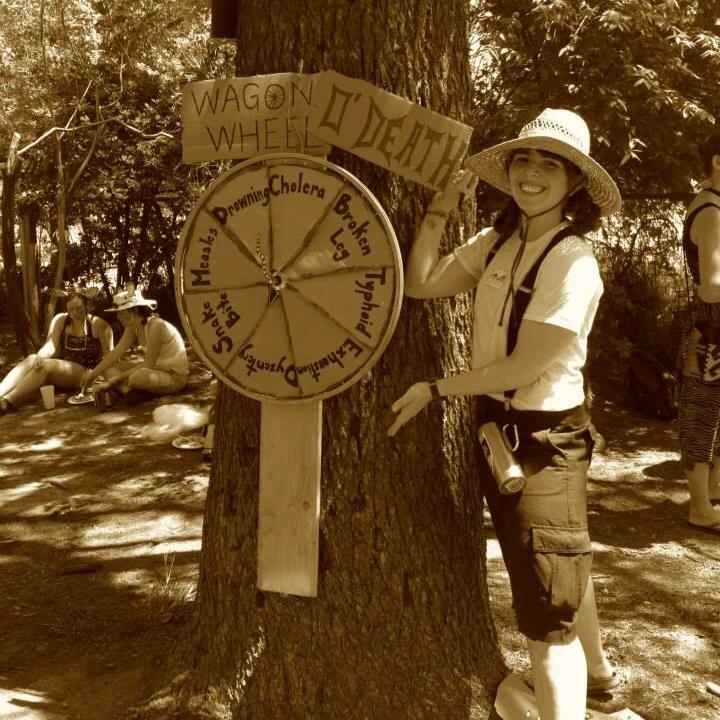
The Wagon Wheel O’Death was exactly what it sounded like. It was made from an actual bike wheel (minus the tire and tube), mounted in the center to a piece of wood, which allowed it to spin freely. Each of the eight wedges (brown paper painted with acrylic paint) had one of the ways you could die on the Oregon Trail on it.


Anyone could spin the rim of the wheel, and whatever the rattlesnake’s tail (i.e. the quick release lever) pointed to, that was how they died. And then they got a sticker! A really cool sticker.
Wanted to know how I died on the Oregon Trail? Now you know.
The Costumes No Oregon Trail game would be complete without travelers and their means of transport! Humans and bikes both underwent some nifty transformations in preparation for the journey. Here’s most of our crew at the start of the day:
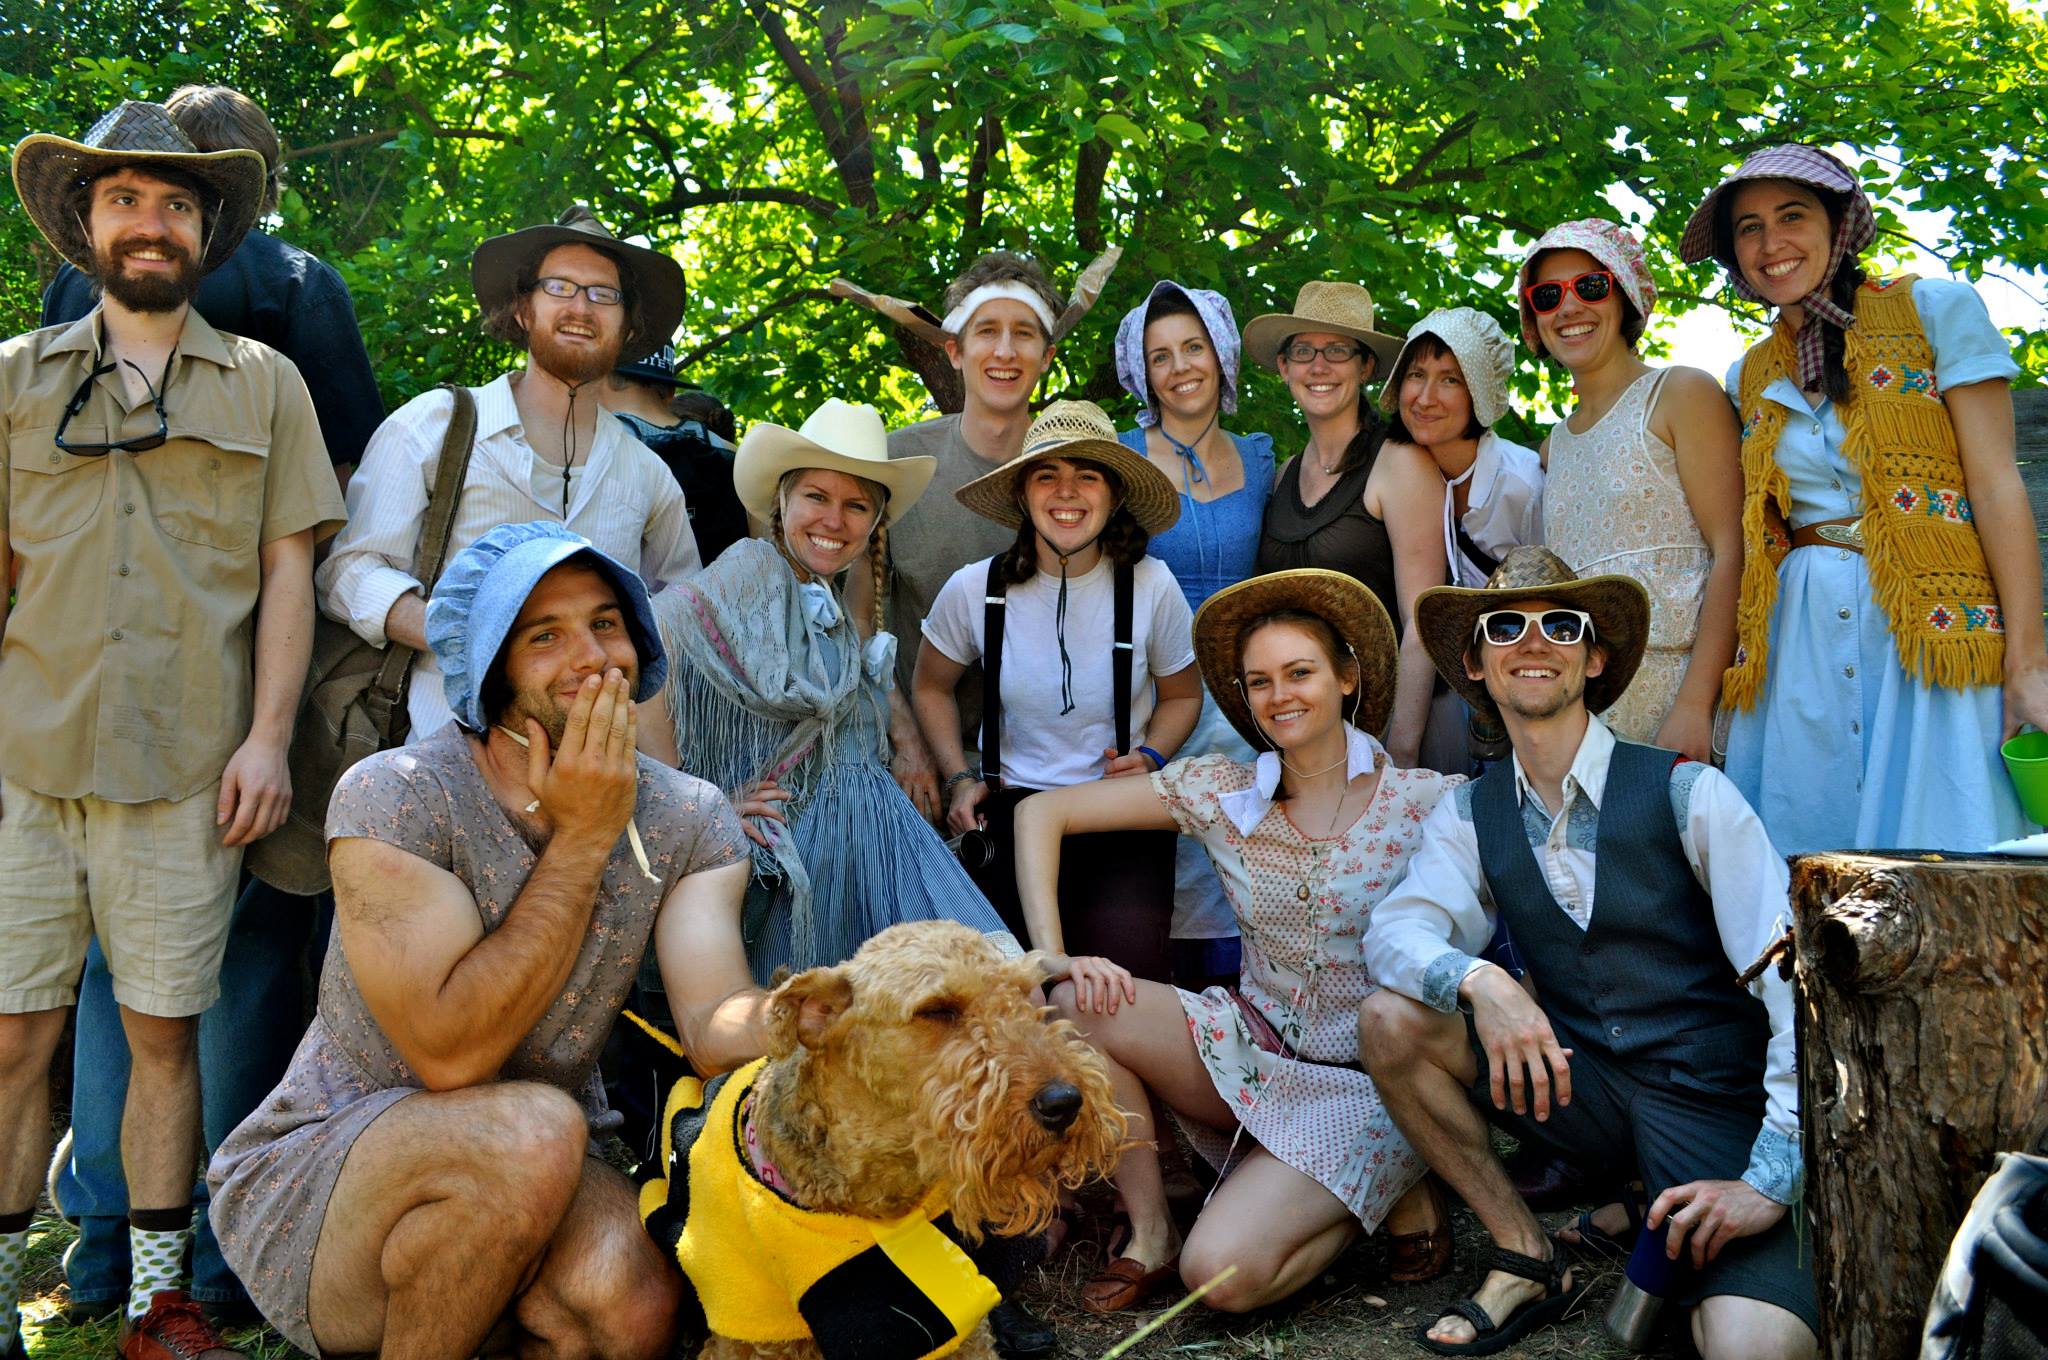
My costume included a bonnet, a dress, an apron, and a cotton corset top and shorts underneath (which came in handy because it was a hot day!)
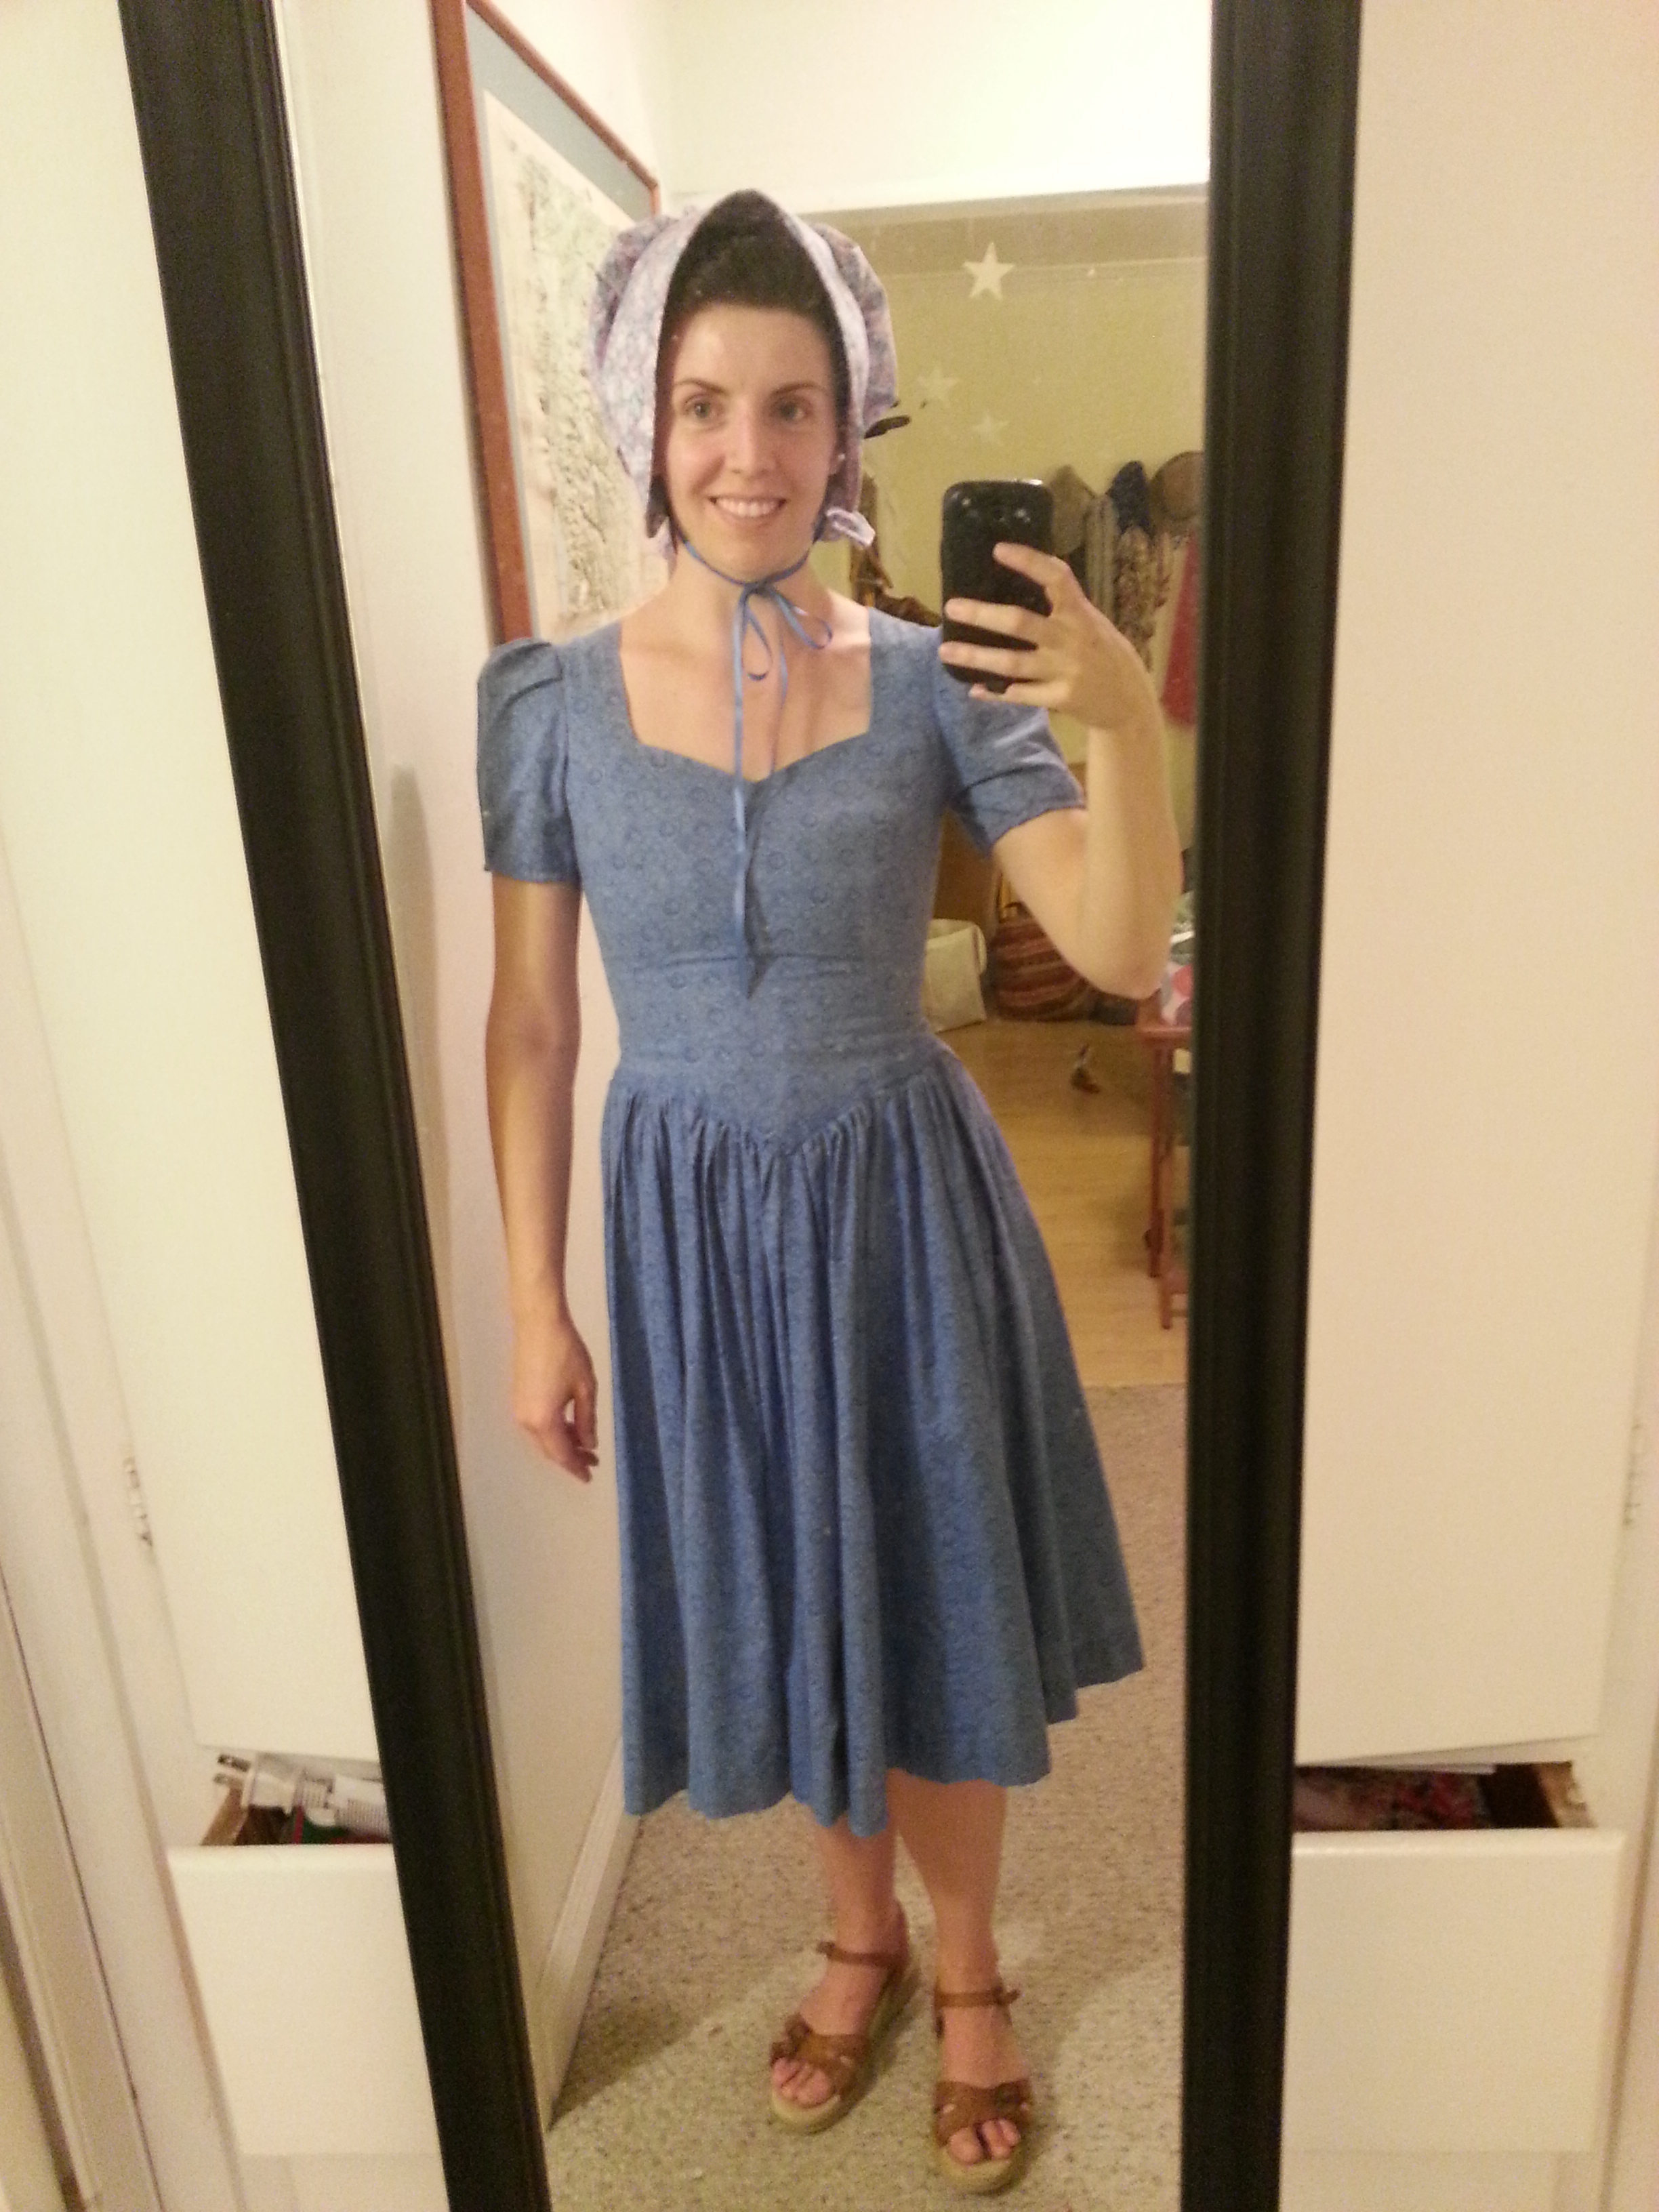
The dress was a thrift store dress that I altered—I wish I had take a before picture. It had long sleeves and huge, ugly silver button and trimming on the waist and wrists. I took off the buttons and trim, shortened the sleeves, and used the sleeve material to add a single hidden pocket to the full skirt.

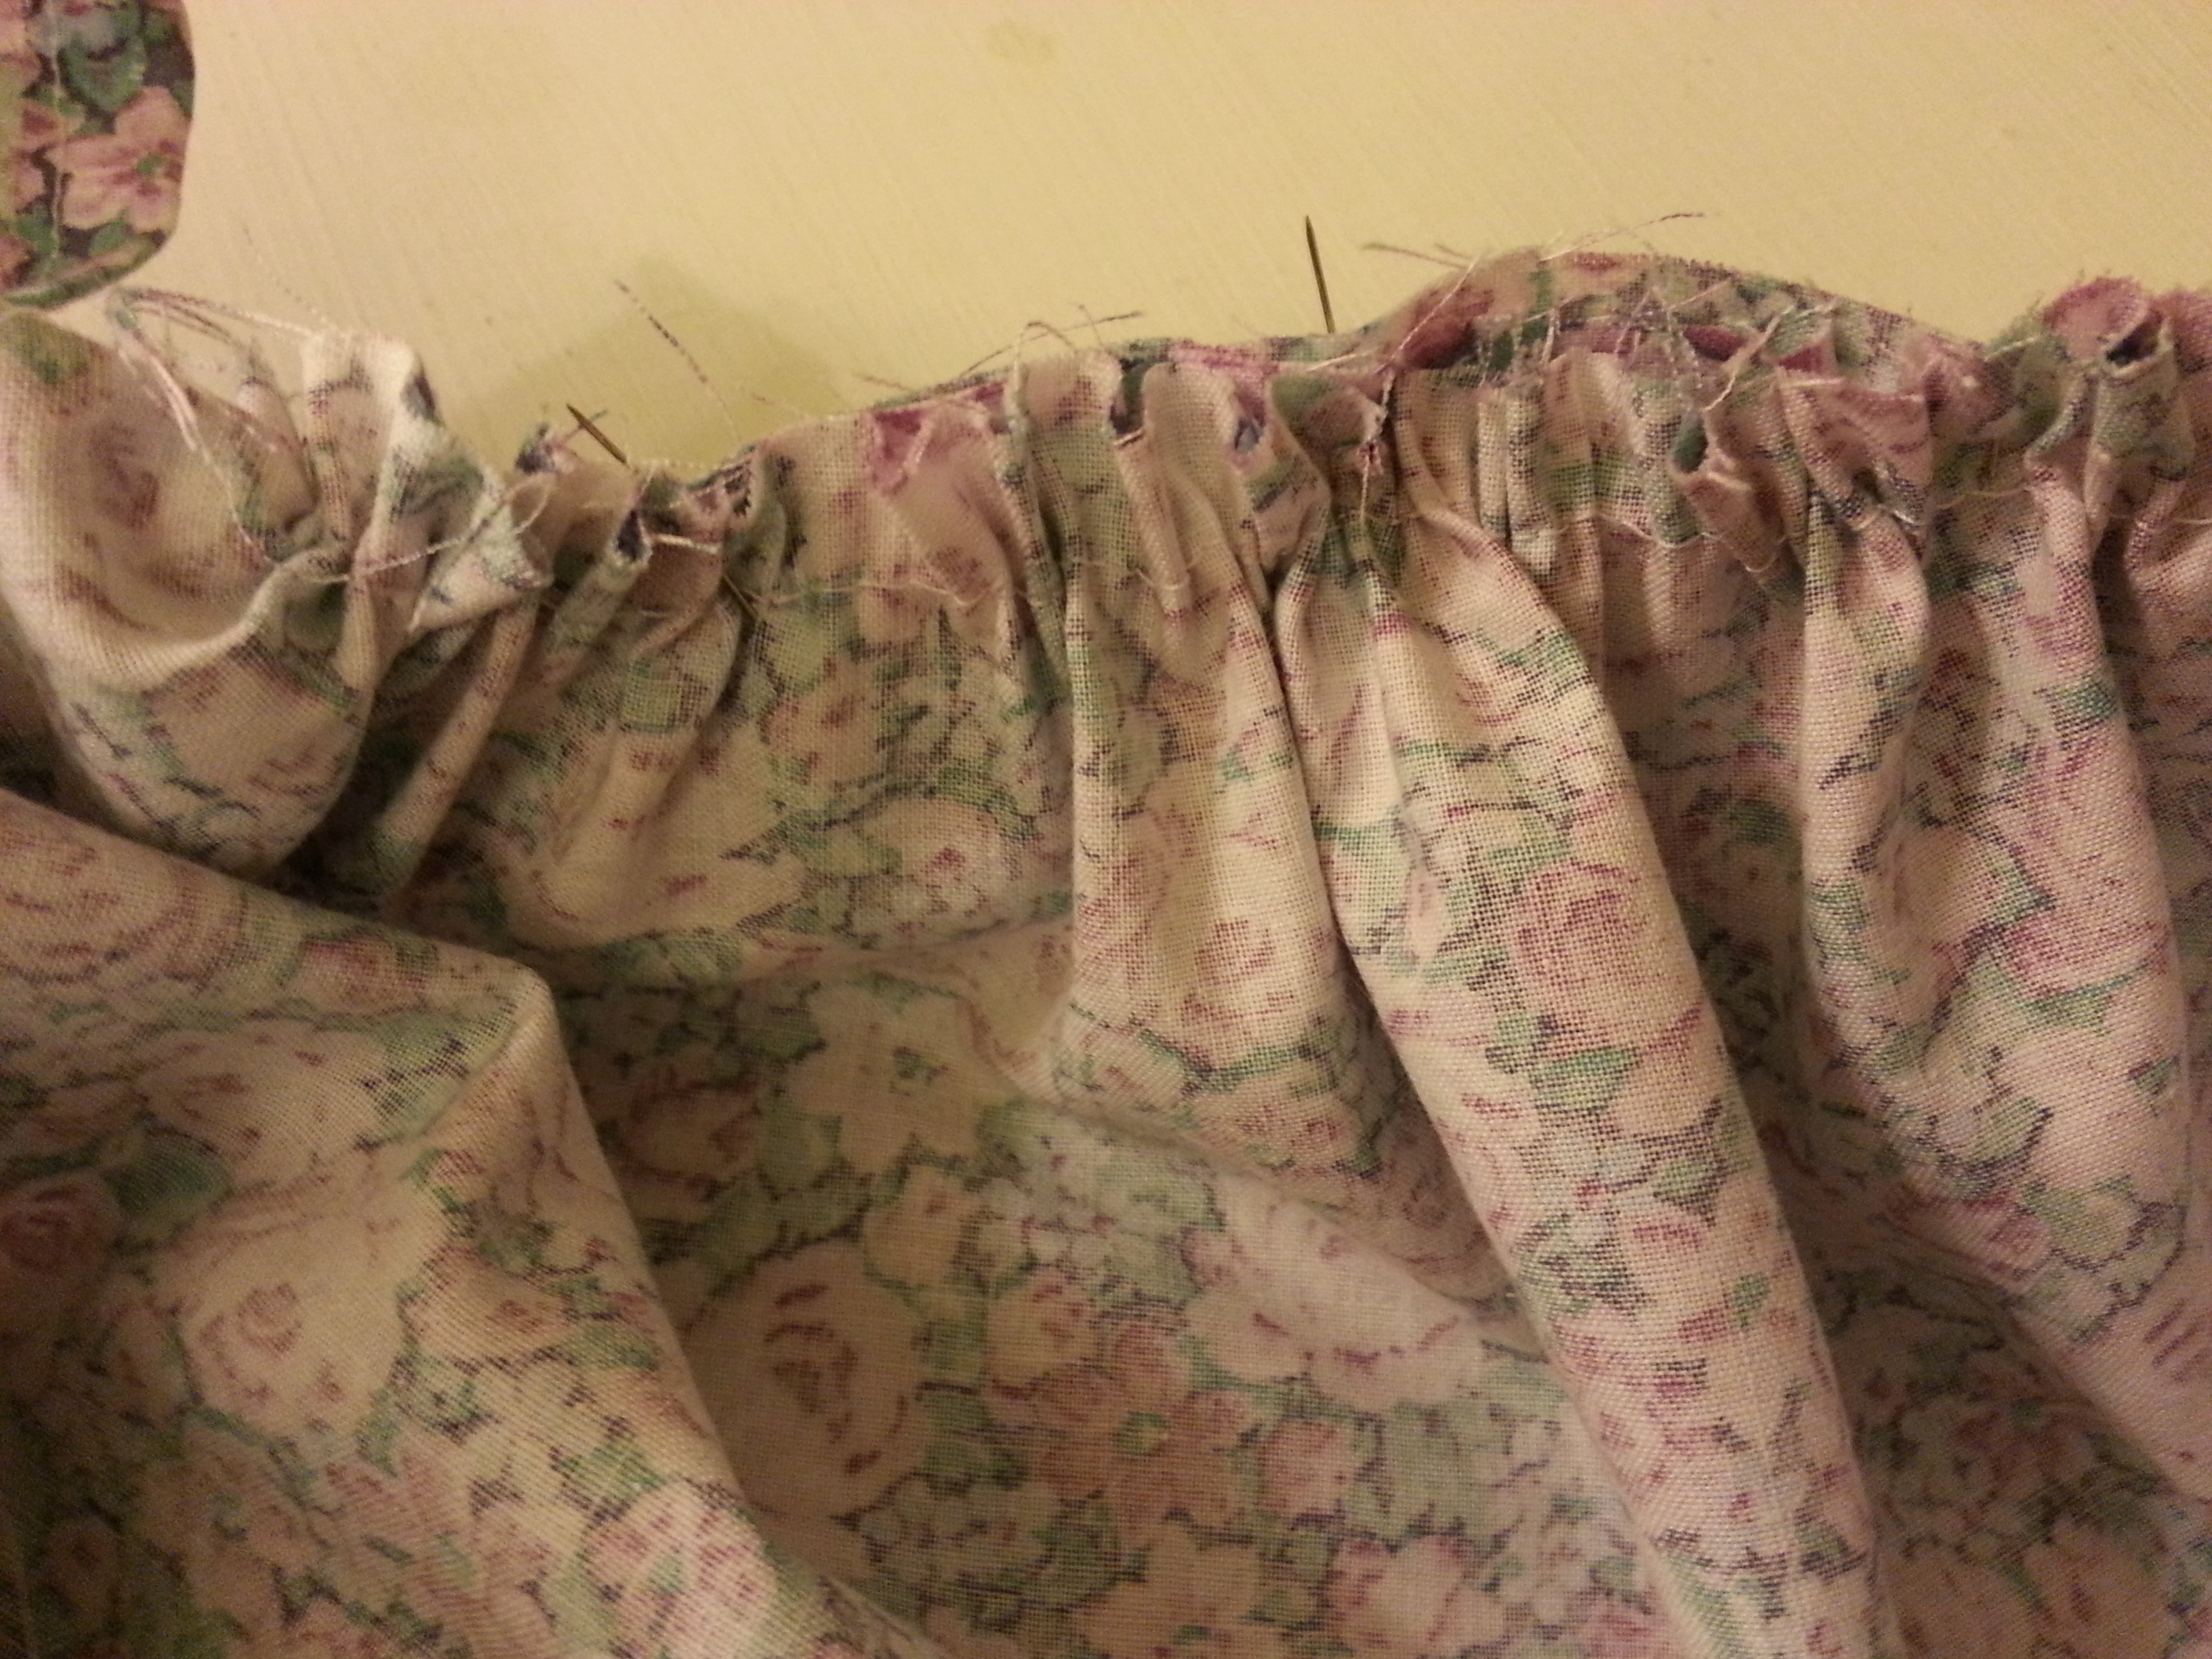
I sewed the bonnet myself, using scrap fabric and this tutorial a friend showed me. It was pretty useful, although it’s helpful to have some minimal sewing knowledge, like using interfacing and such. The tutorial only really lacks descriptions for two parts: how much and what kind of elastic to use (I used 6 to 7 inches of 1/2 inch elastic, guessing from the tutorial photos) and how to match the head part to the bonnet brim. To do that you need to do a basting (loose) stitch around the head piece, pull the ends of that threat to gather it, and then line it up with brim, so it looks like this:

I made mine a bit too big (I went a little bigger than the suggested dimension because I have thick hair),but it worked. I opted for ribbon ties instead of fabric ones.
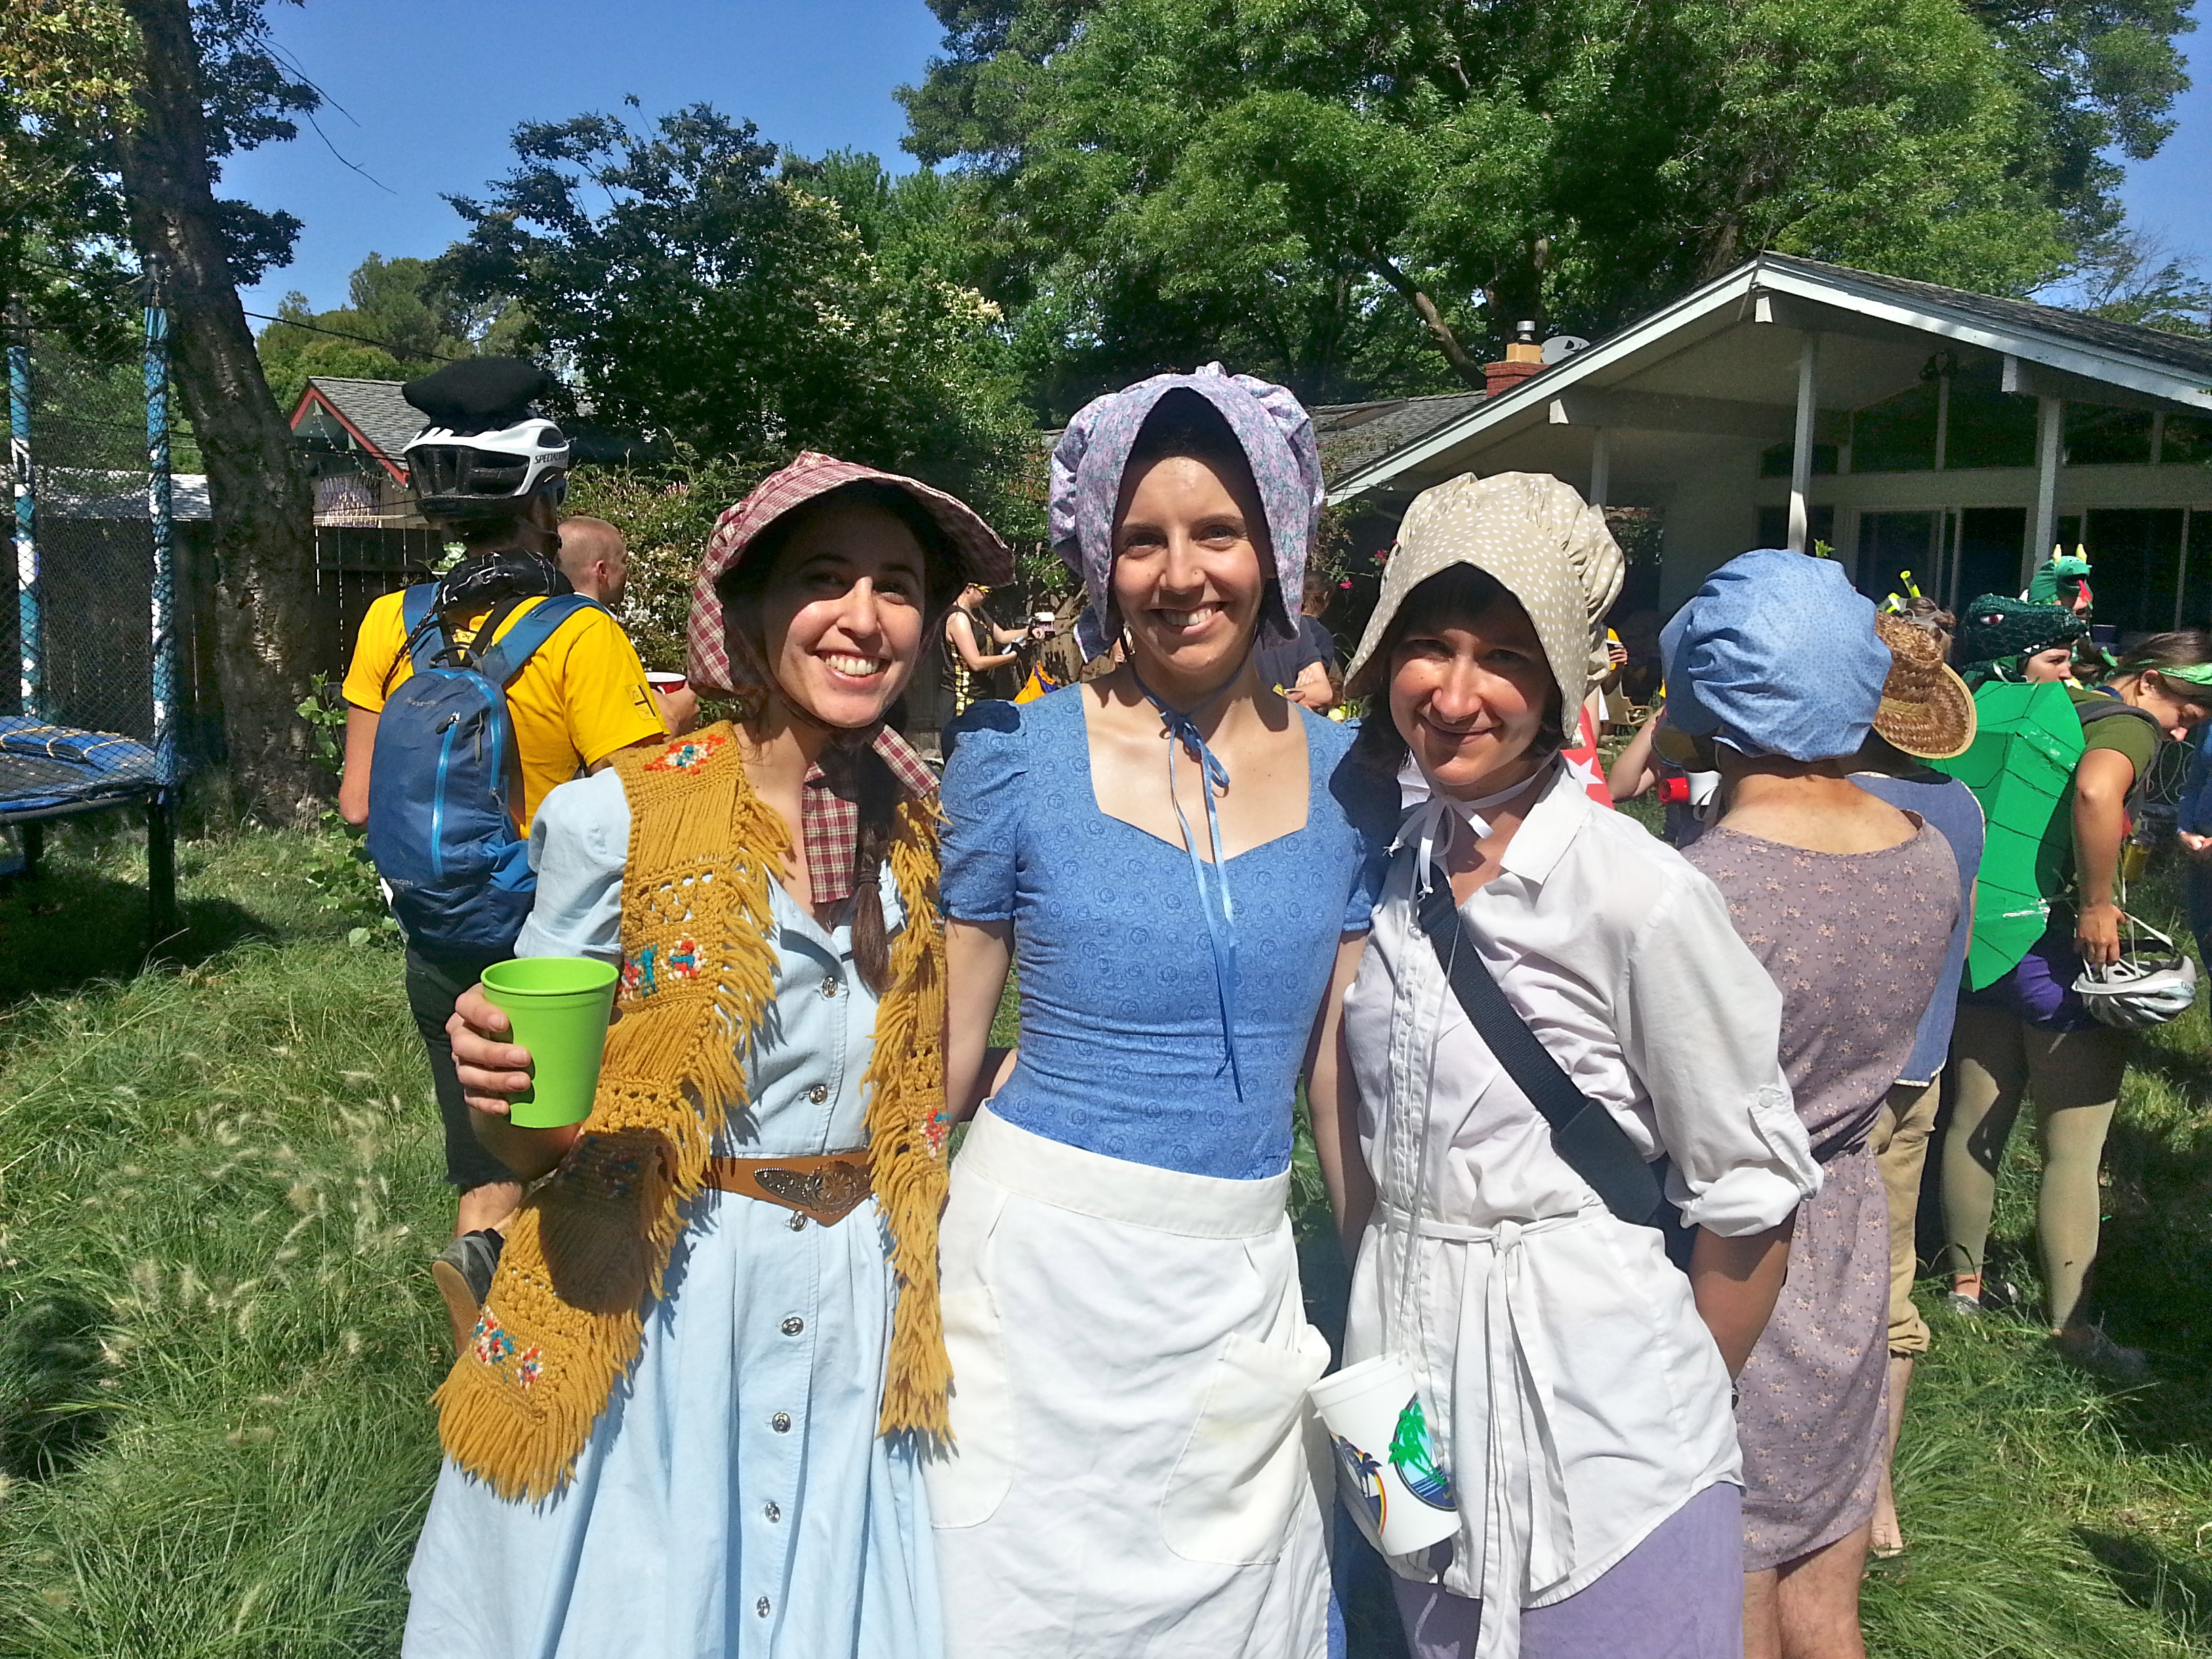
Bonnets were a popular choice for the Oregon Trail team! The one on the left in the above photo was also homemade. Our assortment of bonnets and western hats proved quite practical in the heat.
Some of also stayed out of the sun under covered wagon bikes!
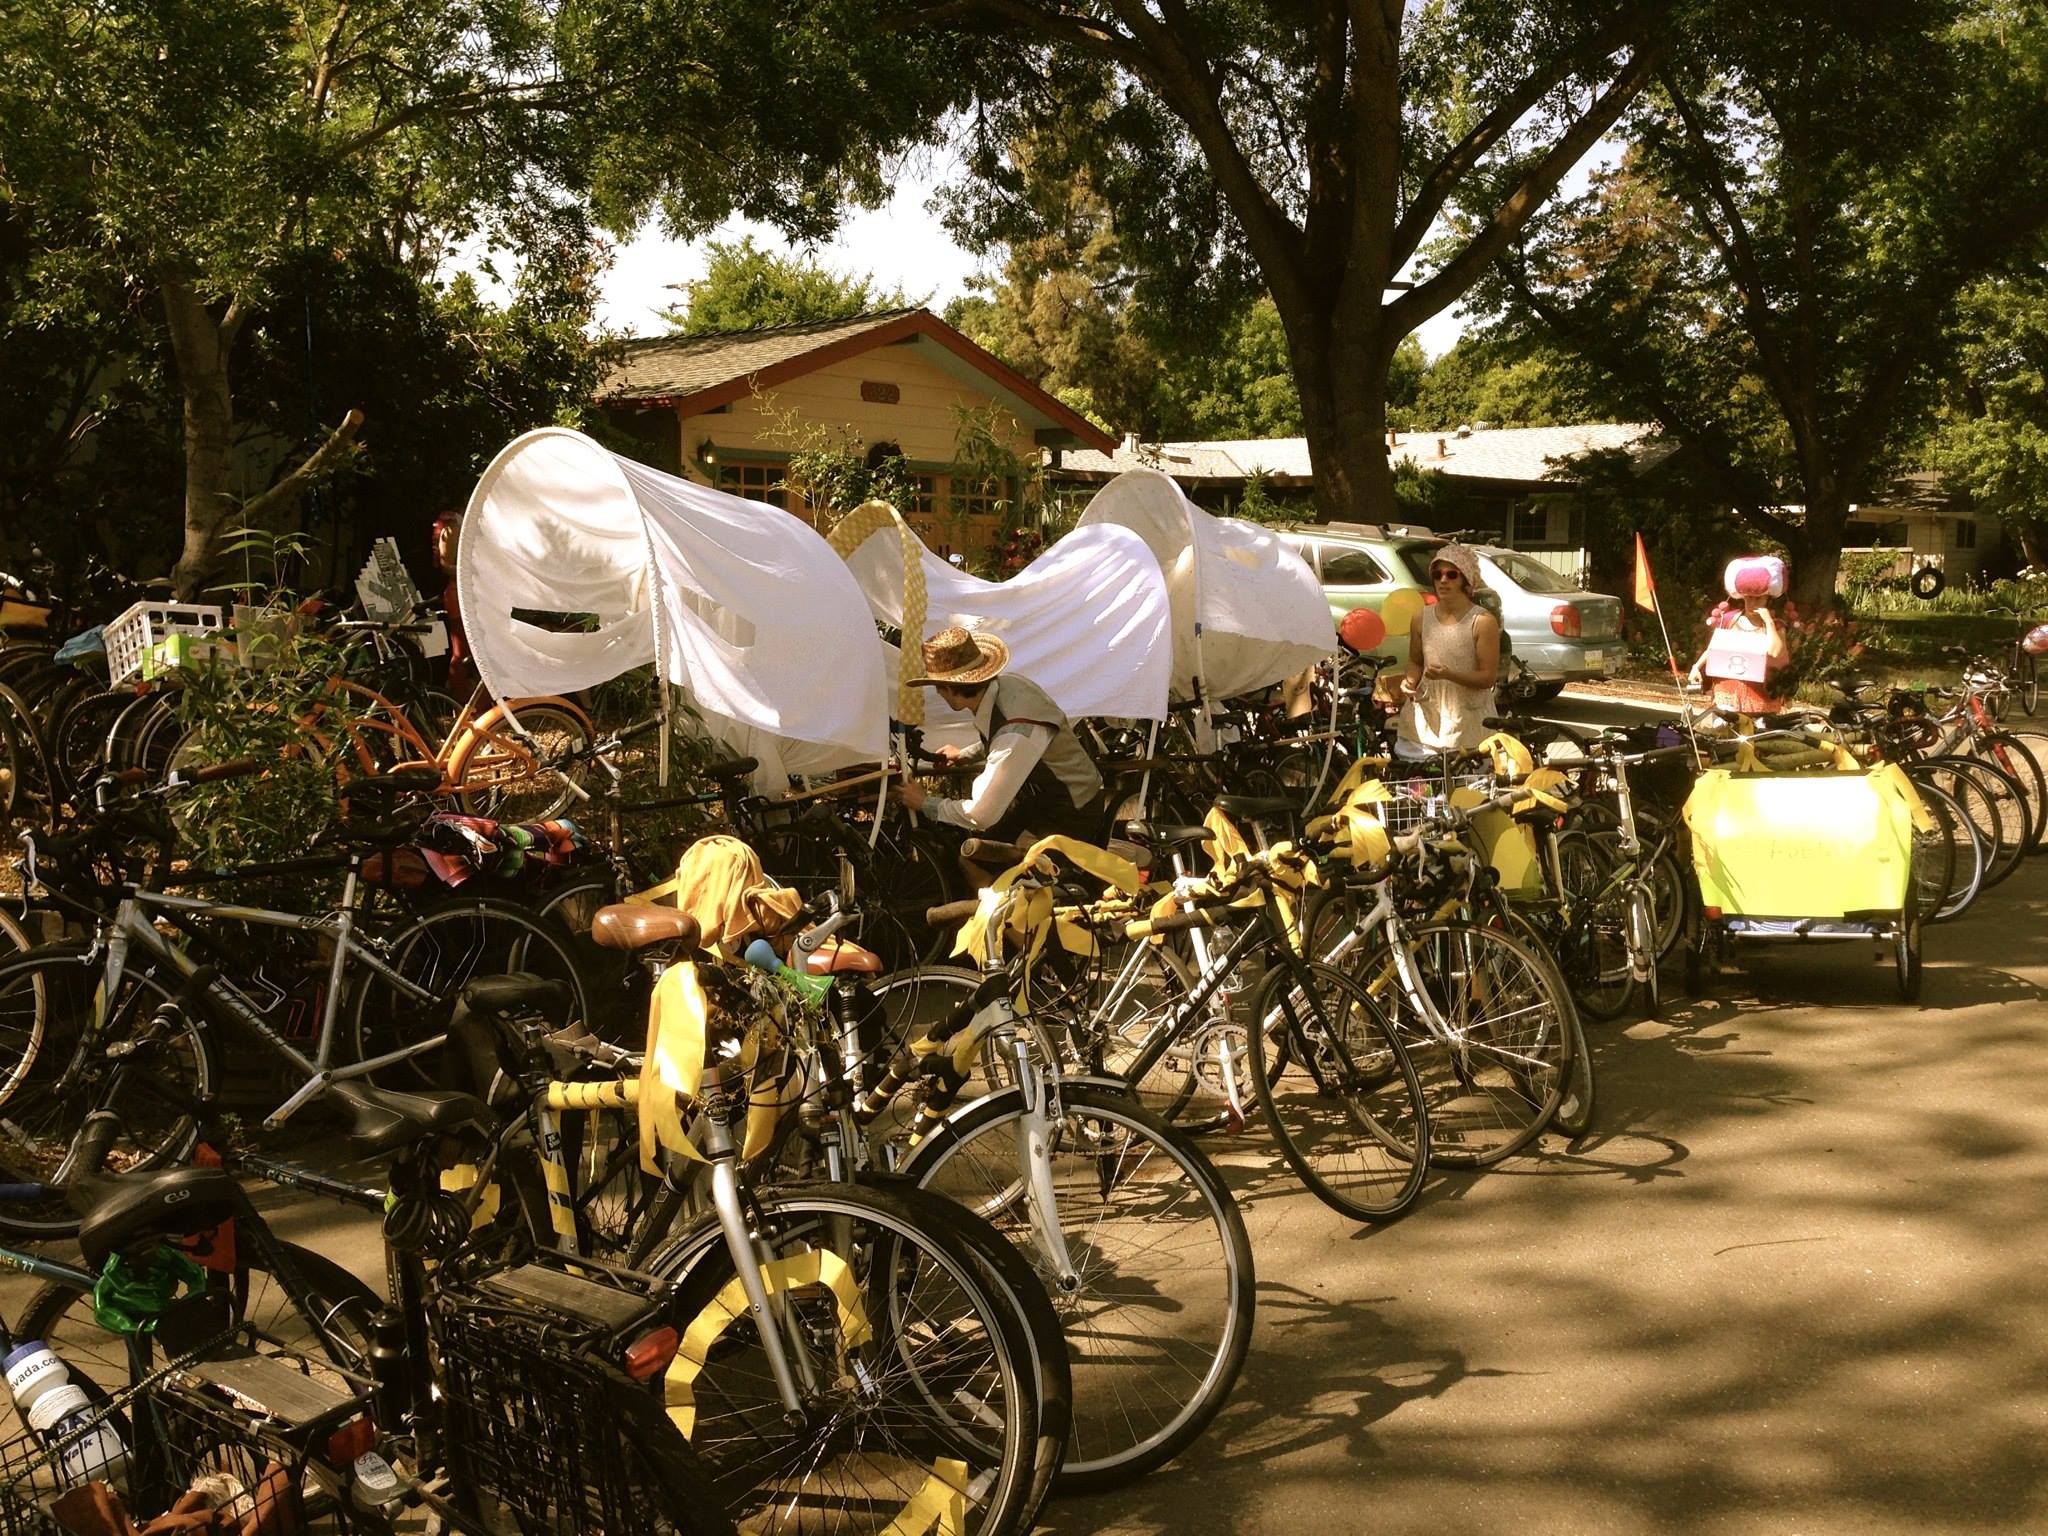
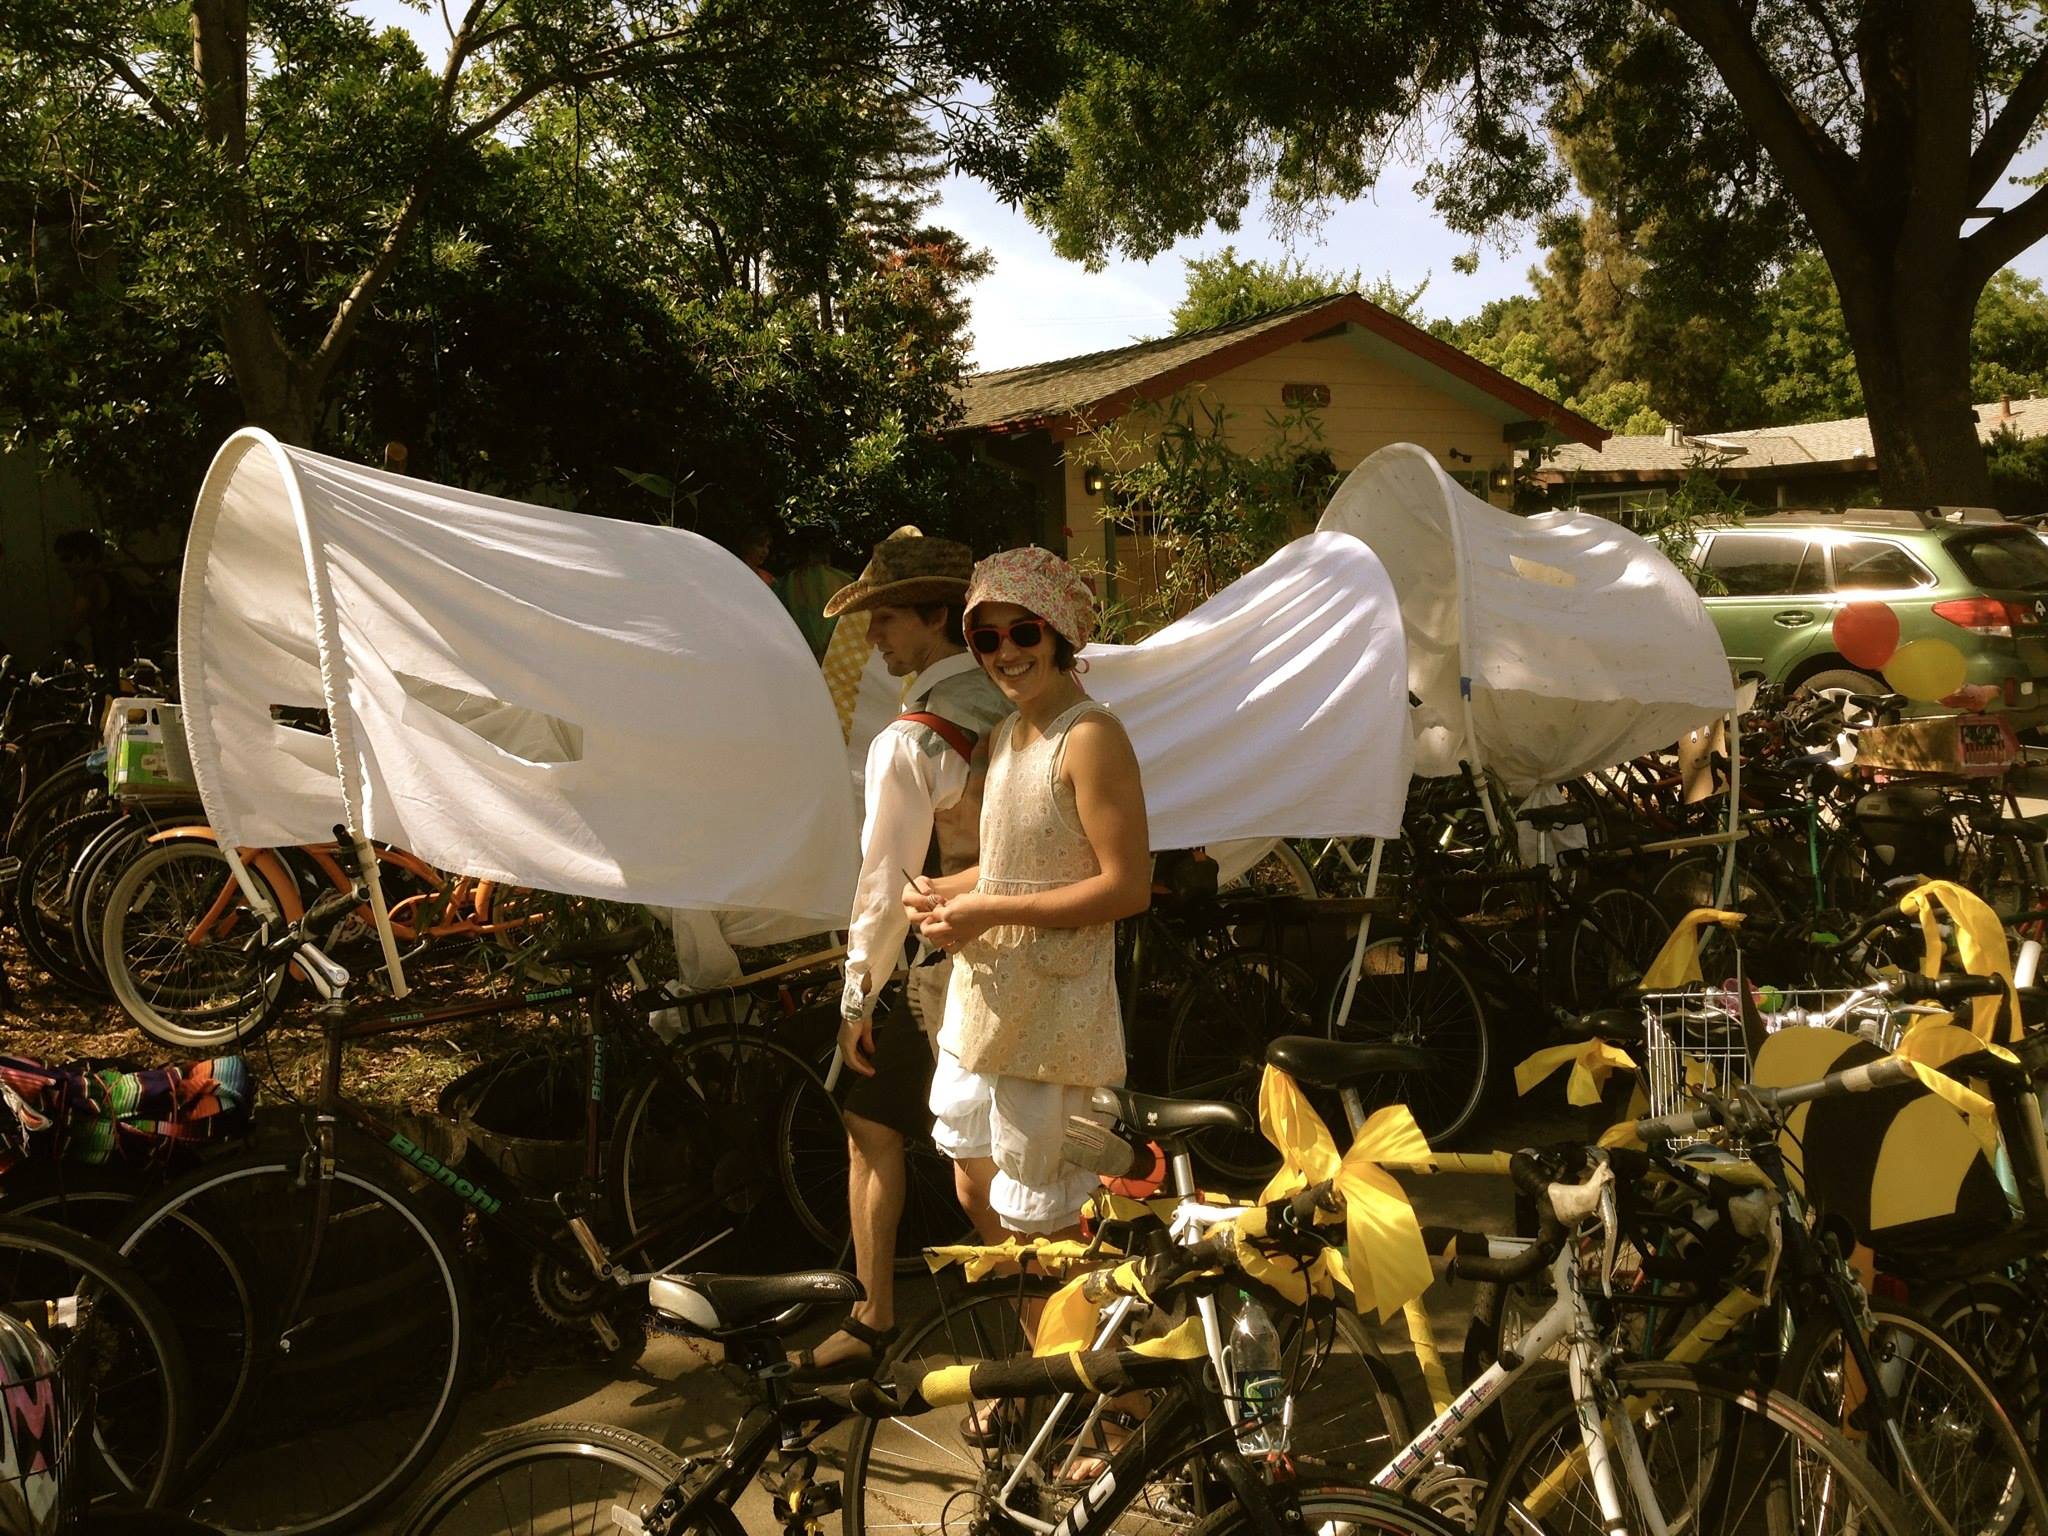
The covered wagon bikes certainly made us stand out. I was not directly involved in their creation, but I can describe some of their basic construction. For bikes that had back baskets/racks and straight handlebars, the wagons were attached directly with clamps. For those that didn’t, two by fours attached to the bike held the wagon frame in place (a special, large drill bit was needed to drill a hole large enough for the wagon frame to fit):

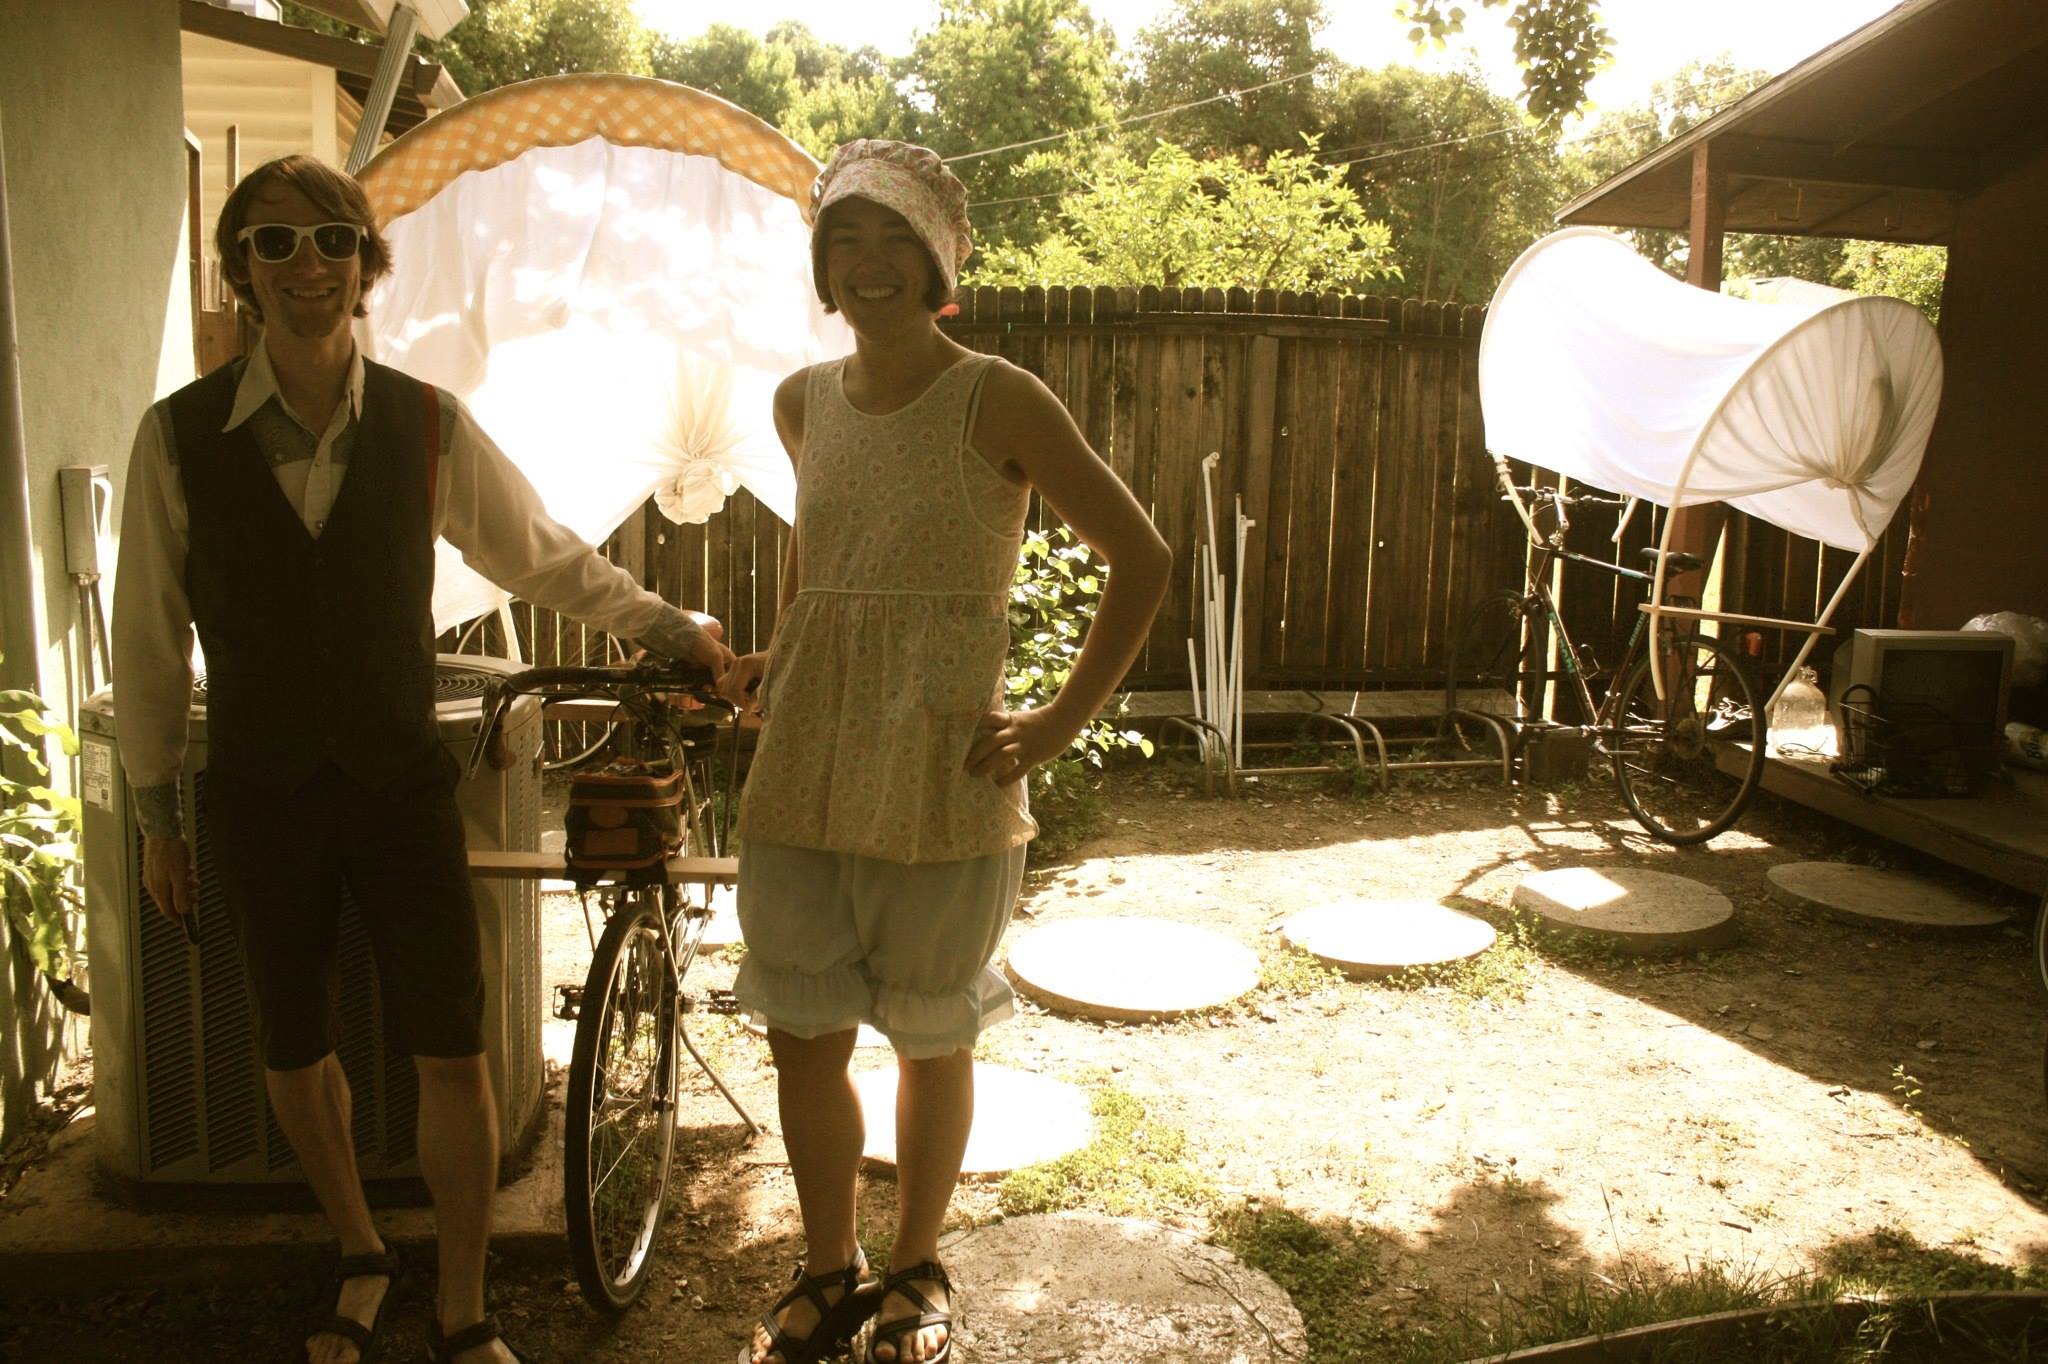
I should point out here that the bloomers above were also home made from a sheet! Anyway, the wagon frames were made from flexible thin plastic tubing. If you want to try this, you’d probably want to play around with different types of flexible PVC pipe—the tubing we had was freely available to us, but it was rather thin and not that sturdy, and the wagon frames tended to list to one side after a while.
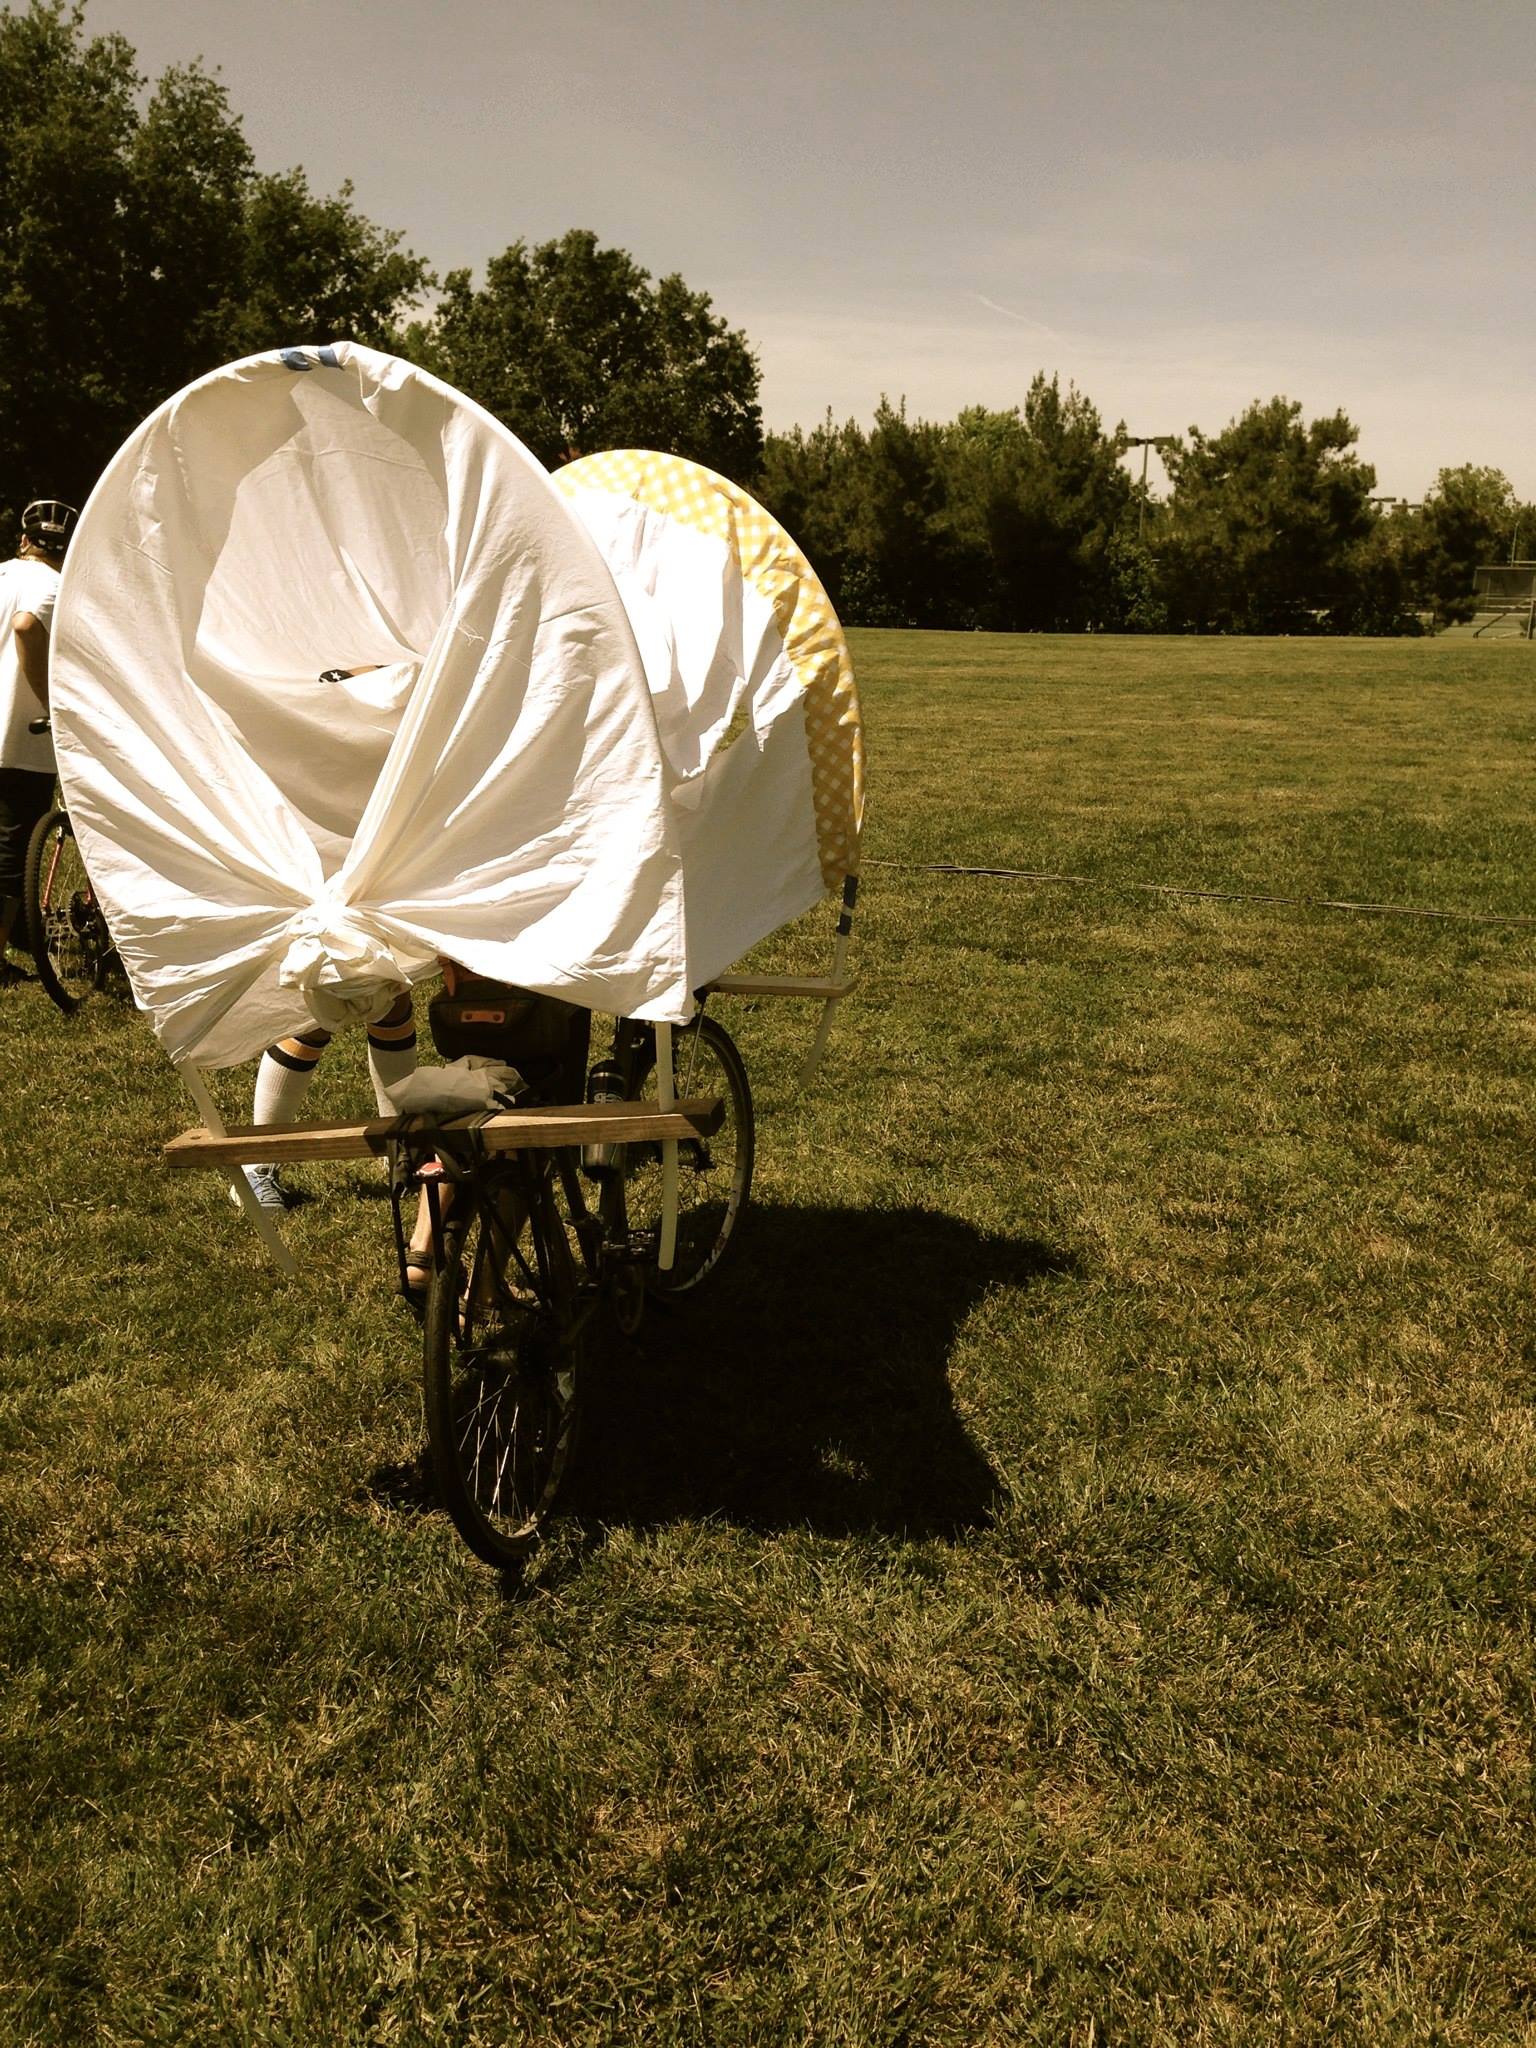
The wagon coveres were sewn from sheets. The front end had a casing a little wider than the tubing, kind of like what you would sew for a curtain rod. The back was simply gathered together. We discovered that they needed some vents in the sides so that the wind wouldn’t make cycling too difficult for the cyclist inside (I think it also helped with visibility on the sides somewhat). We also had a mini version of the wagon on one of the bicycle baskets:

No wagon train would be complete without some beasts of burden! Some of us decorated our bicycles as oxen or horses using paint and cardboard (and one of our team members dressed as an ox as well!). We all made these separately, so there was a lot of variety in appearance. Some of them were realistic, like these oxen, Oxford Comma and Margaret Thatcher:

And some of them were very simple and cartoony, like my oxen, Oxnard and his buddy (I forget if we named him—I call him Ollie Oxen Free):
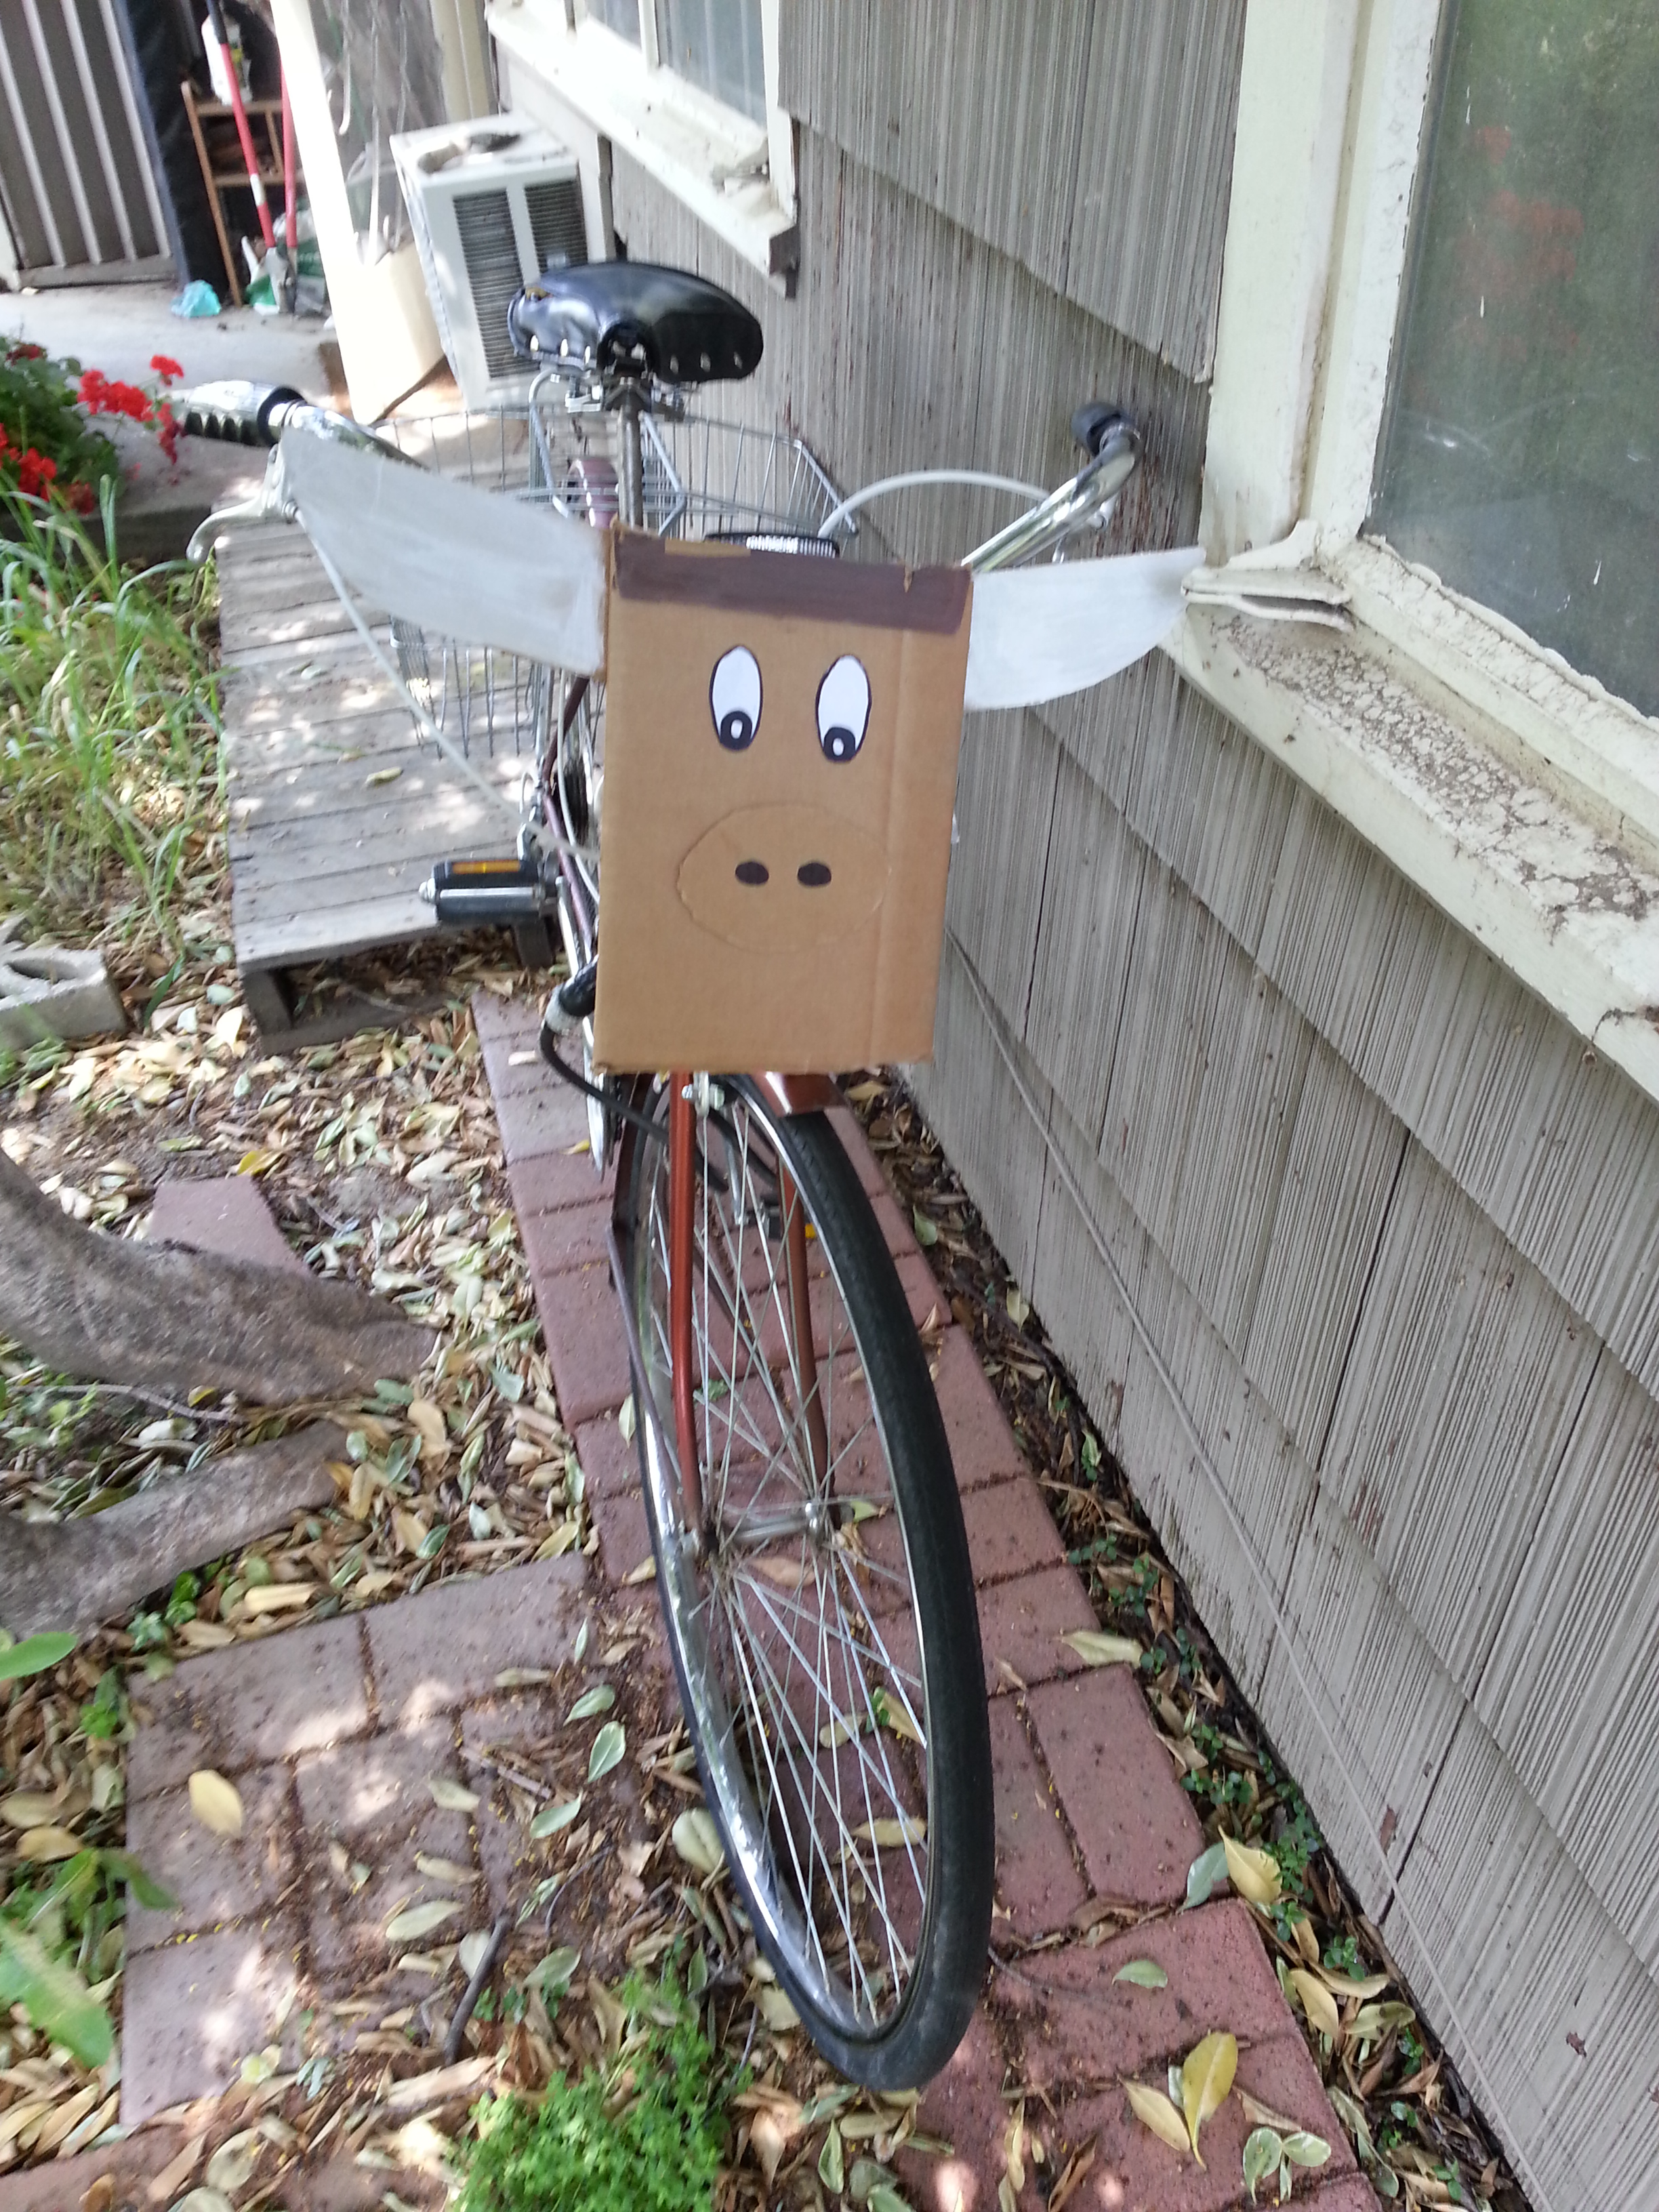
We even had a pixelated horse!

We also got a few real life tumbleweeds from nearby fields and attached them behind bikes with string:


Putting this event together was a lot of work, but it was also a ton of fun. It gave me a whole new appreciation of how talented my friends are in arts, crafts, and DIY endeavors! Here’s to Team Oregon Trail 2014!