I’ve been working on two big knitting projects and one small one in the last few months. It just so happens that all of them were gifts, and all of them were blue. Now that they are all completed, I can share them with you!
A different kind of blue box: the TARDIS pillow!
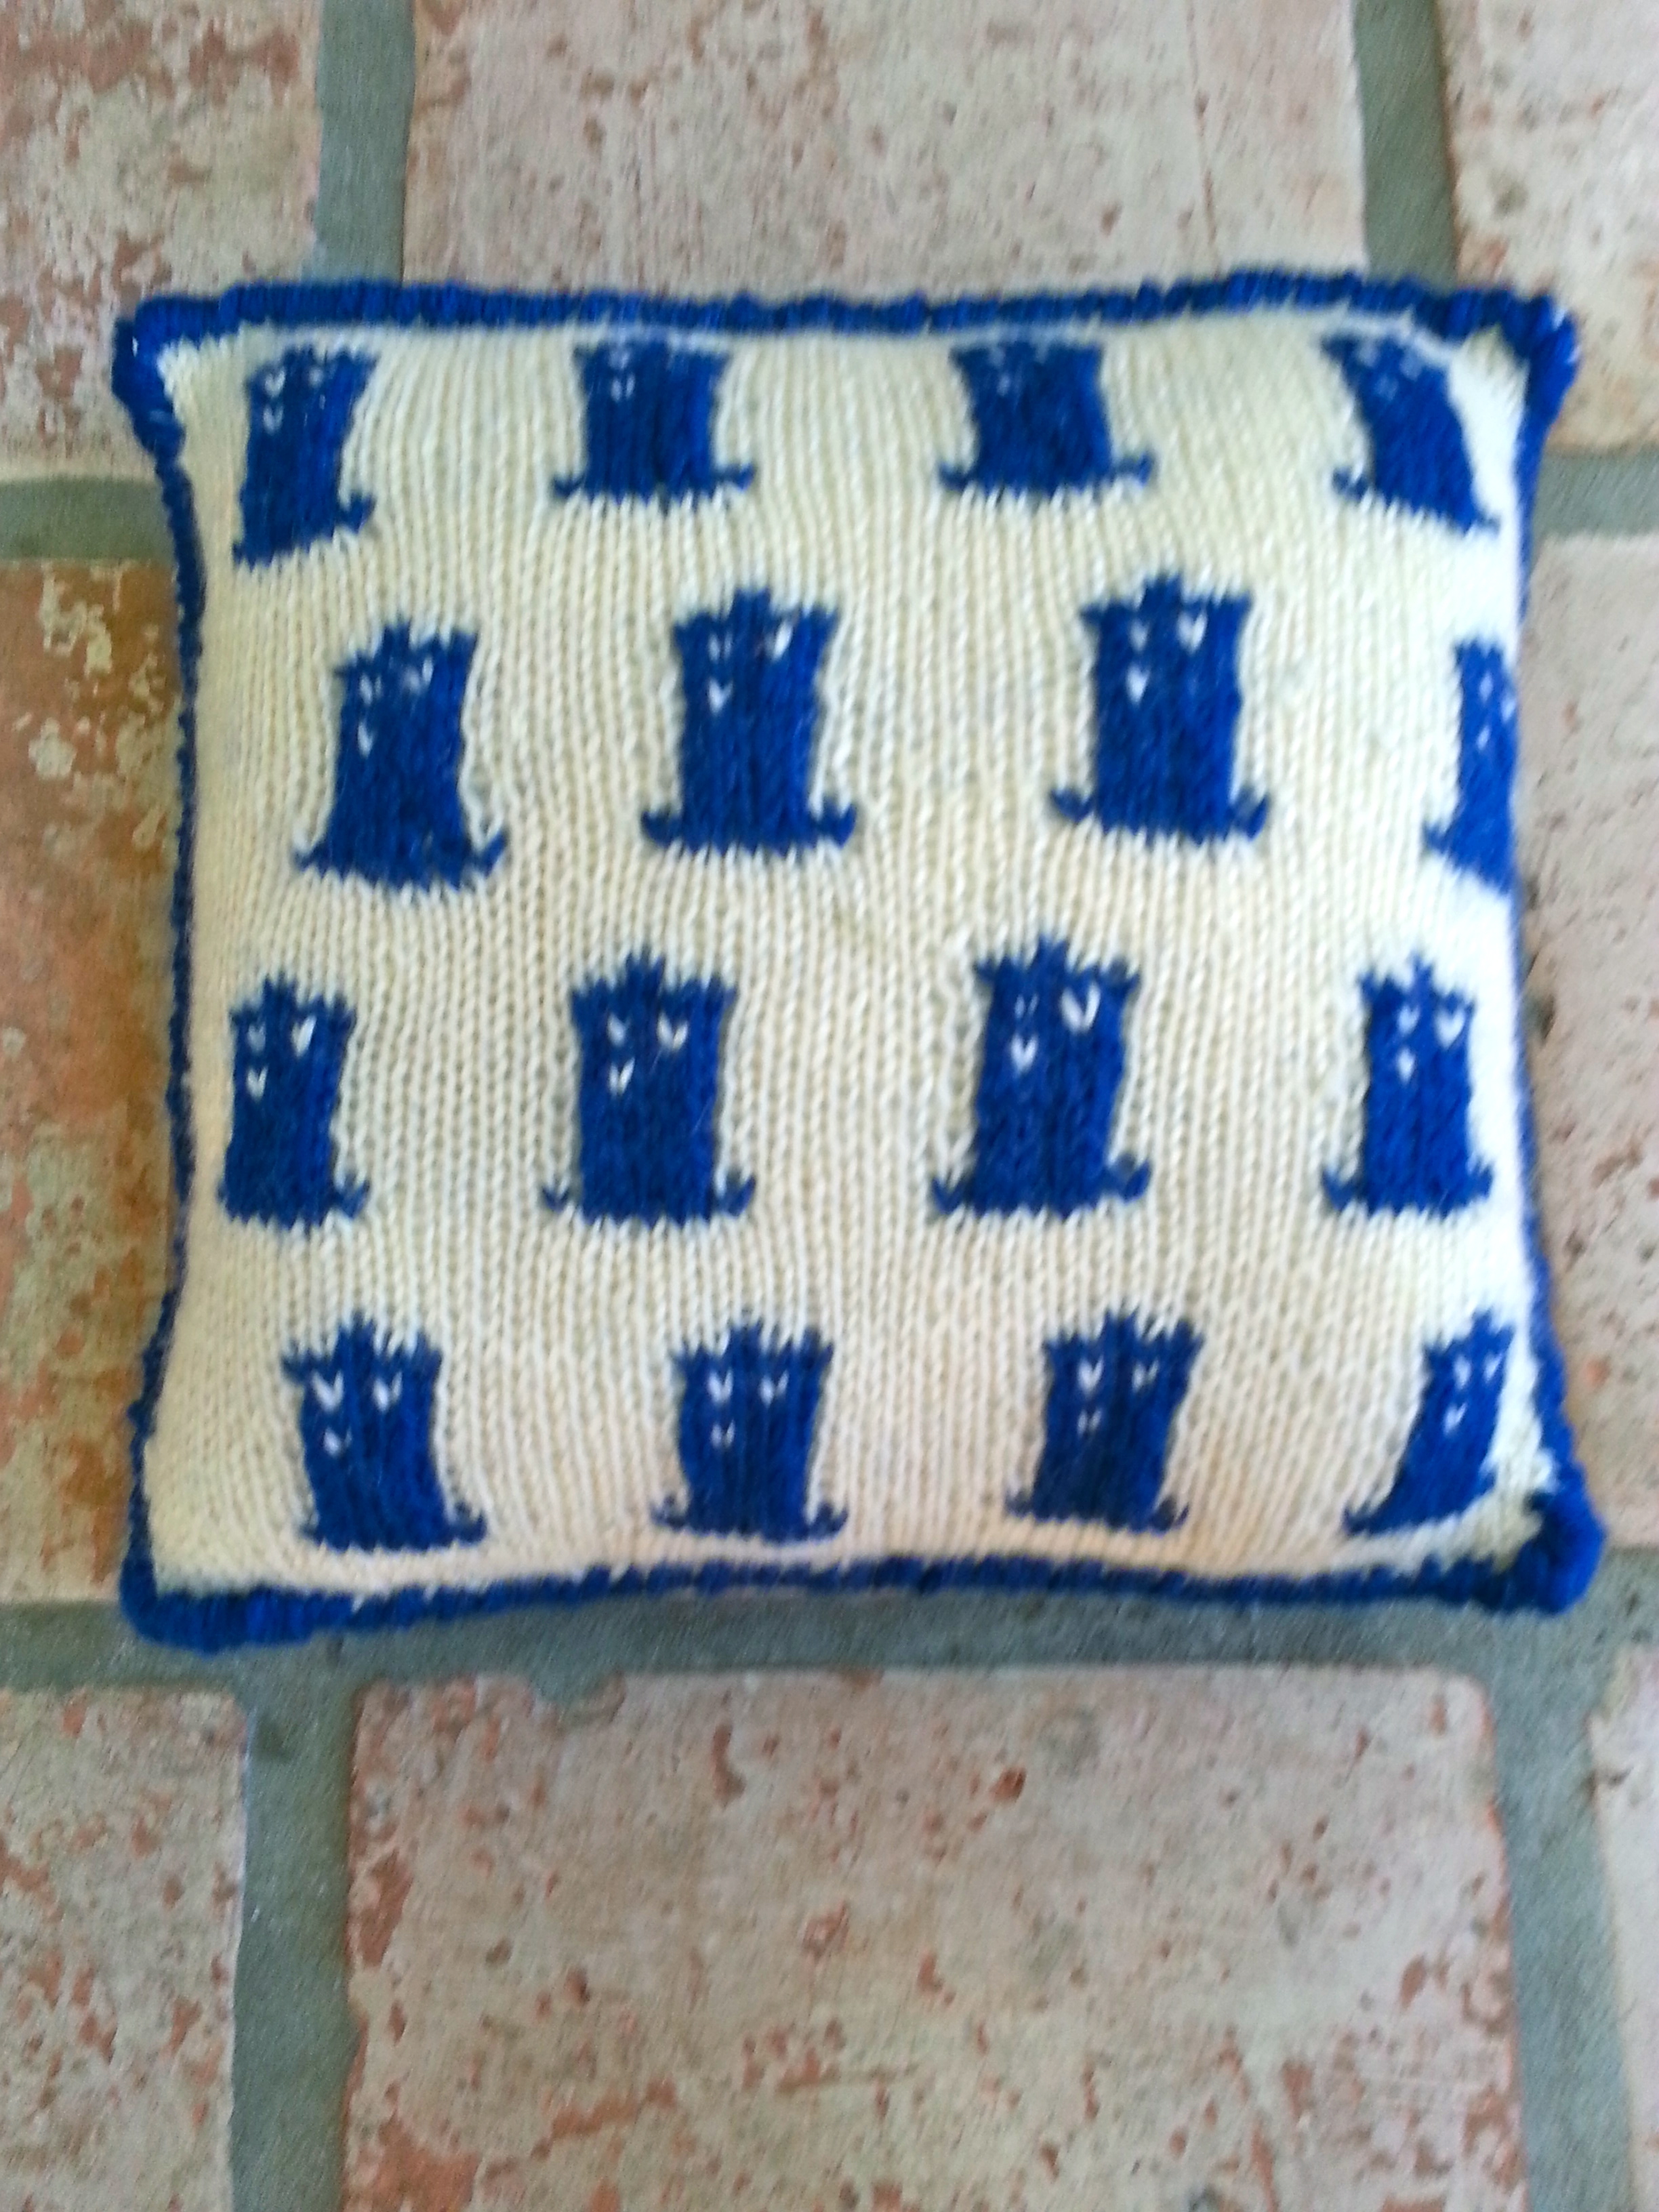
I started watching Doctor Who at the beginning of November and I got totally into it (yes I realize I’m a little late to the party). My brother is also a fan and when I was home for Thanksgiving, he suggested I could knit him something Whovian for Christmas. I showed him the myriad of free patterns on ravelry and he chose this one by Rebecca Norton, a tiny tardis print. Interestingly, the only project on ravelry was the original, so I was going into uncharted (ha!) territory. But as the pattern says…Allons-y!
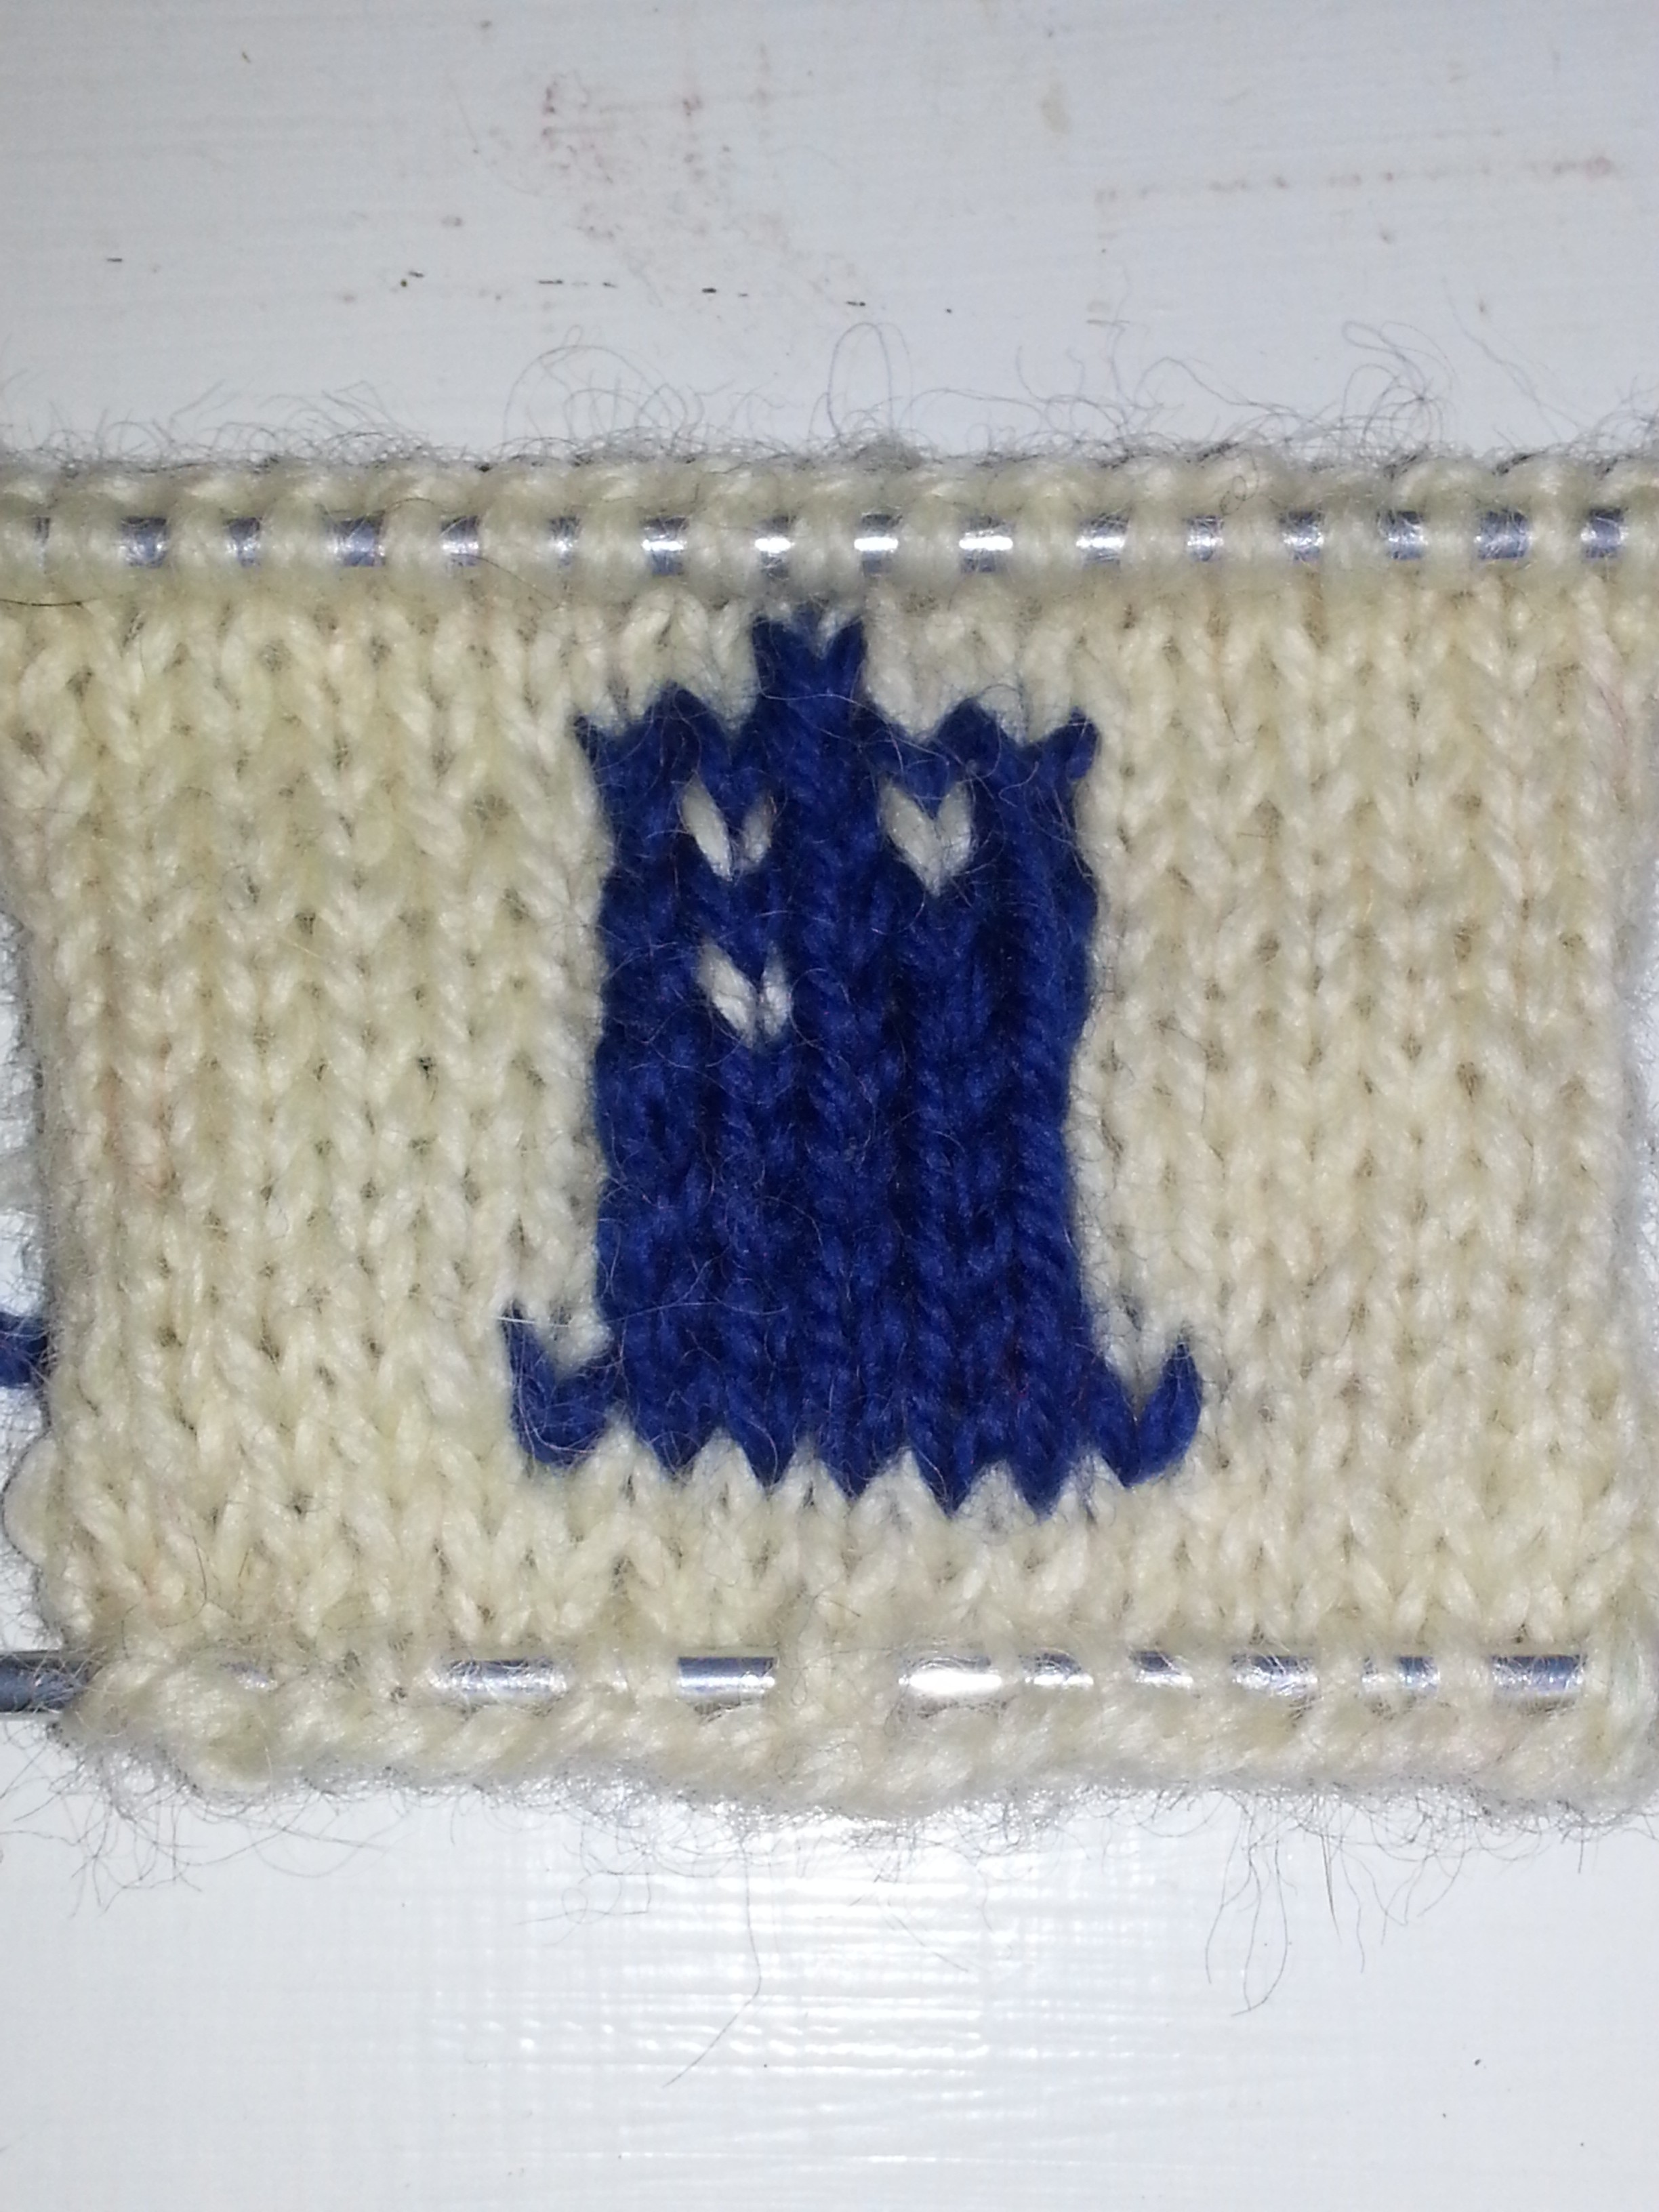
This was one of the funnest swatches to knit. If you aren’t familiar with colorwork, this is not a bad pattern to learn on. The pattern was pretty easy to remember after a while, and even when I messed up the window placement on one row and didn’t notice it till the end, it was easily fixed with duplicate stitches to get the proper colors. The pillow uses the intarsia technique for each TARDIS, so I had a short bobbin of blue yarn for each. However, after knitting one side of the pillow, I realized I was going to run out of white yarn. It was stash yarn and I had no idea what it was or where it came from. So I improvised…

And came up with this pattern for the reverse side. I didn’t get too detailed here—no public notice, no “police box” lettering—but I think it came out really well for a TARDIS pattern I wrote on the fly! I used garter stitch to create the illusion of doors, and each grouping of six windows only used a small bobbin of white yarn. I would write up the pattern but I didn’t save all my notes on it, but I did write down what I could remember on my ravelry project page. If you try to do it and it doesn’t work out, trust me, there are like six million patterns on ravelry for some version of the TARDIS if you want it.
(EDIT: If you want another blue Doctor Who knit, check out my Tenth-Doctor’s-Sonic-Screwdriver-as-Chapstick-Holder knitting project!)
Baby blues: Newborn booties!
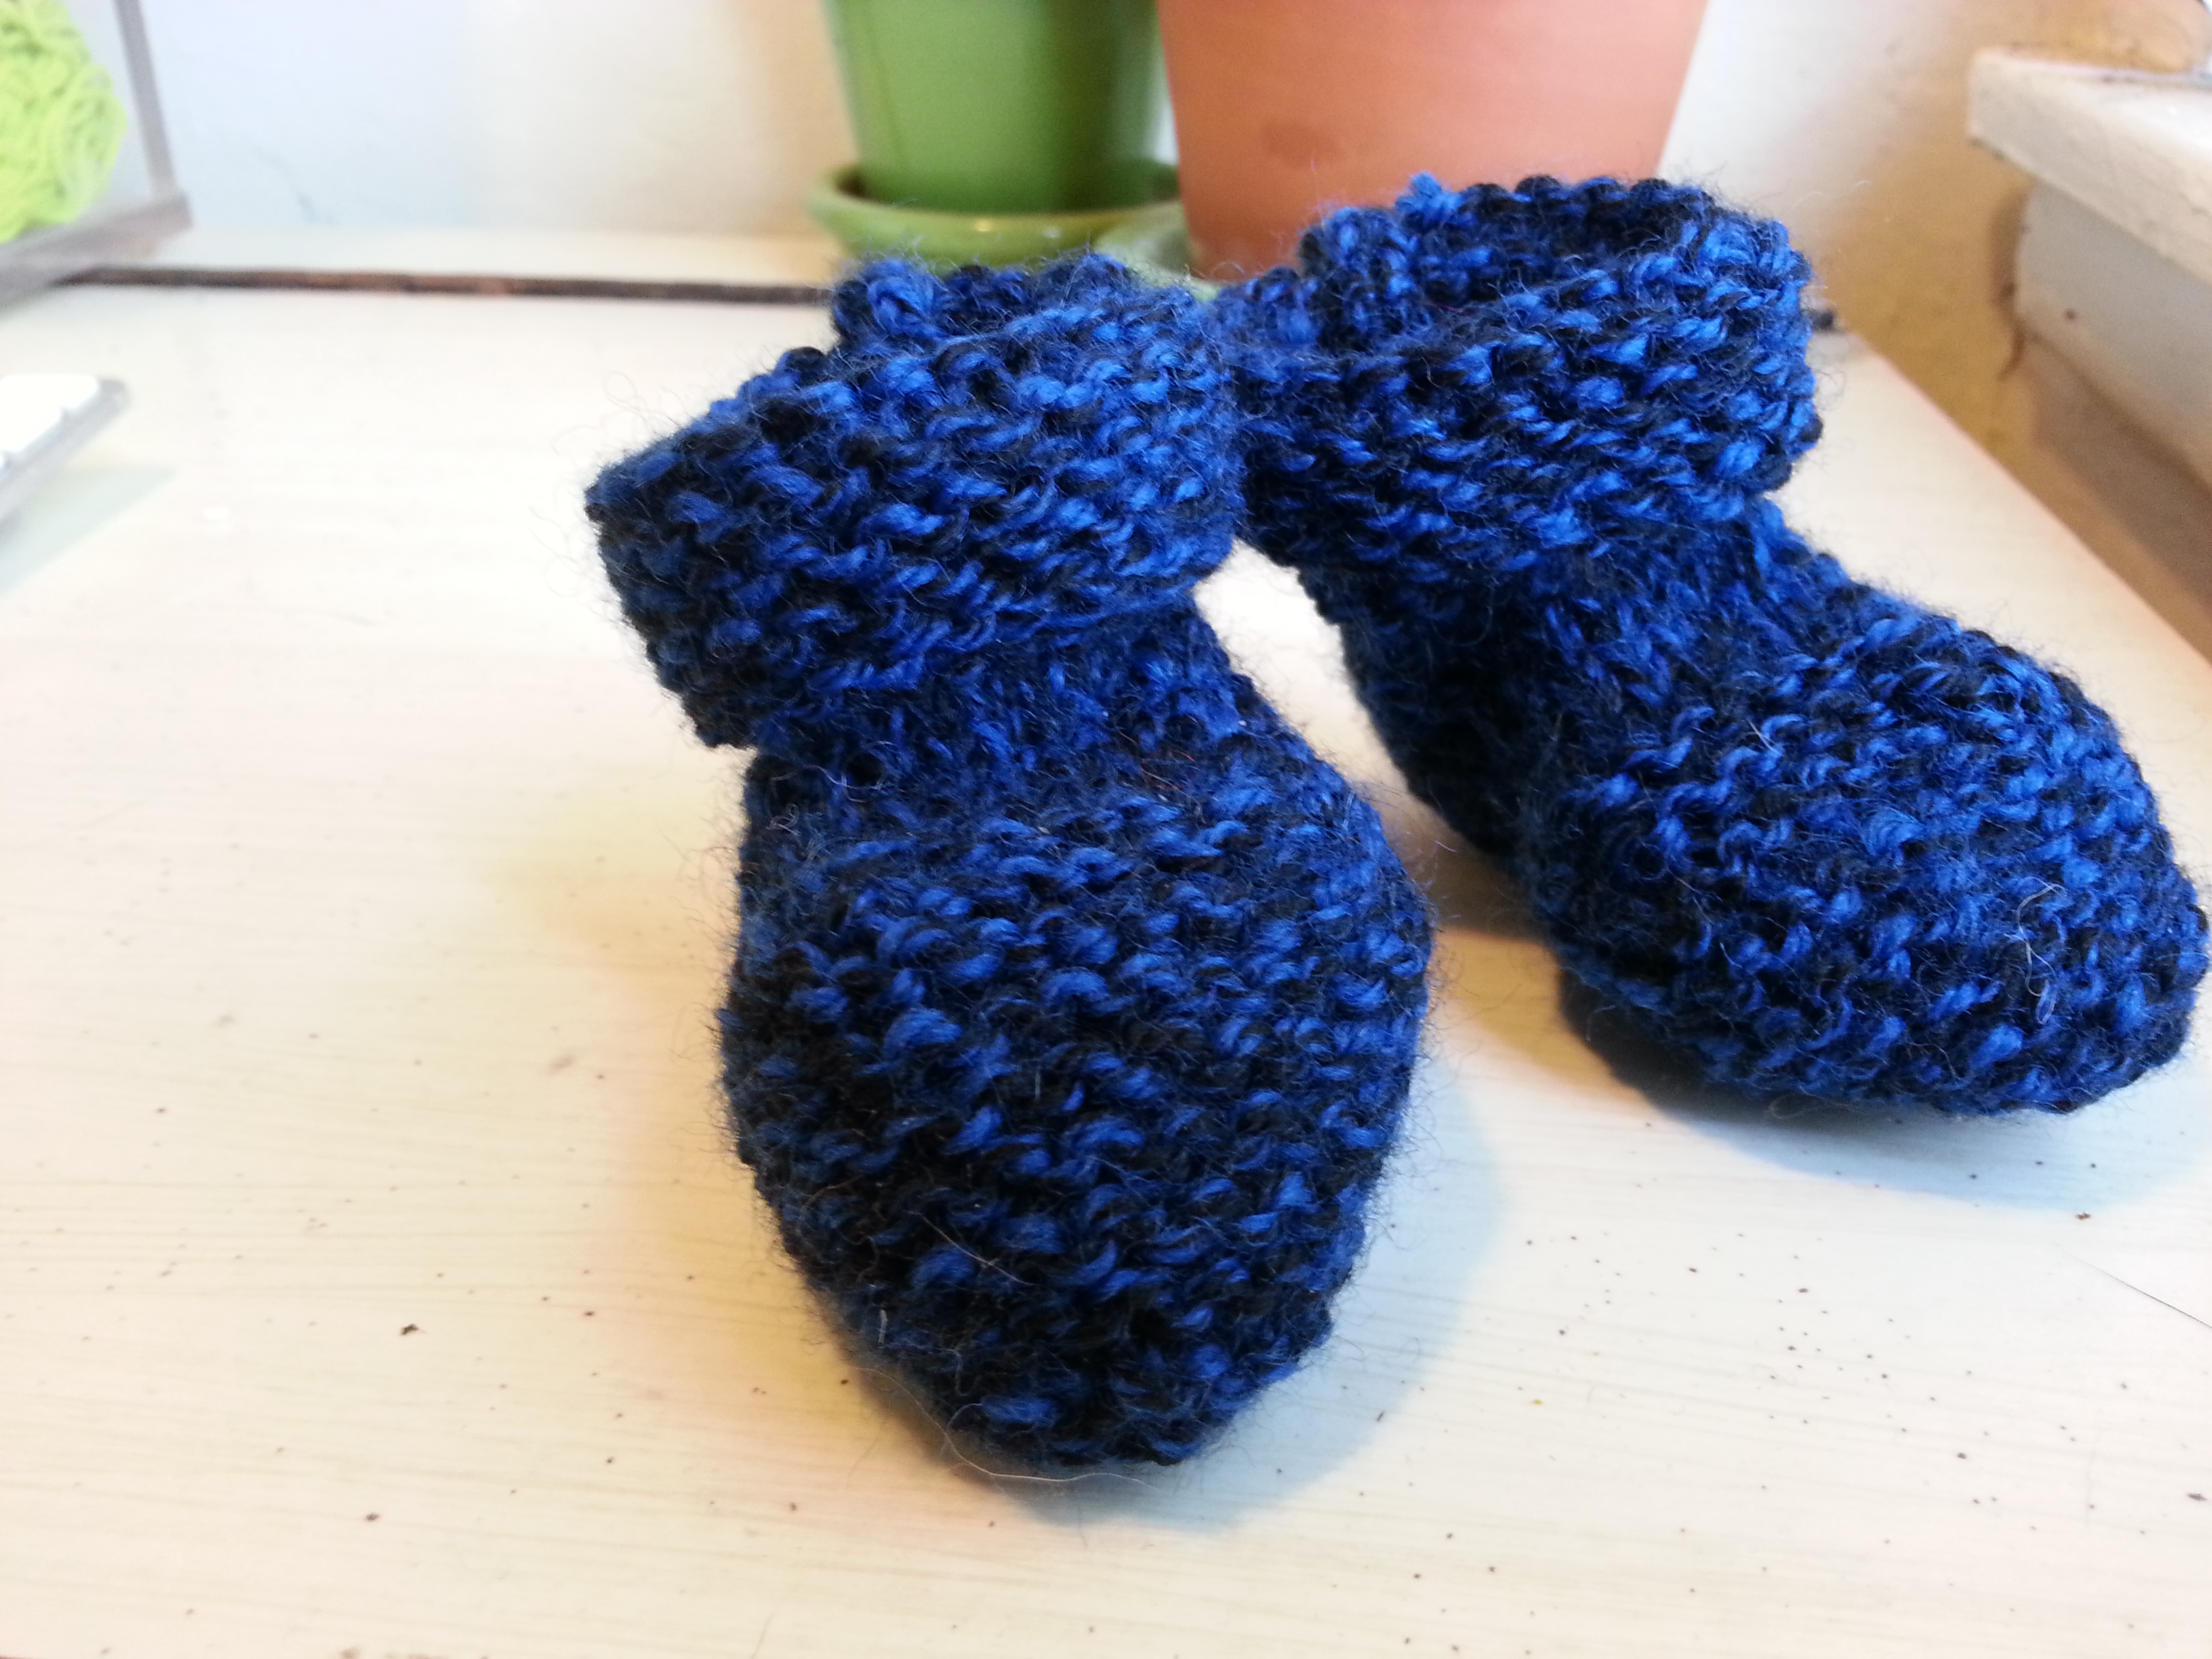
My cousin and his wife had a baby in December, and so over Christmas break I decided to whip up some of my favorite baby booties in the newborn size. Baby items are great because they knit up so quick. I also like making them in colors other than the traditional pastels. Previously, I have made them in a bright purple tweed:

The booties are constructed with short row shaping, so they are knit on straight needles. In the past I sewed them up so that only garter stitch was showing, but this time I decided that having the stockinette part on the outside actually gave it a better shape.
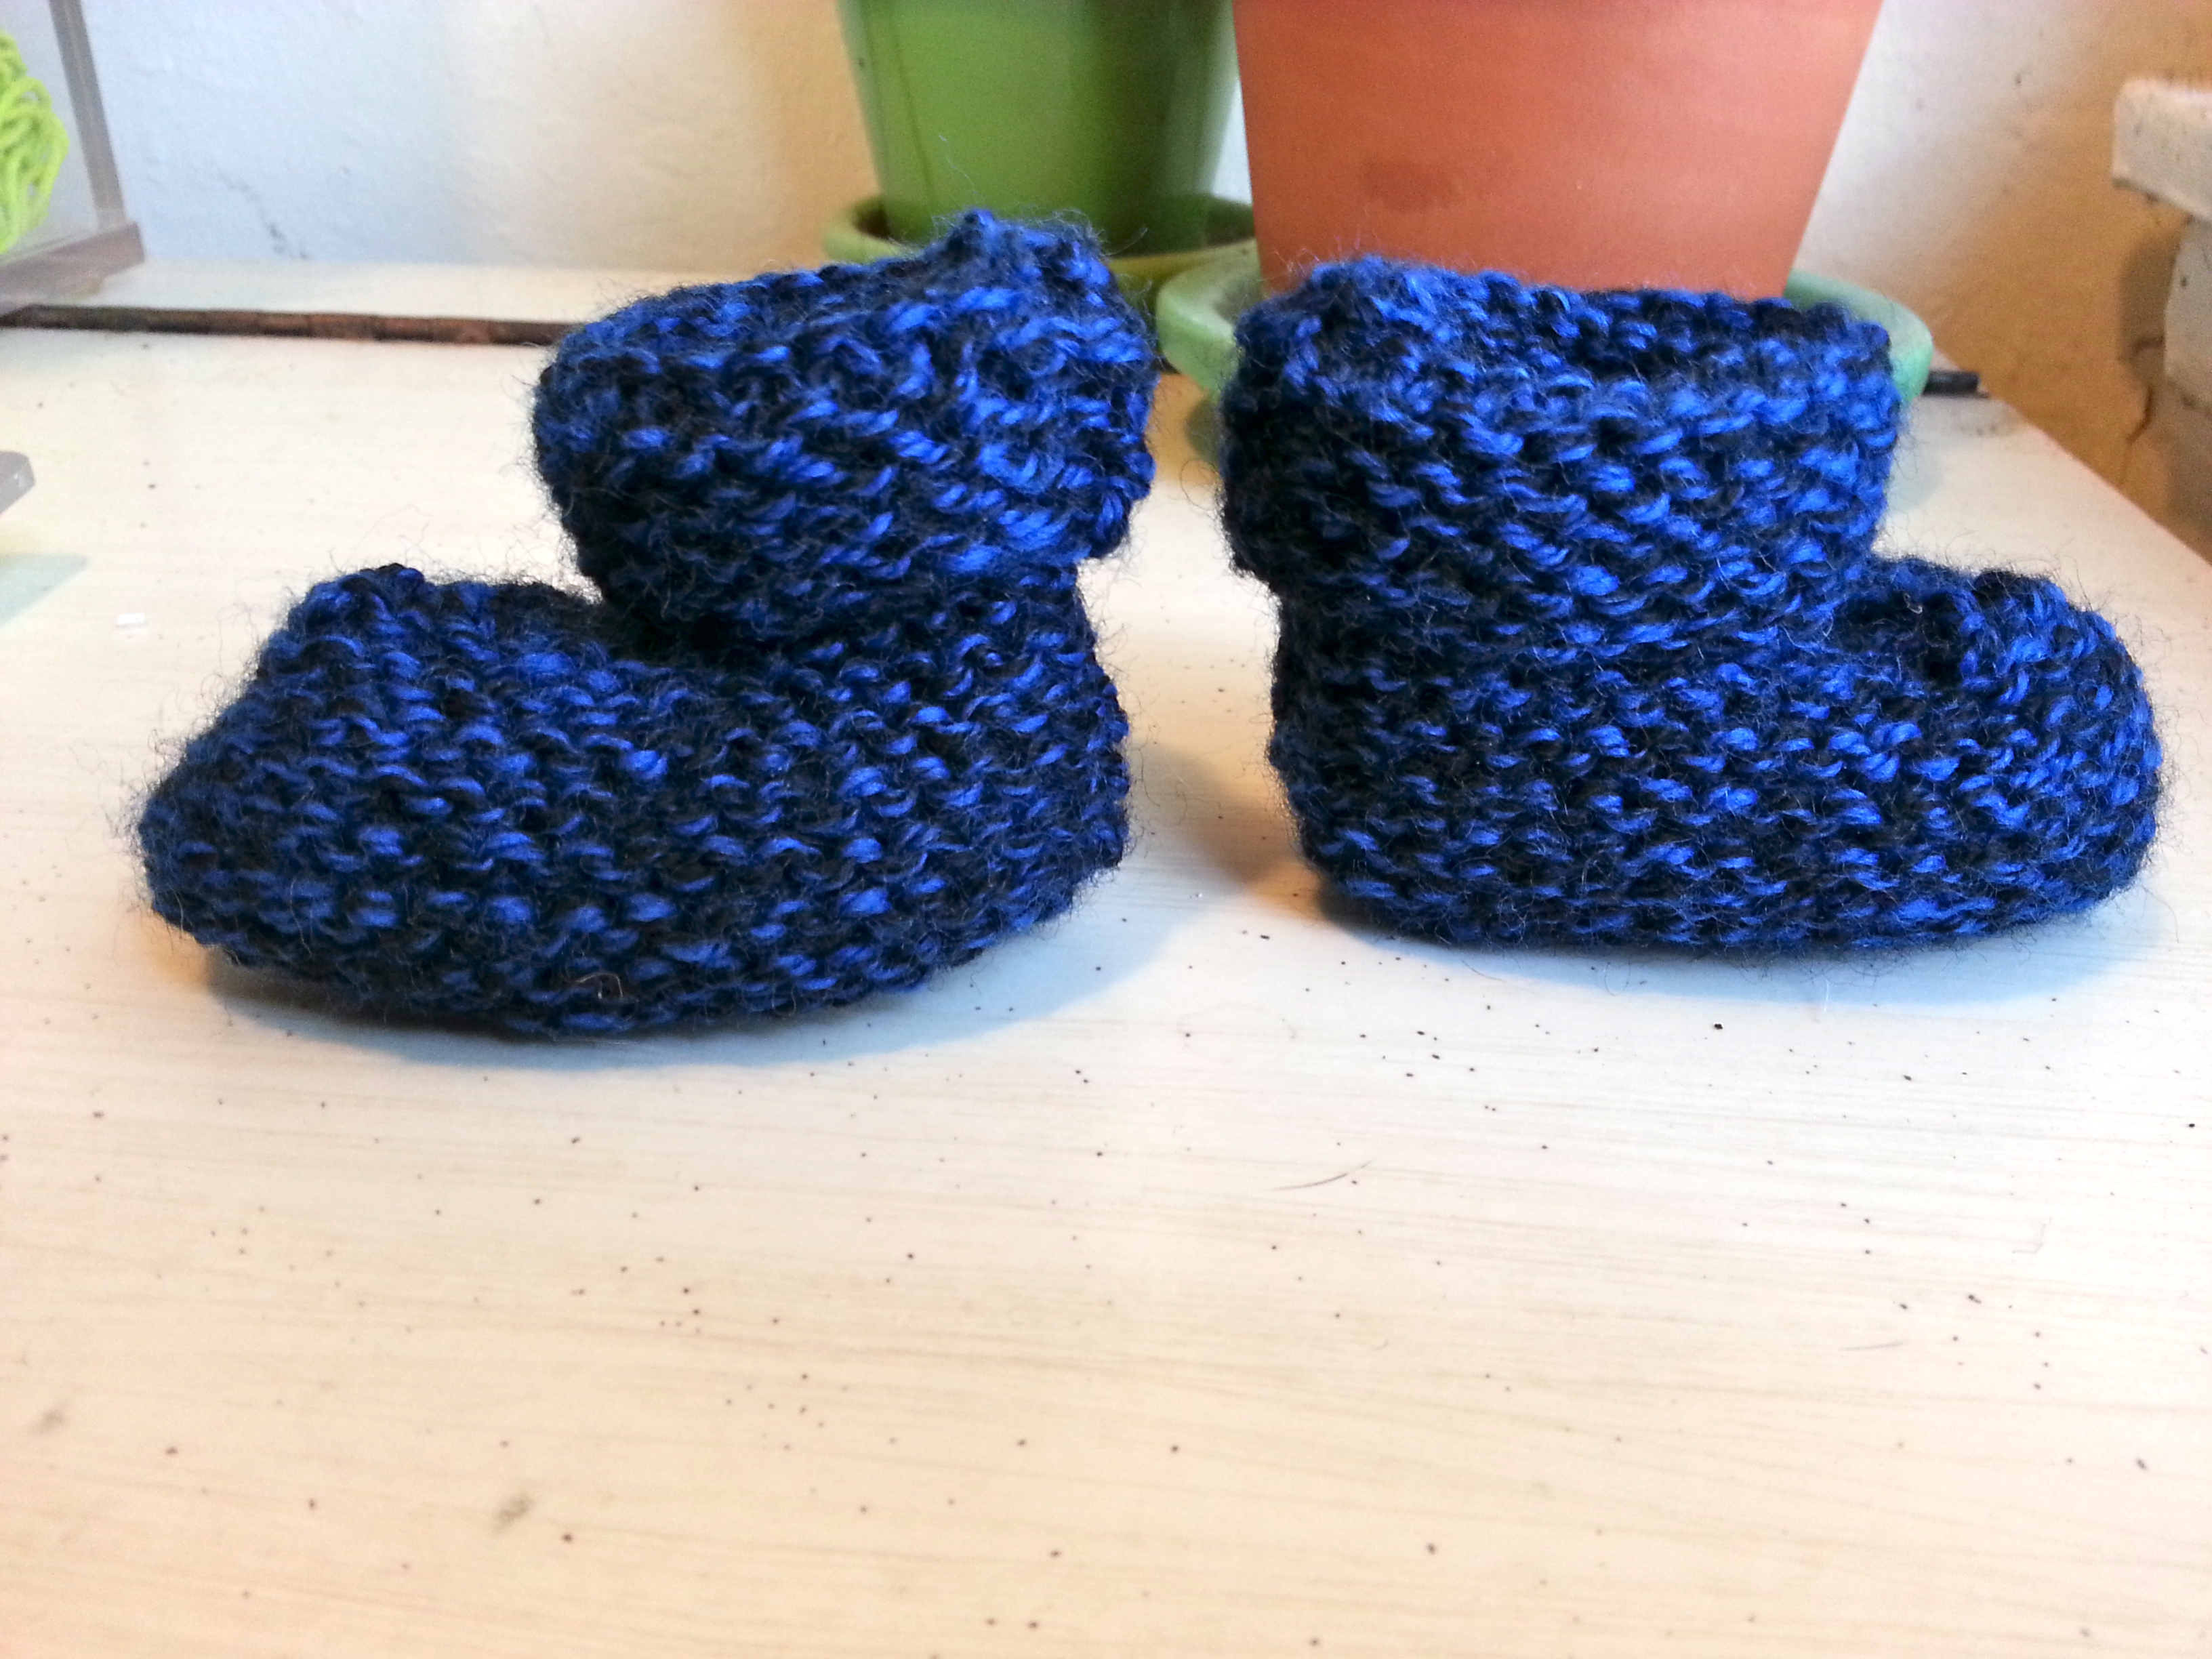
I highly recommend this pattern, but I should point out that I have always modified the increases to be “knit front and back” because I’m more used to that. I don’t think it changes the pattern, just putting that out there.
Socktober blues: Magic loop toe-up socks!
Way back in October, I started making socks for my friend’s November birthday. I had this really cool sock yarn, the self striping kind, and I was eager to use it. And I also wanted to knit these socks at the same time. So I decided to learn the magic loop method for small diameter circular knitting.
Ever year I try to do a new knitting technique—it’s a slow learning process but it works. I could probably devote a whole post to what I learned and didn’t learn doing magic loop. First of all, you should NOT do what I did, which was 1) switch patterns more than once when I was part way through, so I was constantly readjusting. I initially started out using the free Knit Picks pattern Two at once, toe up socks but I quickly discovered that it was going to be tough to follow for someone who was new to magic loop. Another thing you should NOT do is 2) connect several interchangeable needles to get the long circular needle needed for this technique, because the metal connecting piece will be a constant pain when you have to slide it through a bunch of stitches. Bite the bullet and buy the exact size circular needles you need.

What I DO recommend you do if you are learning this technique is watch videos on how to do magic loop. My favorites were from KnitFreedom— Liat Gat’s 2-at-a-time toe-up socks video series. I’m sure it would be best if you were using her pattern, but I found them helpful regardless, especially the videos for casting on and the first increase round. I also suggest practicing magic loop with larger needles and yarn than you’d use for socks, because starting the toe is a bit challenging at first. Ok, a lot challenging.
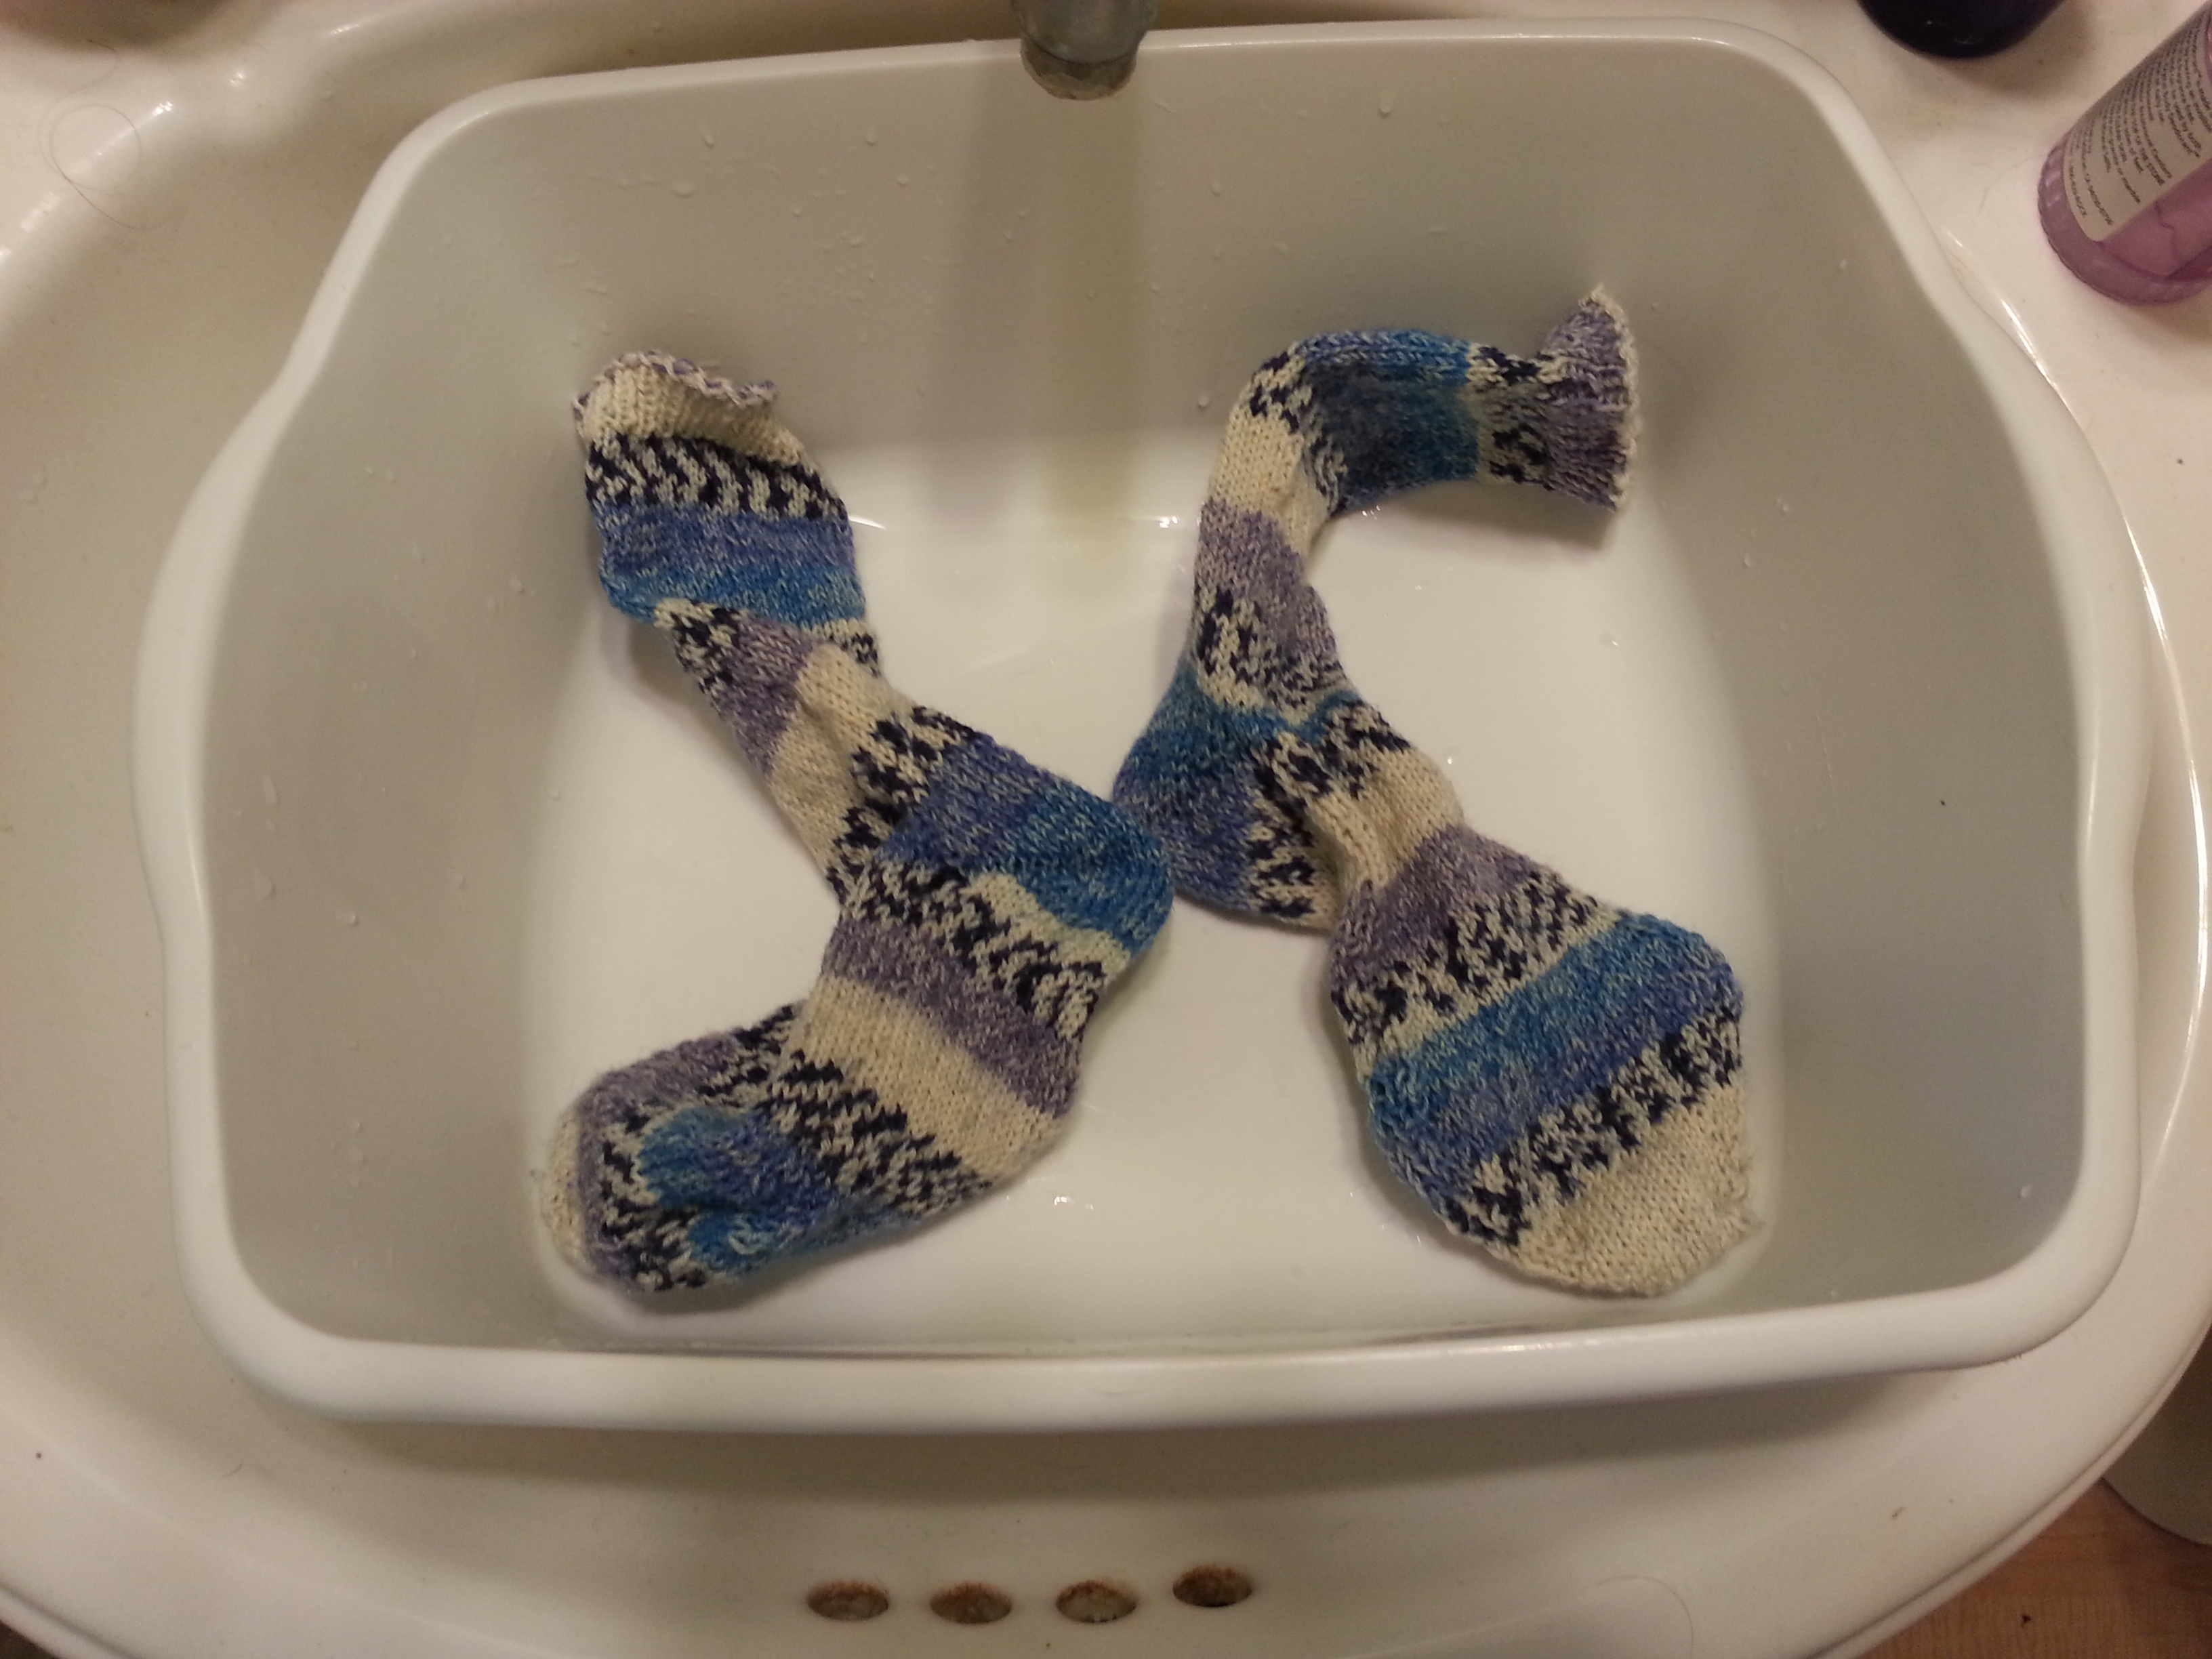
I wish I took photos at the start, because it would show you what looked like some pretty bad laddering at the sides that ended up being ok in the end. The Knit Picks pattern has an afterthought heel, and KnitFreedom’s pattern has a fleegle heel, but I wanted I heel I was familiar with, so I did short row heels using the technique described by HeidBears in part 1 and part 2 on her blog. Not a video, but I have done short row heels before and the illustrations were all I needed to translate it to magic loop socks.
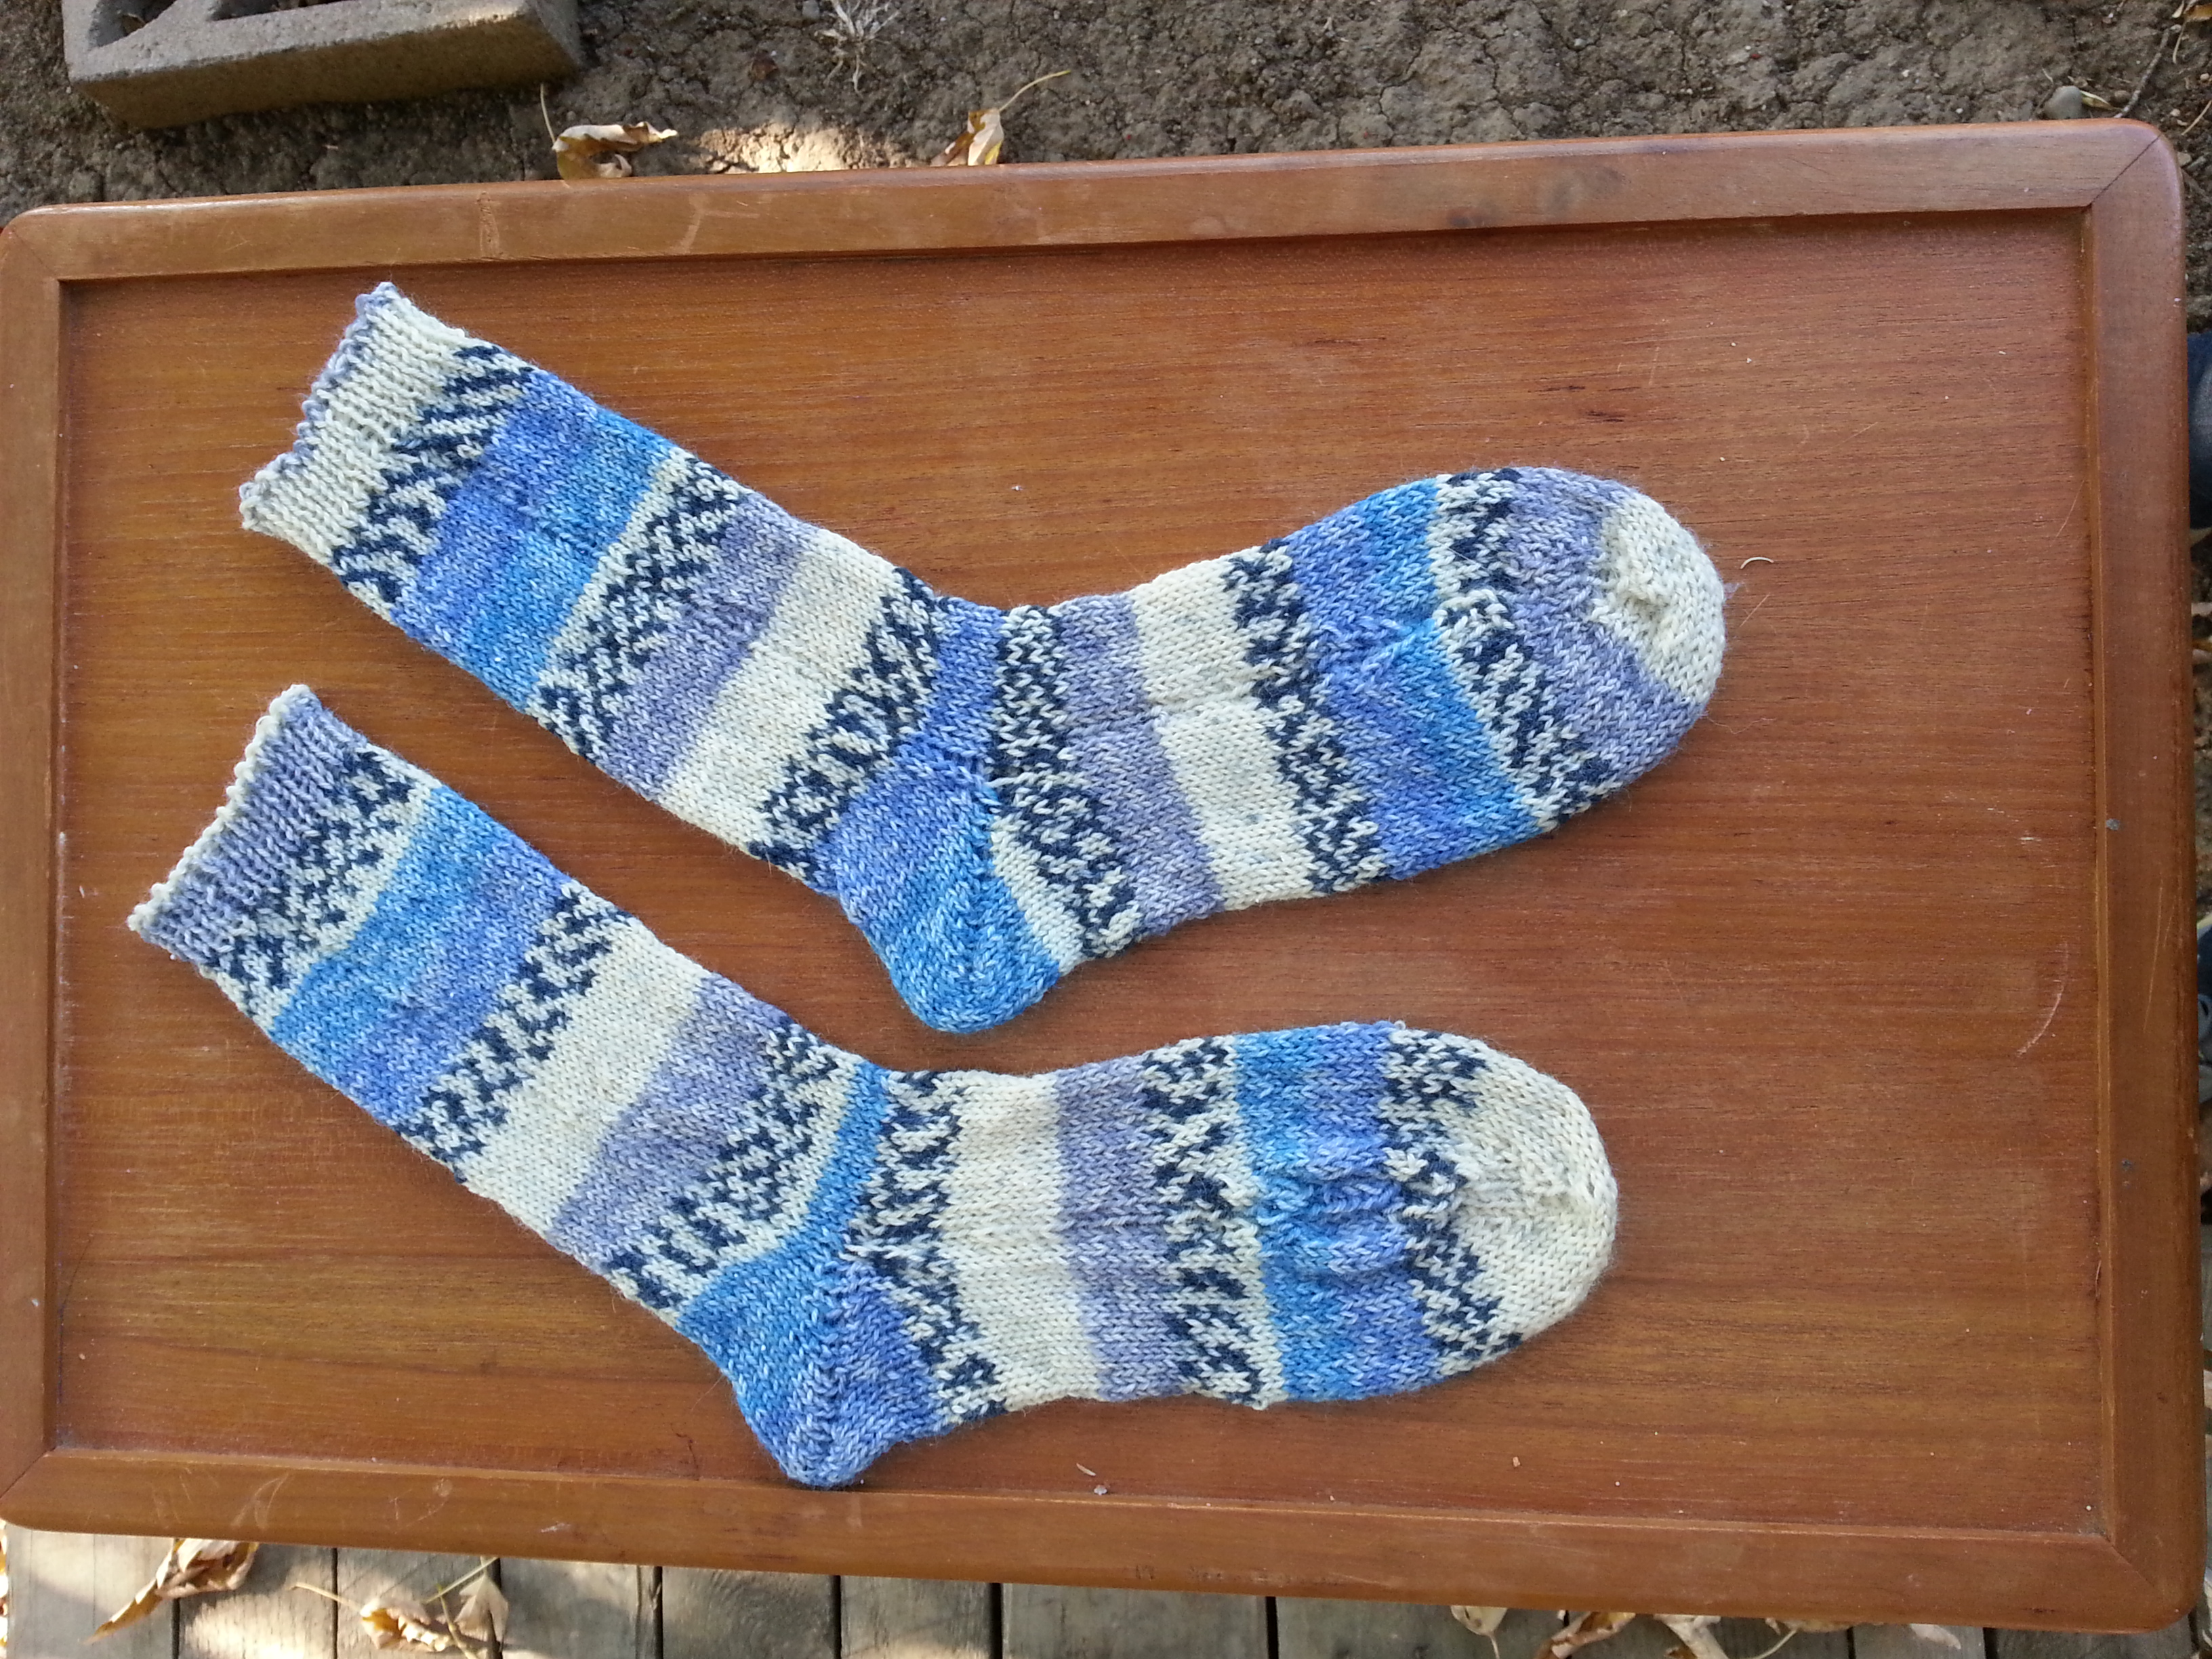
After blocking, you could still see the ladders on the sides of the socks (especially at the heel) and the loose part of the toe where I almost made the socks too big when I switched patterns (thankfully my friend has the same size feet as me and I tried them on and discovered the problem early). BUT despite all the problems and irregularities, I am really proud of these socks. The blue stripes are so cool! And most importantly, their recipient was happy with them.