It’s almost Halloween, and you know what that means: COSTUMES!
If I had my way, every party would be a dress up party. Because when I was a little kid, every birthday party WAS a dress up party, with a theme, and with costumes. Occasionally I have continued this tradition, as I did this year with a reprisal of my Alice in Wonderland themed birthday party:

Now that it’s October and more people are looking at my Halloween costume post from last year, I figured it was time for another round of crafty costume ideas. Lucky for you, I’ve done my fair share of costuming in the last year! This time I’ve organized them into individual and group costume categories for you. But I realized they could just as easily be categorized as “weird takes on famous individuals” and “characters from well known novels.” Enjoy!
(edit: There’s now a 2014 DIY Halloween costumes post as well!)
INDIVIDUAL COSTUMES
Historical Women With a Twist: Radioactive Marie Curie and Ballerina Annie Oakley
So I’m a fan of DIY historical costumes, especially for women. Whether it’s one of these bizarre vintage costumes from days of yore, or one of these awesome new interpretations from Take Back Halloween, I’m all for it. The latter website makes a great point that the vast majority of store bought women’s Halloween costumes fall into the “Sexy ______” category, limiting your options. But if you make a costume yourself, it can be whatever you want it to be.
And for me, that means adding a twist to famous historical figures. Like being a glow-in-the dark version of physicist Marie Curie for Halloween last year.
Marie Curie

Marie Curie was a Nobel Prize winning scientist who did groundbreaking research on radioactivity at the turn of the century. Her papers are still radioactive and she literally described seeing the tubes of radioactive material glow in the dark. Which meant I got to get all kinds of creative with my costume. First, I found this awesome black dress at a thrift store. I have no idea what it was in its past life, but the poofy sleeves and the full skirt were perfect for the time period. Next, I bought an attachable white lace collar on ebay and sewed it to the neckline of the dress. The clothing part was complete.
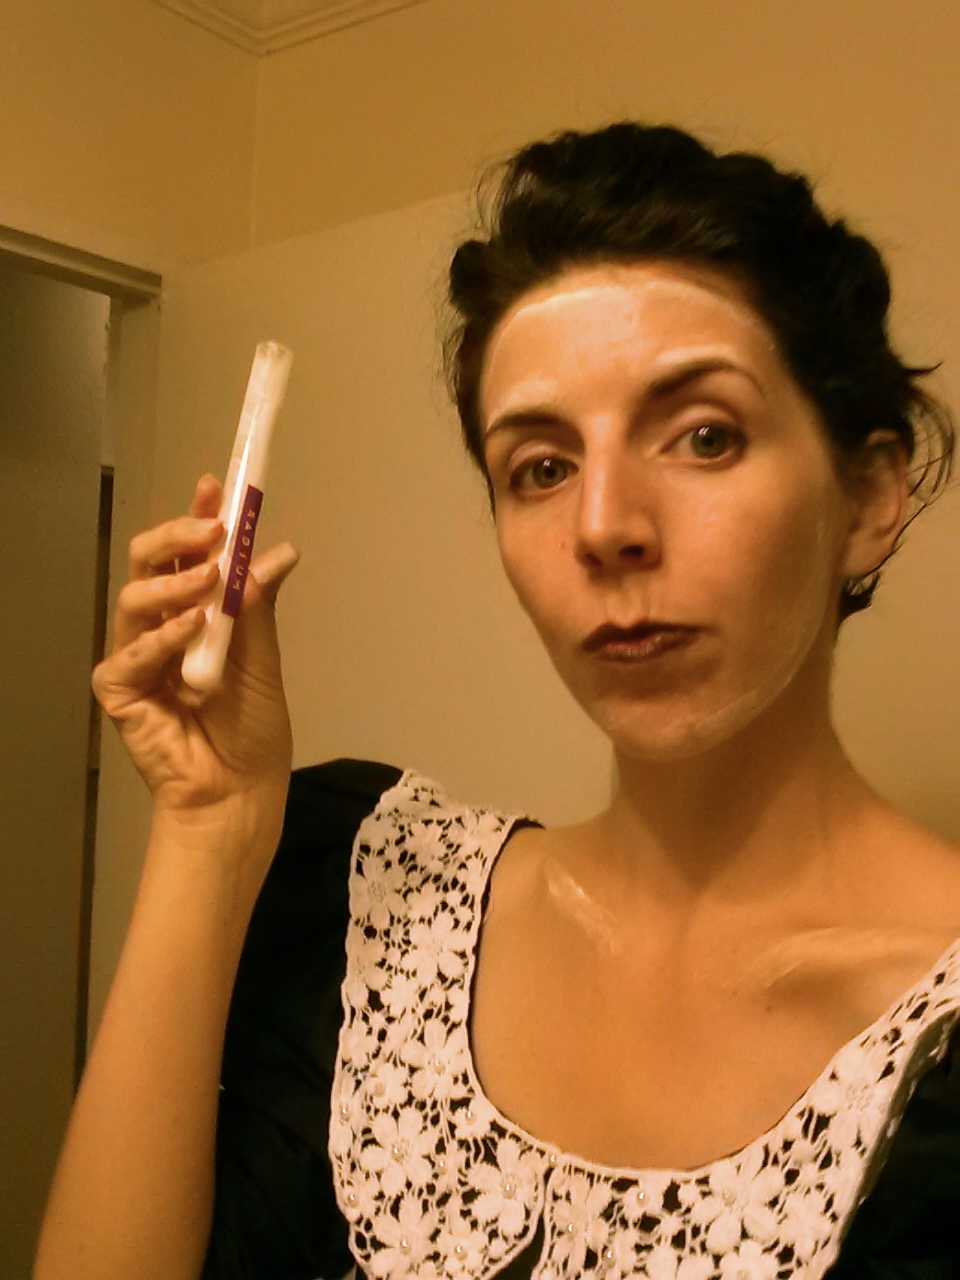

I actually wore this costume on two separate nights, and I did the make up and accessories a little different for each. The key was to make as much of me glow in the dark as possible. First, I needed my own test tube—I picked one up from a campus resale store, used glow-in-the-dark paint on the inside of it, and labeled it “radium.” For the rest of me, I used glow stick necklaces, glow in the dark face paint and green glow-in-the-dark nail polish. My recommendation is to get the nail polish at the drugstore if possible and the makeup from a Halloween store—the Halloween store version of the nail polish that came with the makeup in a kit was so clumpy it was unusable.
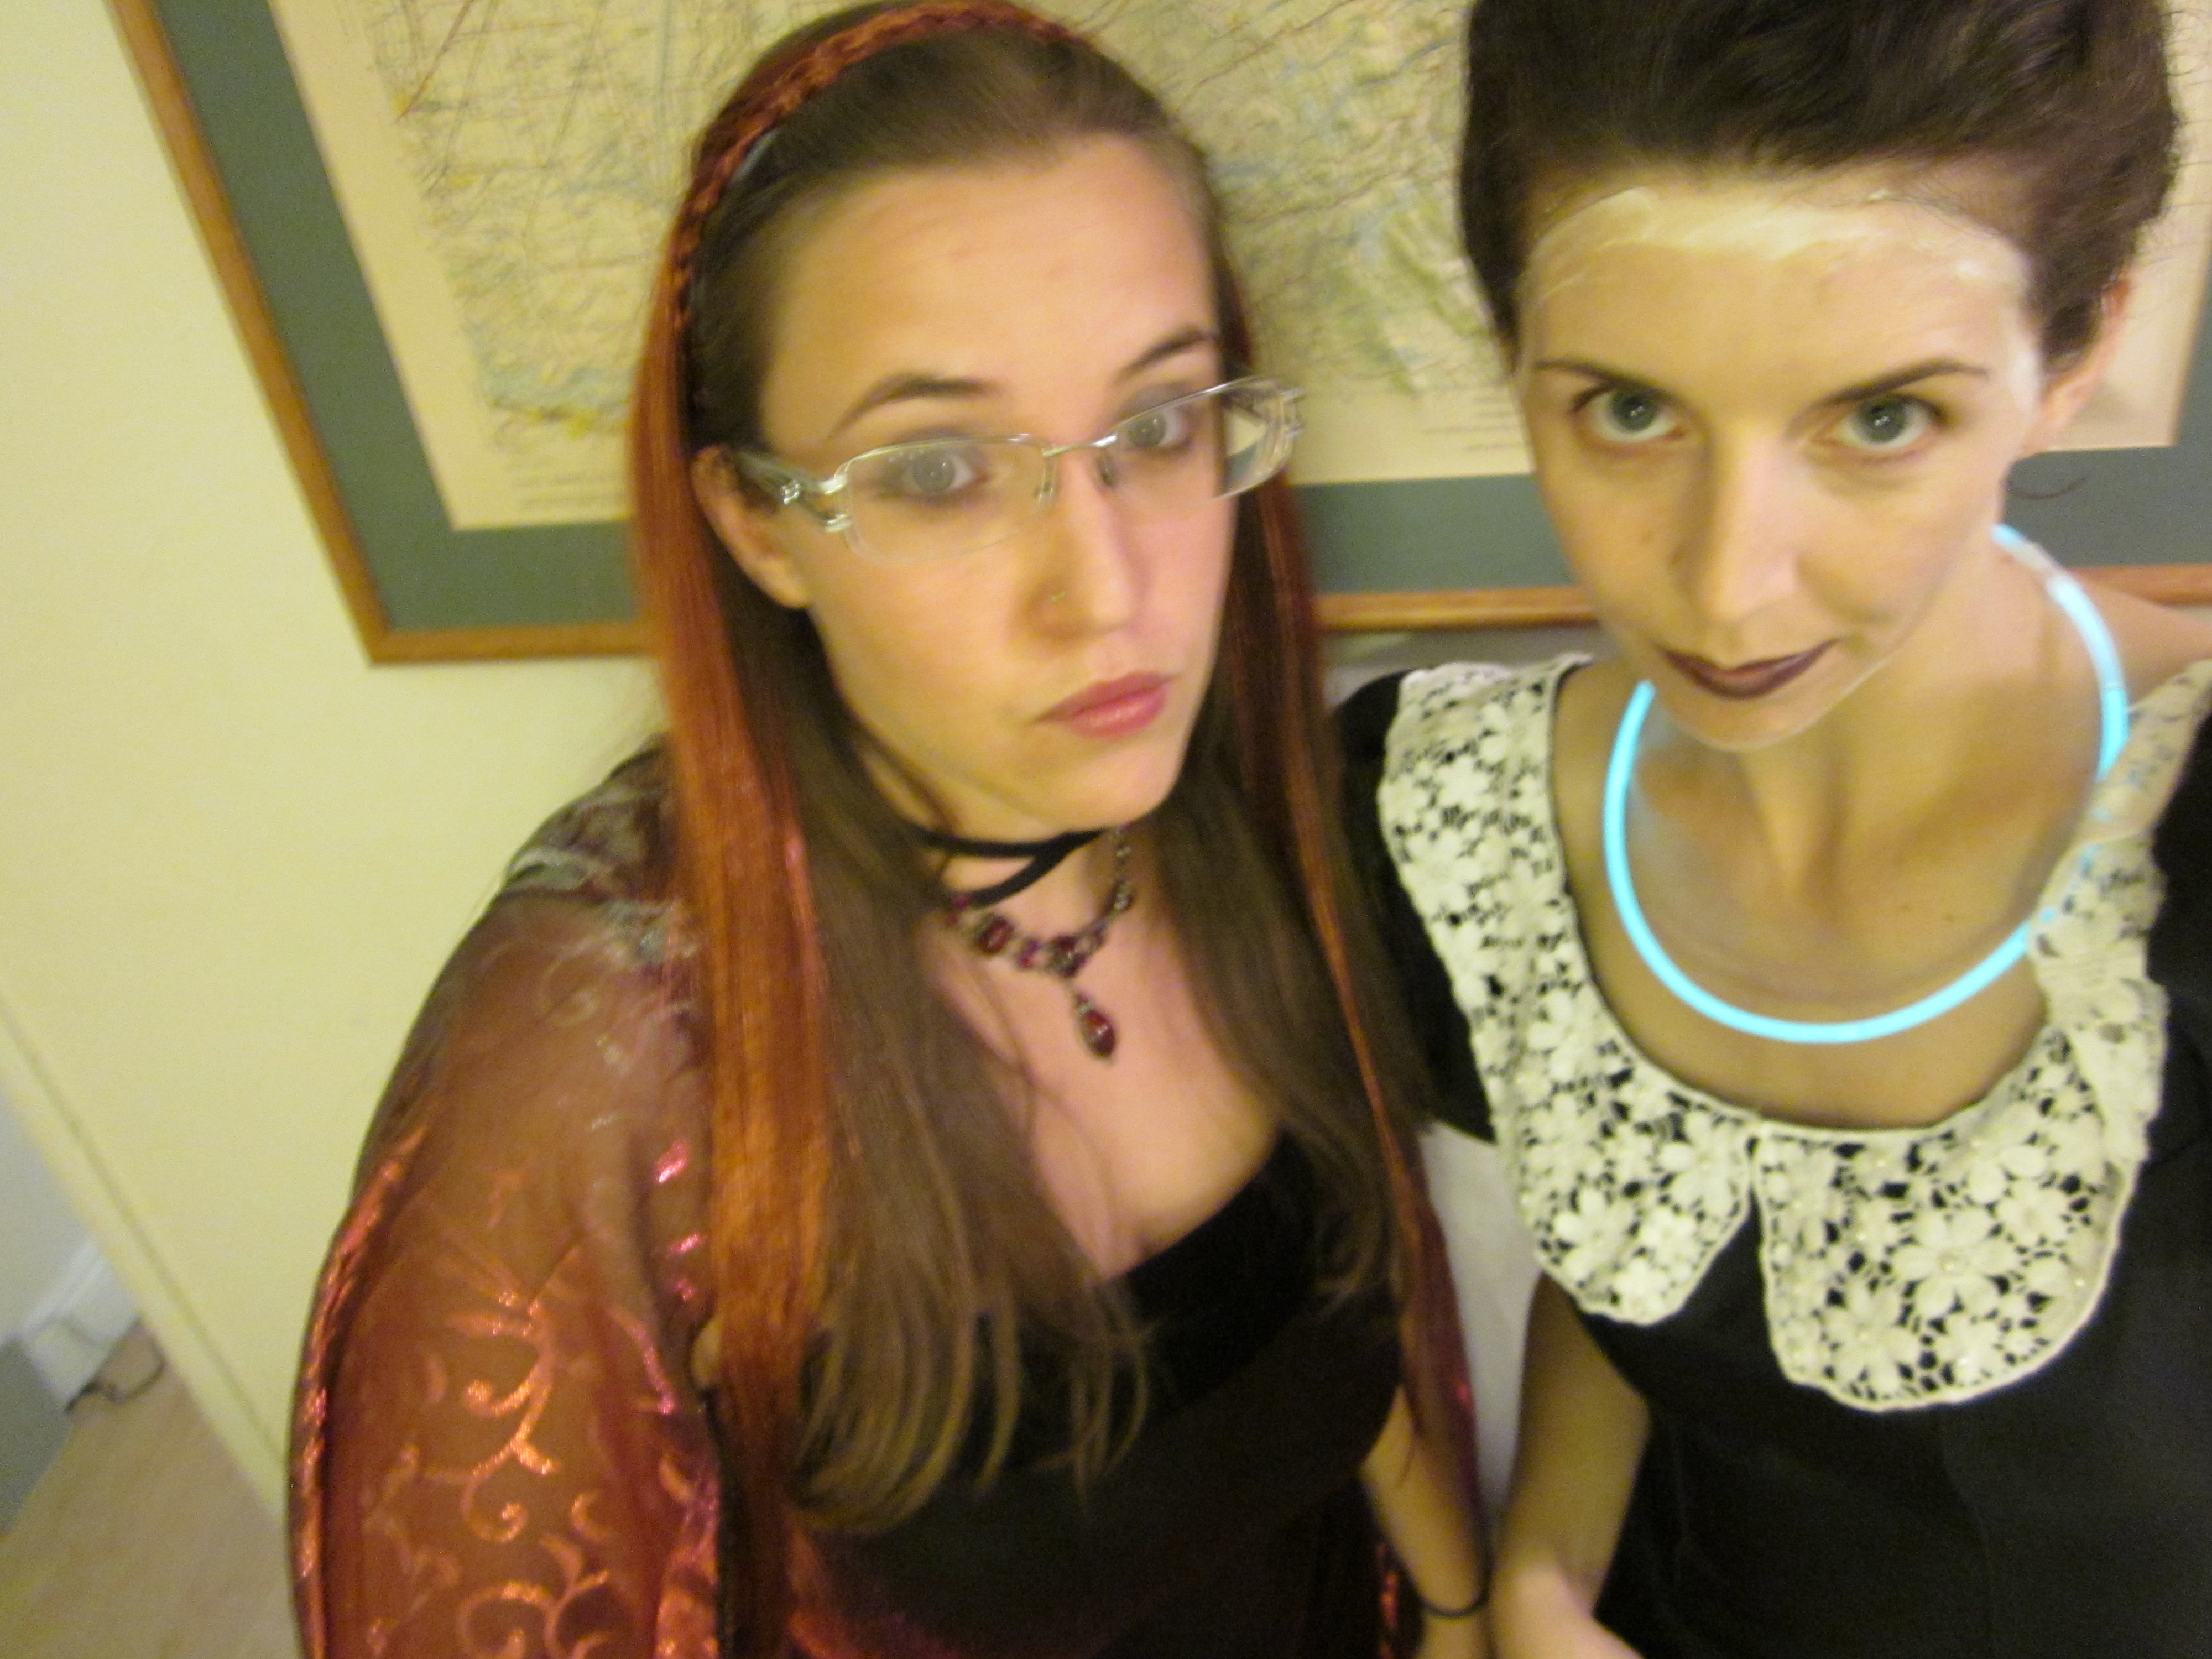
Seen here with Melisandre from Game of Thrones (see below for more of those costumes!), you can see that I had a thick line of makeup near my forehead. The make up has to be thick to show up, so I ended up just outlining the circle of my face instead of pasting it all over. I also recommend you have someone help you if you want a design on your body using the paint.

My dress had a dramatic open back so I had friends do designs there. The first night I went for a skeleton-like rib design and the second night I had the brilliant idea of using the radioactive symbol! It’s quite tricky to photograph these things, but we tried:

 I had so much fun in this costume, especially when I found a blacklight!

Annie Oakley
Making the Marie Curie costume for Halloween inspired me the next time I was invited to a costumed dance party several months later. I had far less time to make this one happen, but I wanted to keep with my theme. I l also needed something I could dance in this time. So I came up with Ballerina Annie Oakley.

Annie Oakley was a famous sharpshooter in Buffalo Bill’s Wild West Show in the late nineteenth century. But I wasn’t about to bring a real firearm to a party. So I did the next best thing: I found me some gun tights.

You can get these on ebay for about $5. They totally made the outfit. And since they were tights, I figured, why not wear a tutu? So I borrowed this black leotard and tutu combo from a friend, who found it at a clothing swap. I already had the cowboy boots and the bandana, so all that remained to get was a hat and a western shirt.

Both the hat and the shirt came from the thrift store, but believe it or not the shirt required a fair amount of alteration. It was the best one they had (it even had snaps instead of buttons!) but it was a size or two bigger than me. So I took it in on the sides and a little in the seams and then tied it above the tutu to get the fit I wanted. It was worth it! And surprisingly I still wear the shirt quite a bit. Perhaps I’m a cowgirl at heart after all.
Lady David Bowie
Sometimes, the clothes simply make the costume. Other times, it’s all about the makeup. Especially when you are invited to a David Bowie themed birthday party. I present to you two female David Bowies.

This is David Bowie circa 1973, where we recreated the lightning bolt makeup from the Aladdin Sane album cover. You can buy Halloween makeup, but I used bright pink lipstick, dark teal eyeshadow, and black eyeliner. It stayed put really well, but be forewarned that your face may have some residual pink the next day! Not included but recommended: leather jacket and a bad ass expression.

This is David Bowie circa 1972 as Ziggy Stardust. The key to this look was a really good cream eyeshadow in gold, which I used for the circle as well as my lips. For my eyes I used the reddest blush I could find and some black eyeliner. There was no way I was going to be able to recreate any of Bowie’s amazing clothing from this era, but I did find a gold leggings/shrug set at a thrift store and a gold sparkly top that matched it.
GROUP COSTUMES
Game of Thrones
If you have a group of people who all want to do the same theme for Halloween, there are tons of great things you can DIY. Earlier this year, my friends and I did a team bike event that required having a group theme and costumes to go with it. We decided to be Team of Thrones.

From left to right: A wilding woman, Tyrion Lannister, Asha (Yara) Greyjoy, a Stark bannerman (with banner), Arya Stark, Khal Drogo, Danerys Targaryen, Cersei Lannister, Viserys Targaryen, Ygritte, and the Three Eyed Crow.
Unless you’ve been living under a rock/north of the wall this year, you’ve probably heard of the HBO show Game of Thrones, a TV show based on the epic fantasy novels of the Song of Ice and Fire series by George R. R. Martin. The best part about this show is that there are so many characters that you can get as obscure and outlandish as you want with your character and costume.
We obviously made some adaptations to be able to ride bikes on a rather hot spring day, but I think there were some rather creative costume elements here. To name just a few examples: the crow has little messages tied to her legs, Tyrion has little half shoes strapped to his knees, and Viserys covered her bike helmet with that giant golden crown.

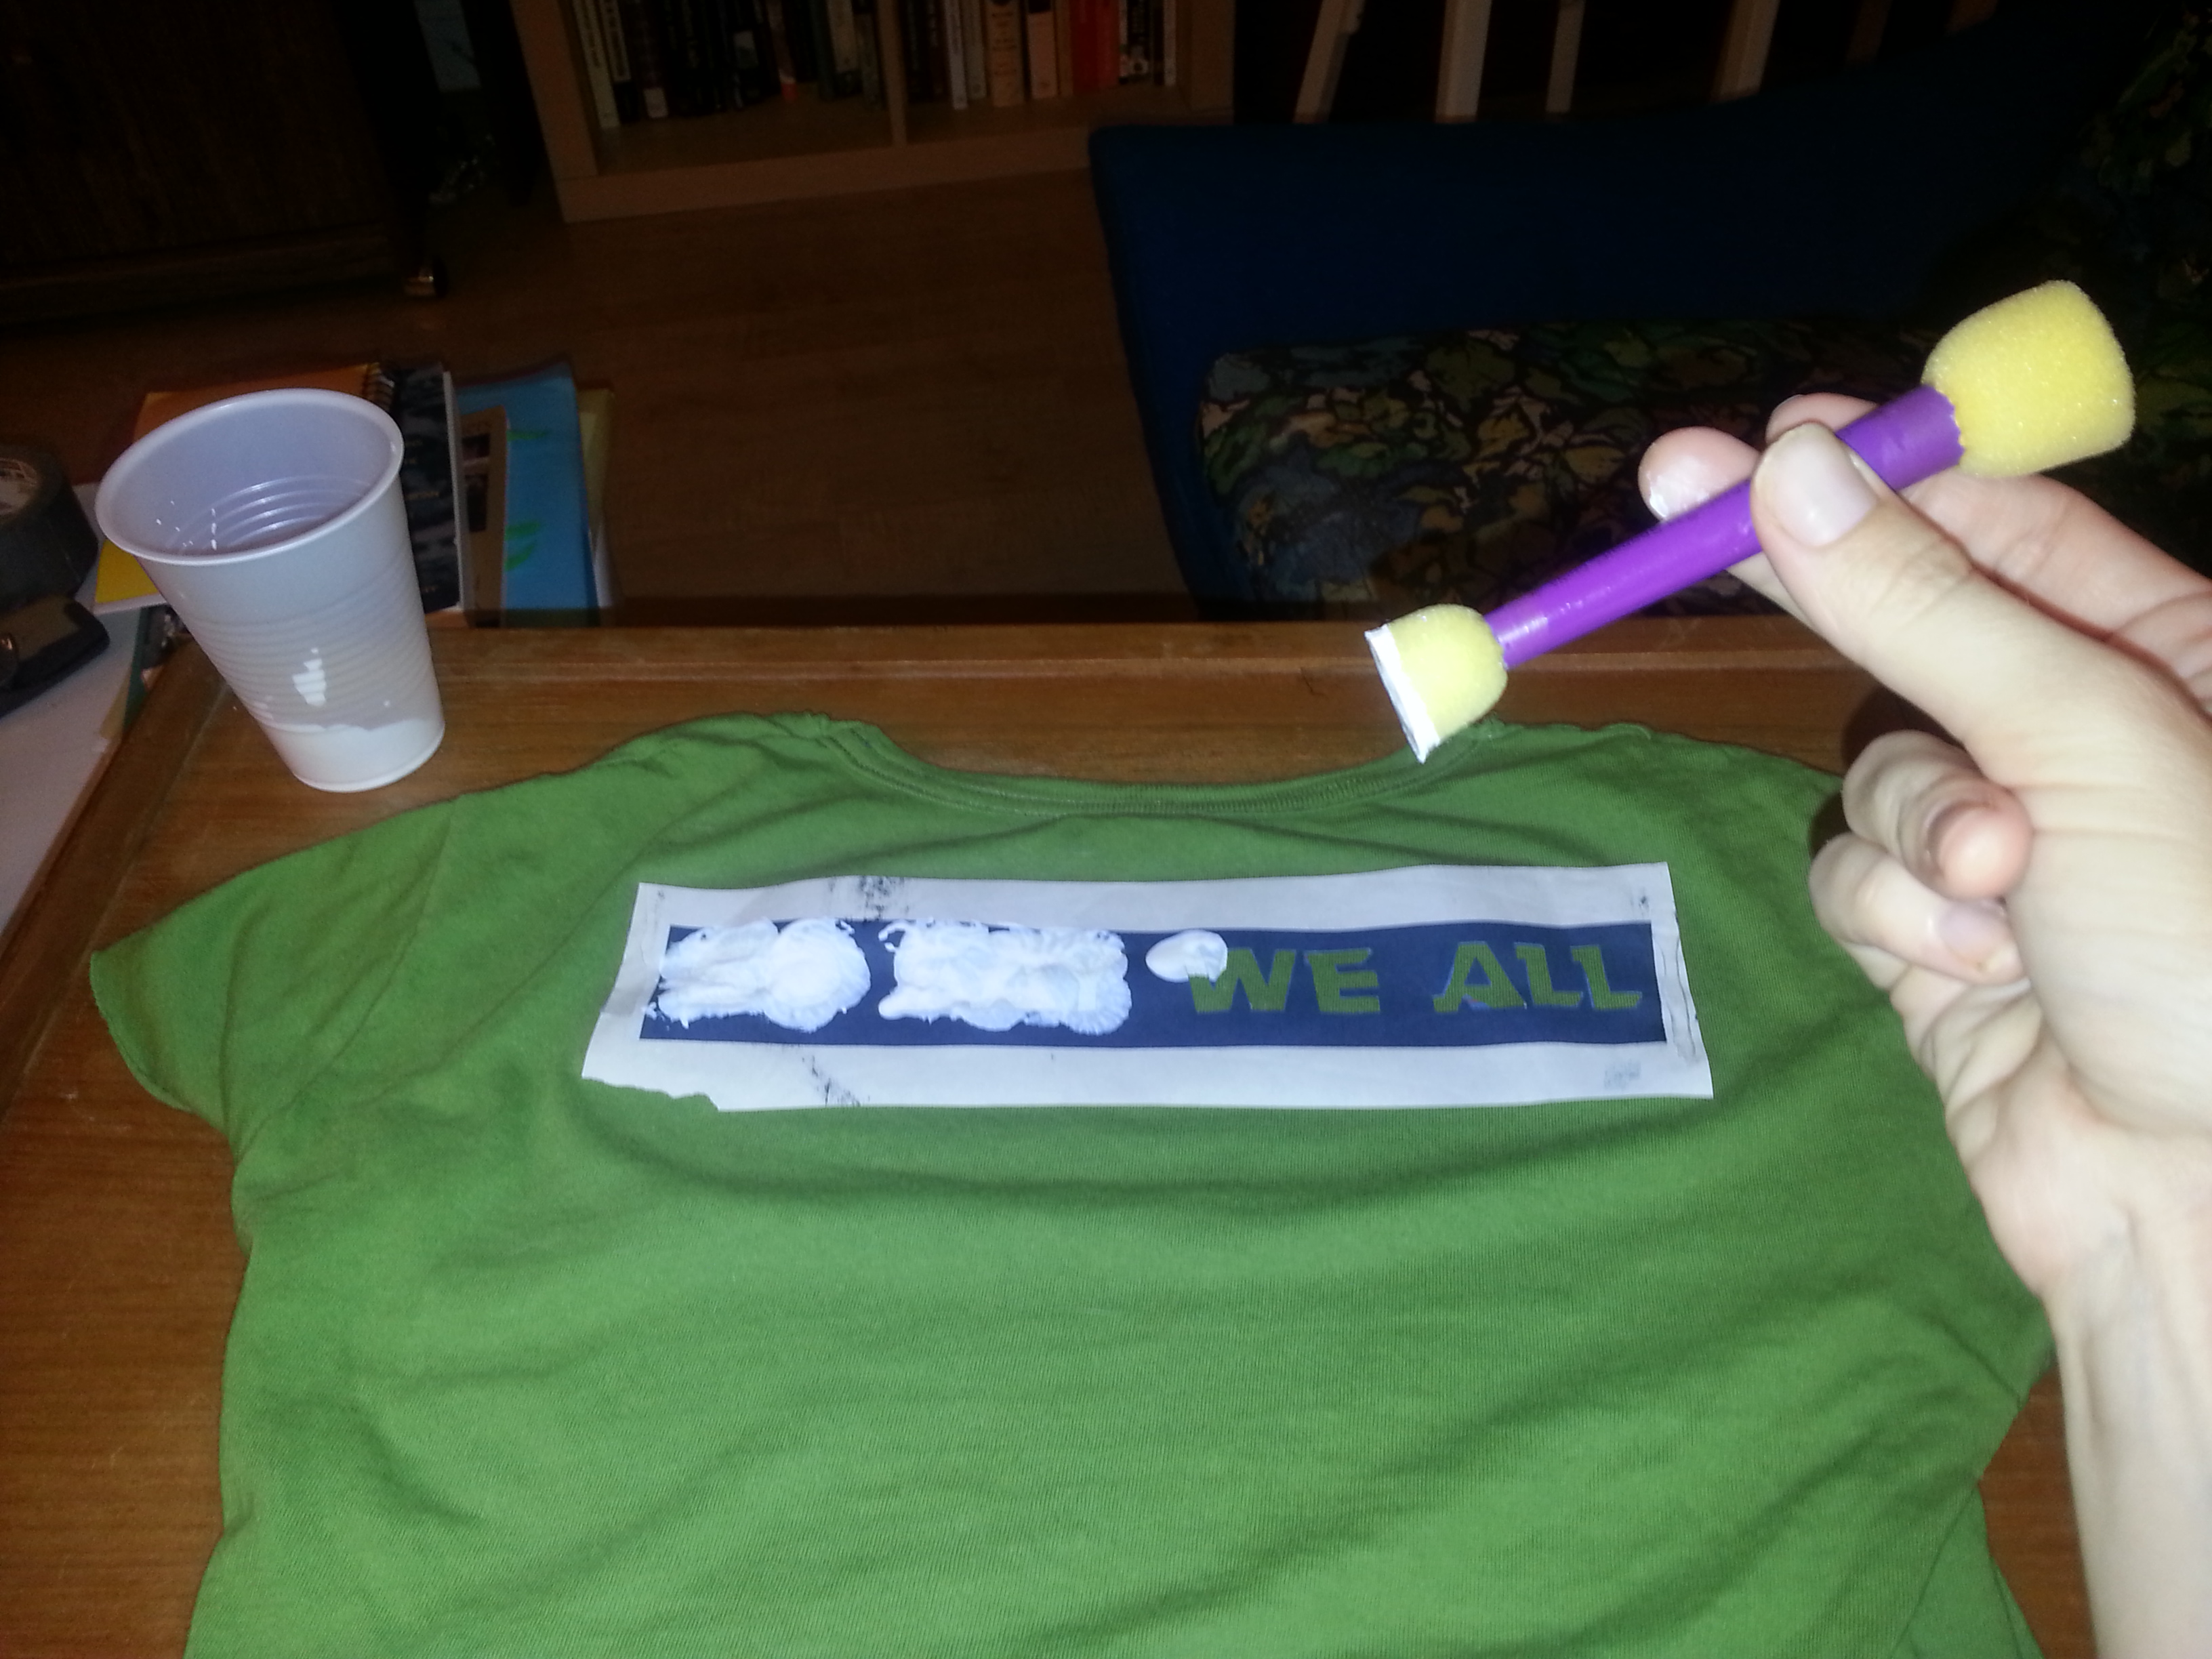
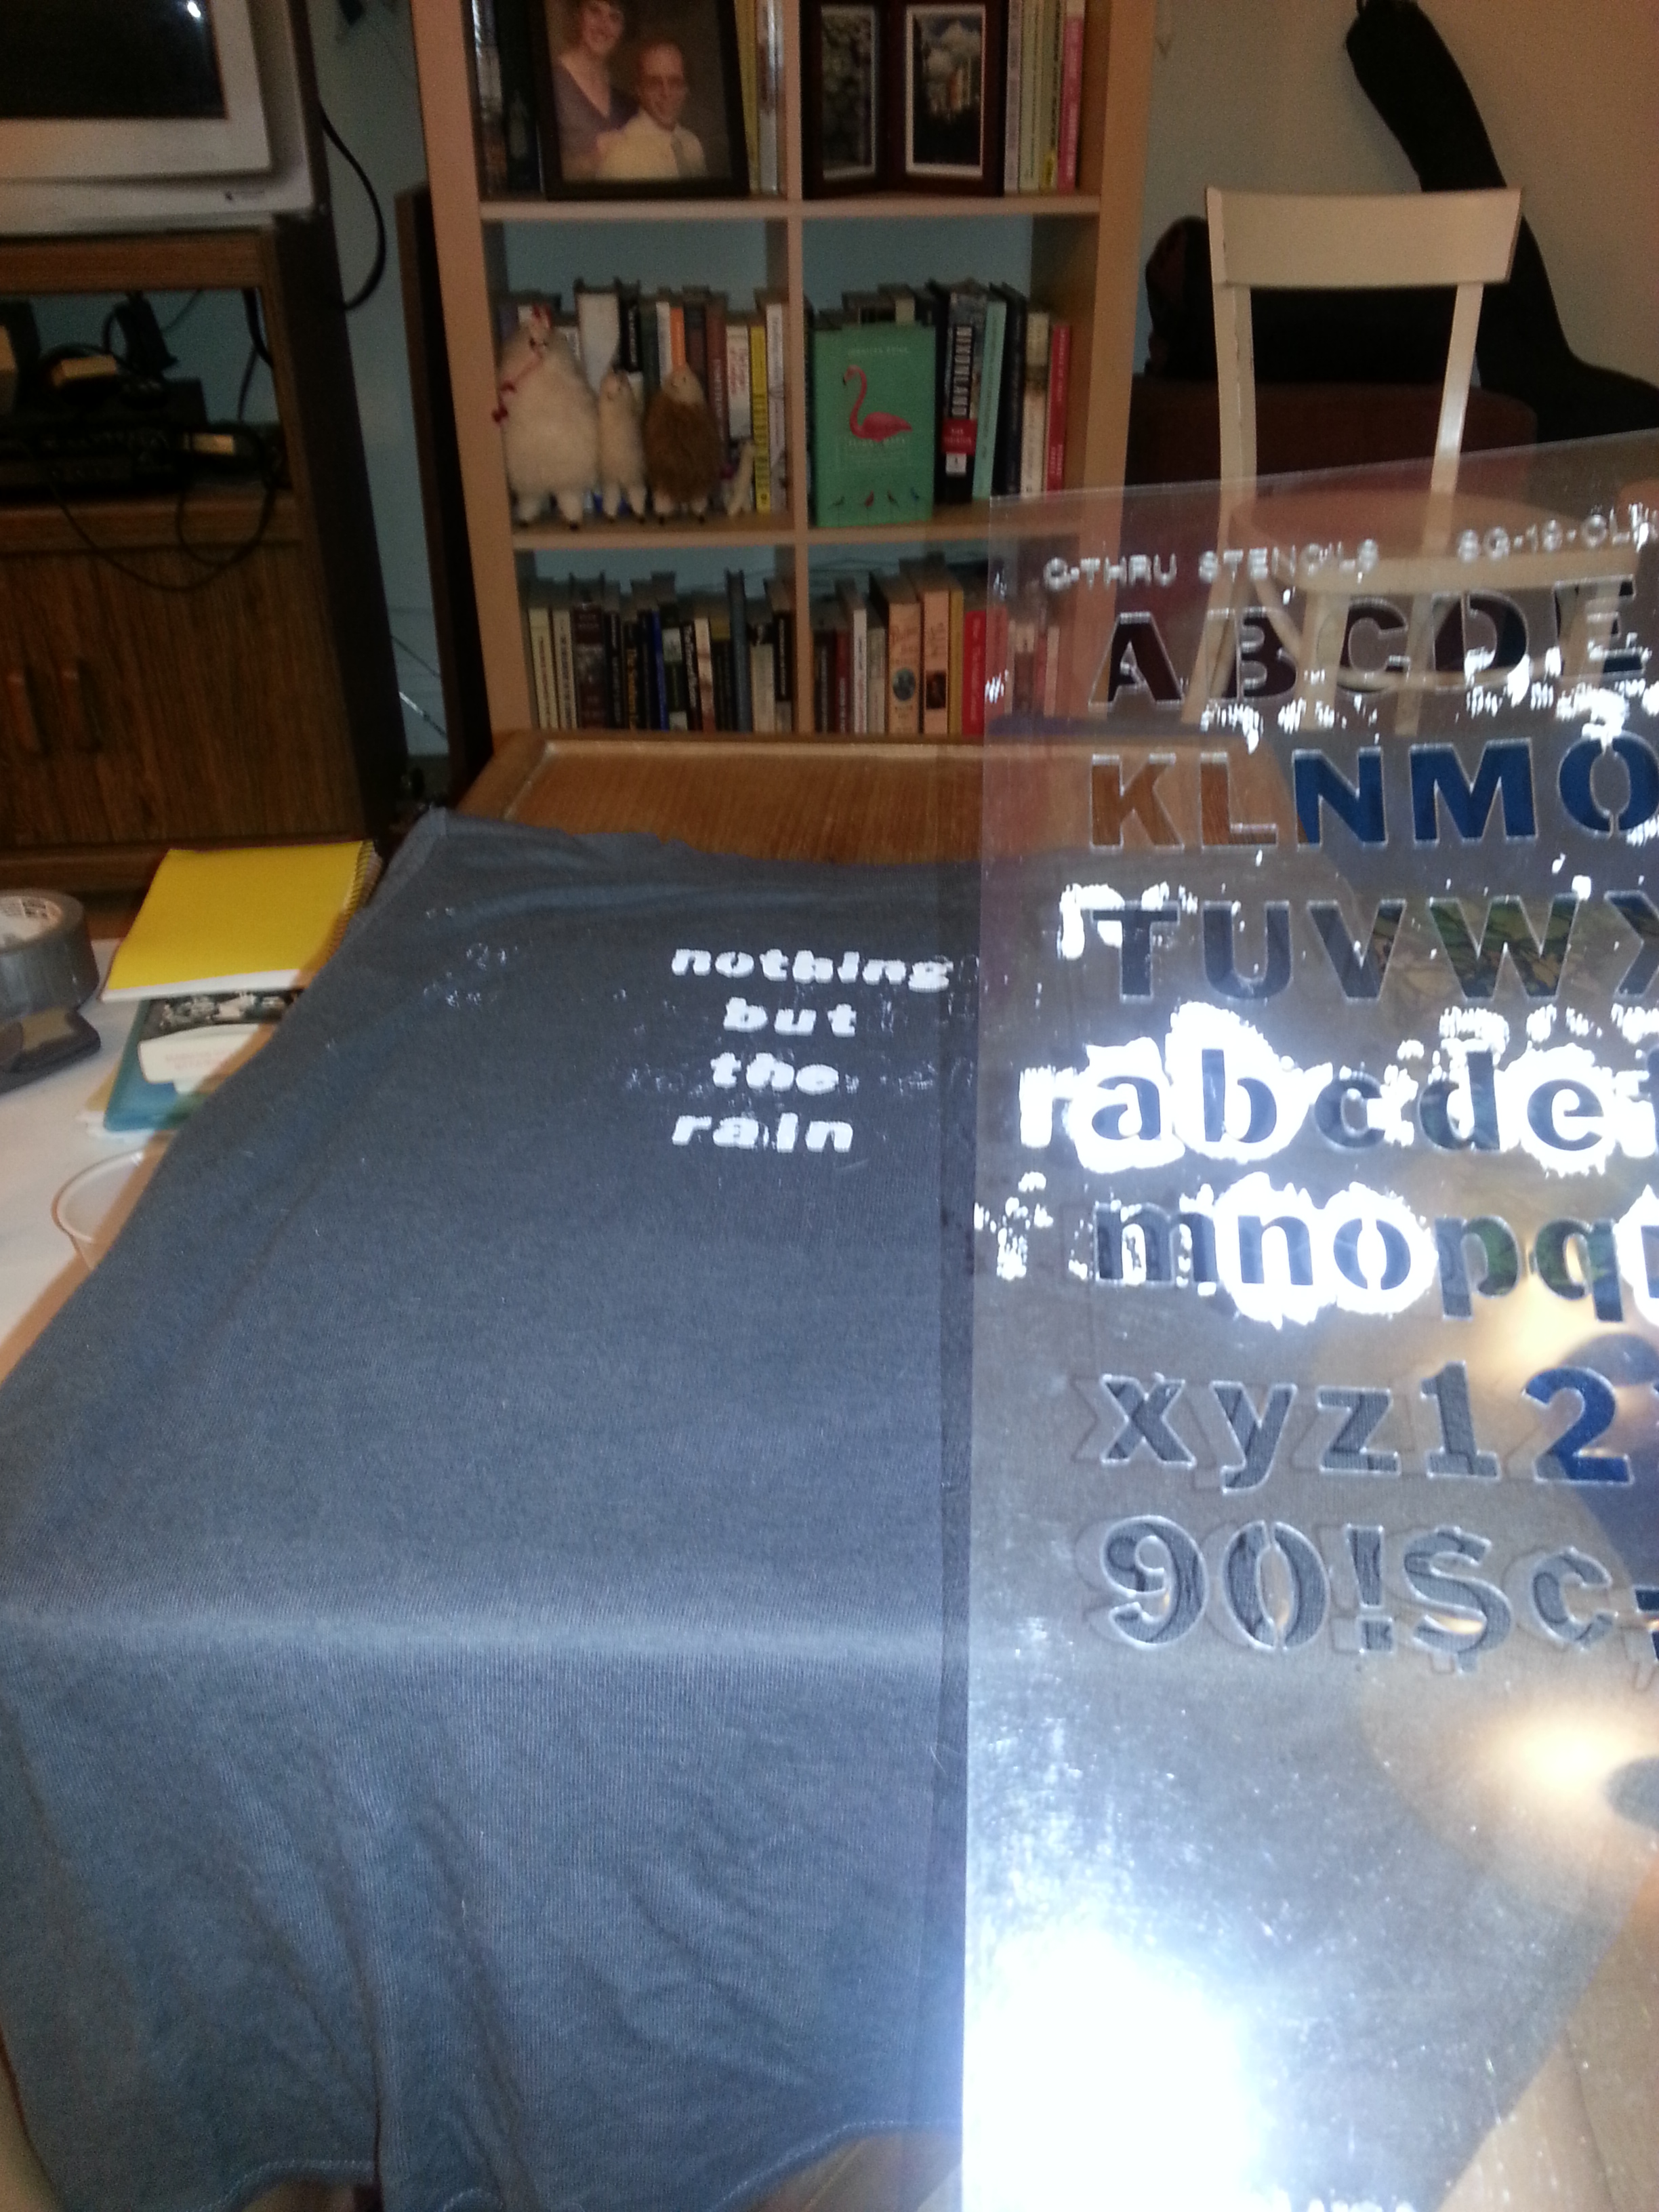
I went as Asha Greyjoy (Yara in the TV series), Theon’s sister. I already had the black top, shorts and boots, all from thrift stores. I also happened to own a studded belt, sailing ship earrings and an octopus necklace…don’t ask me why on the last one but it worked beautifully. The little dirk knife and shield came from the dollar store, and I taped the Greyjoy sigil and motto, “We Do Not Sow” to the front of the shield. Also recommended: putting on the hardened face of a ironborn sea captain. (Showing off the forearm scar you got as a child helps too.)
Gatsby Girls
Not up for fantasy novels? How about celebrating the Jazz Age novel The Great Gatsby with some roaring 20s costumes?

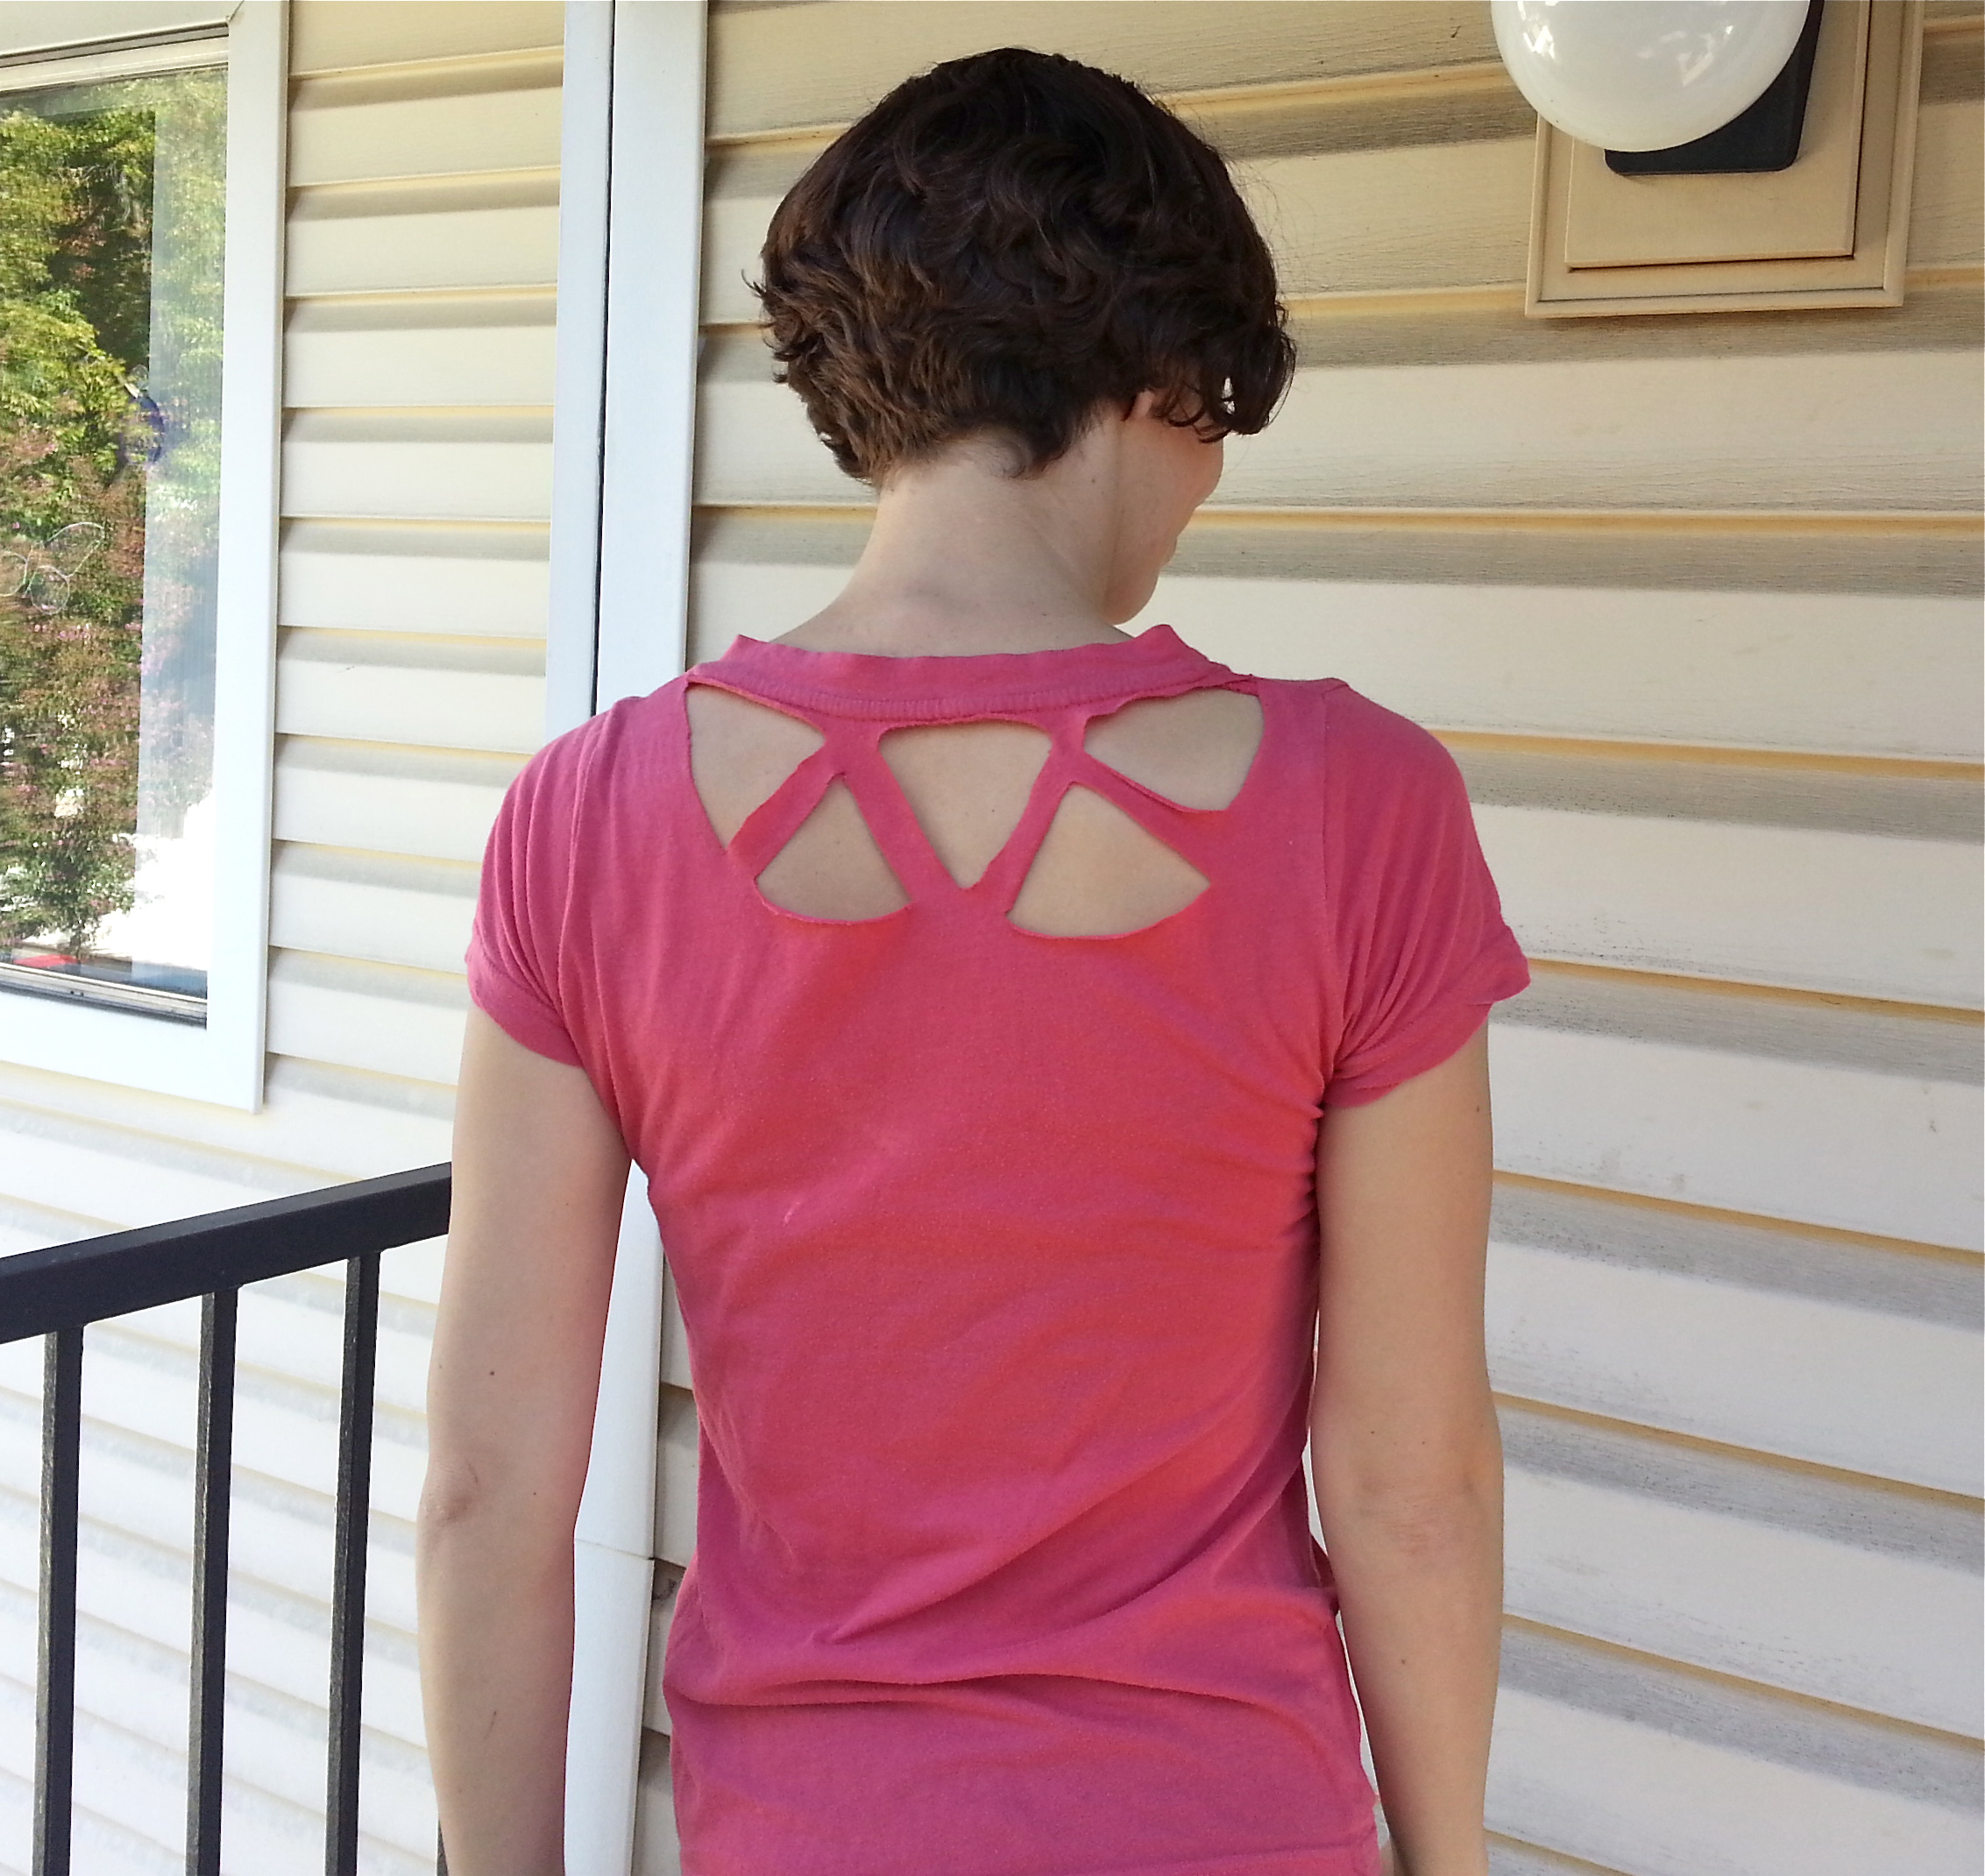
There’s plenty of inspiration in the new movie adaptation, but there’s actually quite a range of outfits that work for this era. All of the above dresses came from thrift stores, from the light pink drop waist dress with lace (it originally had long sleeves that she removed with a seam ripper) to the bright pink sequin flapper dress.
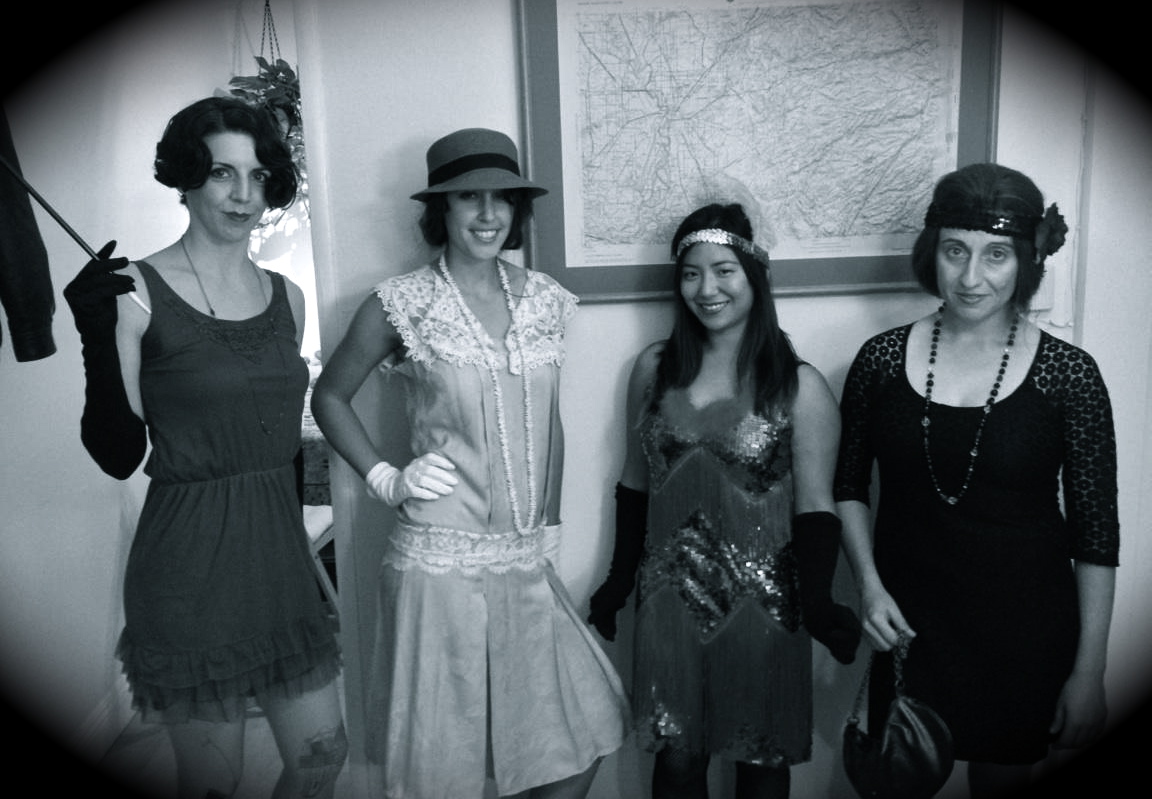
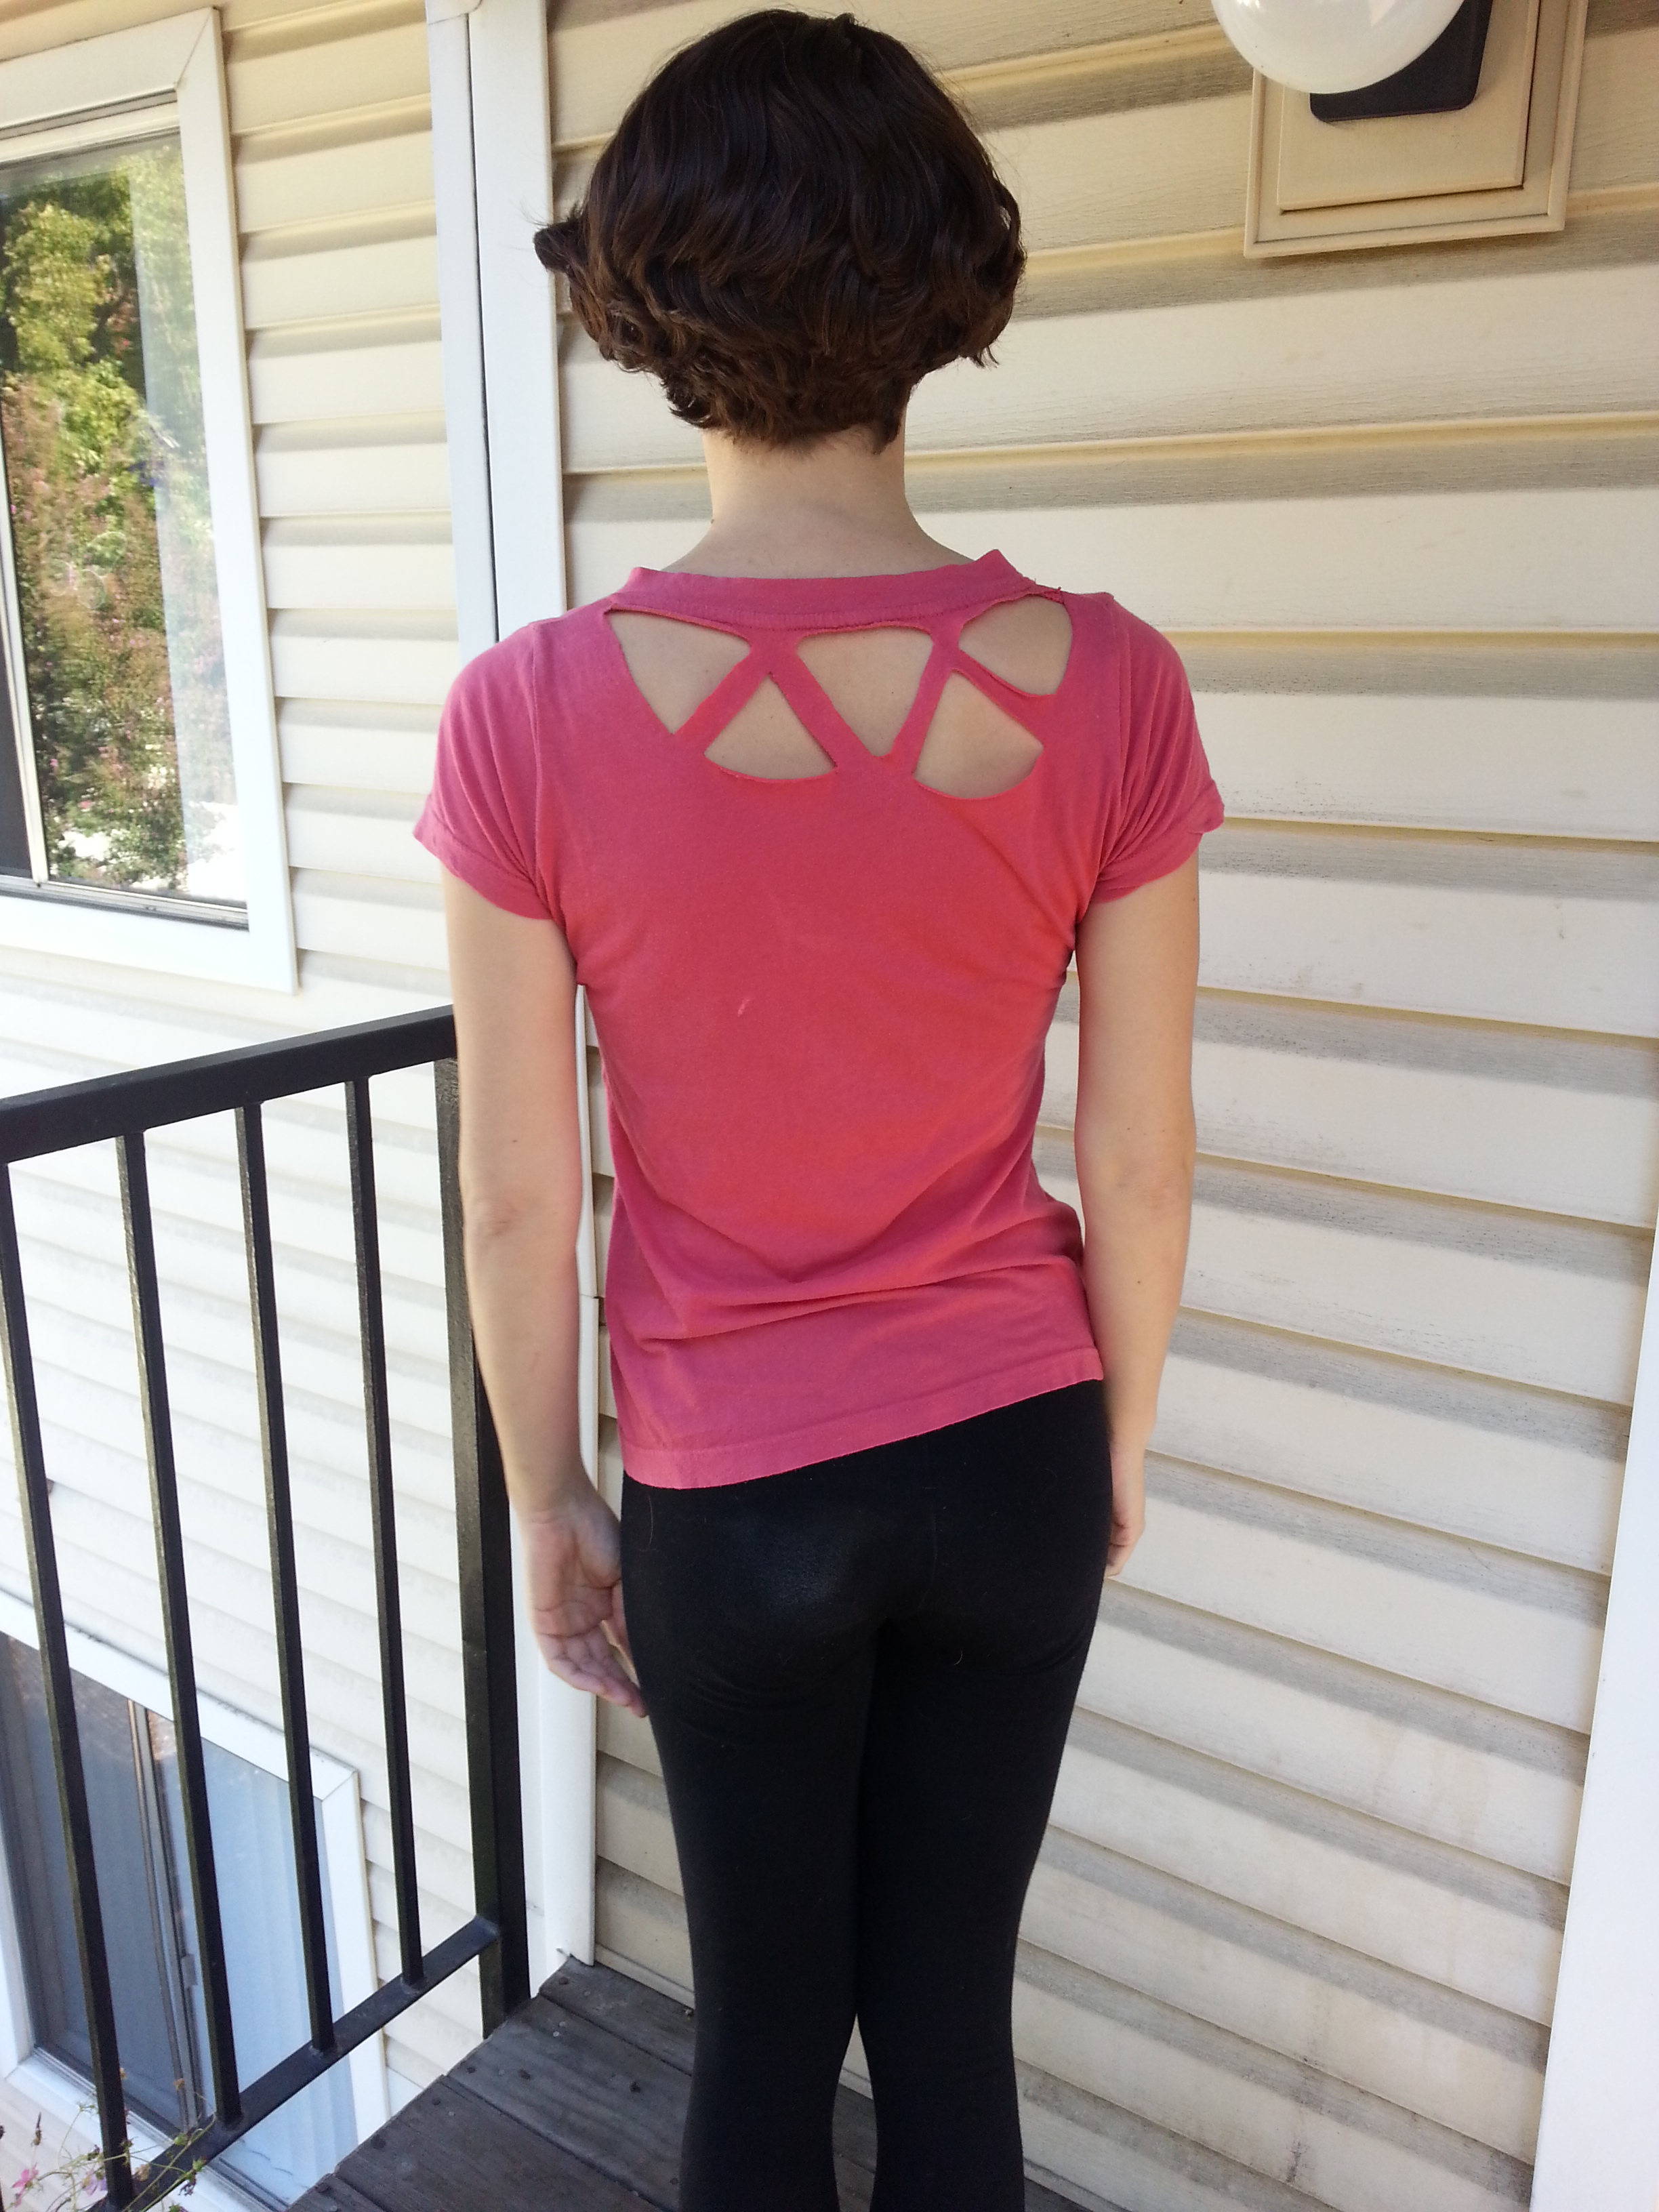
Accessories really help make these costumes work: among these four costumes we’ve got gloves, long beaded necklaces, hats, sequined headbands, feathers, flowers and even a cigarette holder (oh and the gun tights yet again!). Equally important is hair! You can’t really see it here but we’ve used two hair tutorials to get the styles of the 1920s, one that shows you how to fake a bob hairstyle if you have long hair and one that shows you how to create finger waves, which is a bit more challenging and works best with hair that already has a curl to it:


I tried to do the finger waves on myself, and I didn’t quite achieve the full look. I would really recommend that you have a friend who is good with hair do this on you. The nice thing is that both hair styles don’t require much in the way of equipment—for the fake bob you need a clip, a pony tail holder and some bobby pins. For the finger waves, you need gel, a comb, and bobby pins. That’s it! Combine with 1920s style make up, especially the “cupid’s bow” lips, for the full look.

Alice in Wonderland
Last but not least, we have the Mad Hatters Tea Party!

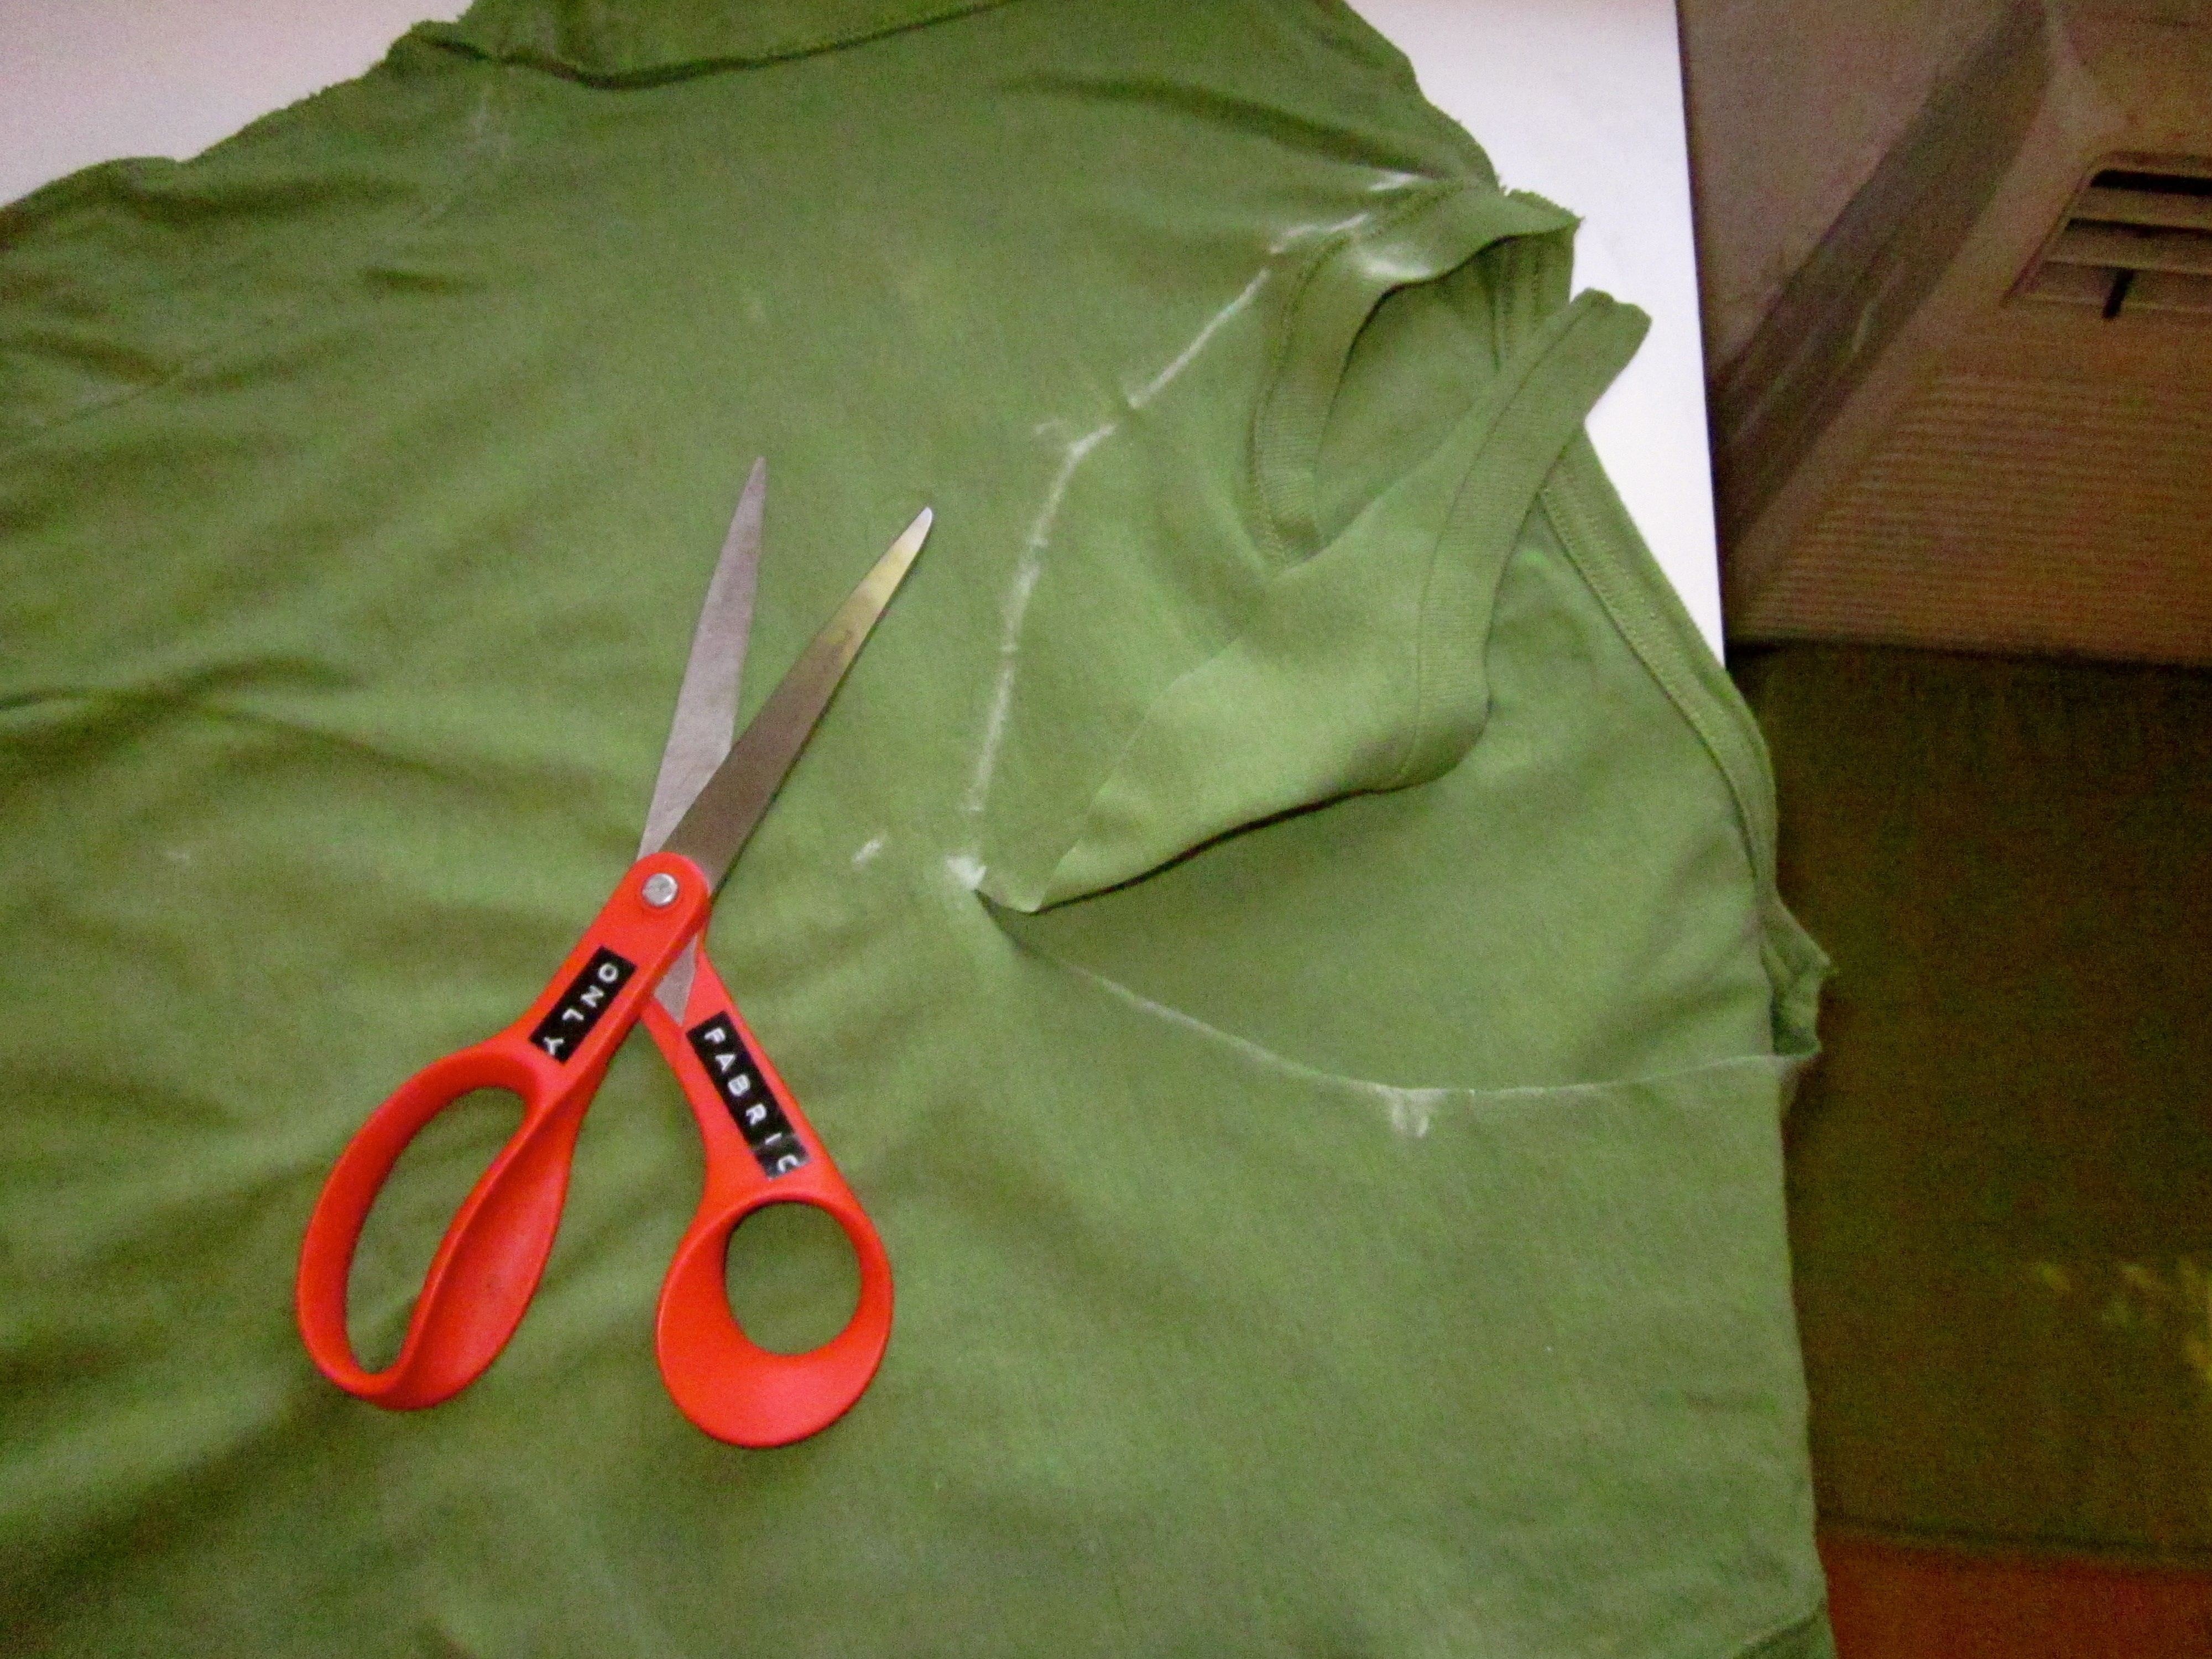
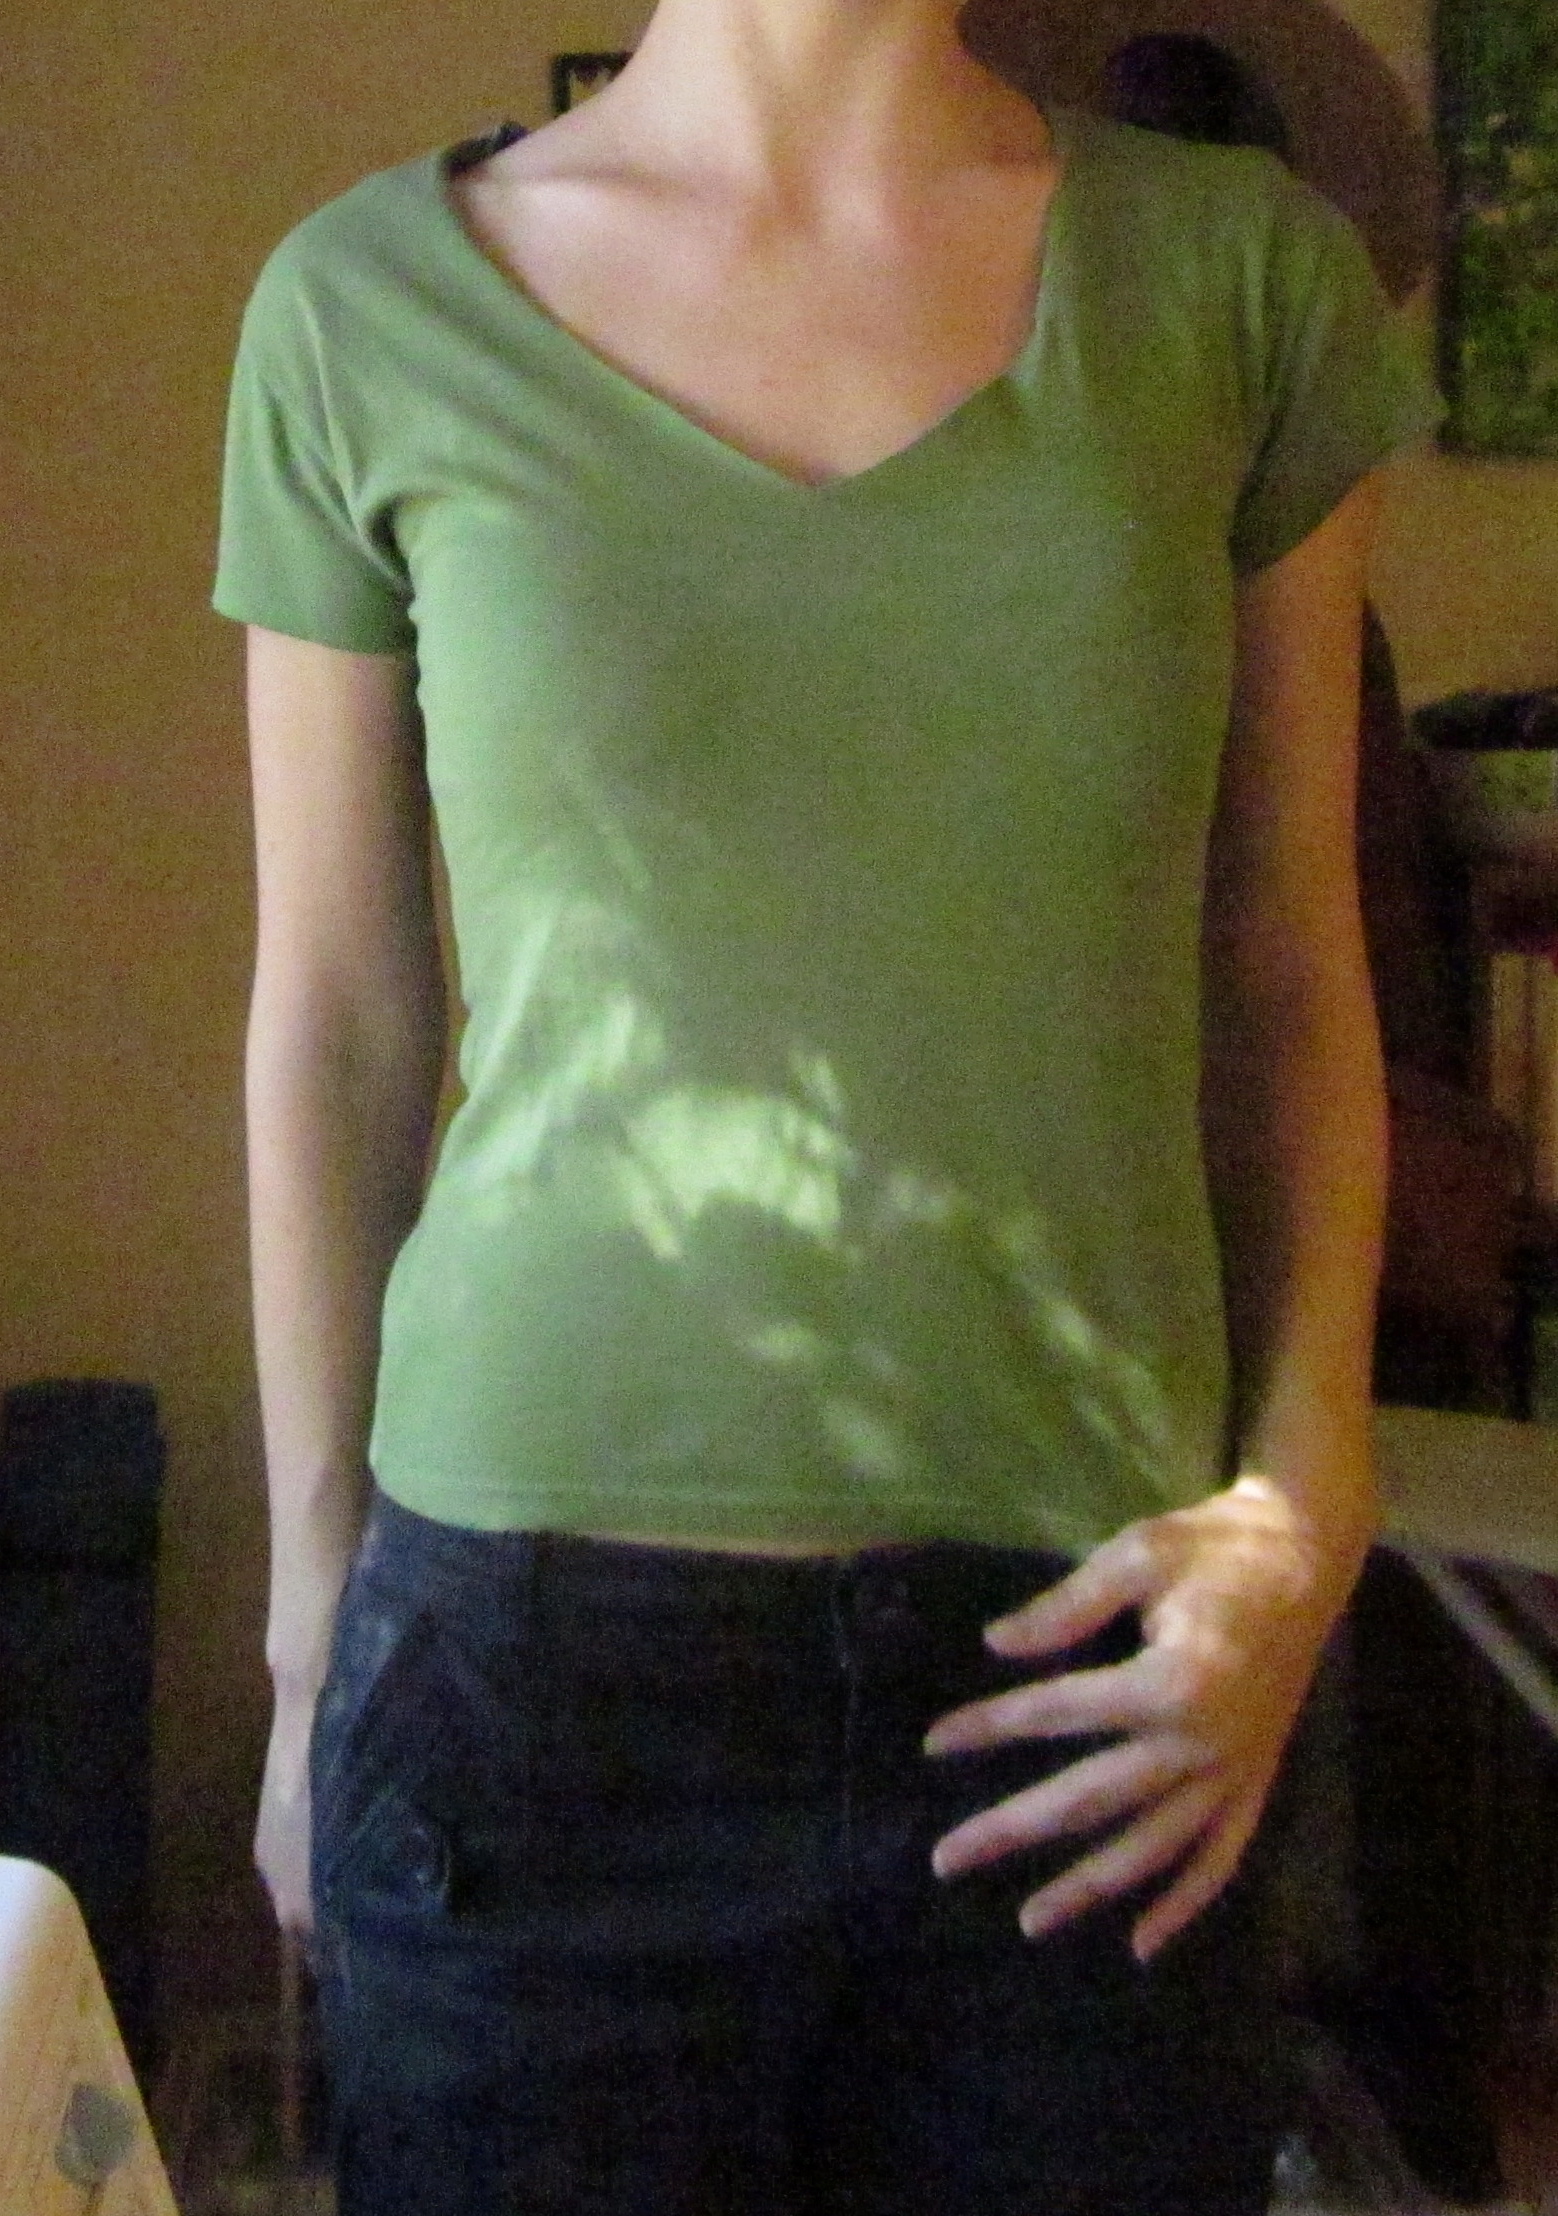
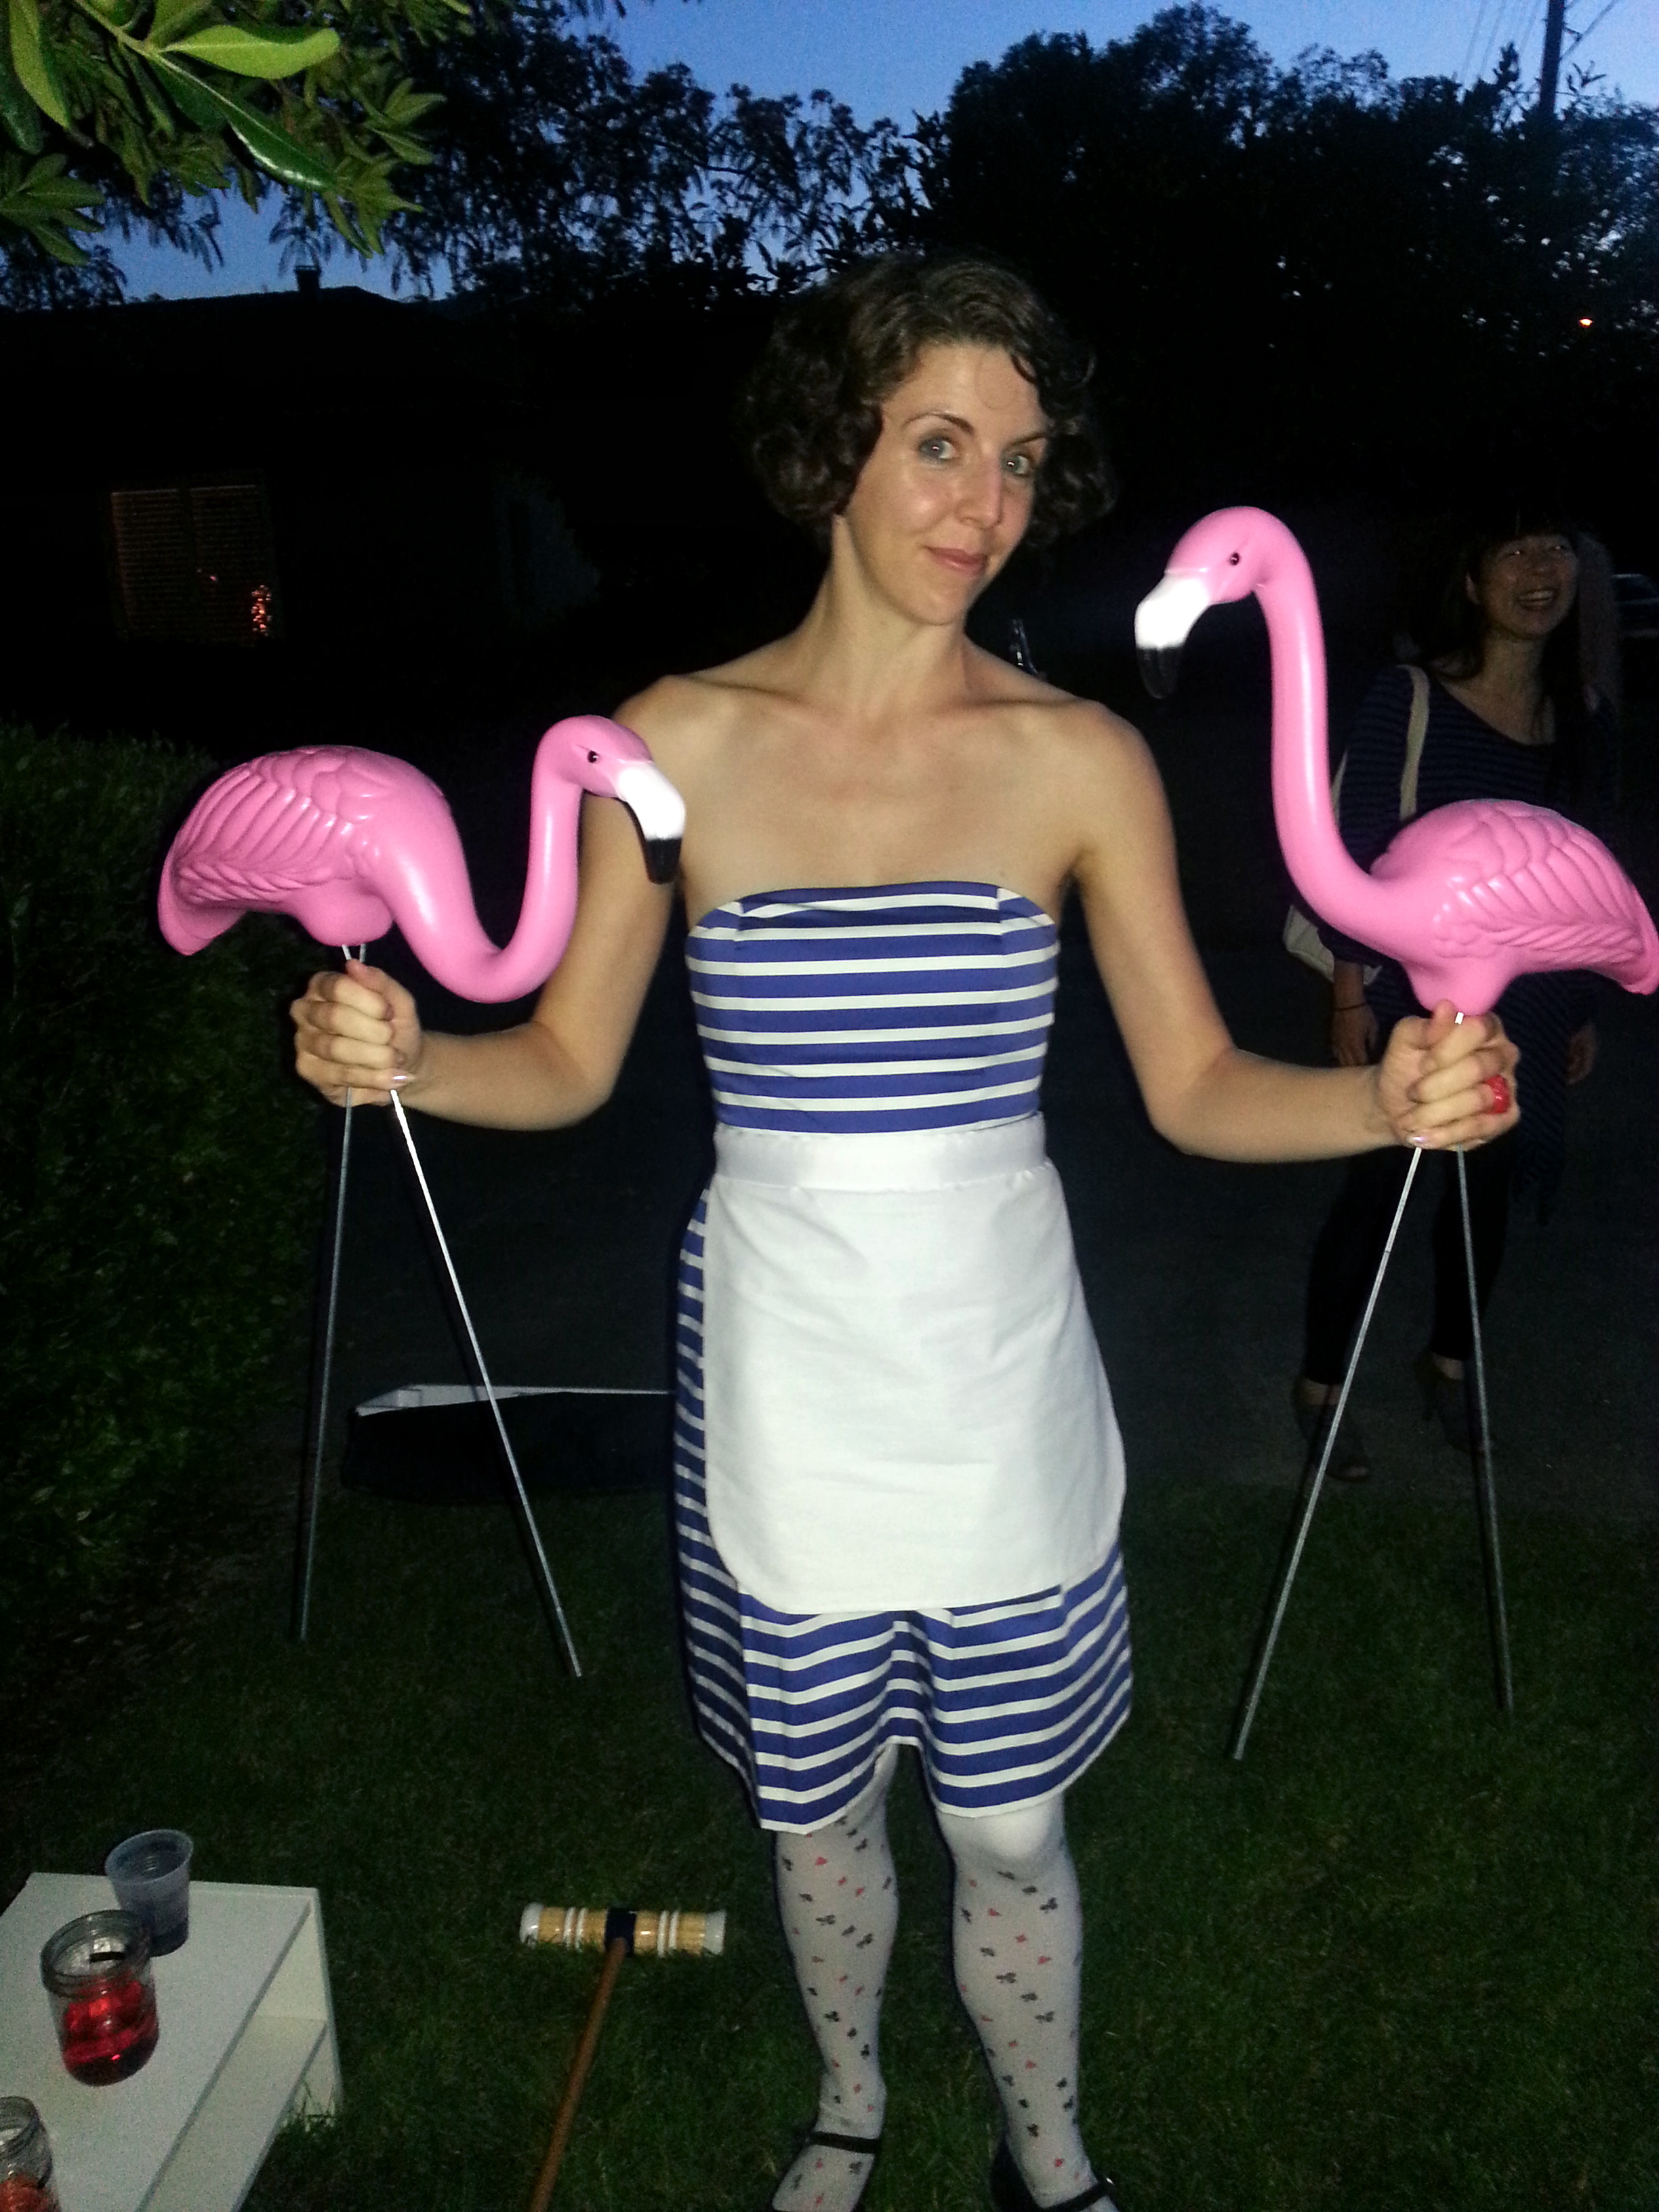
Let’s start with Alice. I made this a low key costume since I knew I’d want to be comfortable all night. I used this strapless blue and white dress because it was a hot June evening, and paired it with these thigh high stockings that had card suits on them I got from a former roommate. The black Mary Jane shoes, red rose ring, and bow hair clip are things I’ve had forever, but they added a nice touch. I wanted to make a black bow out of ribbon, but I ran out of time.
I did, however, make the apron. To be honest, I didn’t use a pattern—I just tried on the dress, measured where I wanted the apron to come to, and used those measurements. The most similar free tutorial I’ve seen for how to make one like it is here. I used plain white muslin and a wide white ribbon instead of fabric to save time. I decided it should have rounded edges to match the top of my dress, and I think the effect worked nicely.
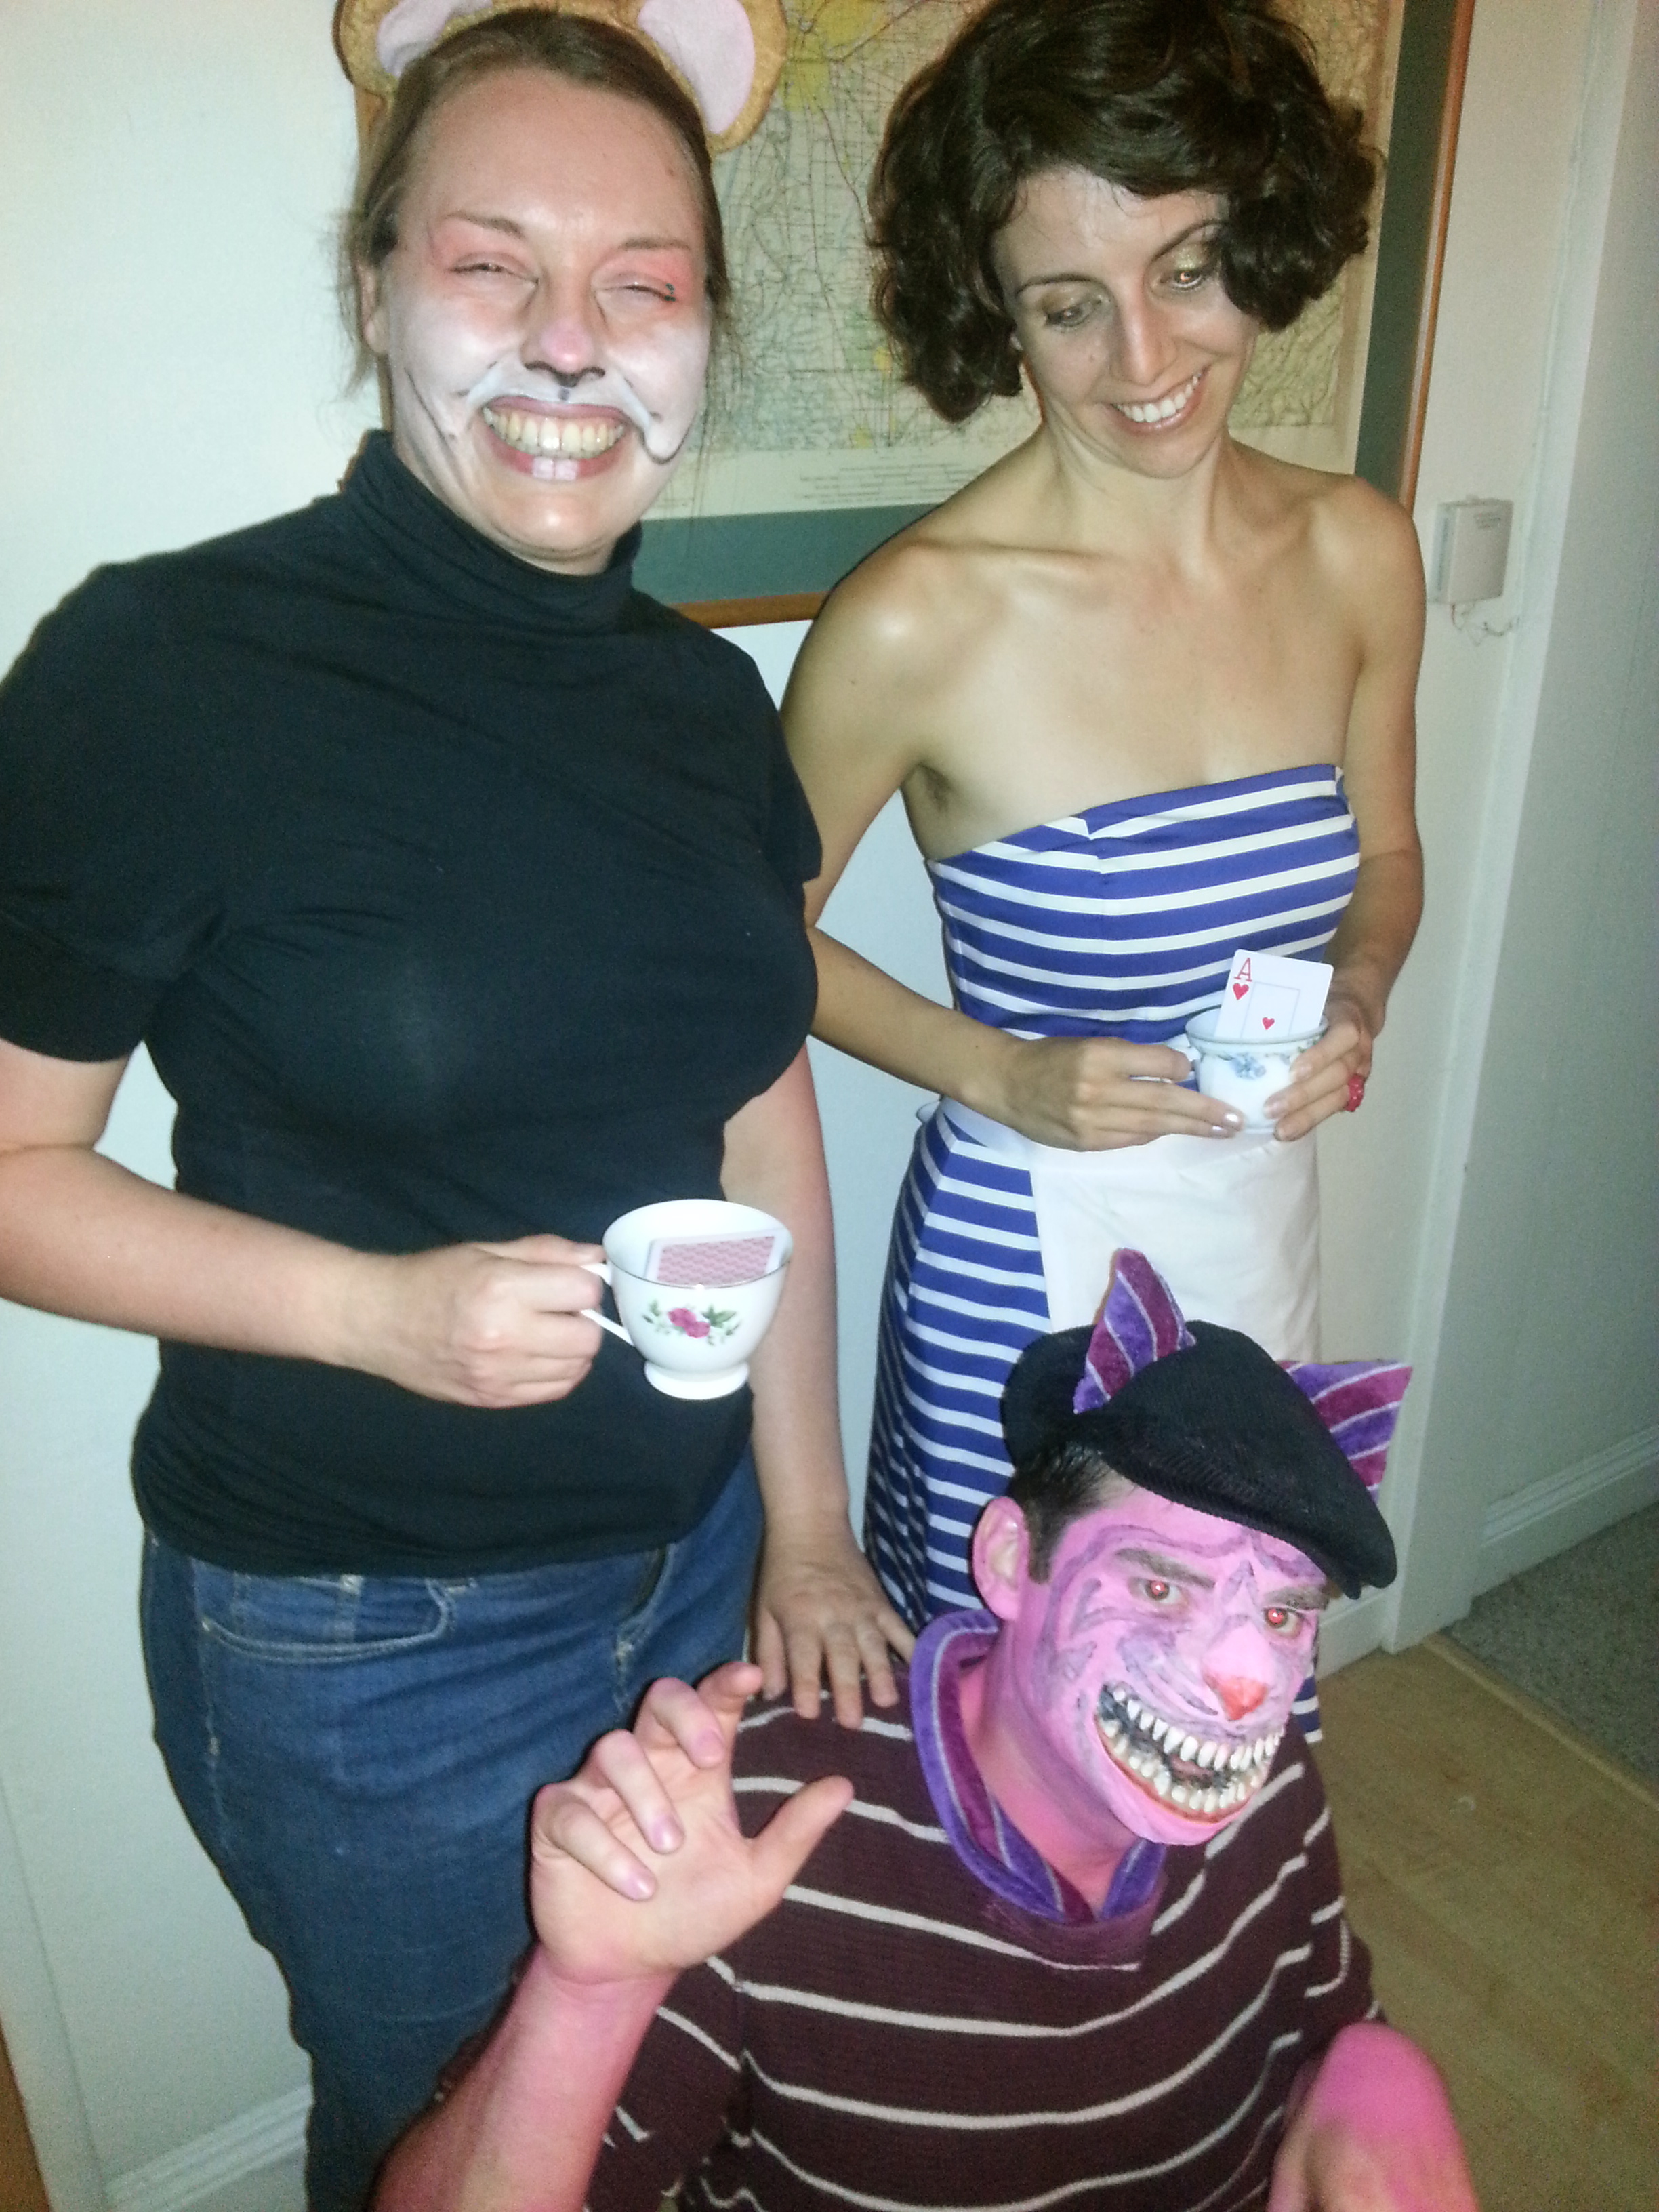
If you’re willing to take it a step further with face paint and/or prosthetics, you can go this route. The Dormouse combined mouse ears and a tail with Halloween makeup crayons to recreate the mouse face. The Cheshire Cat sewed his ears onto a hat, and used pink and purple face face paint for the stripes, but also attached some pretty awesome prosthetics.

Seen here with the Queen of Hearts, you can tell that this is a much more advanced costume project. But doable if you are adventurous! There’s actually two prosthetics, a cat nose and a grin, that he attached. He used spirit gum to attach the latex prosthetic to his face and liquid latex to blend the seam—you can get an idea for how to actually do this from this prosthetic nose tutorial. The effect, as you can see, is pretty remarkable.
.
And that’s all my costumes from the last year! I hope these can inspire you to come up with your own clever ideas—if they do, I’d love to see the results!