This summer, I took four old t-shirts and transformed them with stencils, cut outs, or both. I even altered the basic structure of two of them to get the fit I wanted. And thanks to my lovely friend, I now have pictures of myself wearing them. So if you want a DIY run down of how to cut, slash, and paint your way to a unique T, read on. (Bonus: Battlestar Galactica references ahead!)

Stencils

Let’s start with the least destructive activity—paint. If you read my post on nerdy crafts, you’ll notice I’m not new to stenciling. On that post I linked to the tutorial on stencilry that I use, but I’ll give you the short version here.
One of the easiest ways to make a clean stencil is to use the freezer paper method. First, pick a stencil image—in this case “So Say We All,” the “amen” of the Battlestar Galactica universe, in an appropriate font. Be sure to read the tutorial section on islands and bridges to make sure your image will work as a stencil—as you can see above, I had to add back in the “islands” in the middle of the “O” and “A” to keep the letters looking correct. Buy freezer paper, cut it to the size of paper your printer will accept, and print your stencil onto the non glossy side (some wrangling with the printer may be required). Cut out the stencil with an X-acto knife, and then with a dry iron, iron it directly onto the shirt.
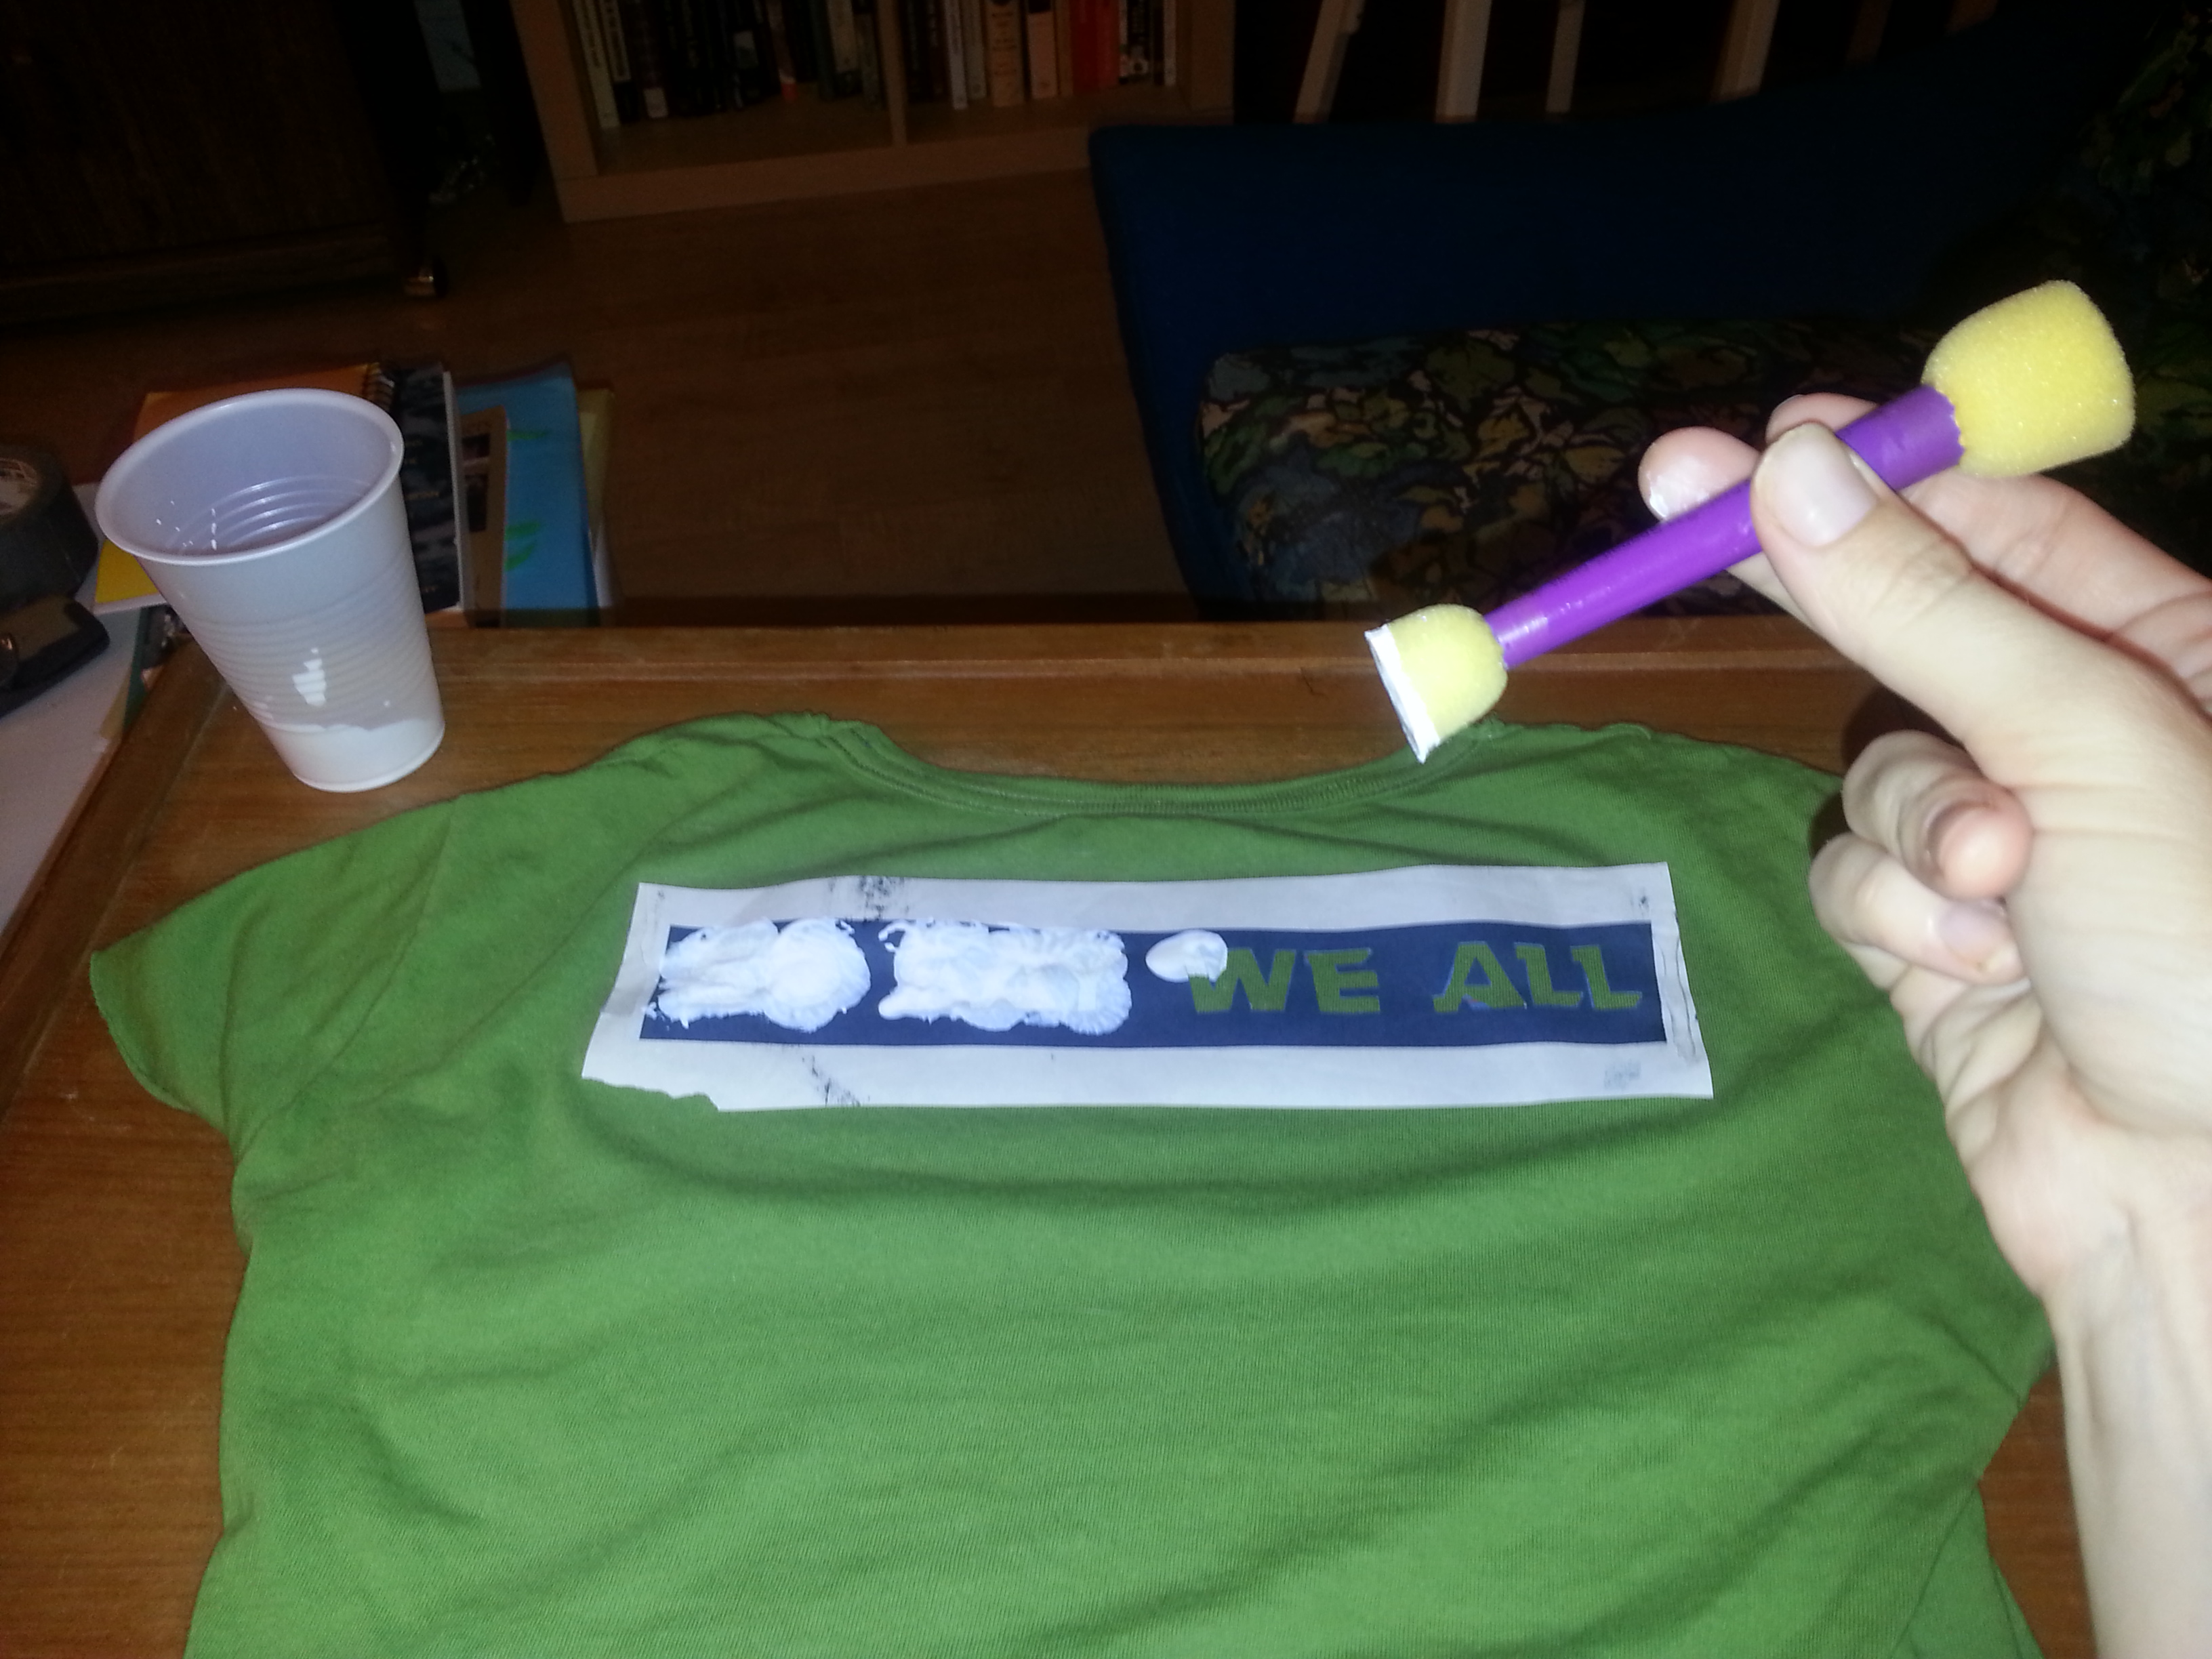
For the painting part, mix your preferred color of acrylic paint with fabric medium according to the directions on the bottle, then paint onto the stencil with a sponge or a brush. Make sure to put something between the layers of the shirt so the paint doesn’t soak through (and not cardboard, because I’ve notice the paint will stick to it—I used my X-Acto knife cutting pad). Let dry completely before removing the stencil, then follow the fabric medium directions for heat setting and washing the shirt so that the stencil will be permanent and clean.
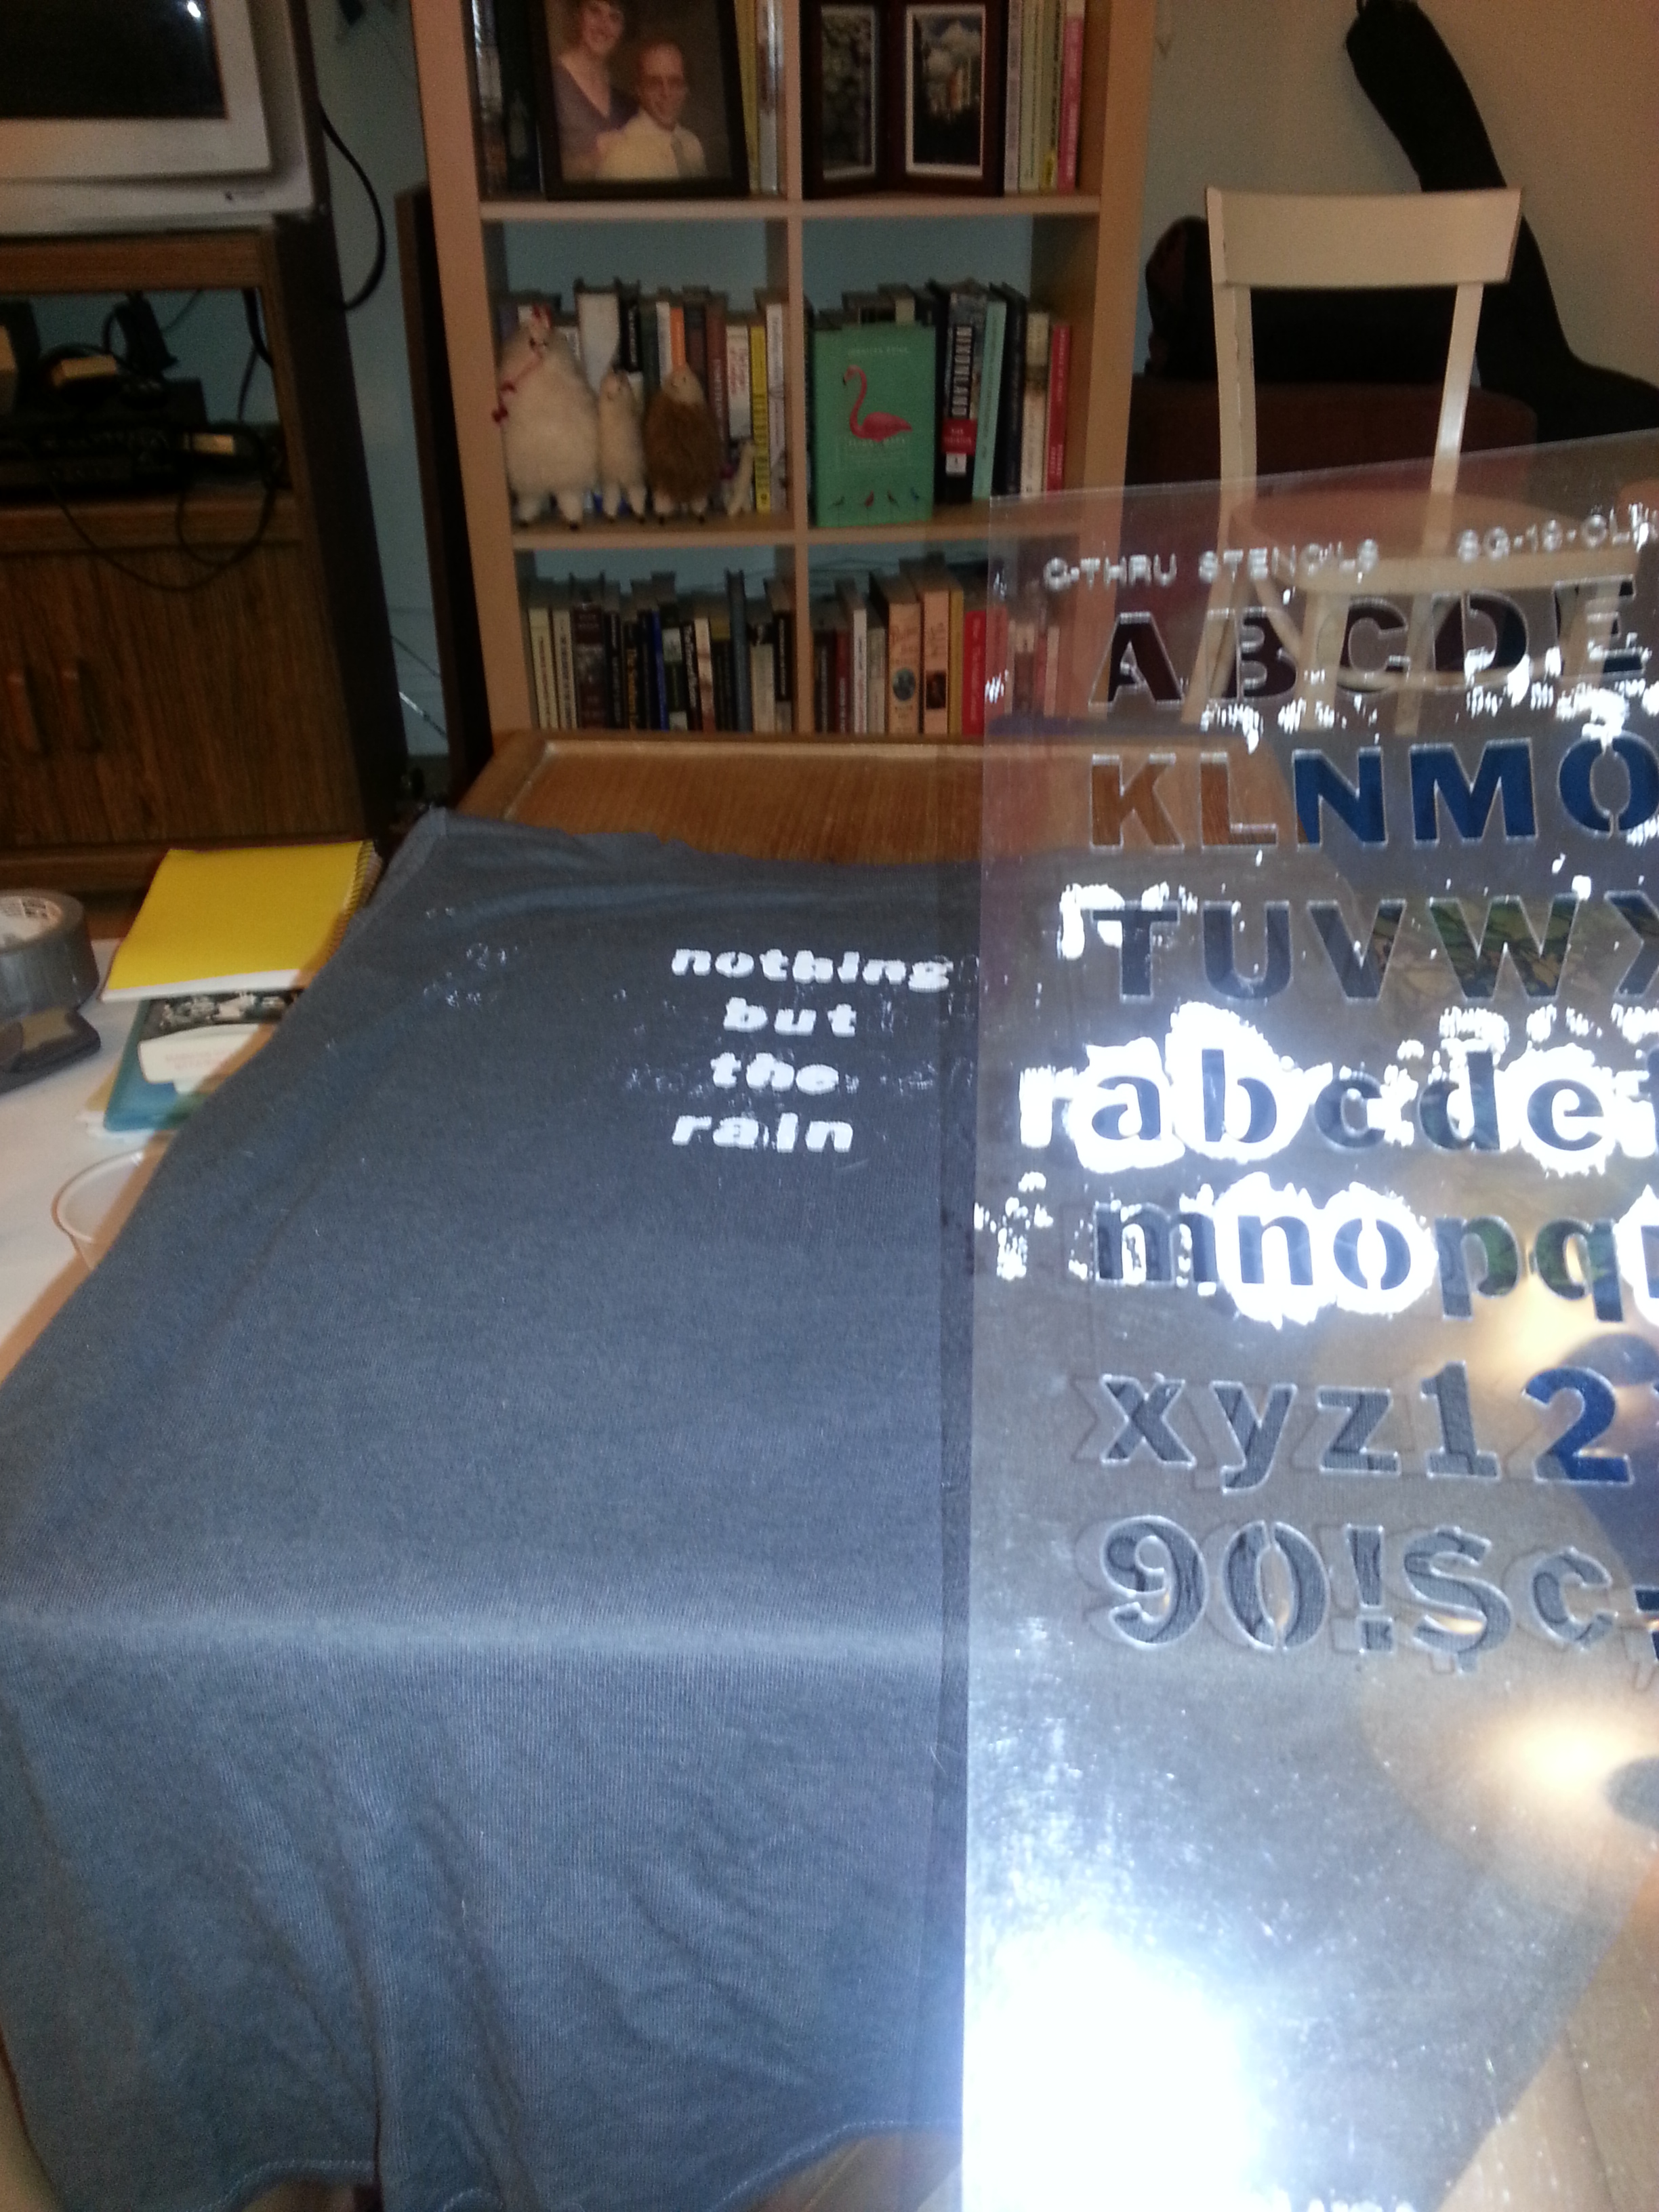
The process is somewhat similar if you have a permanent stencil, like this plastic alphabet one I used to make the phrase “Nothing But the Rain”—yet another BSG reference (its the phrase said by Starbuck to Captain Adama). The only difference here is being careful about getting paint everywhere when you move the stencil—I decided I didn’t care about the mess because I liked the splattered look, but you can decide for yourself.
The last option is to just trace simple shapes directly onto the stencil paper and then cut those out—that’s the easiest option, and it’s what I did on my pink shirt when I wanted to use up the last of the paint I mixed. I did a pattern of triangles to match the cut outs on the back of the shirt.
Cut Outs
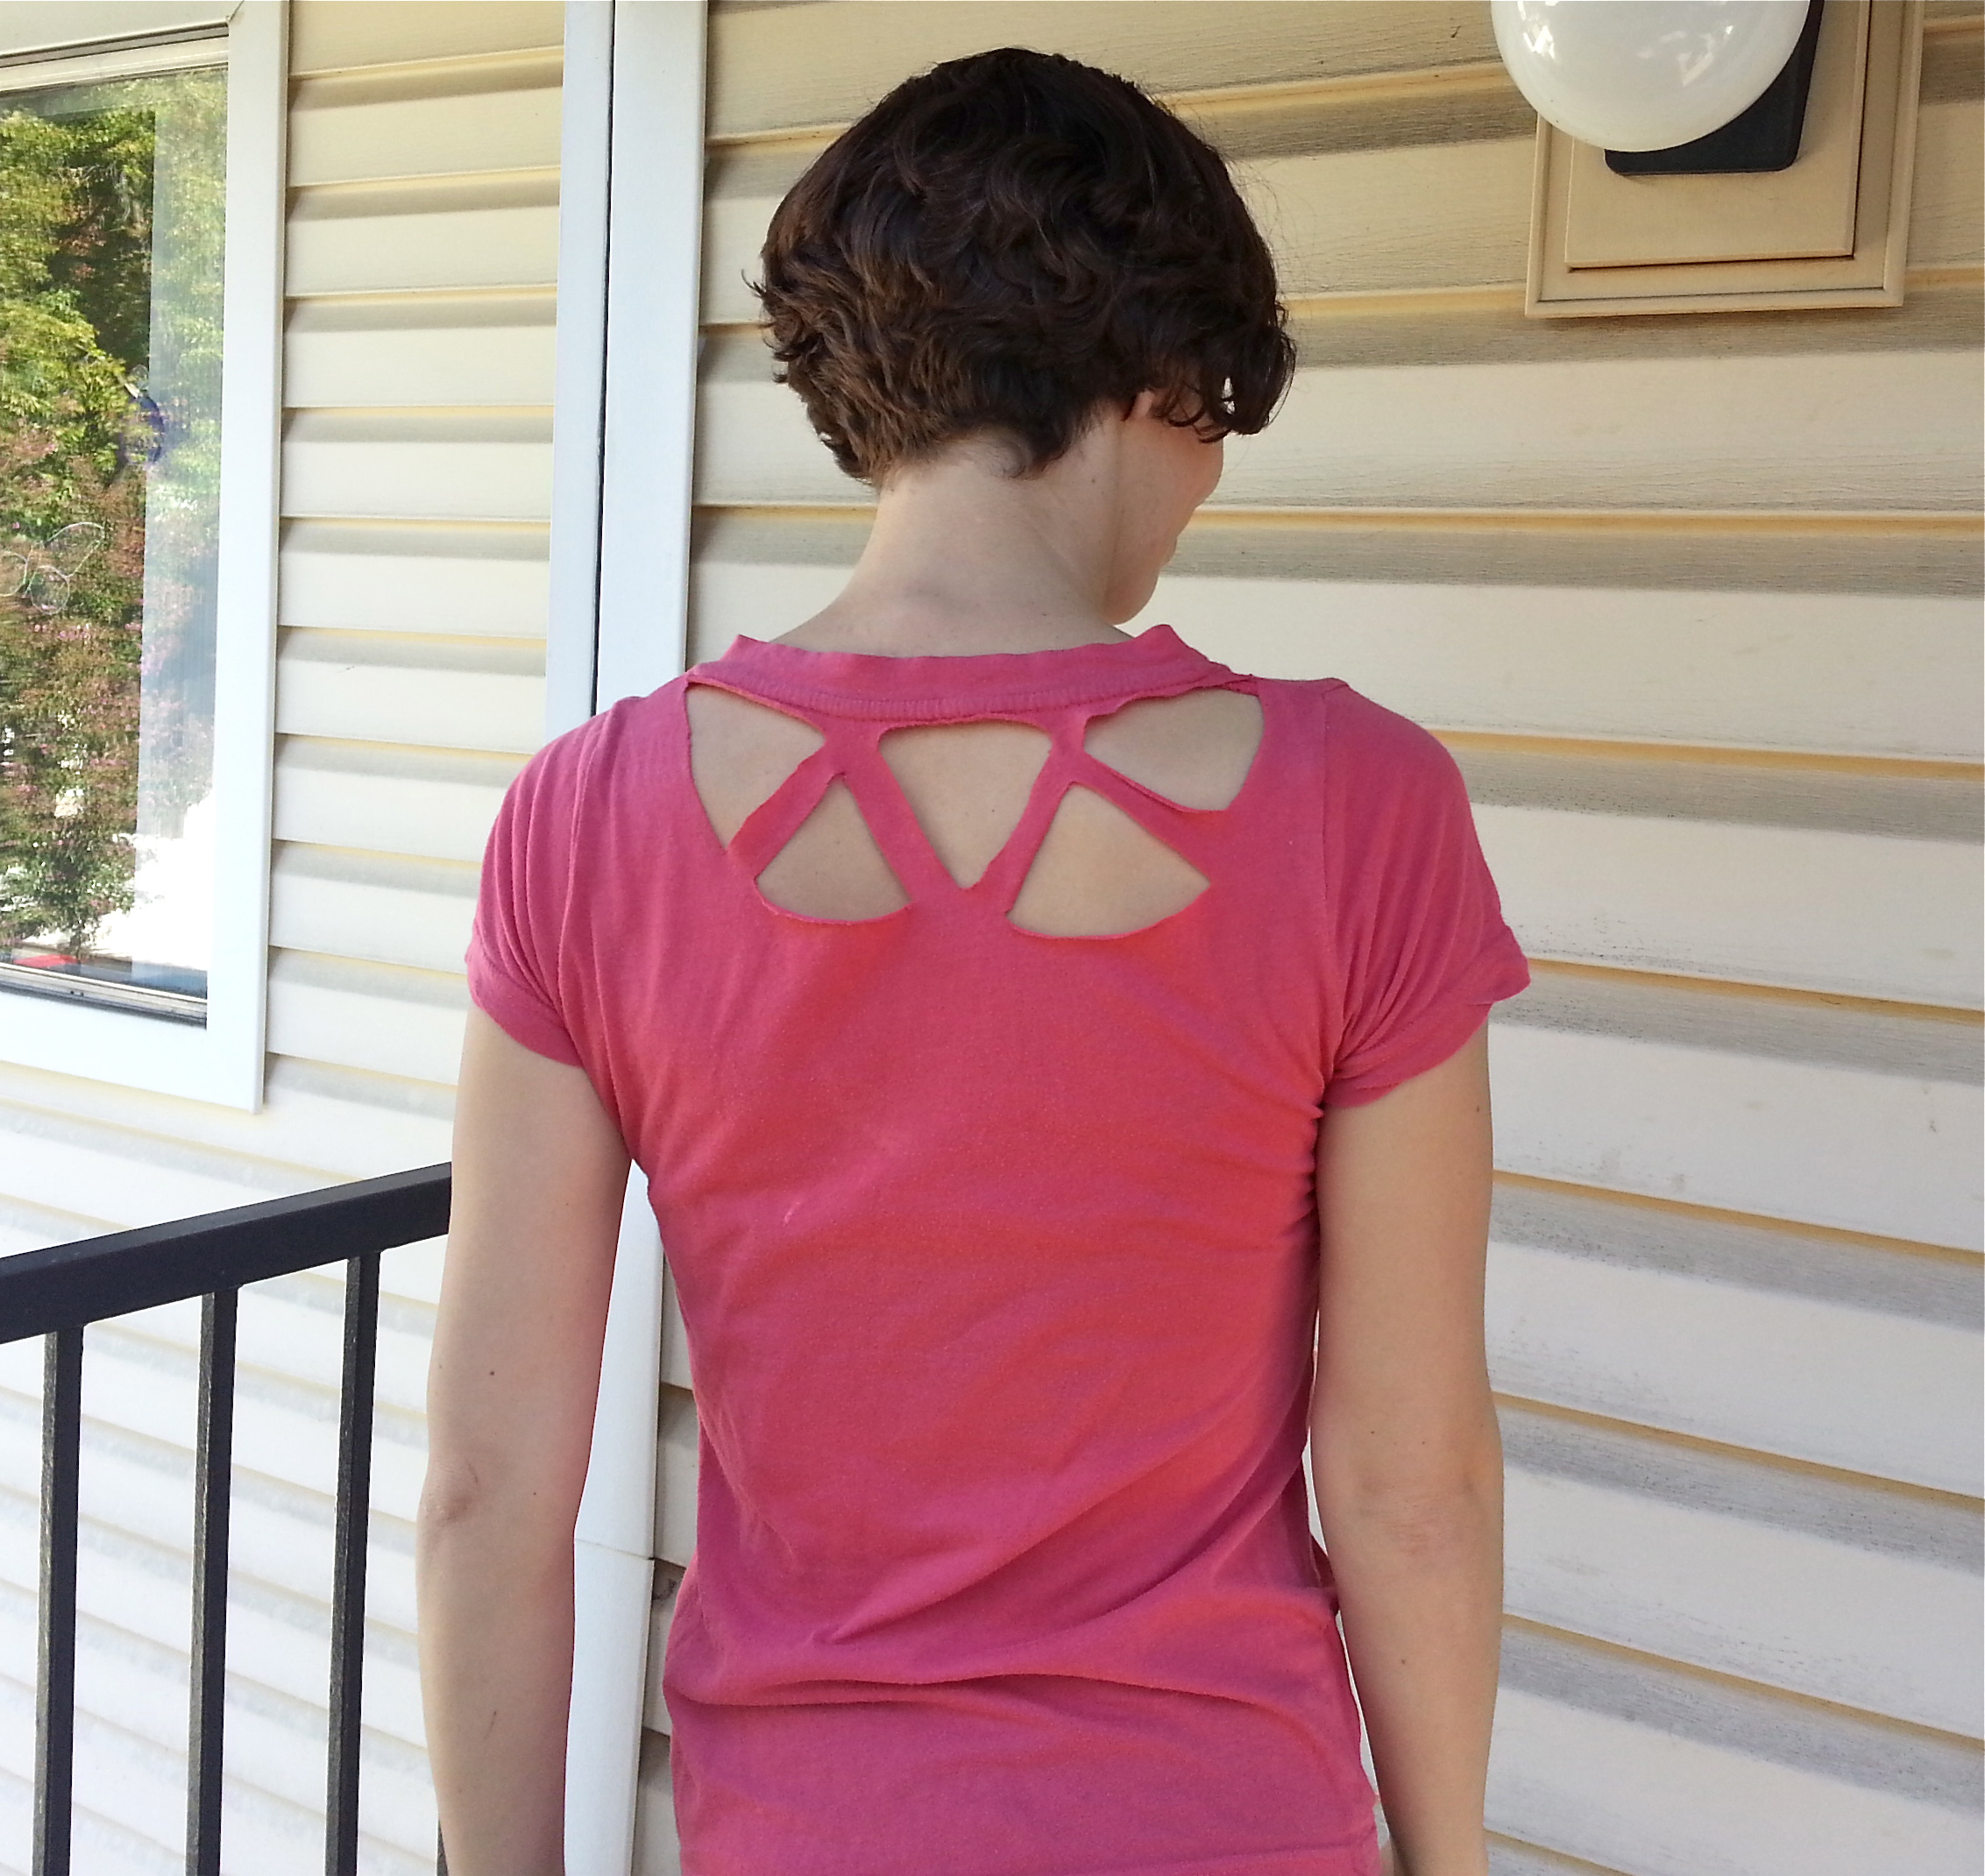
I had a strong urge to do something “destructive” to a few of the shirts I had. This pink shirt, for example, which my friend promptly dubbed the pink triangle (i thought she was referencing the Weezer song but she was not!). This shirt had been abandoned in my laundry room lost and found box for months, so it became the first guinea pig for my cut out and stenciling experiments.

I don’t have any in-progress shots for the cut outs, but here’s what I did. First I looked at some photos and tutorials online for some inspiration—this listicle of cut outs has some great images, and photos # 5, 21 and 22 intrigued me. I decided to do a simplified version of the triangle cut outs from photo # 22. That one unfortunately had no tutorial, so I decided to make a triangle template, trace it onto the shirt with chalk, and then cut it out with scissors. I did the stencils later with the same template.
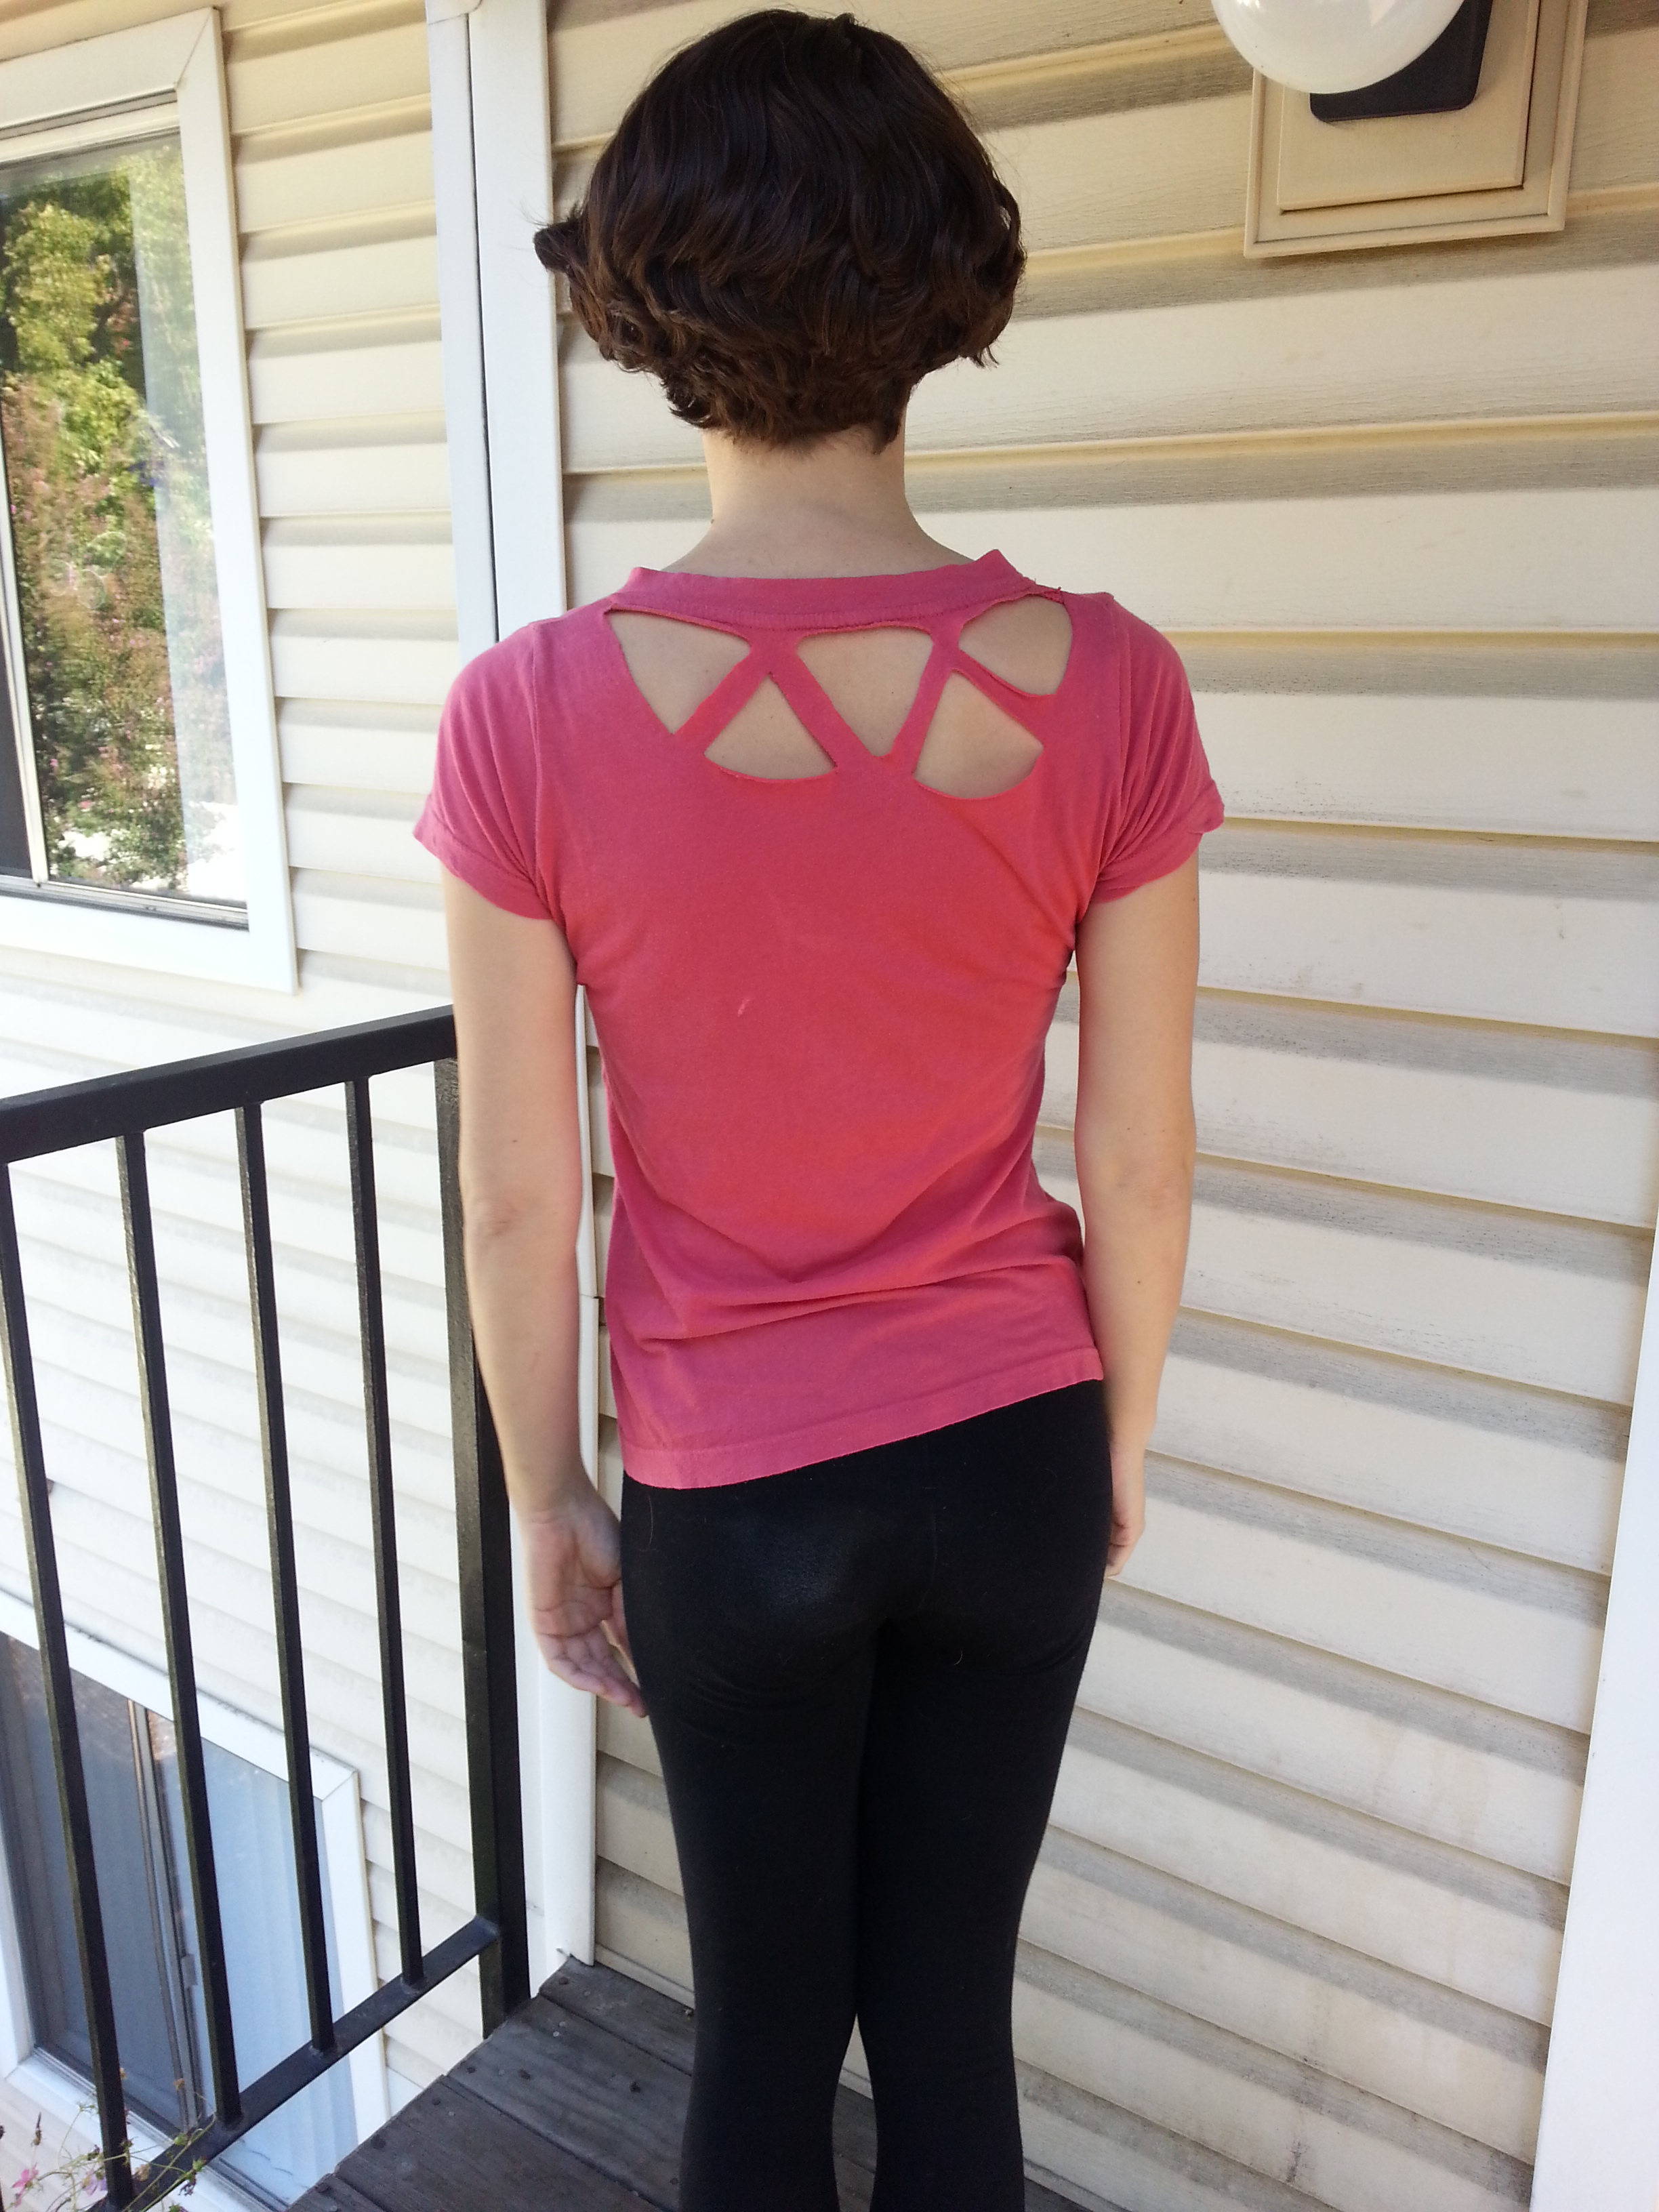

This mostly worked, but it was tricky to get the triangles all the same size and shape with scissors. So when I tried it on another t-shirt, I used my X-Acto knife to cut them out. Much easier! I think it works especially well for straight lines.

I love the way that you can play with the placement of cut outs—for example, you can place them to reveal another shirt underneath and play with the contrast of colors and patterns. I think someday I’d like to attempt one of these two designs, especially the tree one.
Fit Alterations

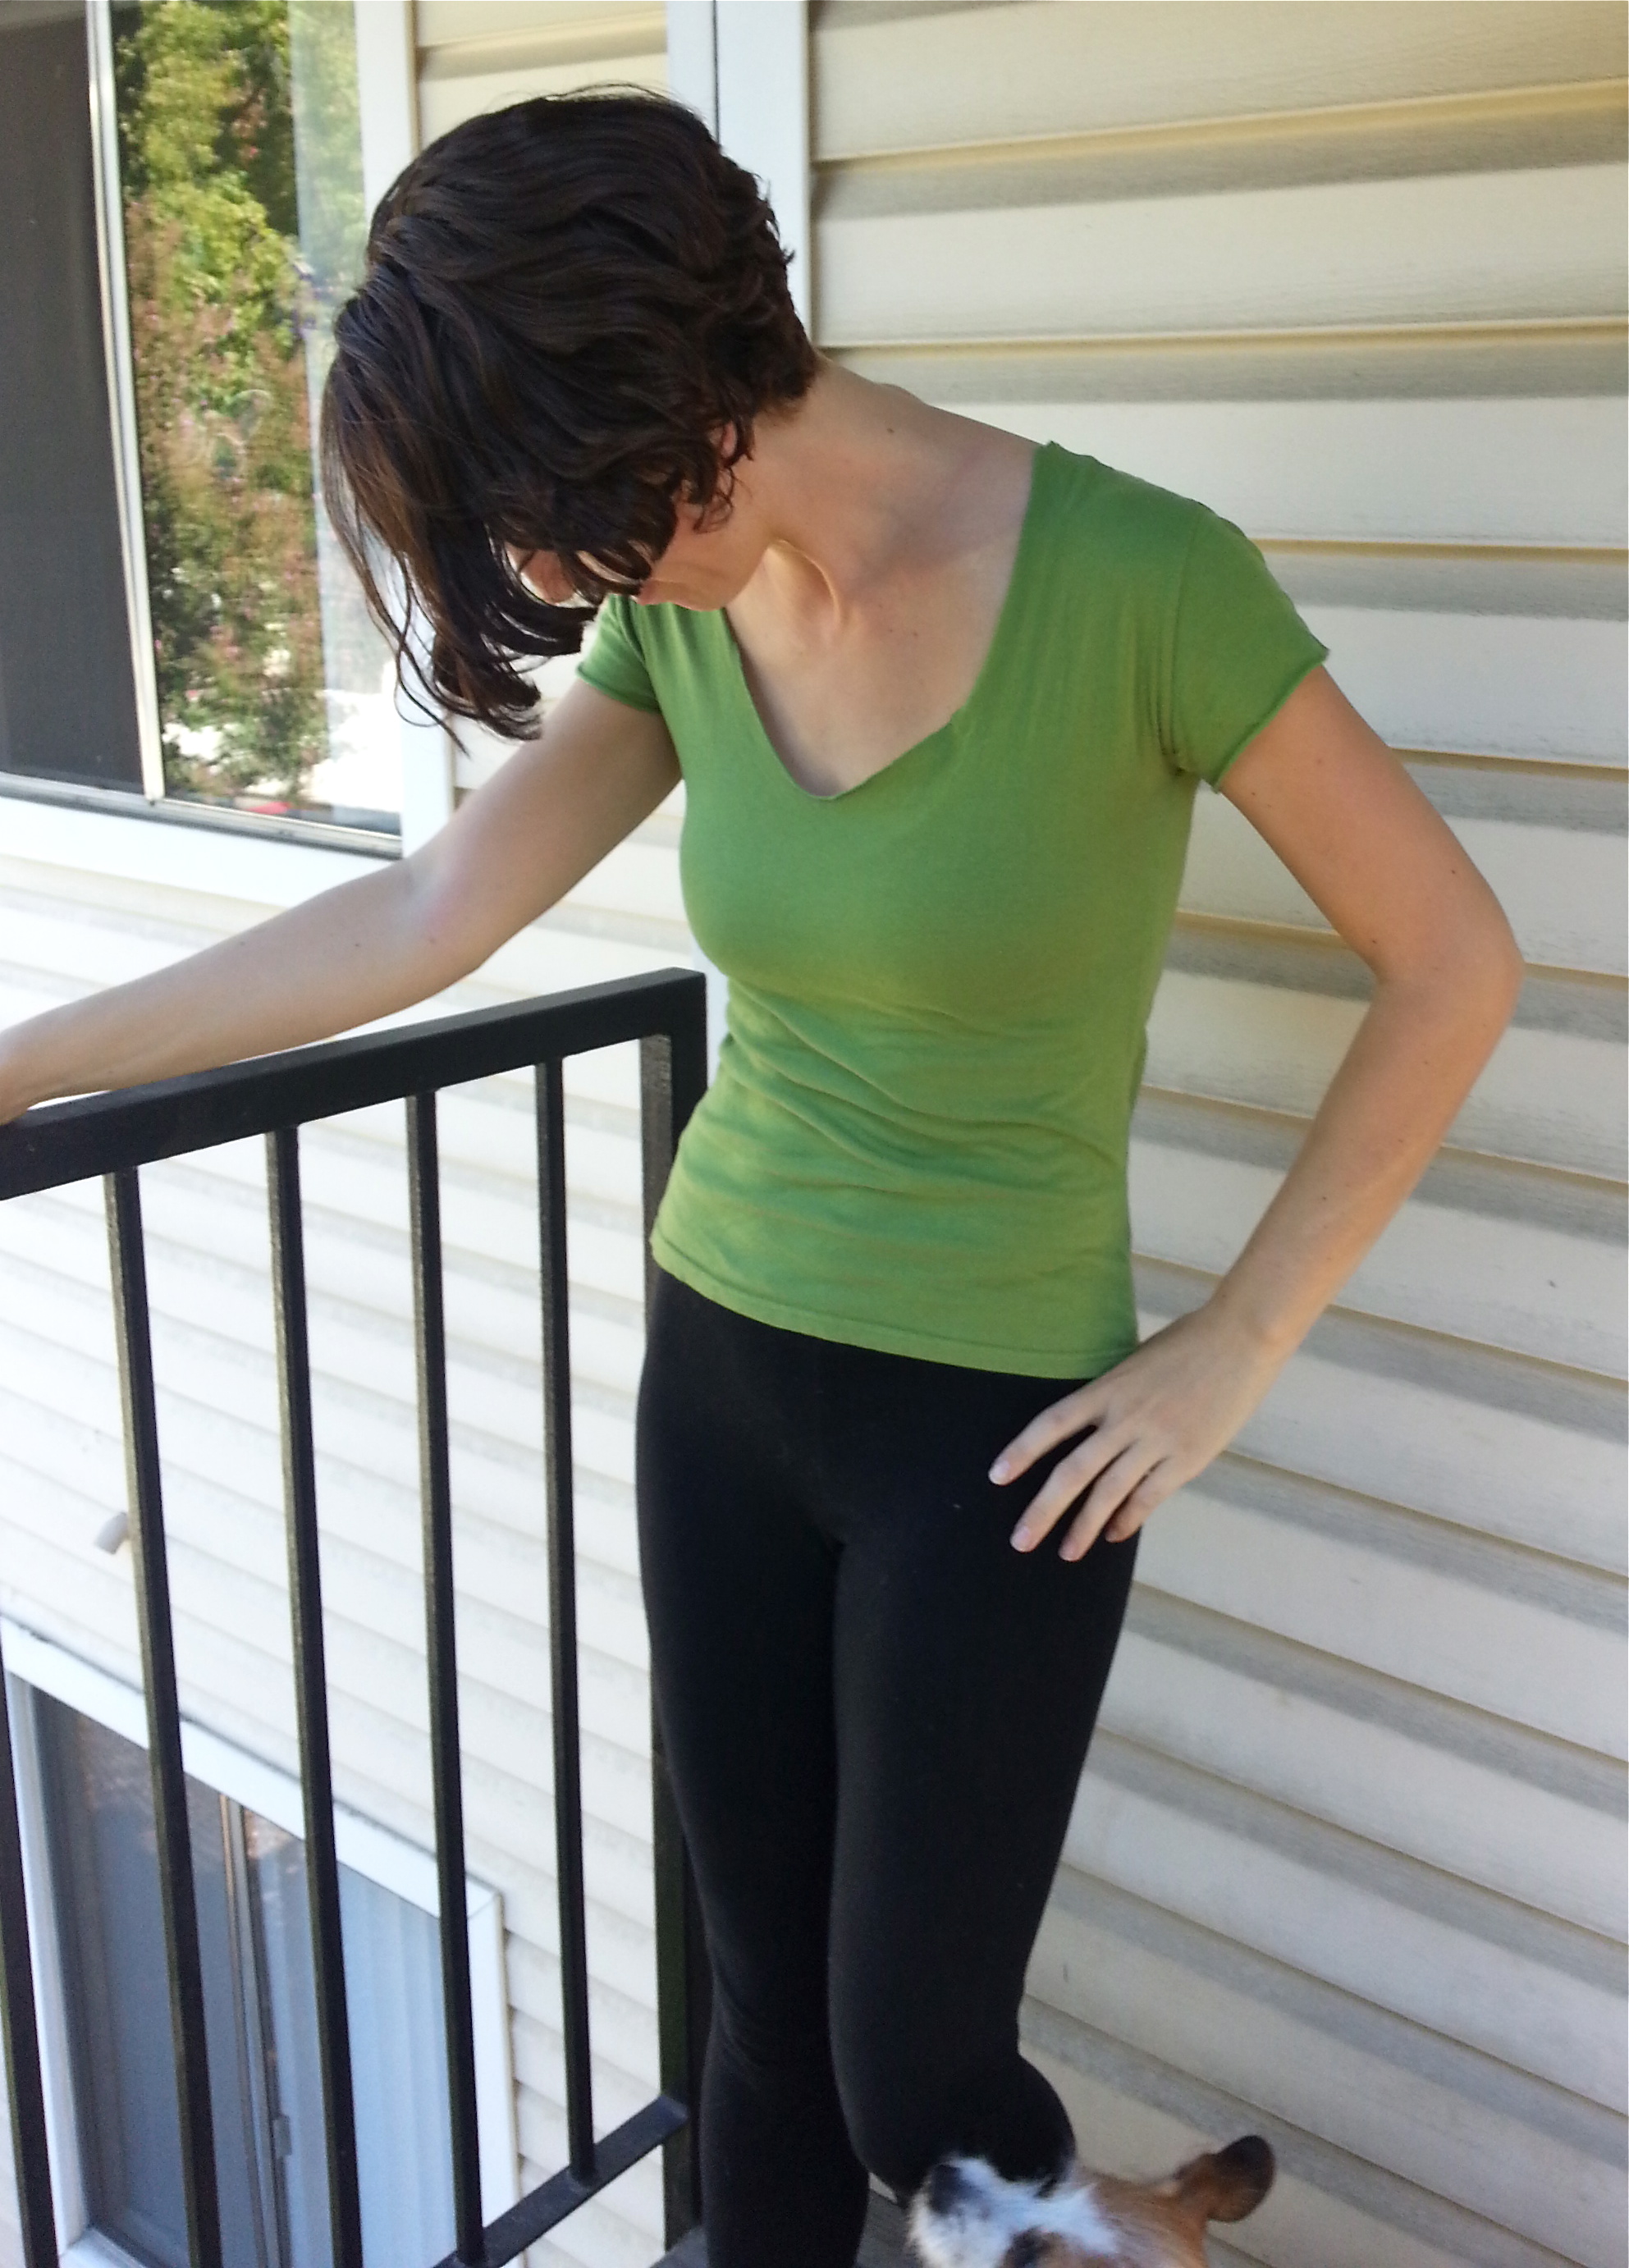
One of the most basic DIY t-shirt projects is also the one that requires the most patience and skill (and a sewing machine)—changing the fit and cut of a shirt. The above tank top used to be a men’s size medium crew neck tee that I found in a free pile. The green shirt below that I stenciled on was a boy’s size large crew neck t-shirt, also from a free pile. There are many tutorials out there for doing this, but I am going to show you the easier way I know.
First, you need to start with a clean t-shirt that is larger than you want it to be ( in this case, green shirt). Your’e also going to need a smaller t-shirt that fits you well that will act as a template (here it’s the blue shirt). Both need to be true t-shirts—those made from the kind of material that doesn’t unravel if you leave raw cut edges, and that’s important. It’s also a good idea that they have about the same amount of elasticity—if one is super stretchy and the other has no stretch, the end result may be a poor fit.


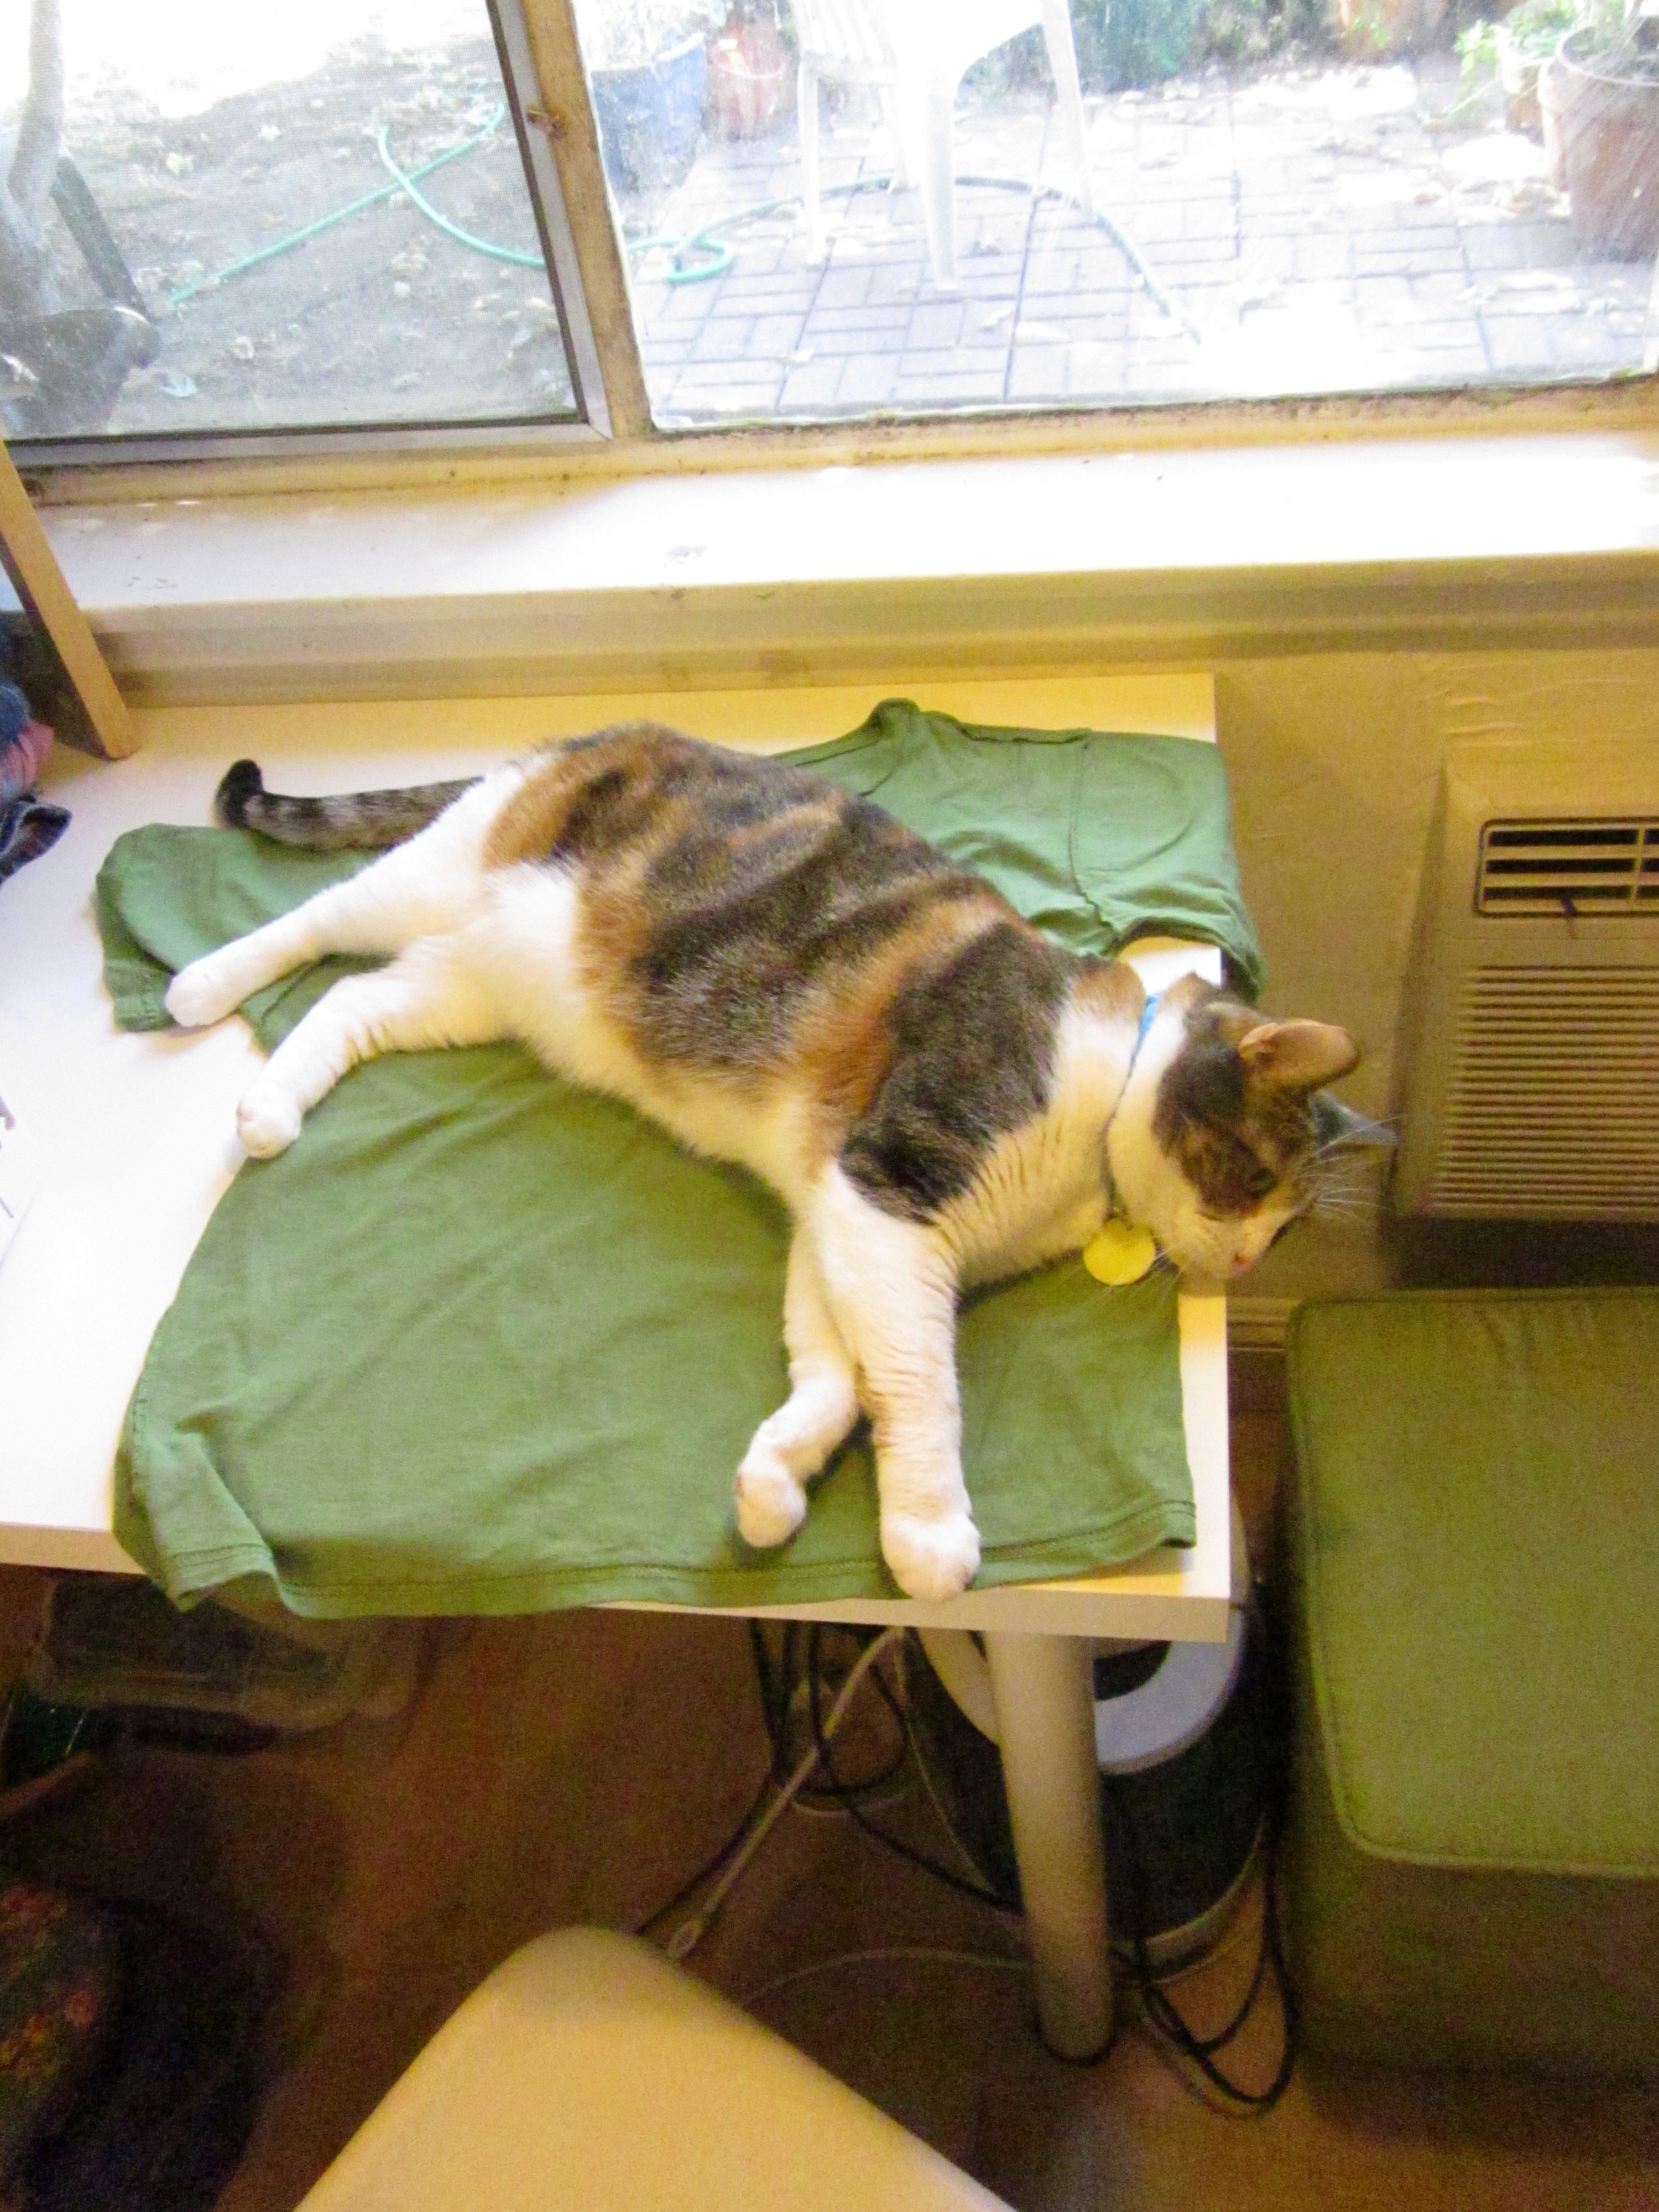
Iron out any wrinkles and lay the larger shirt on a flat surface, then place the template shirt on top of it (remove cat if necessary). Line up the top seams and trace the outline of the template shirt on top.

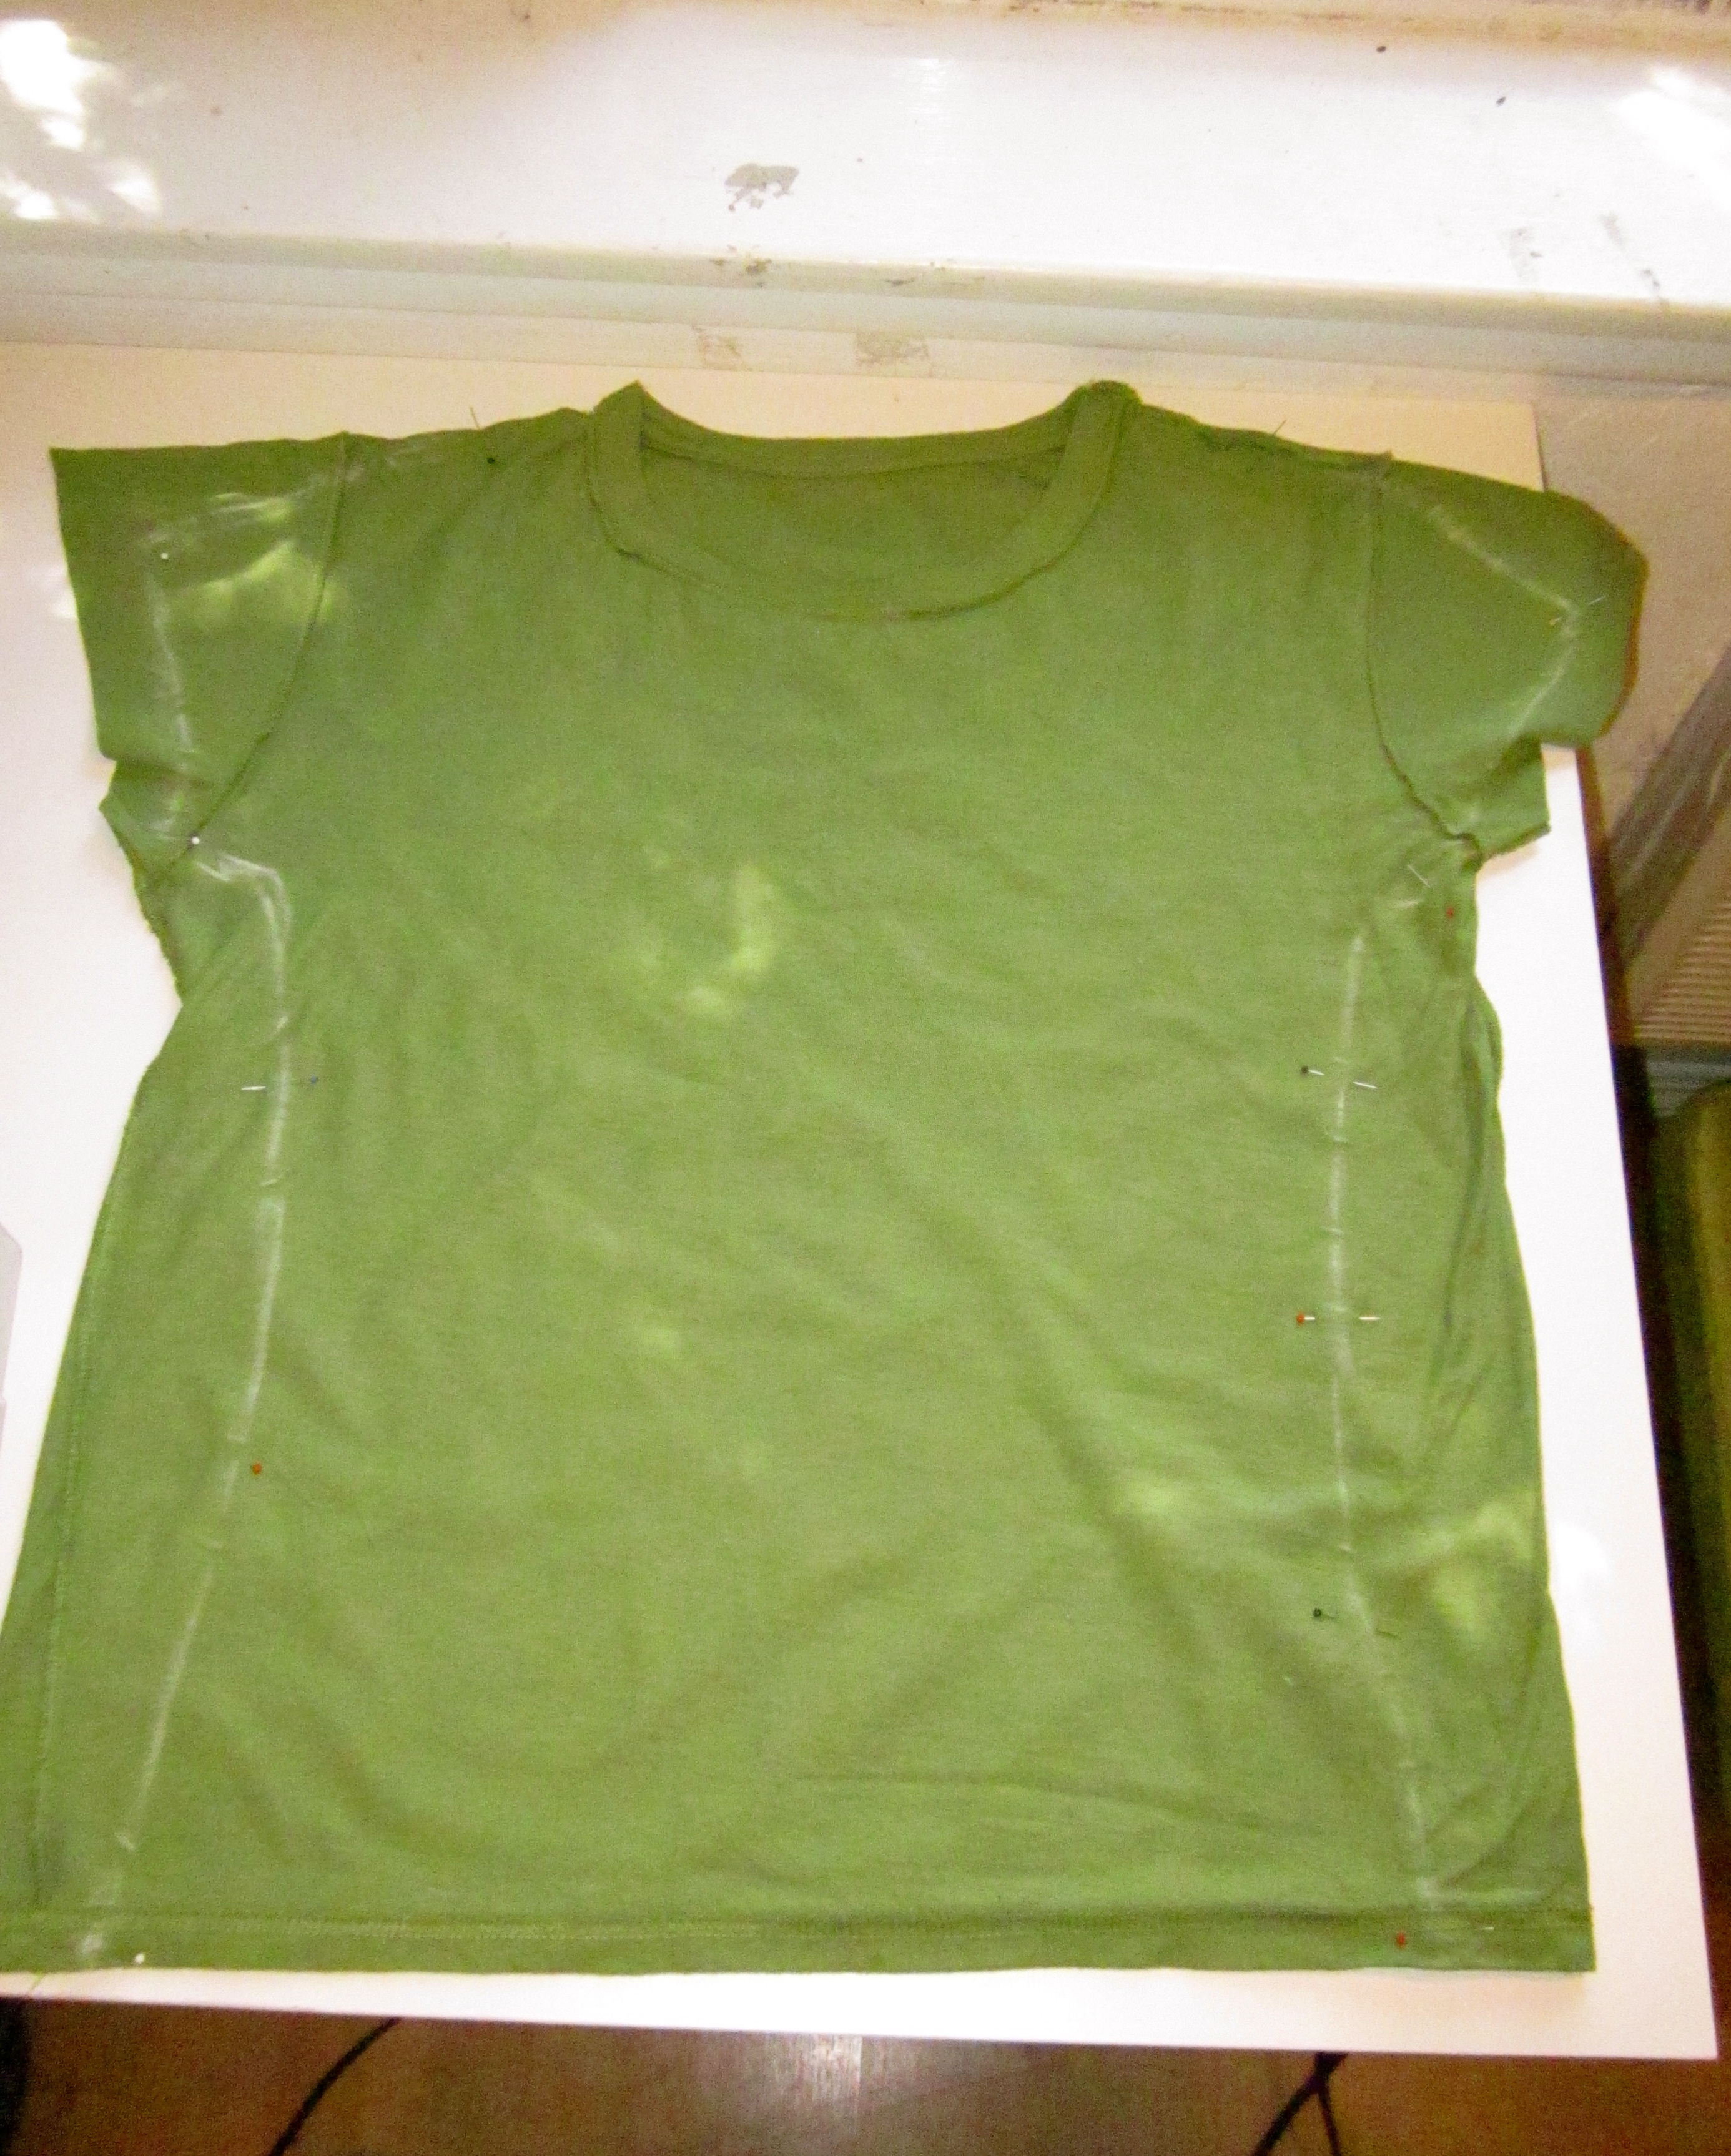
Pin the fabric together at the chalk edges and sew along that line using a matching color thread. After sewing, try it on once to be sure it’s not too tight, then trim the excess fabric off, and shorten the sleeves if necessary.


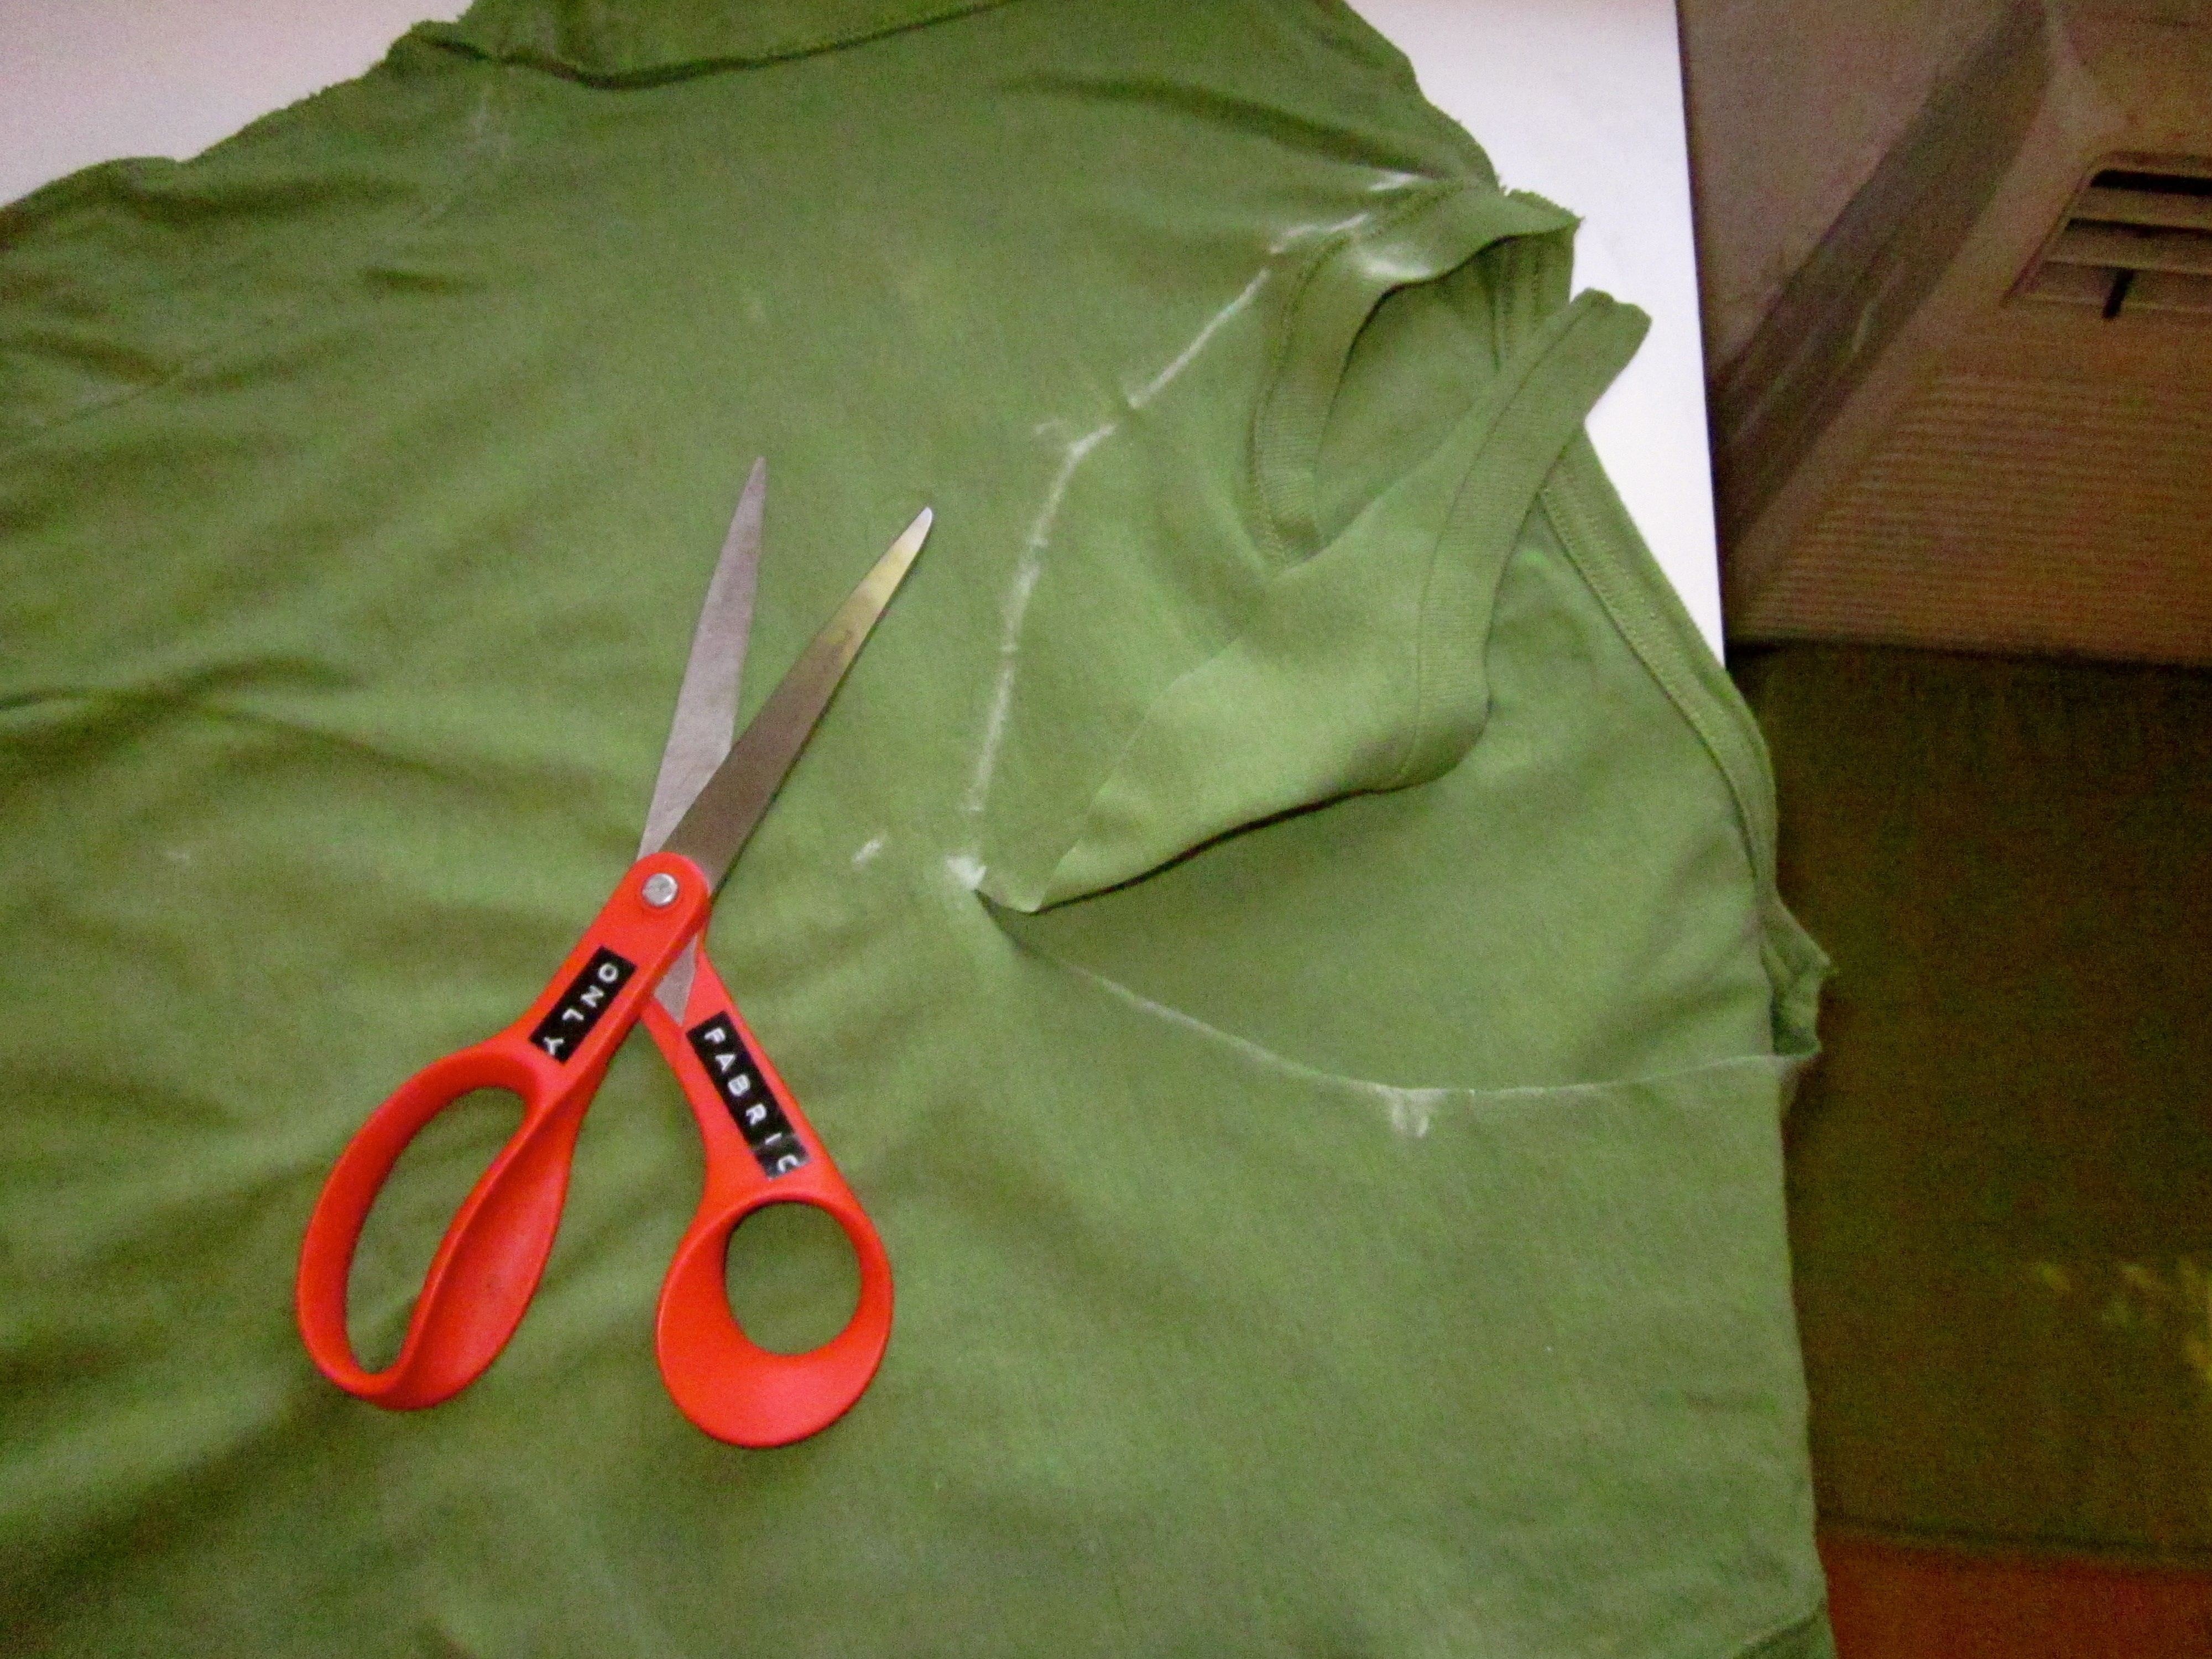
If the front and back necks are different, you now need to cut out the neck. You can either eyeball it or place the template shirt inside the other shirt and use pins to trace it by feel.

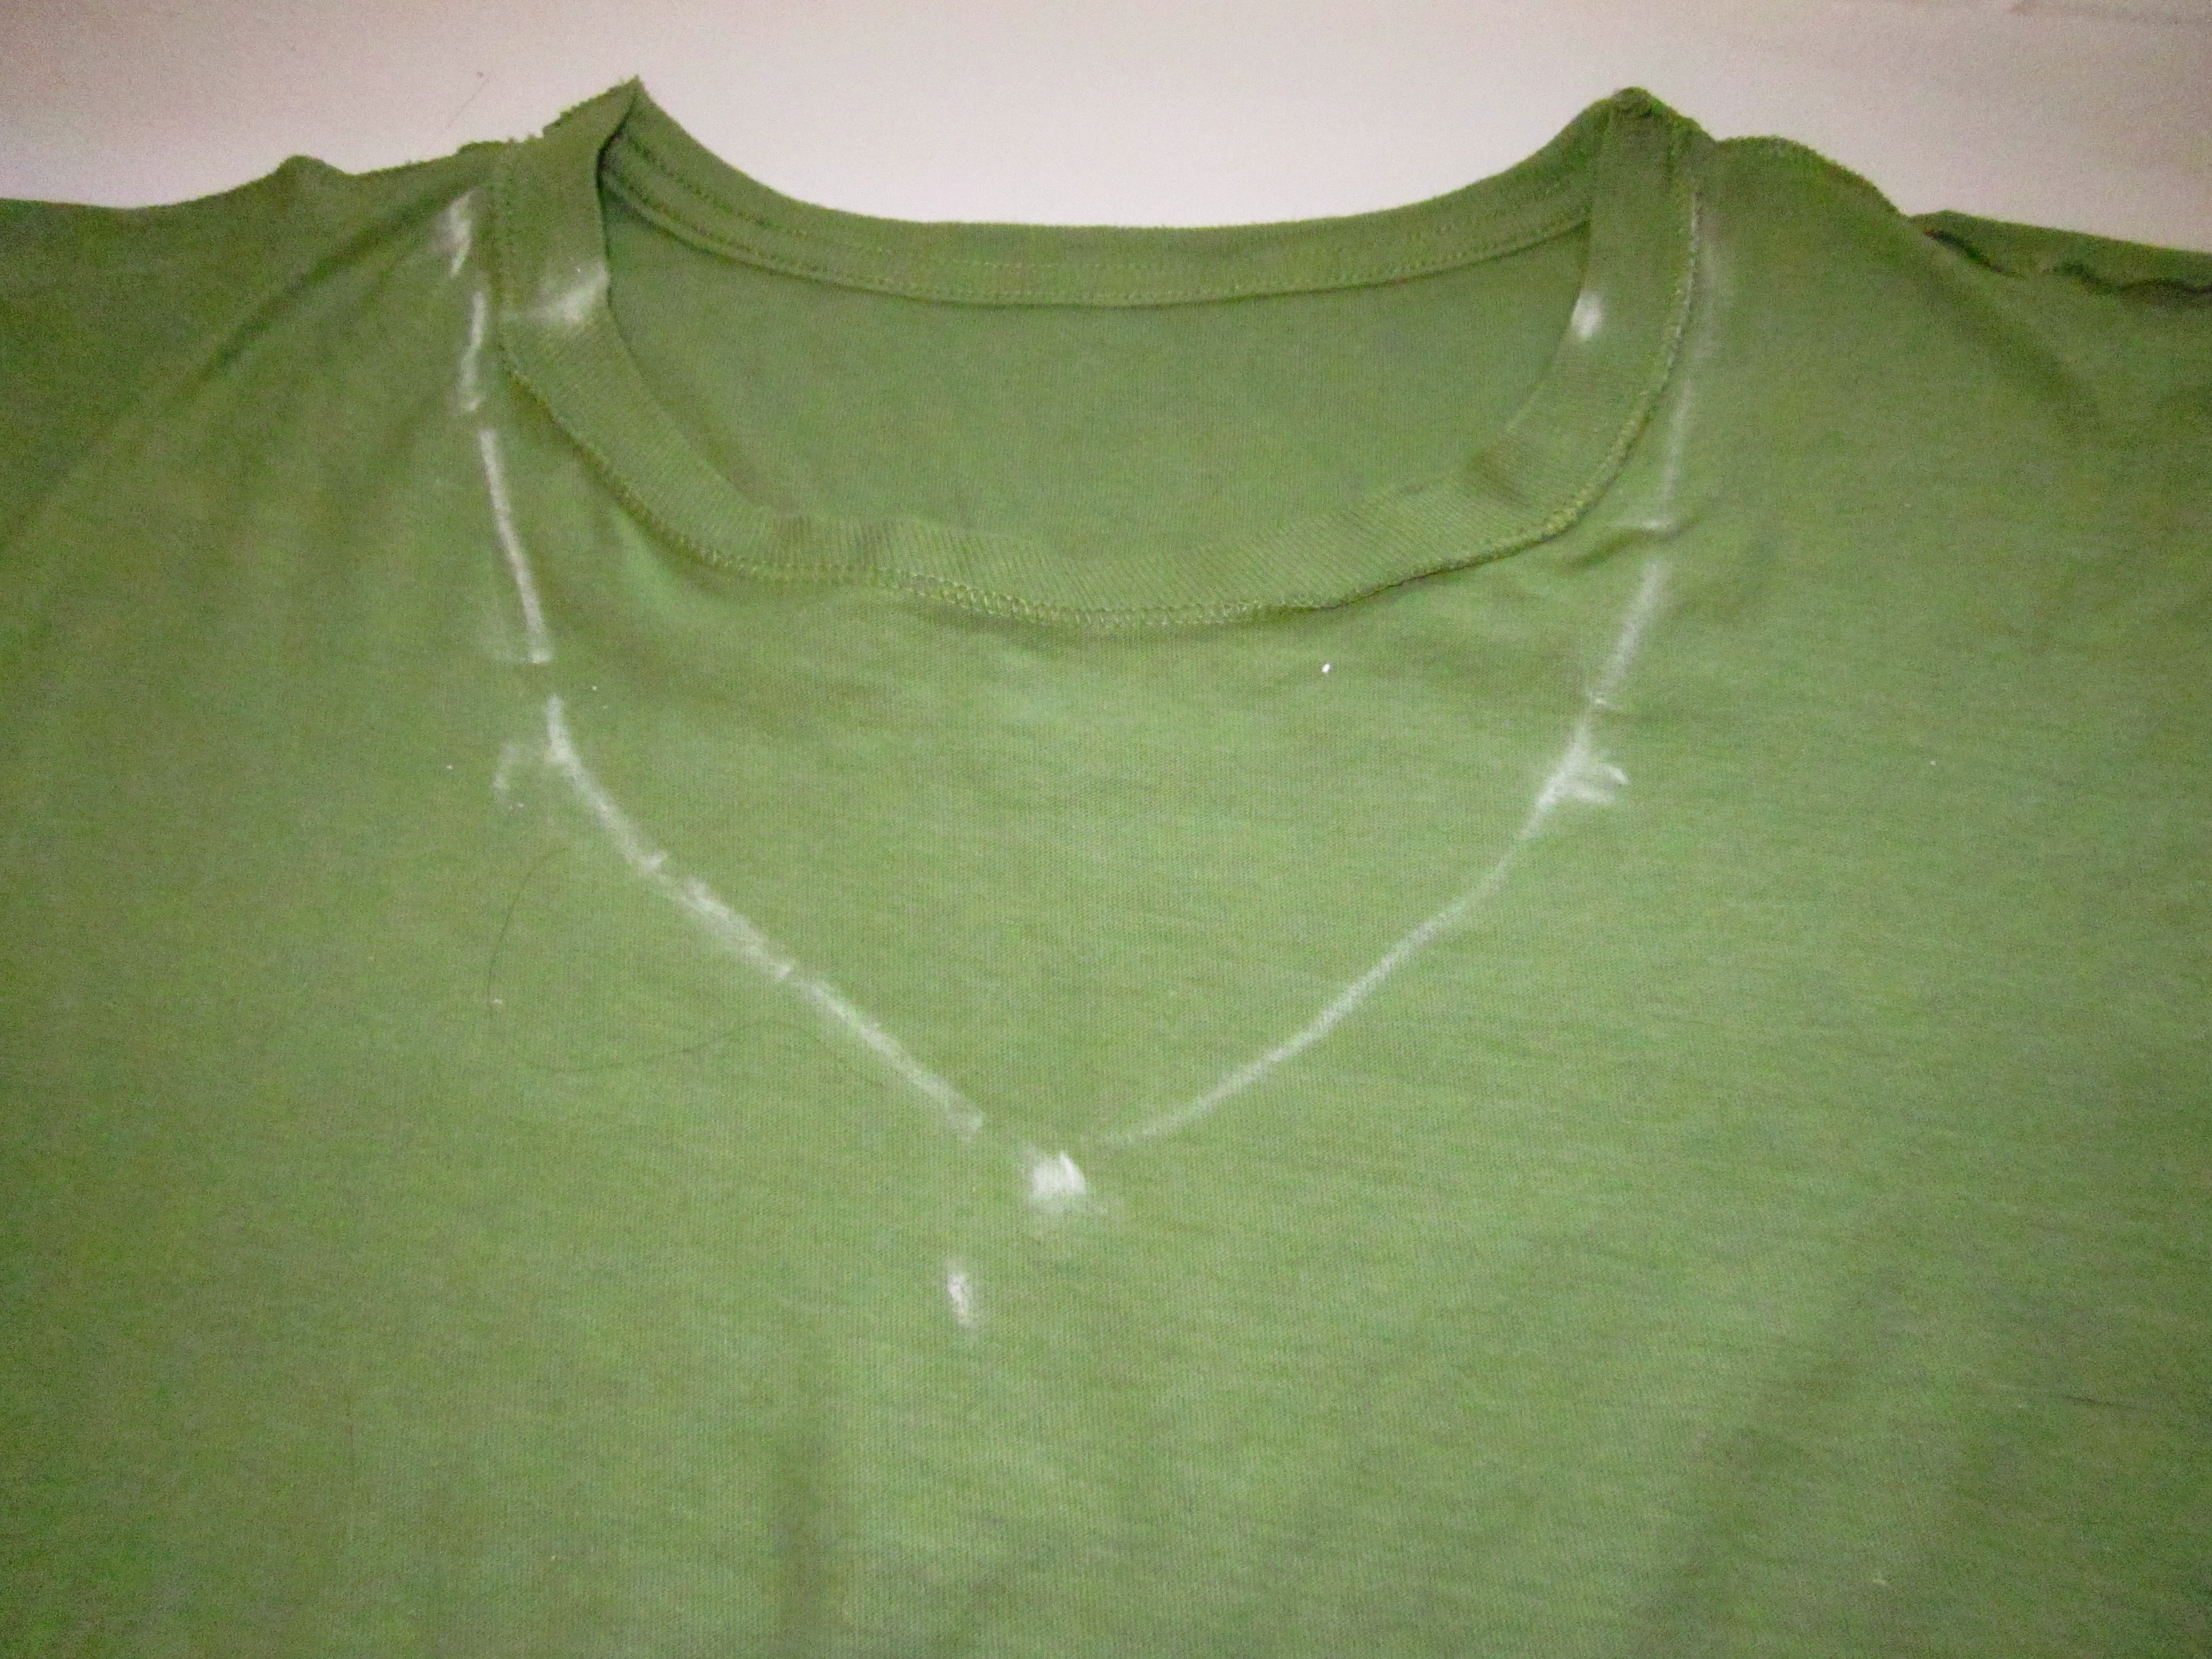
Cut out the neckline with some good sharp scissors.
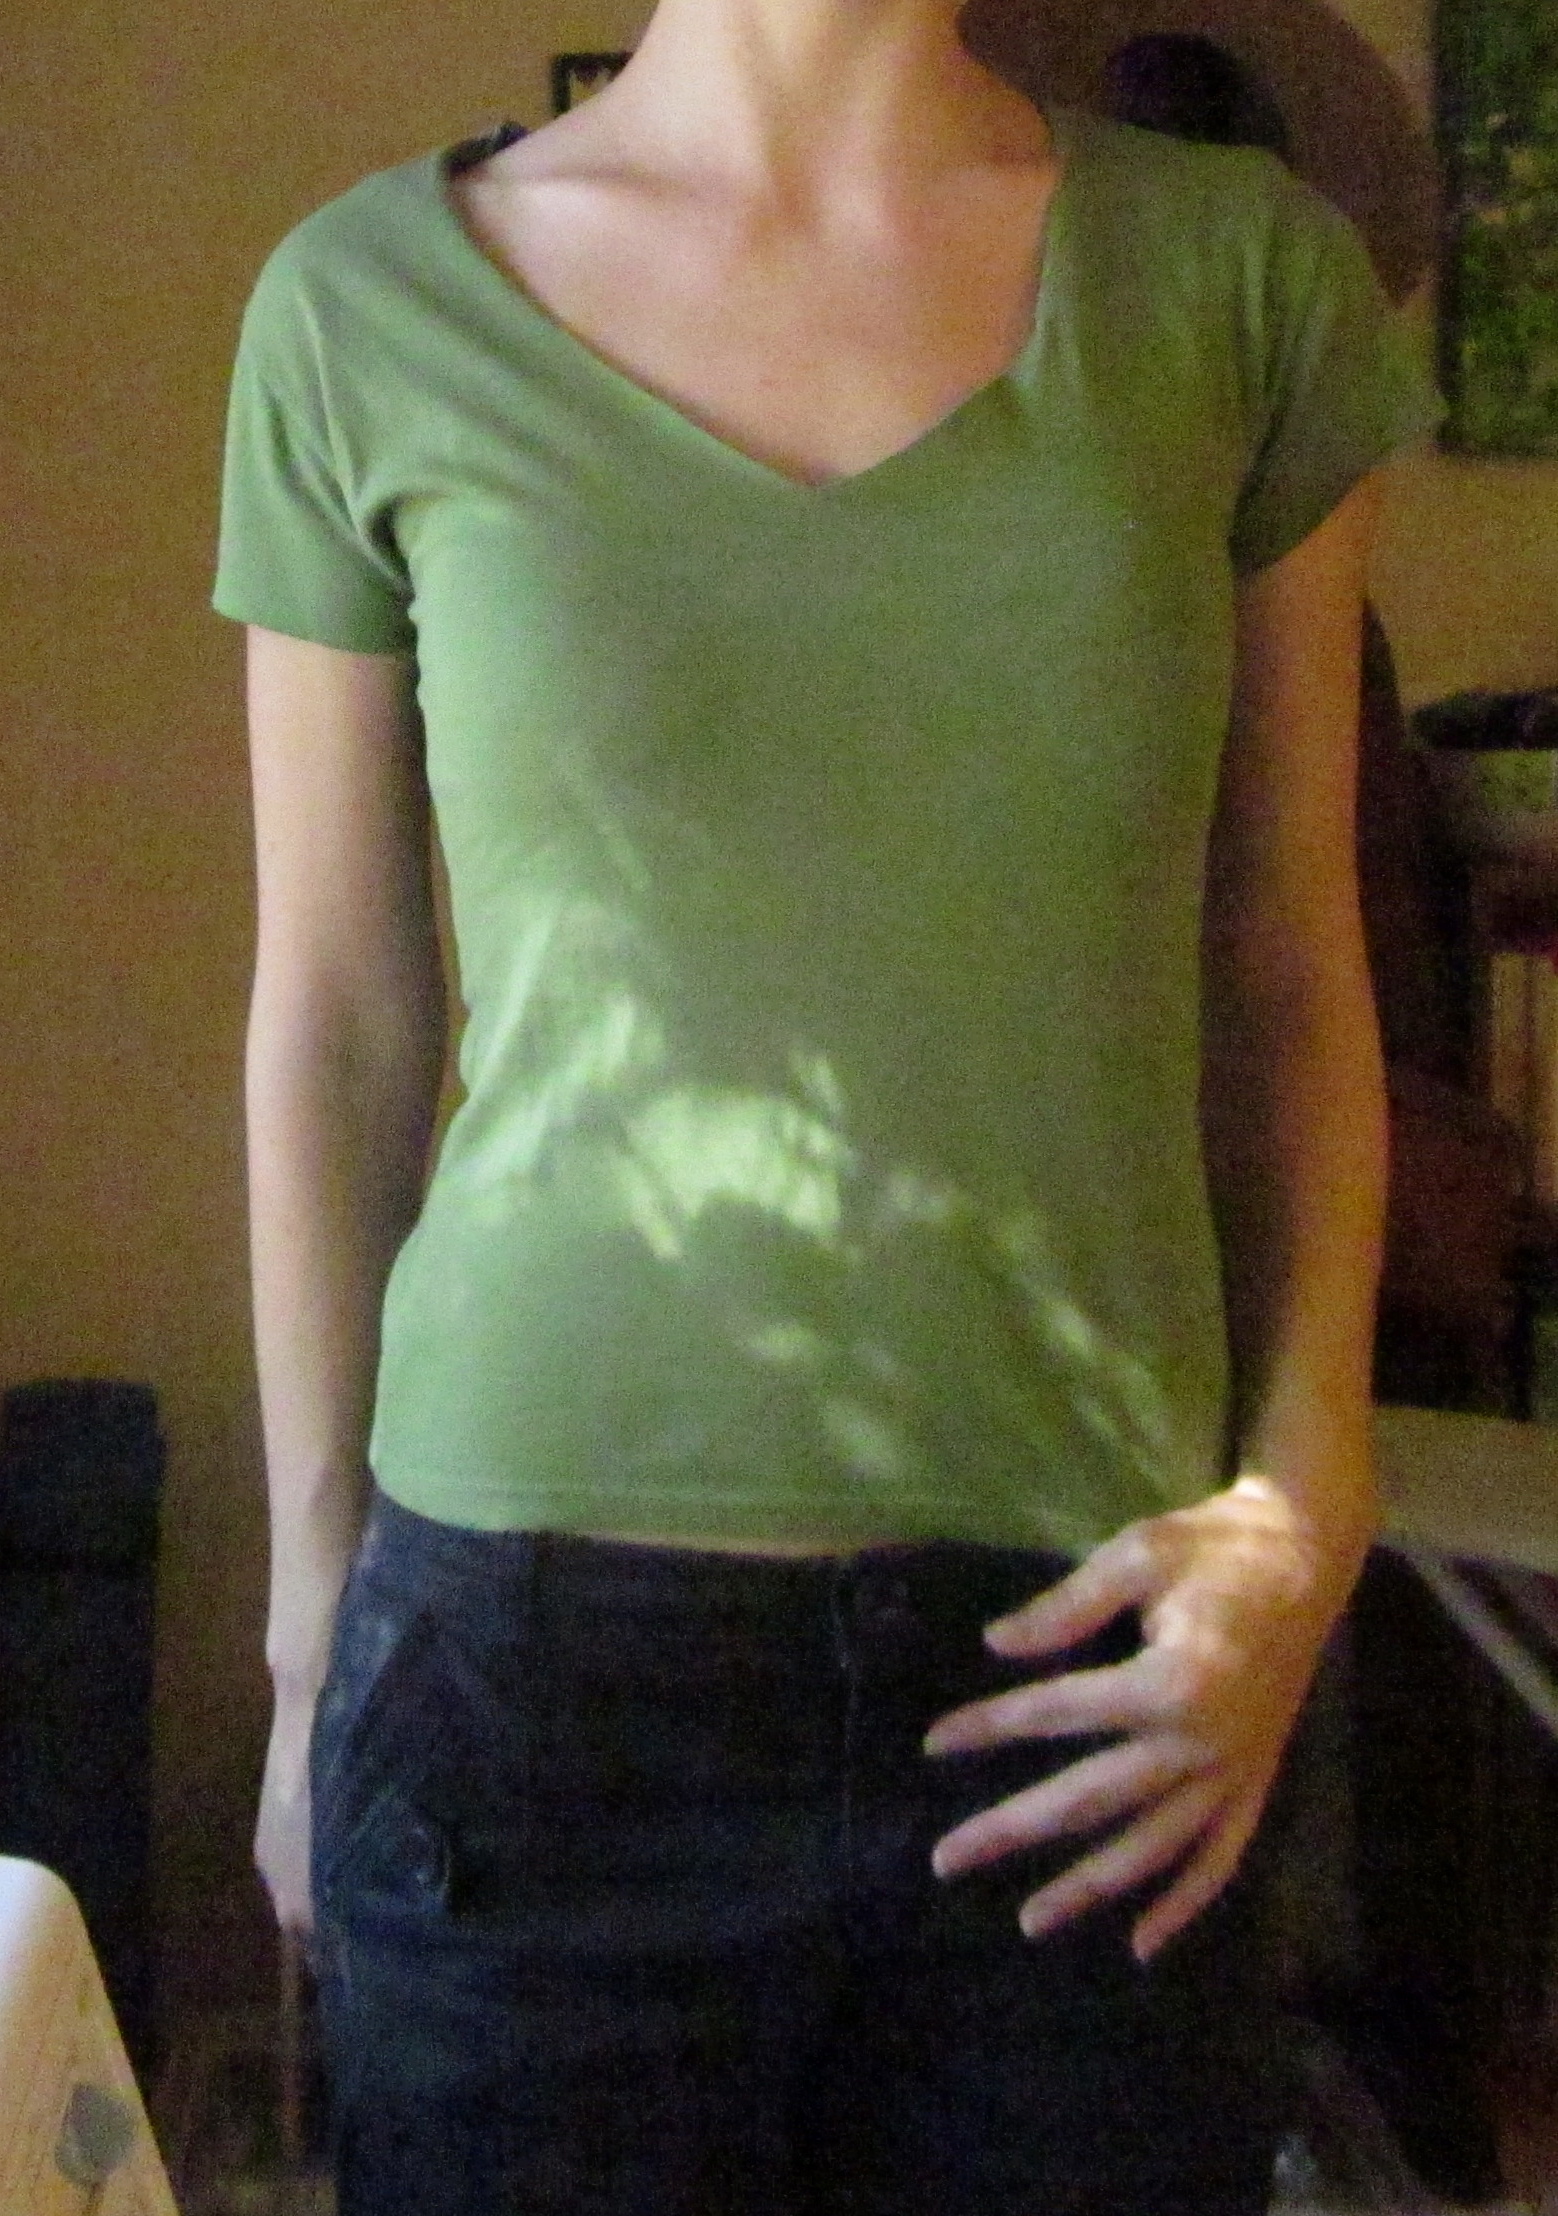
…and try on the finished product!
Making the tank top was even easier—the front and the back of the shirt had identical necklines, and I cut out the sleeves entirely. I first used this technique years ago making my very first re-fit, cut up, stenciled tank top, which you can see below. The stencil was an homage to my very first pair of lefty scissors, which I’ve had since I was a kid and still own. That’s right—I’ve been cutting it up Lefty style since first grade.

Let me know if you use any of these techniques to (de)construct your own t-shirts! I’d love to see the results.
