Botanical Knits & Crafts, Holiday Knits & Crafts, Tweaks & Alterations

Green Knits for Spring, Remixed

Happy First Day of Spring! To celebrate the Vernal Equinox, I give you three green knits, each re-imagined in some way and ready for transitional weather:

2012-11-15 23.20.122014-03-17 11.02.262014-01-11 16.56.38

Fingerless mitts: Vancouver Fog

2012-11-15 23.21.59

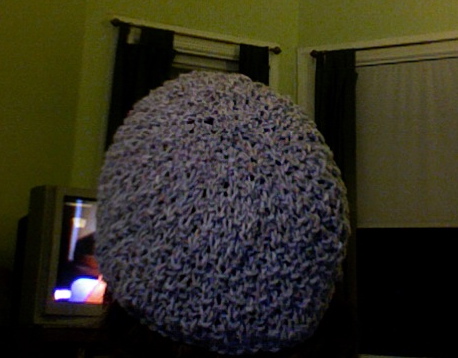
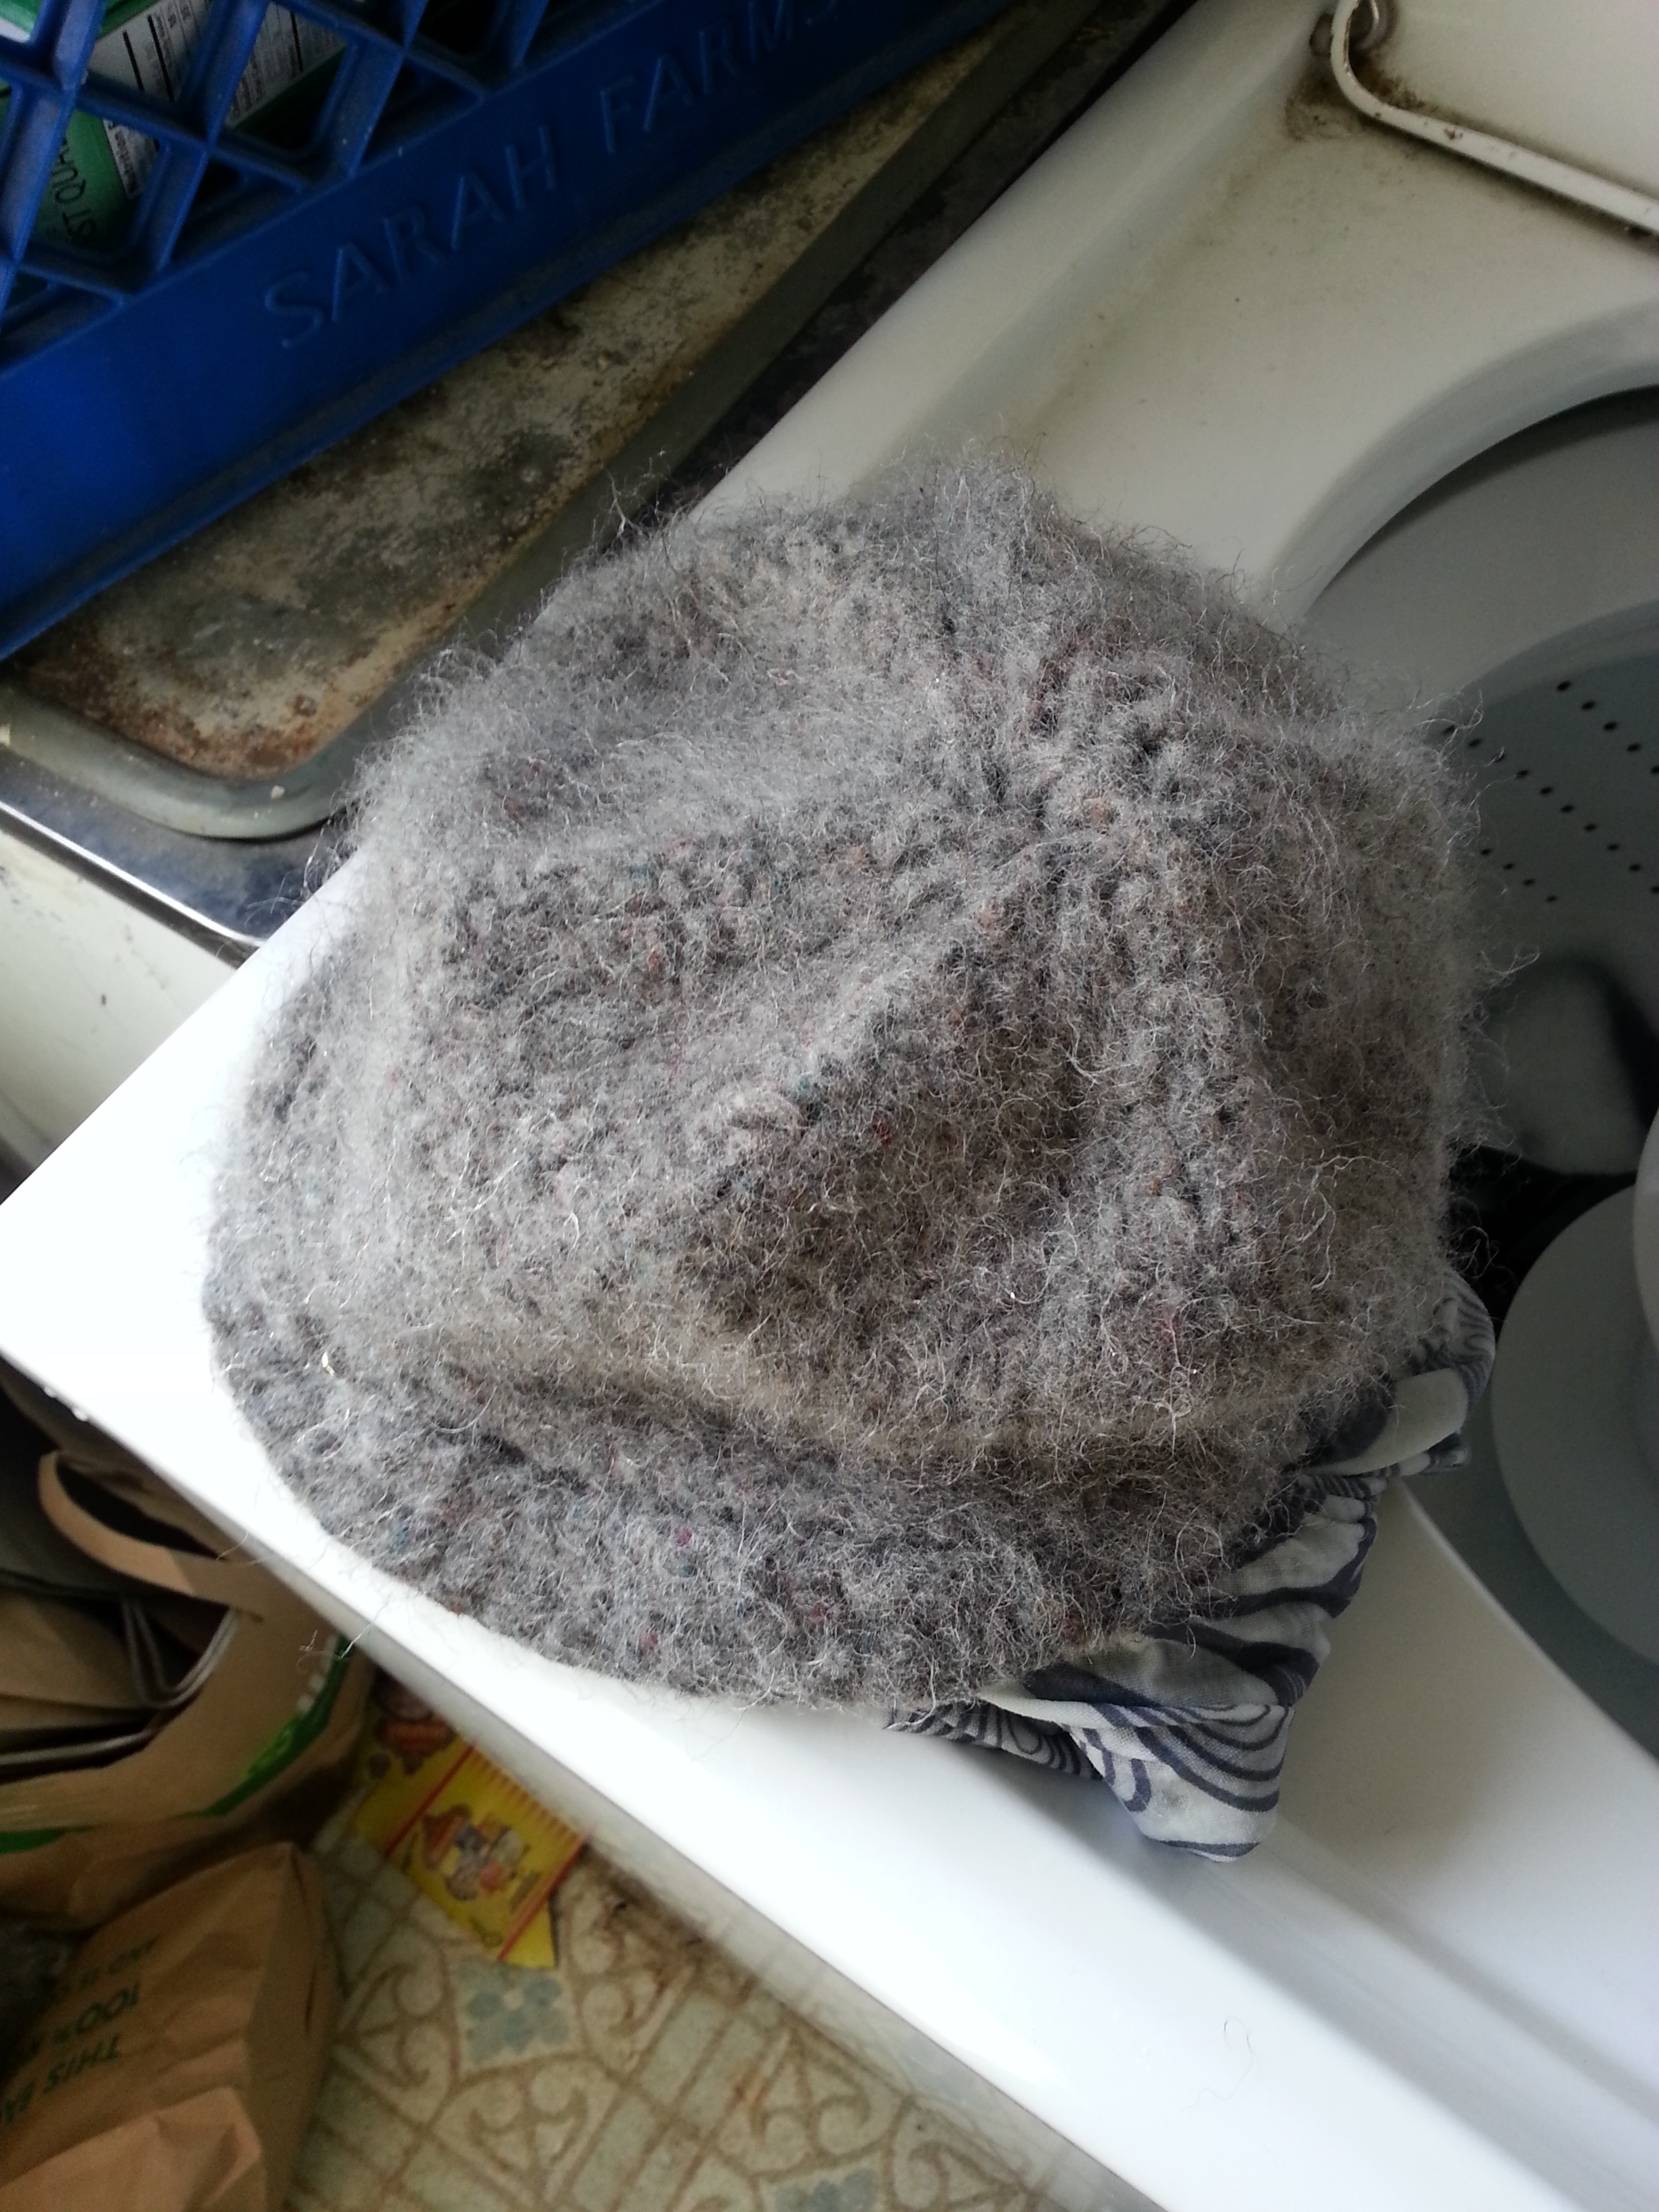
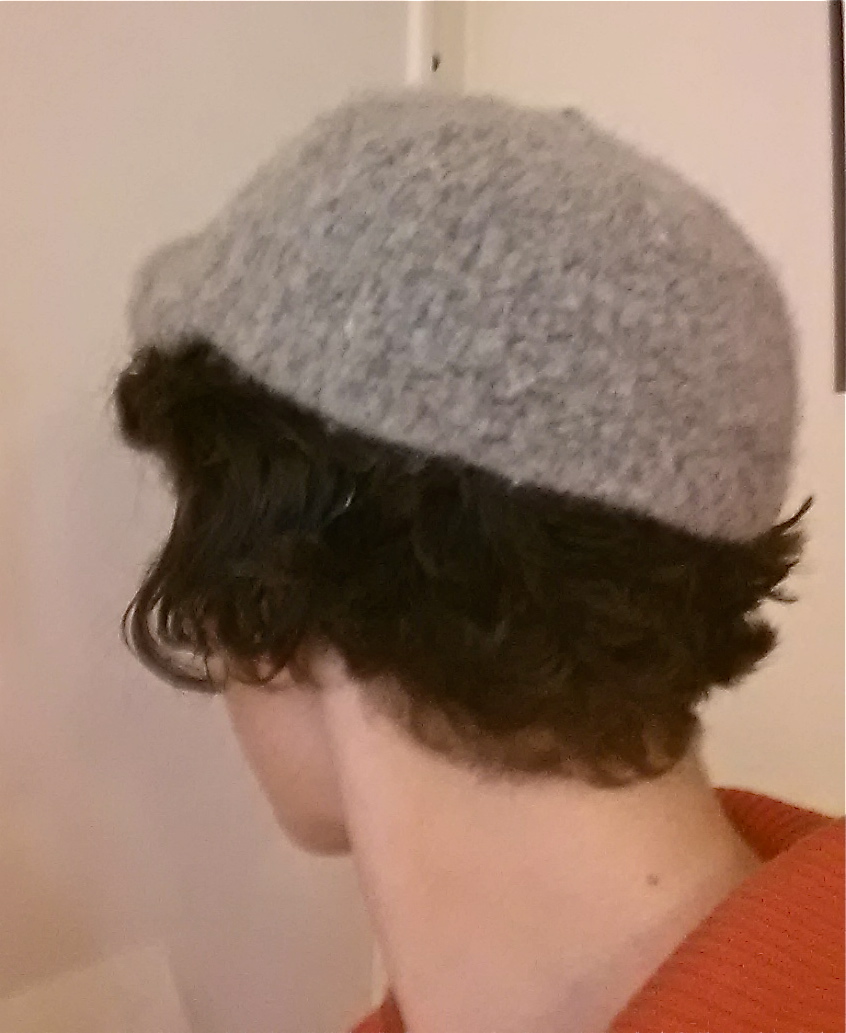
This is my version of Vancouver Fog by Jen Balfour. Fun fact: this soft, blue green yarn used to be a different knit entirely. A long time ago, back in the loose knitting days I’ve mentioned before, I knit Calorimetry from Knitty’s Winter 2006 issue. It came out poorly:

DSC03420

See how loose it was in the back? It barely stayed on my head, and that was before it stretched out. I even overlapped the ends and did two buttons to try to keep it in place, to no avail.

DSC03415_medium2

Fast forward a year or so and I was planning to make some fingerless mitts for a friend’s birthday. She chose the Vancouver Fog pattern, with its beautiful cable pattern, and I just knew that this was the right yarn for the job. So I frogged Calorimetry and started remaking this muted, spruce colored worsted weight yarn into hand warmers.

Photo on 10-13-12 at 9.42 AM

I remember being disappointed that there wasn’t a gauge for this project, but I had learned my lesson about my loose knitting—so instead of the recommended size 7 needles, I used size 3! I know! I also cast on 4 fewer stitched than recommended. Yes, I went that tight! But the results were spot on:

2012-11-15 23.21.06

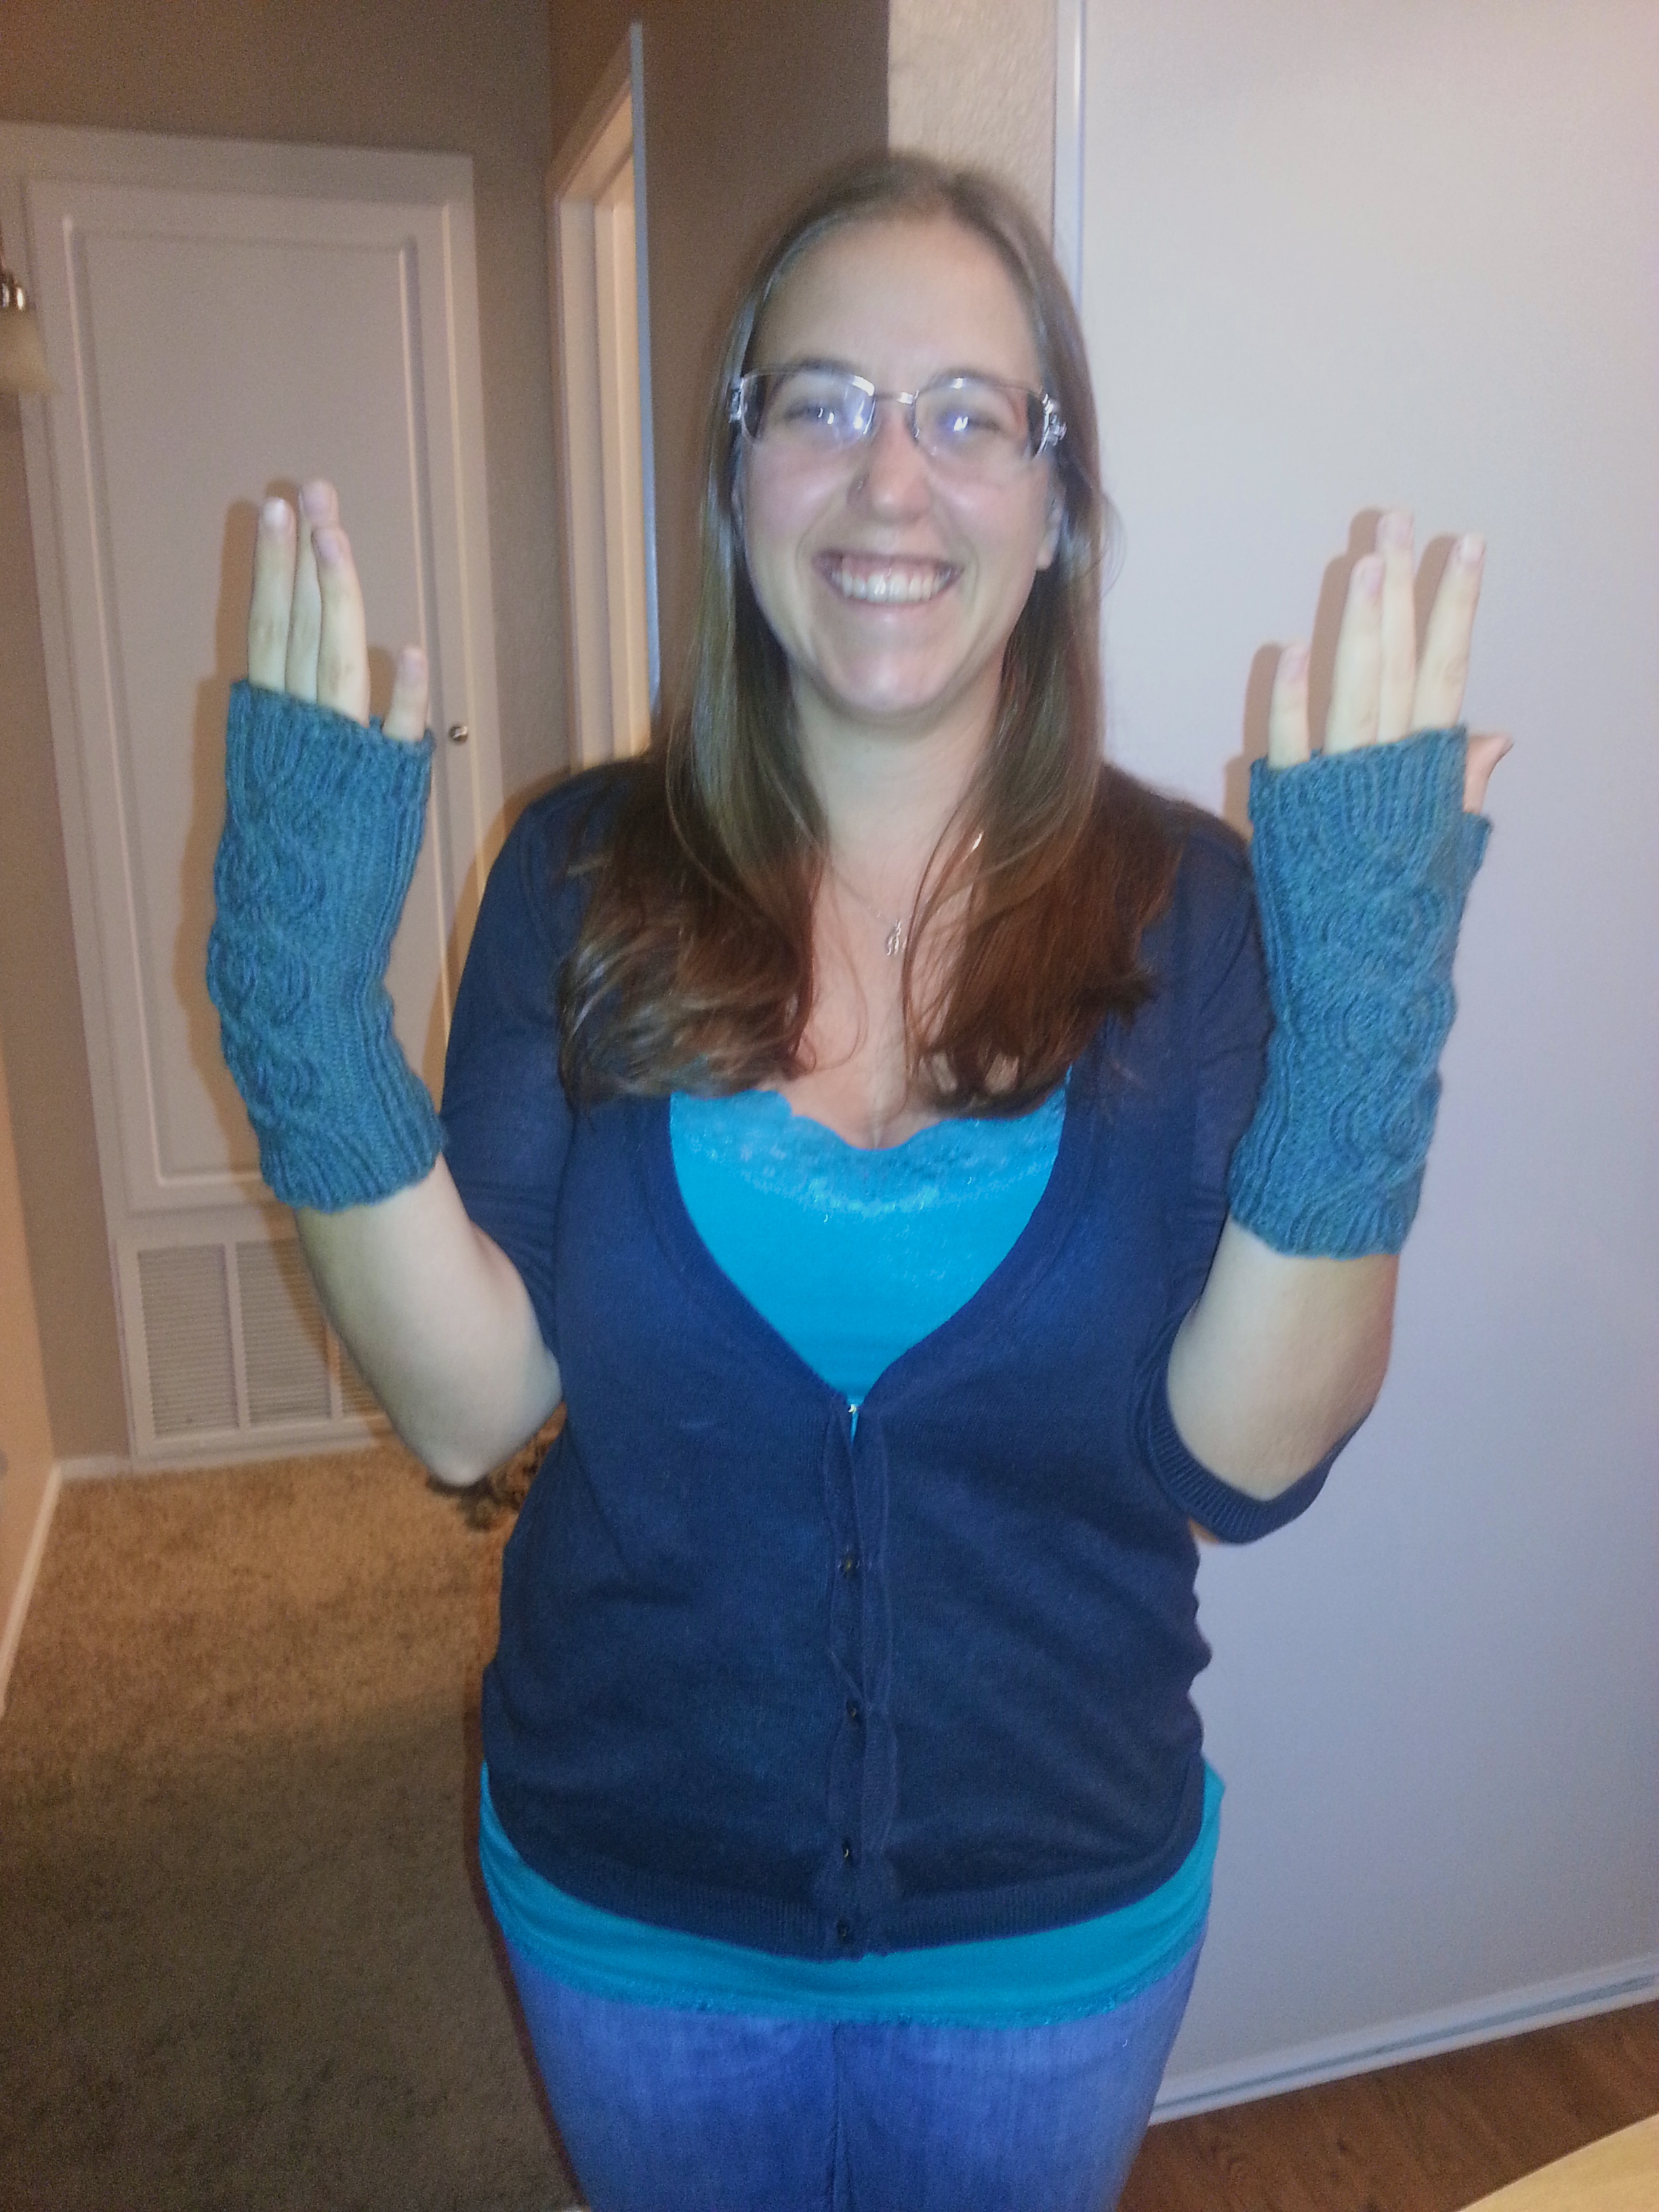
These fingerless mitts were a good fit, and I got to practice some cool cabling techniques. I’m quite pleased with my decision to frog the original pattern.

BEFORE
BEFORE
AFTER
AFTER

Fingerless mitts are great for those times when it’s too cool out for bare hands, but not cold enough for gloves!

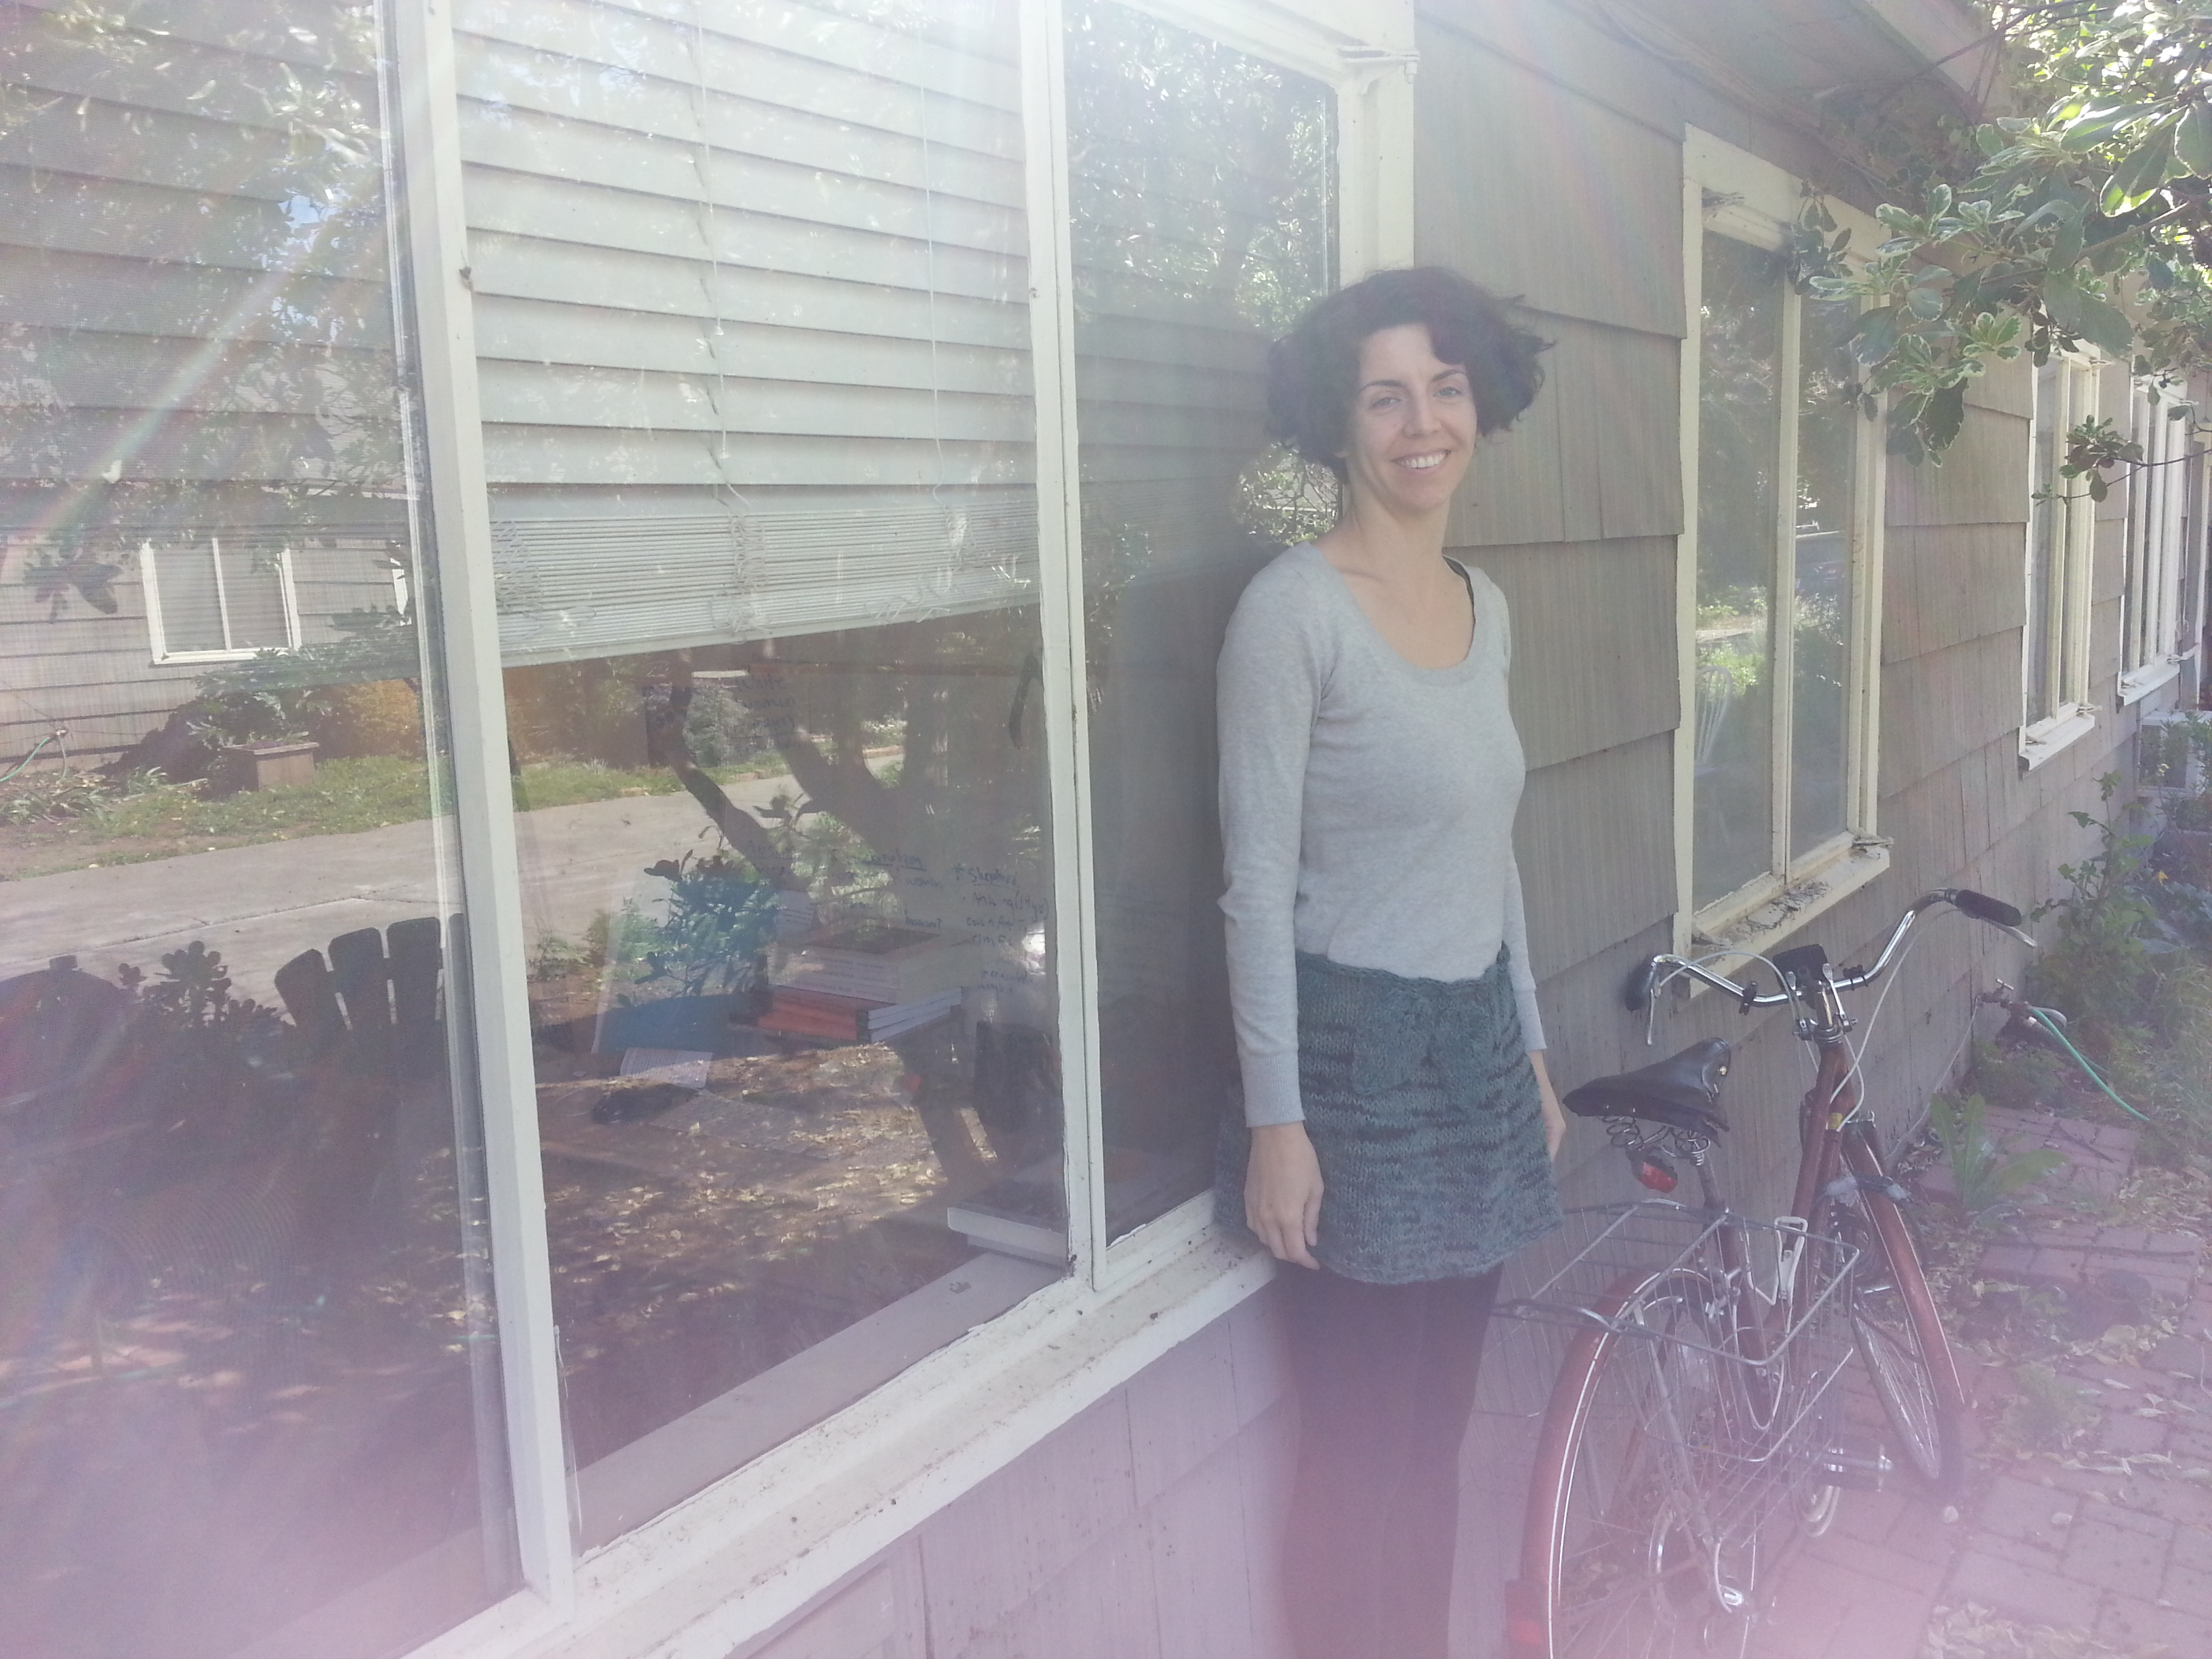
Leafy Skirt or Mini Cape: Entry Level Capelet

2014-03-17 11.02.26

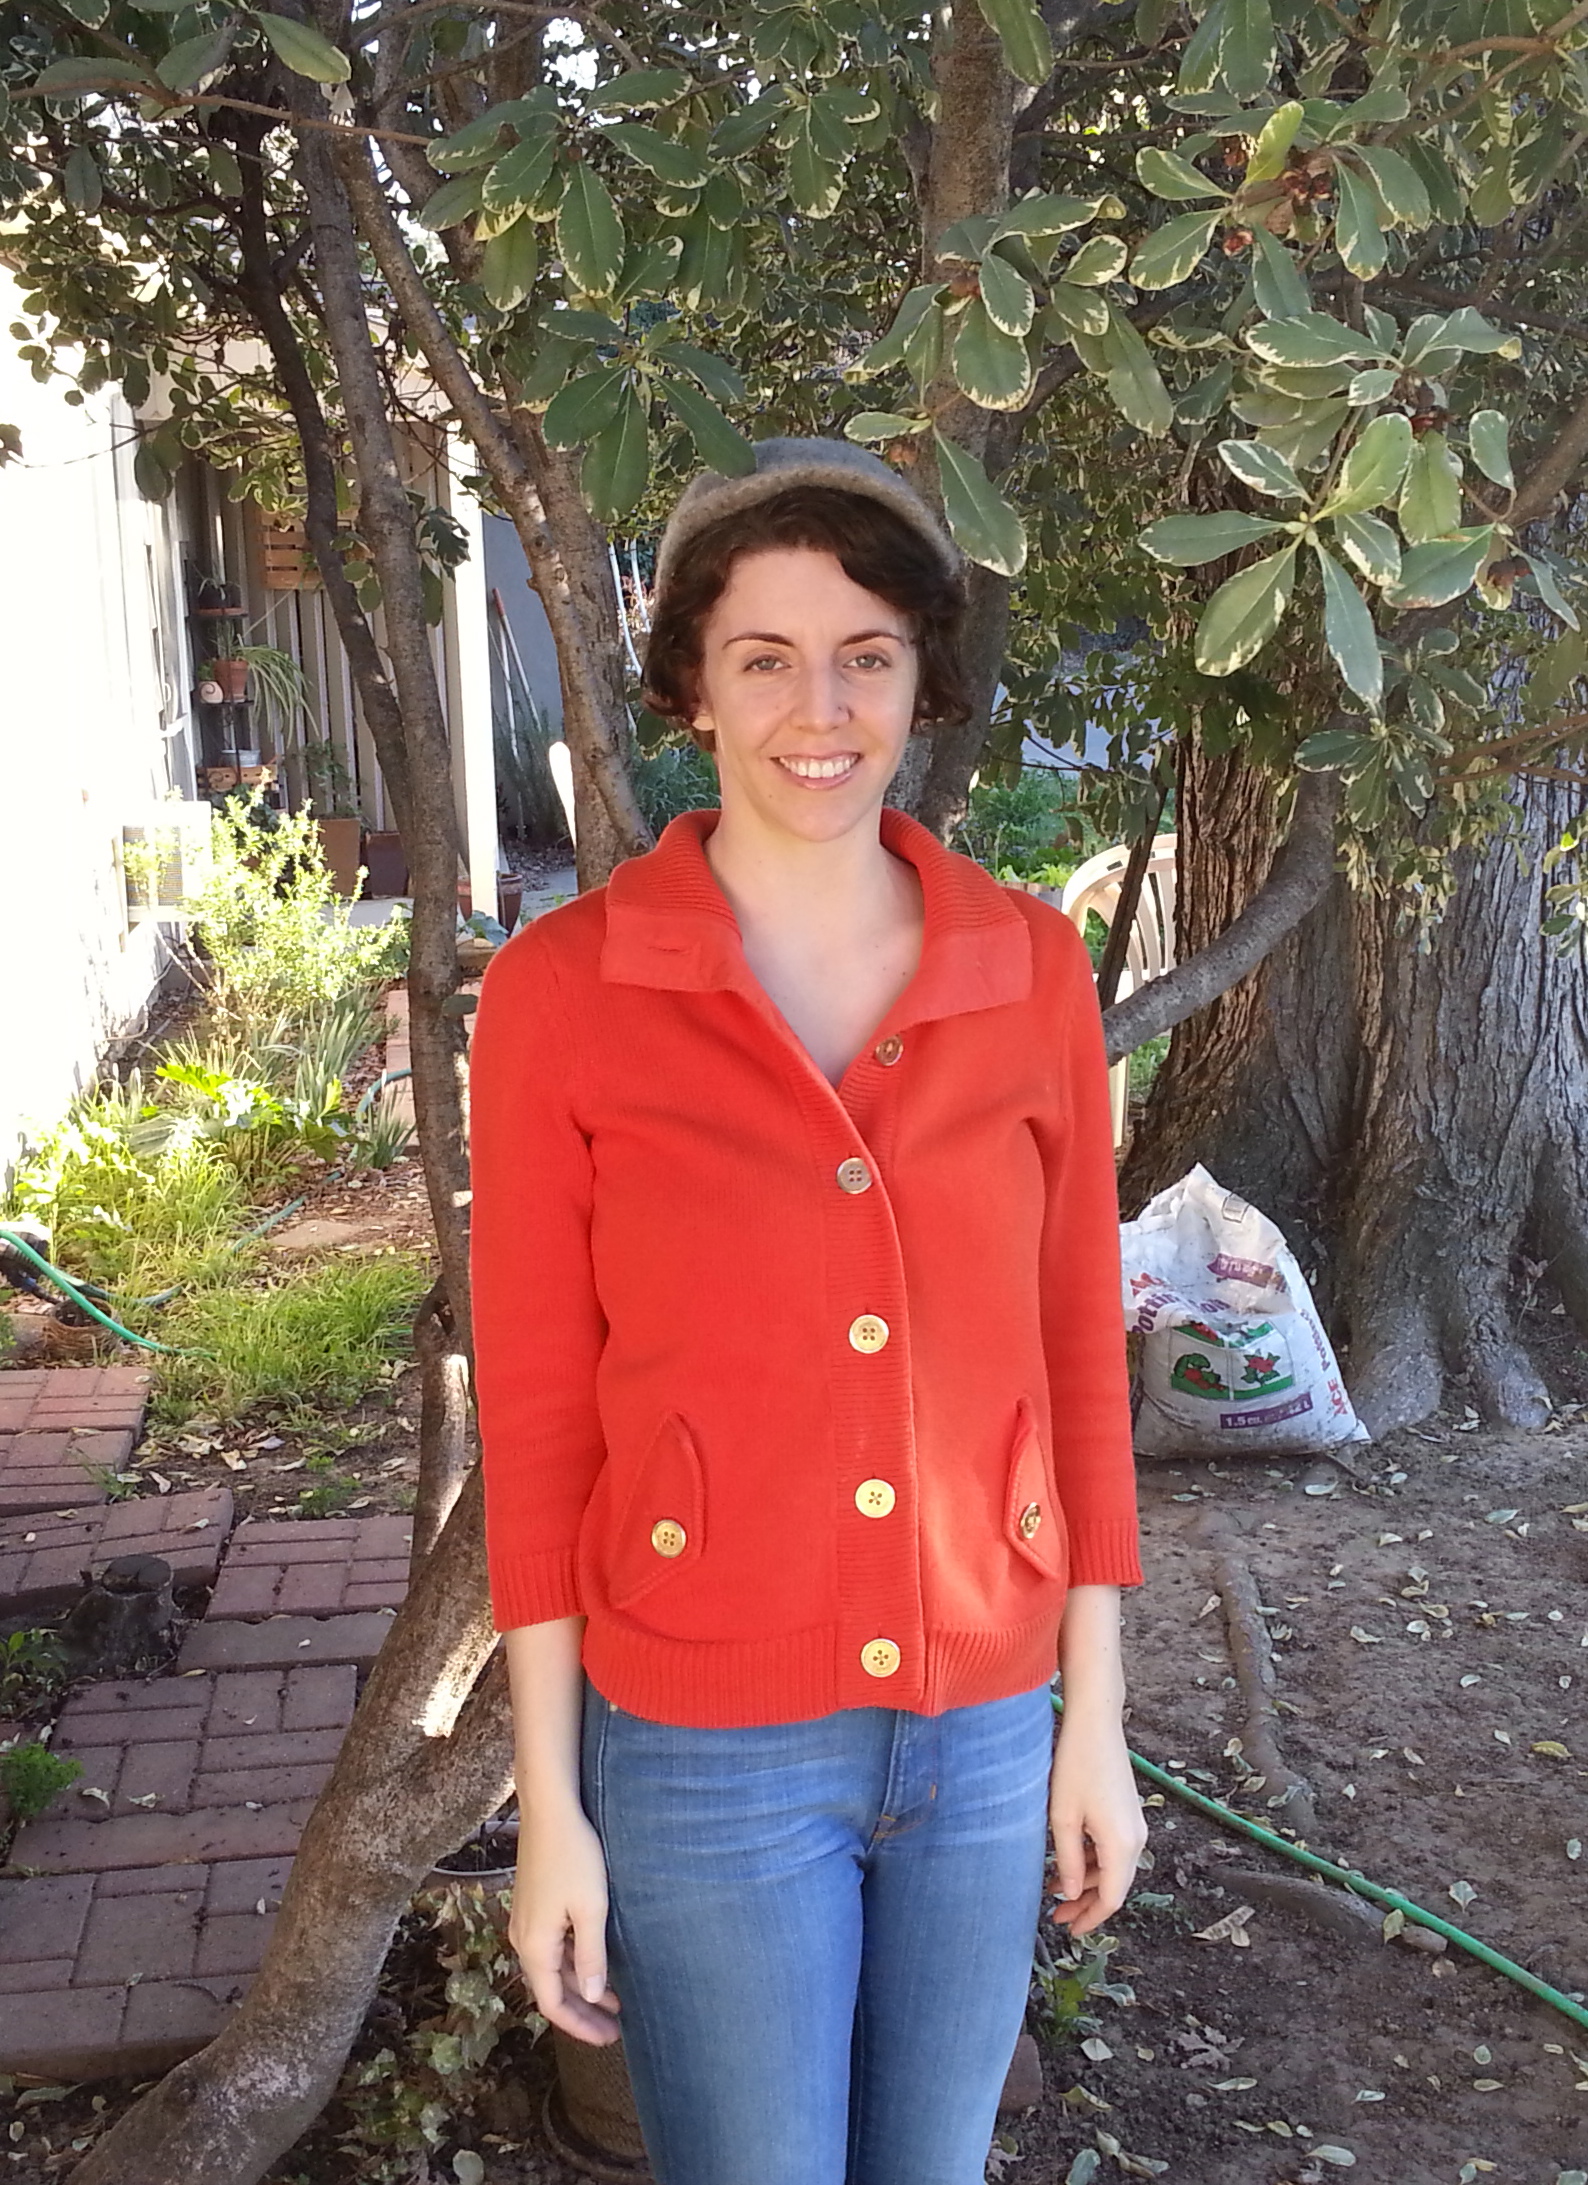
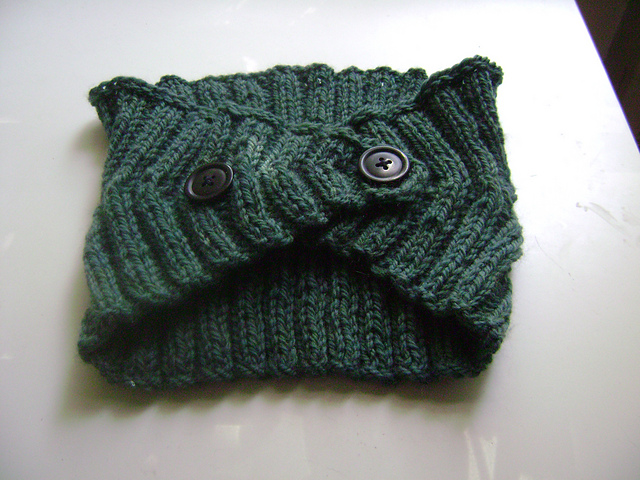
This is a really old project, but the loose knitting didn’t matter with this very simple garment. It’s the aptly named Entry Level Capelet by Haley Waxberg. It’s a good pattern for a hand dyed variegated yarn like this one. The color pooling was not even, but that gives it an interesting self-spiraling effect at the top. (side note: you can tell how old the photo below is by how long my hair was!)

DSCF0354_medium2

However, I almost always wear my version in a different way now—as a skirt! The yarn was just a little too scratchy to be touching my arms/neck, so I made an I-cord and wove it through the top band, then tied the I-cord at my waist. I added some leaves because, you know, I love leaves—I have no idea where I got the pattern for them, but the standard knitted leaf pattern seen here.

2014-03-17 11.04.37

I still wear this skirt fairly often—it’s great with a pair of leggings, and it’s nice when it’s just a little bit cool out.

2014-03-17 11.05.33

Sweater in Progress: Mrs. Darcy Cardigan

2014-01-11 16.56.38

My final green project is still on the needles! It’s the Mrs. Darcy Cardigan by Mary Weaver in Knits that Fit (and unlike most of my knits, this one required checking out a book at the library).With a title like that, it’s only appropriate to do a lot of tweaks to the pattern, right? It may not be obvious from the photo above, but I’m making the arms much longer than the pattern calls for to accommodate my arms and shoulders. I wish I had known before I made these that to get the true twisted rib, others knitters knew to p1 to back on the wrong side, because the pattern doesn’t indicate this and the ribbing on the cuffs won’t look as sharp as it could.

2014-03-19 22.19.10

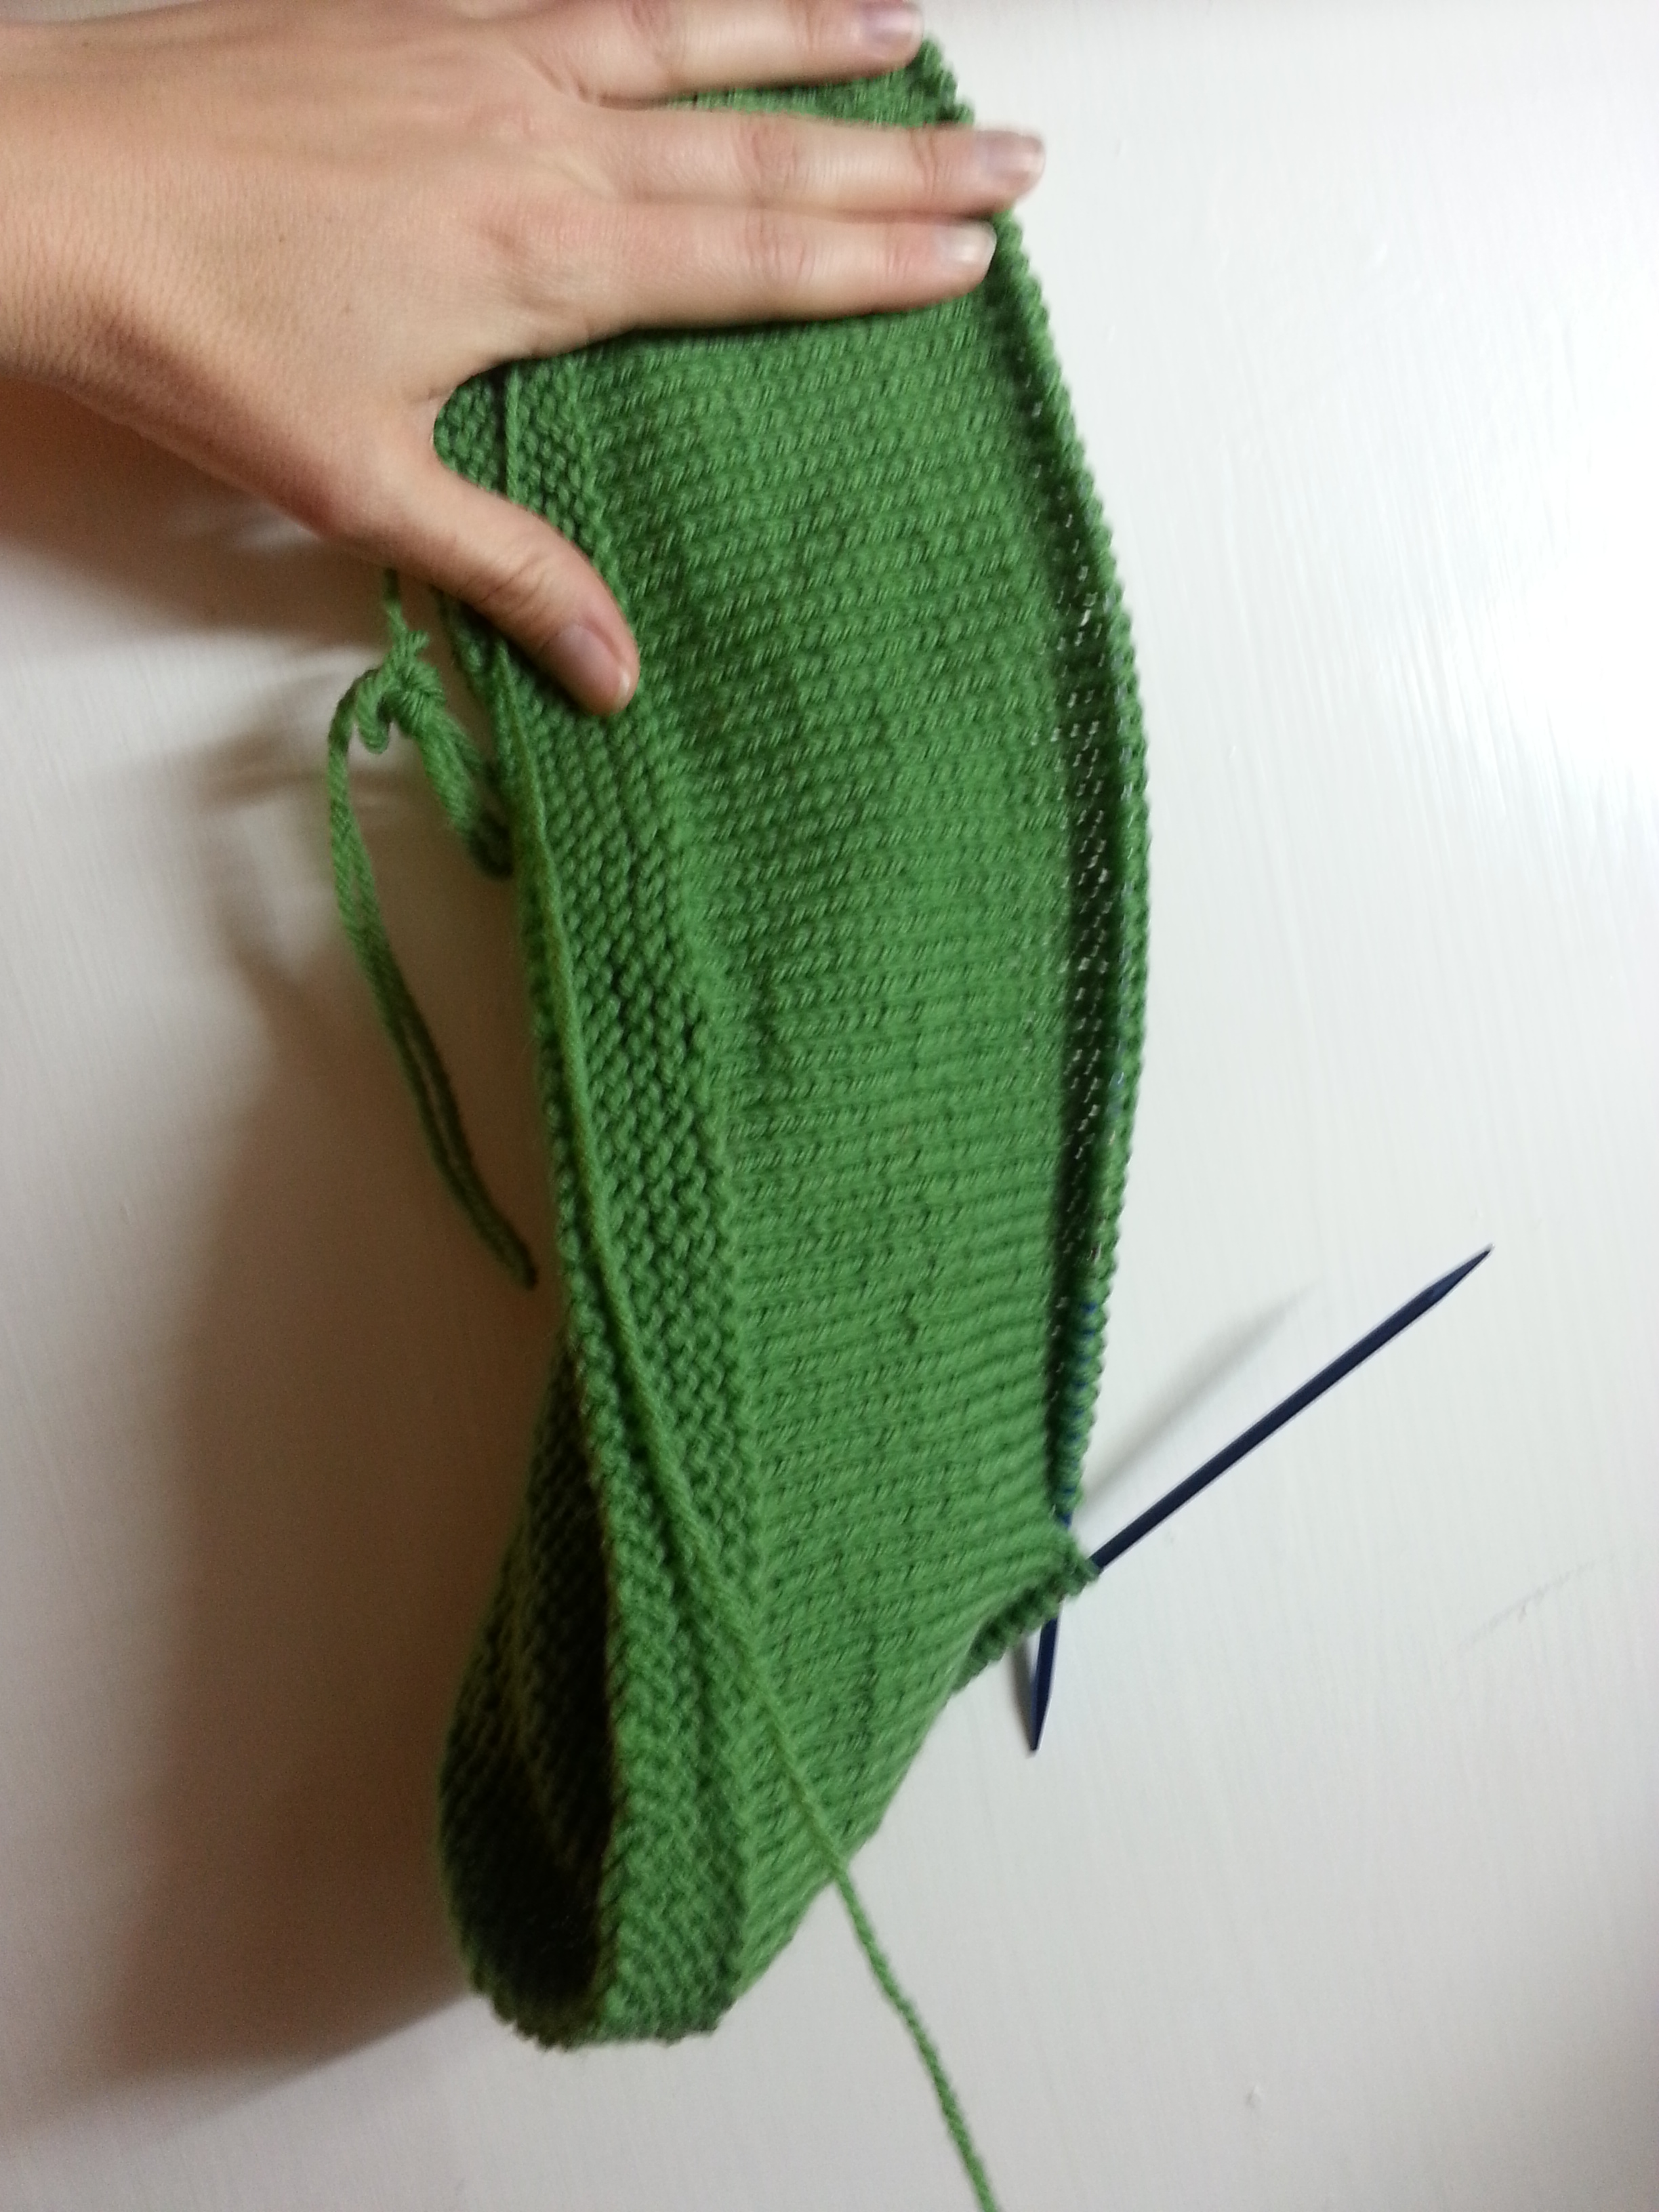
I’ve since moved on to knitting the body. You’ll have to forgive the blurry action shot here, but at least it captures the true green of the yarn! (It’s Cascade 220, in, you guessed it, Spring Green.) I decided that since I have a long torso that is quite wide at the top, I’d use ravelry user wakenda’s modifications to get a gentler slope on the cardigan’s v neck, which I think will still be quite striking.

2014-03-19 22.19.40

I’m always a little hesitant to blog about my works in progress, but this partway knit green cardigan is too verdant not to share, and cardigans are great for spring weather. Hopefully this post will inspire me to finish it soon!

*bonus postscript announcement* If you read this far, you might enjoy the fact that I recently added categories to the blog, and then went back and retroactively categorized every past post! I created the categories based on what I seem to write about most, so you can find similar posts without having to scroll through past years.

Tweaks & Alterations

First Attempt at Felting!

I made a gray felted cap—check it out!

2014-02-23 16.54.33

I’ve been putting off the final seaming on my latest knitting project (The Huntress Cowl worn by Katniss in the second Hunger Games movie), so instead I’m going to share my first ever felted item with you. Doing so requires me to reveal the kind of project I never thought I would share on this blog: a bad finished object. That’s right—I’m going to show you a total flop, and how I turned it into a perfect fit.

Confessions of a Loose Knitter

Way back in the summer of 2009, while I was on a research trip in Southern California, I pulled out a ball of gray yarn, size 9 needles, and knit up  Couvercle, a brimmed hat from the summer 2008 issue of Knitty. It turned out way too big:

Photo 290

It stretched out even further after these photos were taken. Some of my errors were those many novice knitters might make—for example, I used a heavy worsted weight wool yarn instead of a bulky cotton yarn like the pattern called for, because I was away from home and wanted to use the yarn I’d brought. Rookie mistake. But even if I’d used the appropriate weight and fiber of yarn, my hat would have still turned out too big —because, as I have since learned, I Am A Loose Knitter.

Photo 291Photo 293

While I hear a lot more about people who are Tight Knitters, I know there are some of us out there who knit loosely. I was a Loose Knitter for quite some time before I figured out that I needed to make some significant adjustments to get the right fit on things. The easiest solutions for me are to go down a needle size or two (or three), always do a gauge swatch, and pick the smaller of two options when I’m in between sizes.These aren’t failsafes of course—I can’t tell you how many gauge swatches I’ve done that seemed like they fit the pattern specs, only to knit the thing and find it stretching out quite a bit over time. But at least I have learned!

The thing is, I still have some finished objects from the early Loose Knitting days. like this Couvercle hat. And since I hated to see it go to waste, I decided it was the perfect chance to try out felting.

The Felting Process

Technically, since that hat was already knitted, the technique I used here is called “fulling.” There are lots of tutorials out there on this process, but the ones I used for reference here are this one from Knitty and this one from Luscious Gracious Studios. I decided to do the washing machine method as opposed to the hand felting process, which worked well because it took quite a while. As per the instructions, I used the hottest water and the lowest water level setting, an old pair of jeans, and a small amount of liquid soap (Method brand in my case). I put the hat in a pillow case and safety pinned it shut to keep the extra fibers from escaping and clogging the washer (fold the top over at least twice before you do this!). And then I put on a timer and checked the hat every 5 minutes until it was how I wanted it, resetting the washer to the beginning of the cycle as needed it to keep it from going through the spin cycle. Here’s what it looked like at each stage:

2013-11-03 14.56.35 After 10 min.

I forgot to take a photo at the first check (5 minutes) but believe me, the hat was even bigger than you see here. This can be disconcerting  when you’re trying to shrink something, but rest assured that in the beginning of the process, it is normal!

2013-11-03 15.08.22After 15 min.

So the hat was still huge at this point, but the spaces between the stitches were getting smaller. A good sign. Also, I should mention that at every check in I pulled any errant bits of wool out of the washer—just be careful as the water is quite hot.

2013-11-03 15.17.56After 20 min.

The hat was getting noticeable smaller and thicker at this point, and it was also trying really hard to escape its pillowcase. I was also worried it would felt to itself and not leave an opening for my head, as I’ve heard can occasionally happen. So at this point I pinned the top center of the hat to the inside of the pillowcase. It worked! Though it did have an unintended consequence, as you shall see.

2013-11-03 15.28.39After 25 min.

Still shrinking very slowly here, where I got a nice shot of the brim. If I had it to do over again, I would have added some more length to the brim because I really like that feature of the hat and it shrunk too.

2013-11-03 15.37.05After 30 min.

Finally getting close! By this point the hat was thick and fuzzy, it just needed to be a little bit smaller. I let it go through the last  five minutes, then allowed the washer to go through the rinse cycle and a little bit of the spin cycle before I pulled it out.

2013-11-03 16.00.38 After 40 min.

Here was the end result! The thickness and the size were now exactly what I wanted. I had a little bit of trouble removing the safety pin however, as the hat had begun to felt around it! That’s why, in the first photo of this post, you can see a little nubbin at the top—that’s where I finally pulled out the safety pin.

To make sure that the hat retained its proper hat shape, I put it over a bowl to roughly mimic my head shape and let it dry that way. I didn’t time the drying process but it was definitely dry in 48 hours.

The Finished Cap

2014-02-23 16.42.37

This hat is actually closer to the intended size of the pattern than my loosely knit one. Since it is a little bit smaller and doesn’t have the stretch of knitting, I usually use a bobby pin or two to keep it in place.

2014-02-23 16.44.25

I count this project as a successful retooling of an unsuccessful knit, as I only wore the original hat out once in 4 years, but I’ve already worn this felted version several times.

2014-02-23 16.45.372014-02-23 16.46.16

I had to do this project at a friend’s house, since the washing machines in my complex are expensive and do not have the best settings for getting hot water and low water levels. I will definitely be doing this again though— I already have another felting project in mind. I’m excited to potentially reclaim more of the stretched out finished objects of my earlier Loose Knitting days.