I made a gray felted cap—check it out!

I’ve been putting off the final seaming on my latest knitting project (The Huntress Cowl worn by Katniss in the second Hunger Games movie), so instead I’m going to share my first ever felted item with you. Doing so requires me to reveal the kind of project I never thought I would share on this blog: a bad finished object. That’s right—I’m going to show you a total flop, and how I turned it into a perfect fit.
Confessions of a Loose Knitter
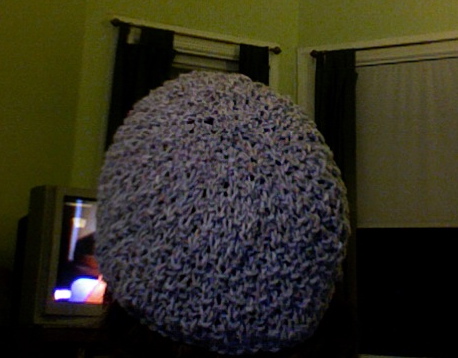
Way back in the summer of 2009, while I was on a research trip in Southern California, I pulled out a ball of gray yarn, size 9 needles, and knit up Couvercle, a brimmed hat from the summer 2008 issue of Knitty. It turned out way too big:

It stretched out even further after these photos were taken. Some of my errors were those many novice knitters might make—for example, I used a heavy worsted weight wool yarn instead of a bulky cotton yarn like the pattern called for, because I was away from home and wanted to use the yarn I’d brought. Rookie mistake. But even if I’d used the appropriate weight and fiber of yarn, my hat would have still turned out too big —because, as I have since learned, I Am A Loose Knitter.

While I hear a lot more about people who are Tight Knitters, I know there are some of us out there who knit loosely. I was a Loose Knitter for quite some time before I figured out that I needed to make some significant adjustments to get the right fit on things. The easiest solutions for me are to go down a needle size or two (or three), always do a gauge swatch, and pick the smaller of two options when I’m in between sizes.These aren’t failsafes of course—I can’t tell you how many gauge swatches I’ve done that seemed like they fit the pattern specs, only to knit the thing and find it stretching out quite a bit over time. But at least I have learned!
The thing is, I still have some finished objects from the early Loose Knitting days. like this Couvercle hat. And since I hated to see it go to waste, I decided it was the perfect chance to try out felting.
The Felting Process
Technically, since that hat was already knitted, the technique I used here is called “fulling.” There are lots of tutorials out there on this process, but the ones I used for reference here are this one from Knitty and this one from Luscious Gracious Studios. I decided to do the washing machine method as opposed to the hand felting process, which worked well because it took quite a while. As per the instructions, I used the hottest water and the lowest water level setting, an old pair of jeans, and a small amount of liquid soap (Method brand in my case). I put the hat in a pillow case and safety pinned it shut to keep the extra fibers from escaping and clogging the washer (fold the top over at least twice before you do this!). And then I put on a timer and checked the hat every 5 minutes until it was how I wanted it, resetting the washer to the beginning of the cycle as needed it to keep it from going through the spin cycle. Here’s what it looked like at each stage:
 After 10 min.
I forgot to take a photo at the first check (5 minutes) but believe me, the hat was even bigger than you see here. This can be disconcerting when you’re trying to shrink something, but rest assured that in the beginning of the process, it is normal!
 After 15 min.
So the hat was still huge at this point, but the spaces between the stitches were getting smaller. A good sign. Also, I should mention that at every check in I pulled any errant bits of wool out of the washer—just be careful as the water is quite hot.
 After 20 min.
The hat was getting noticeable smaller and thicker at this point, and it was also trying really hard to escape its pillowcase. I was also worried it would felt to itself and not leave an opening for my head, as I’ve heard can occasionally happen. So at this point I pinned the top center of the hat to the inside of the pillowcase. It worked! Though it did have an unintended consequence, as you shall see.
 After 25 min.
Still shrinking very slowly here, where I got a nice shot of the brim. If I had it to do over again, I would have added some more length to the brim because I really like that feature of the hat and it shrunk too.
 After 30 min.
Finally getting close! By this point the hat was thick and fuzzy, it just needed to be a little bit smaller. I let it go through the last five minutes, then allowed the washer to go through the rinse cycle and a little bit of the spin cycle before I pulled it out.
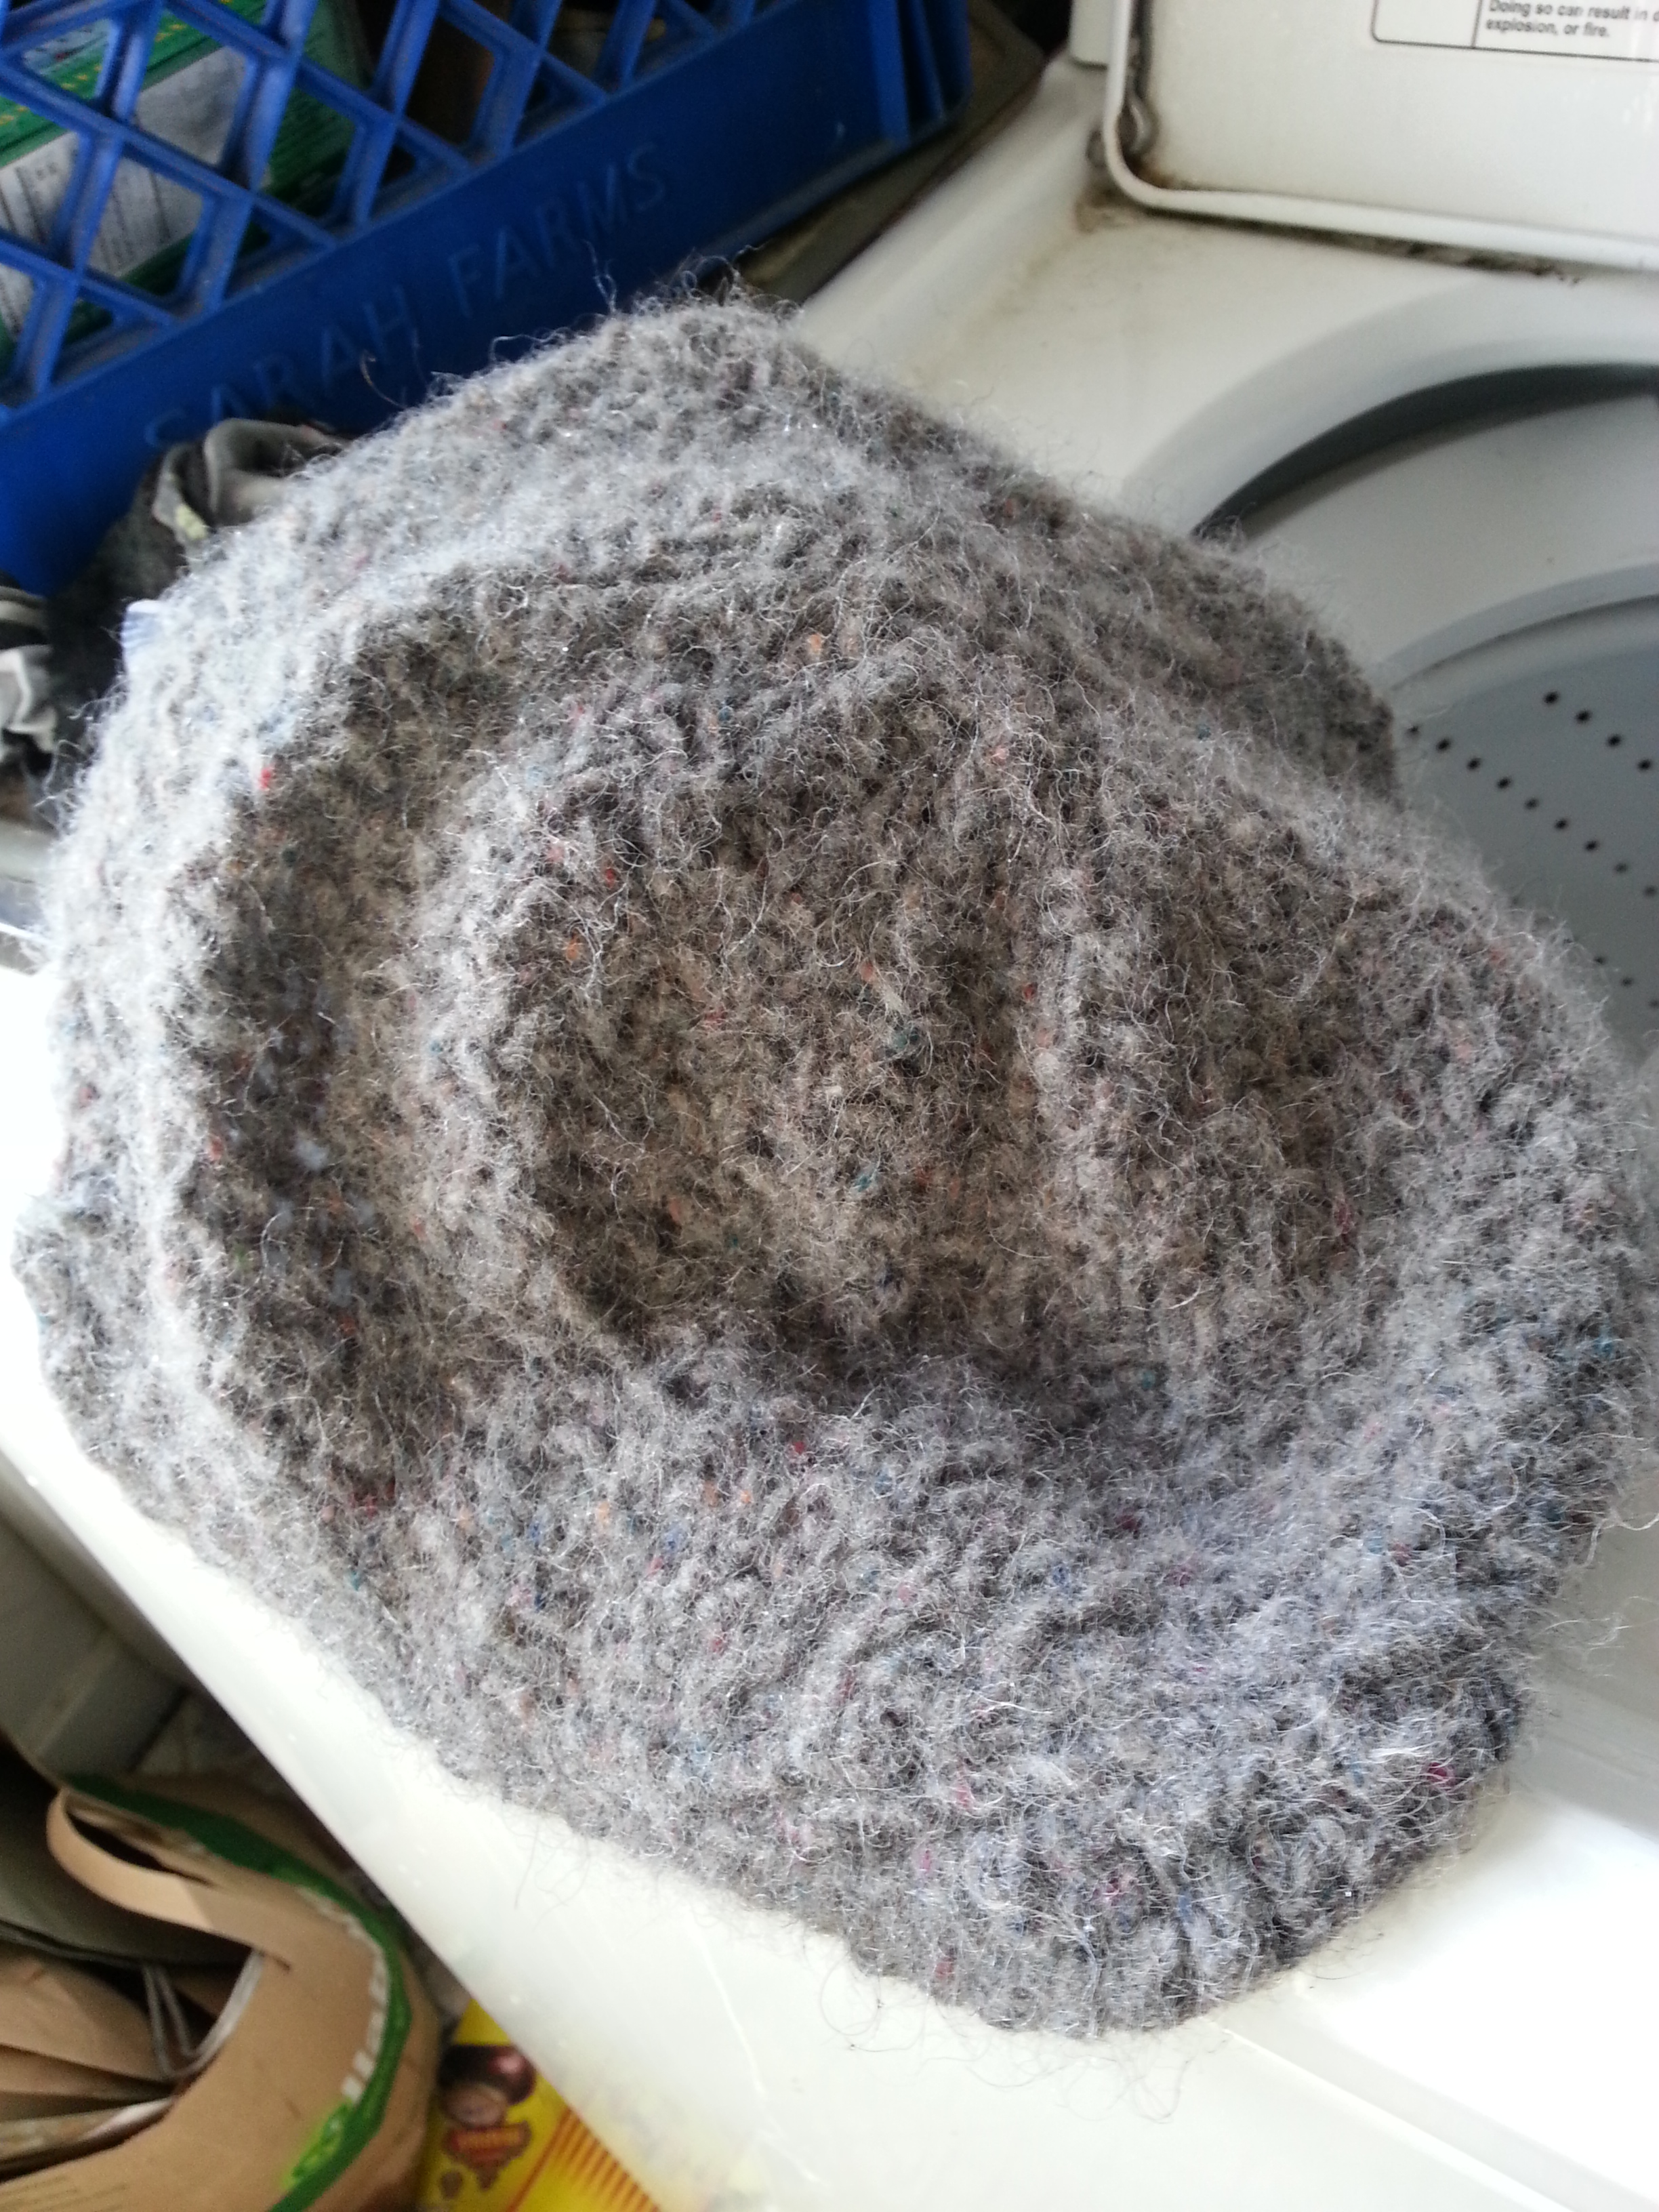
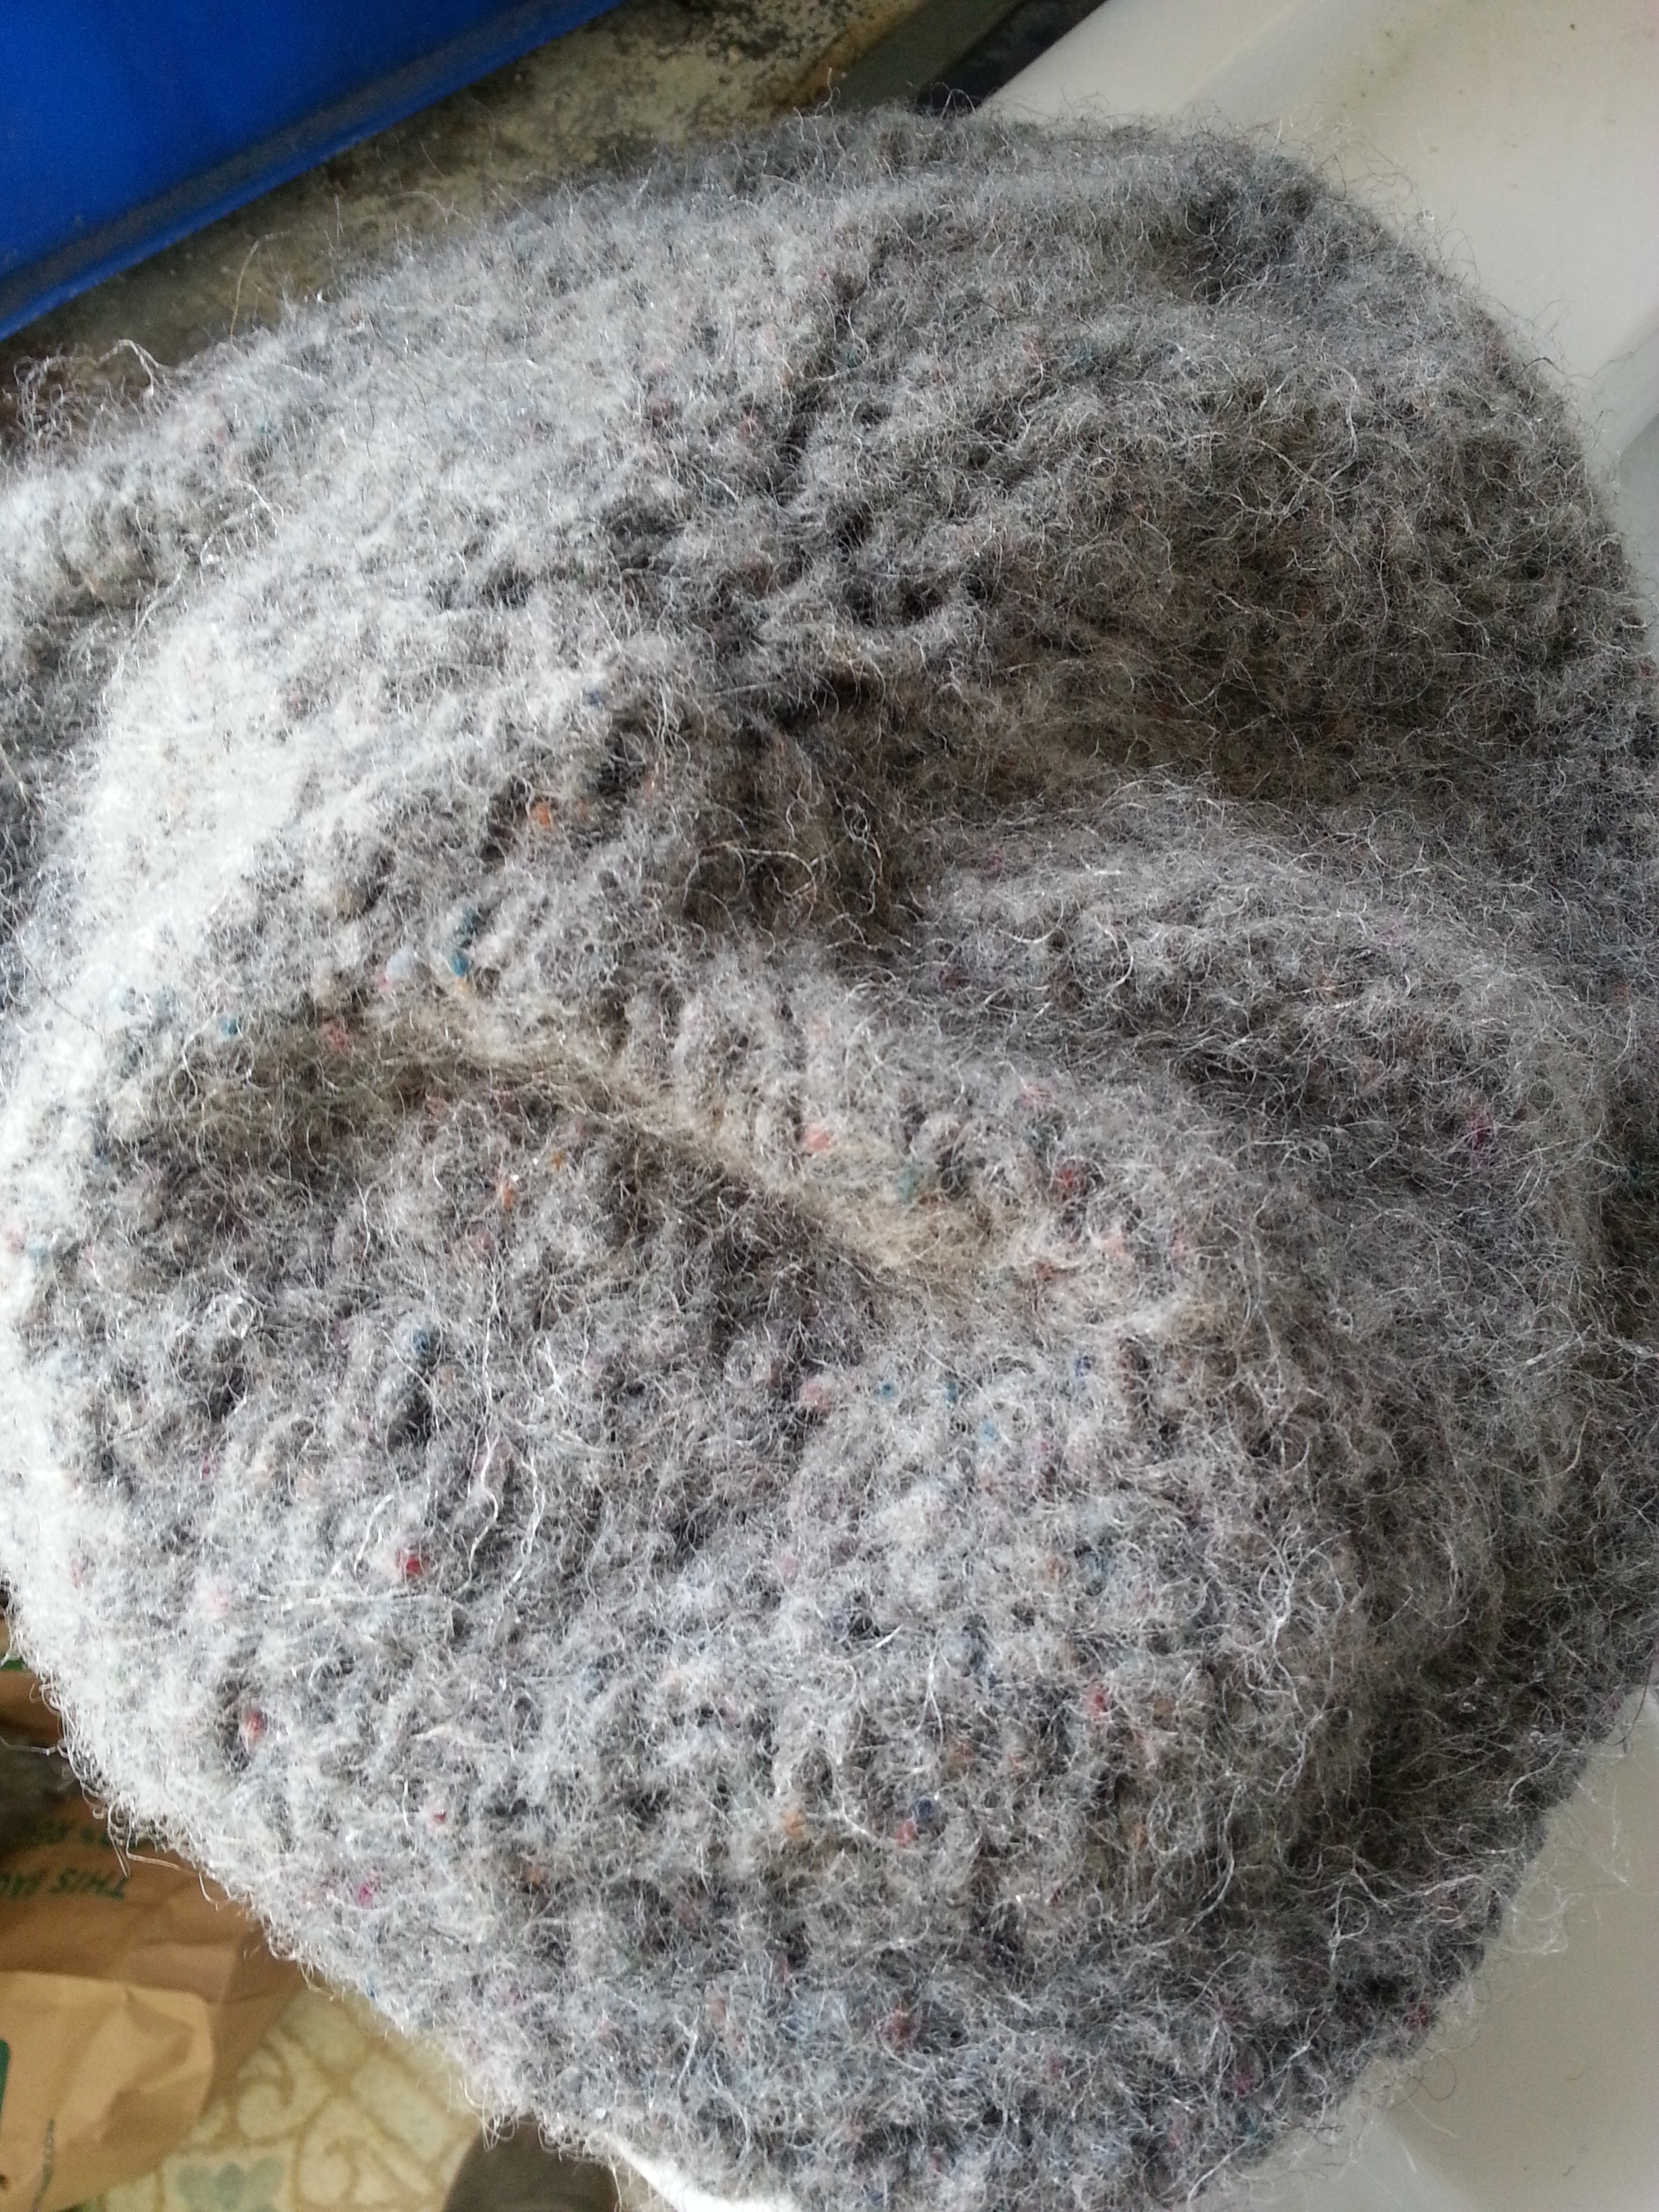
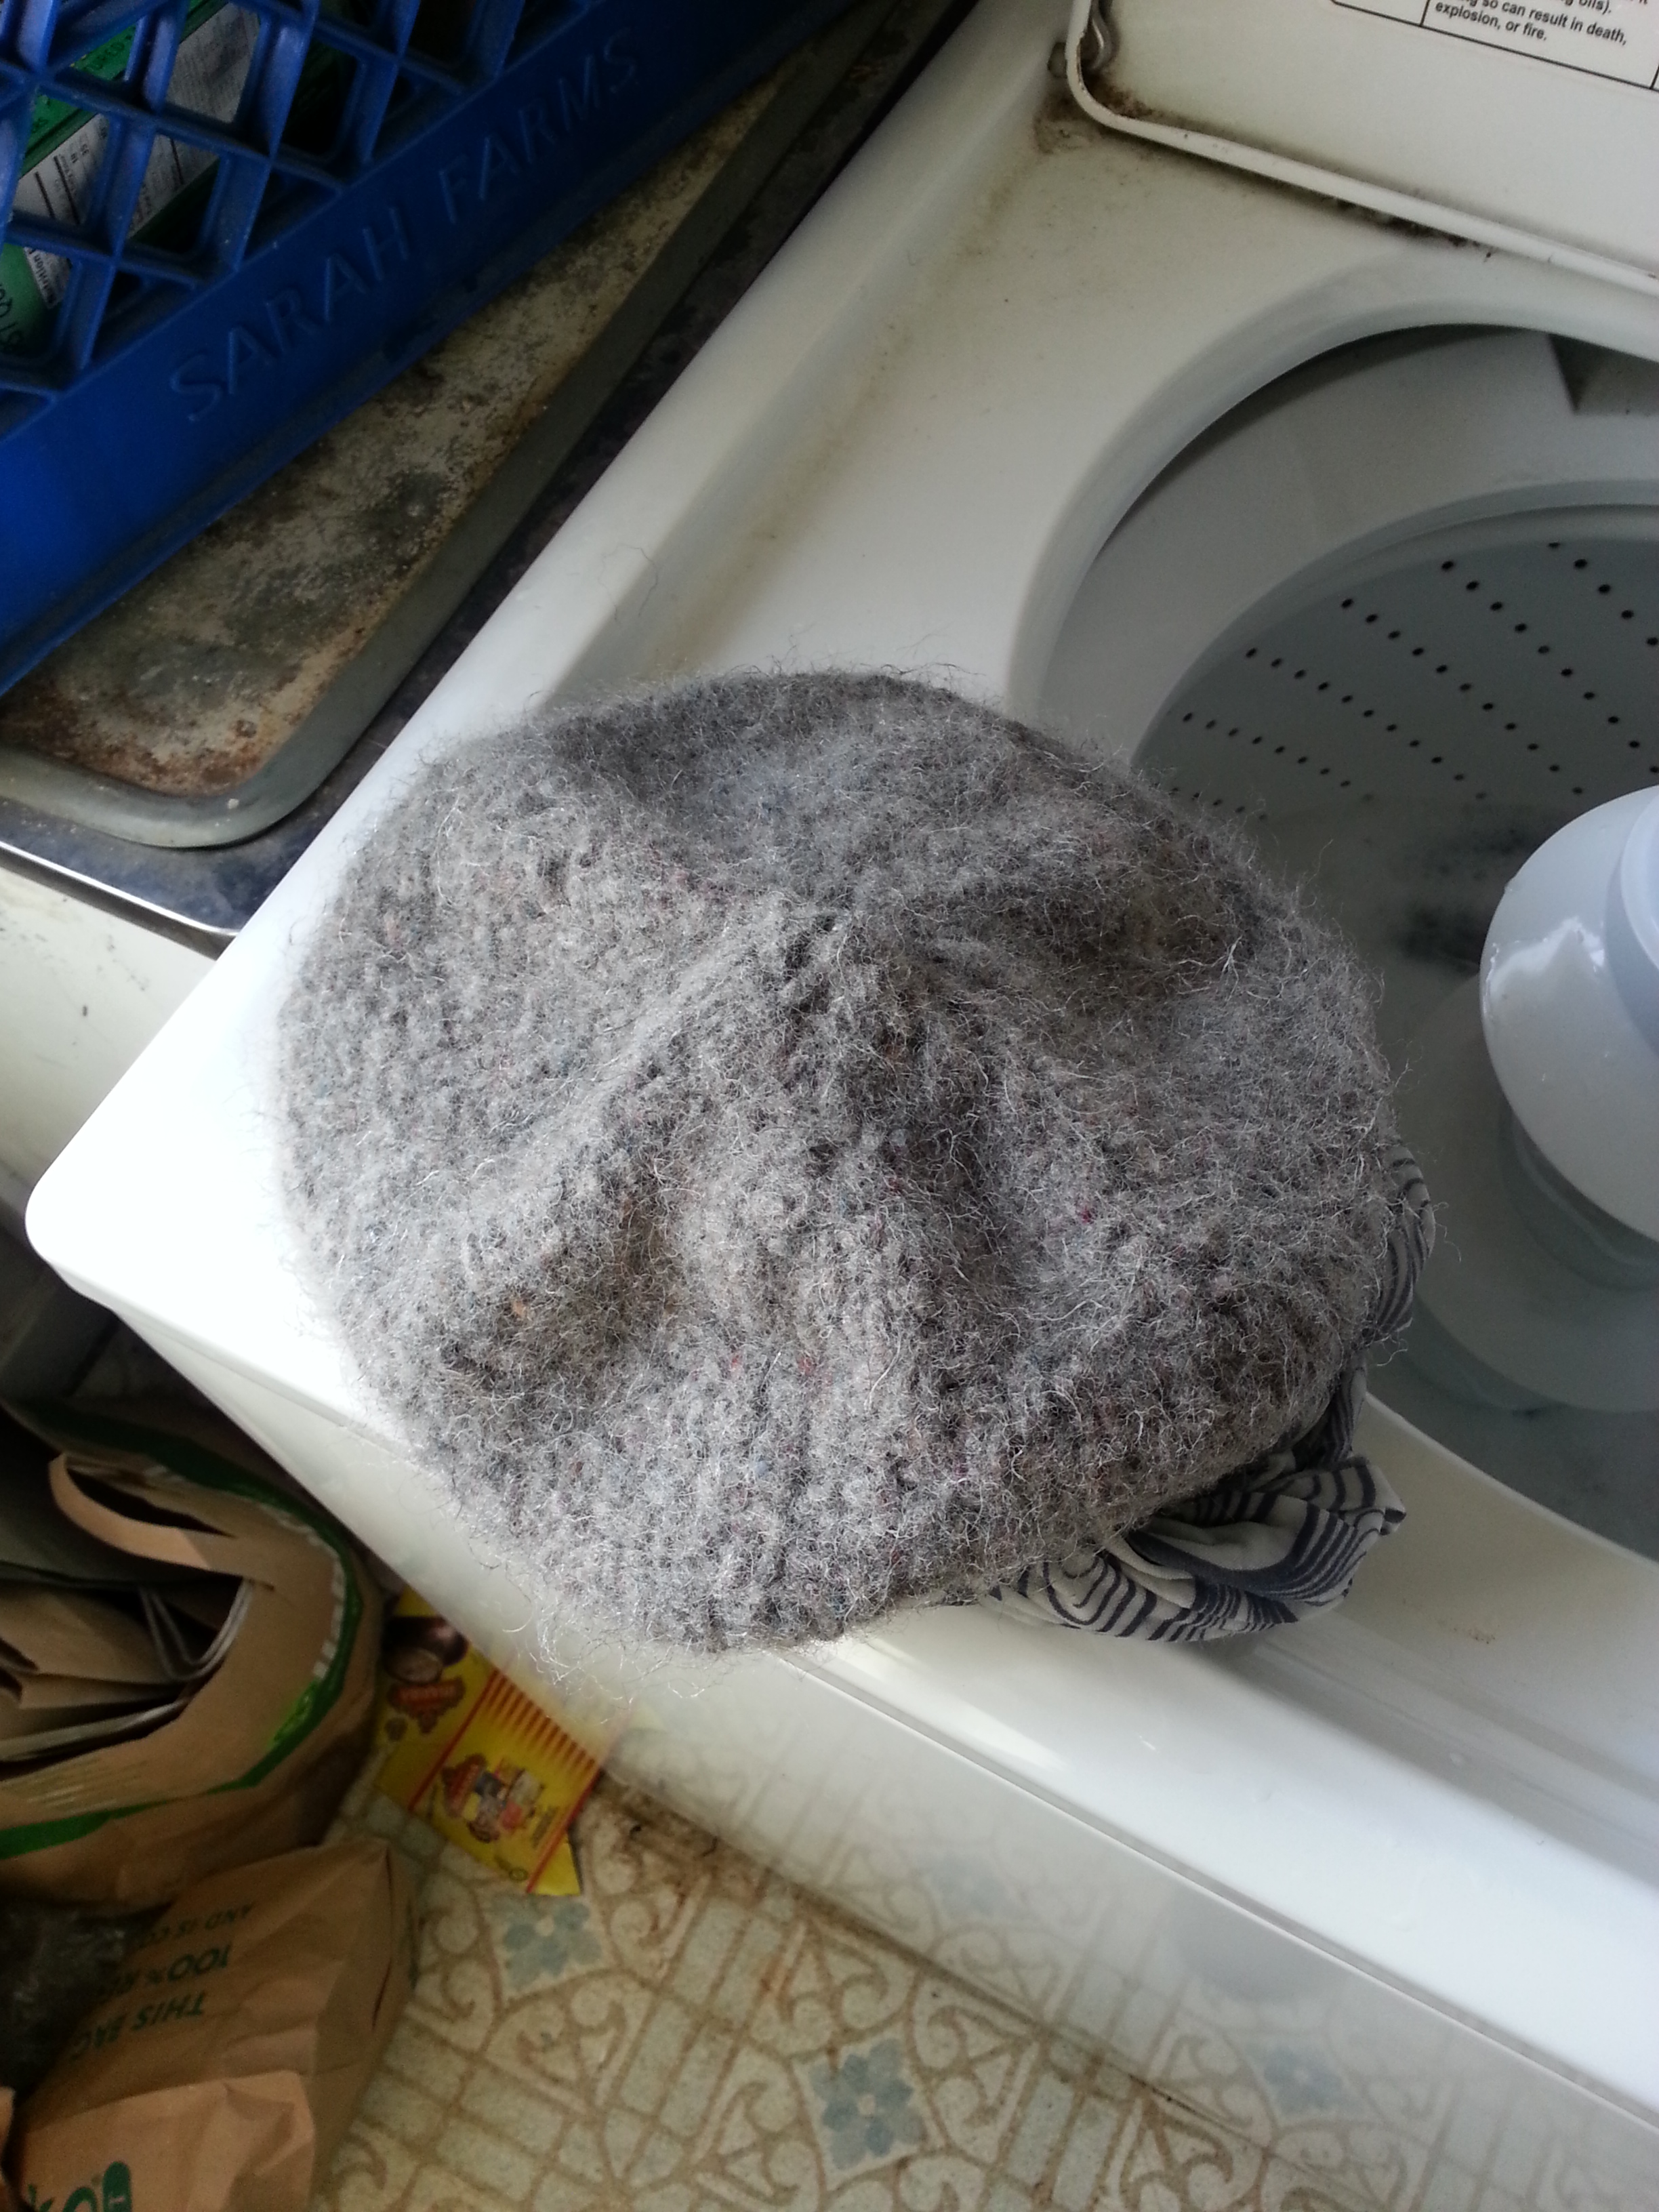
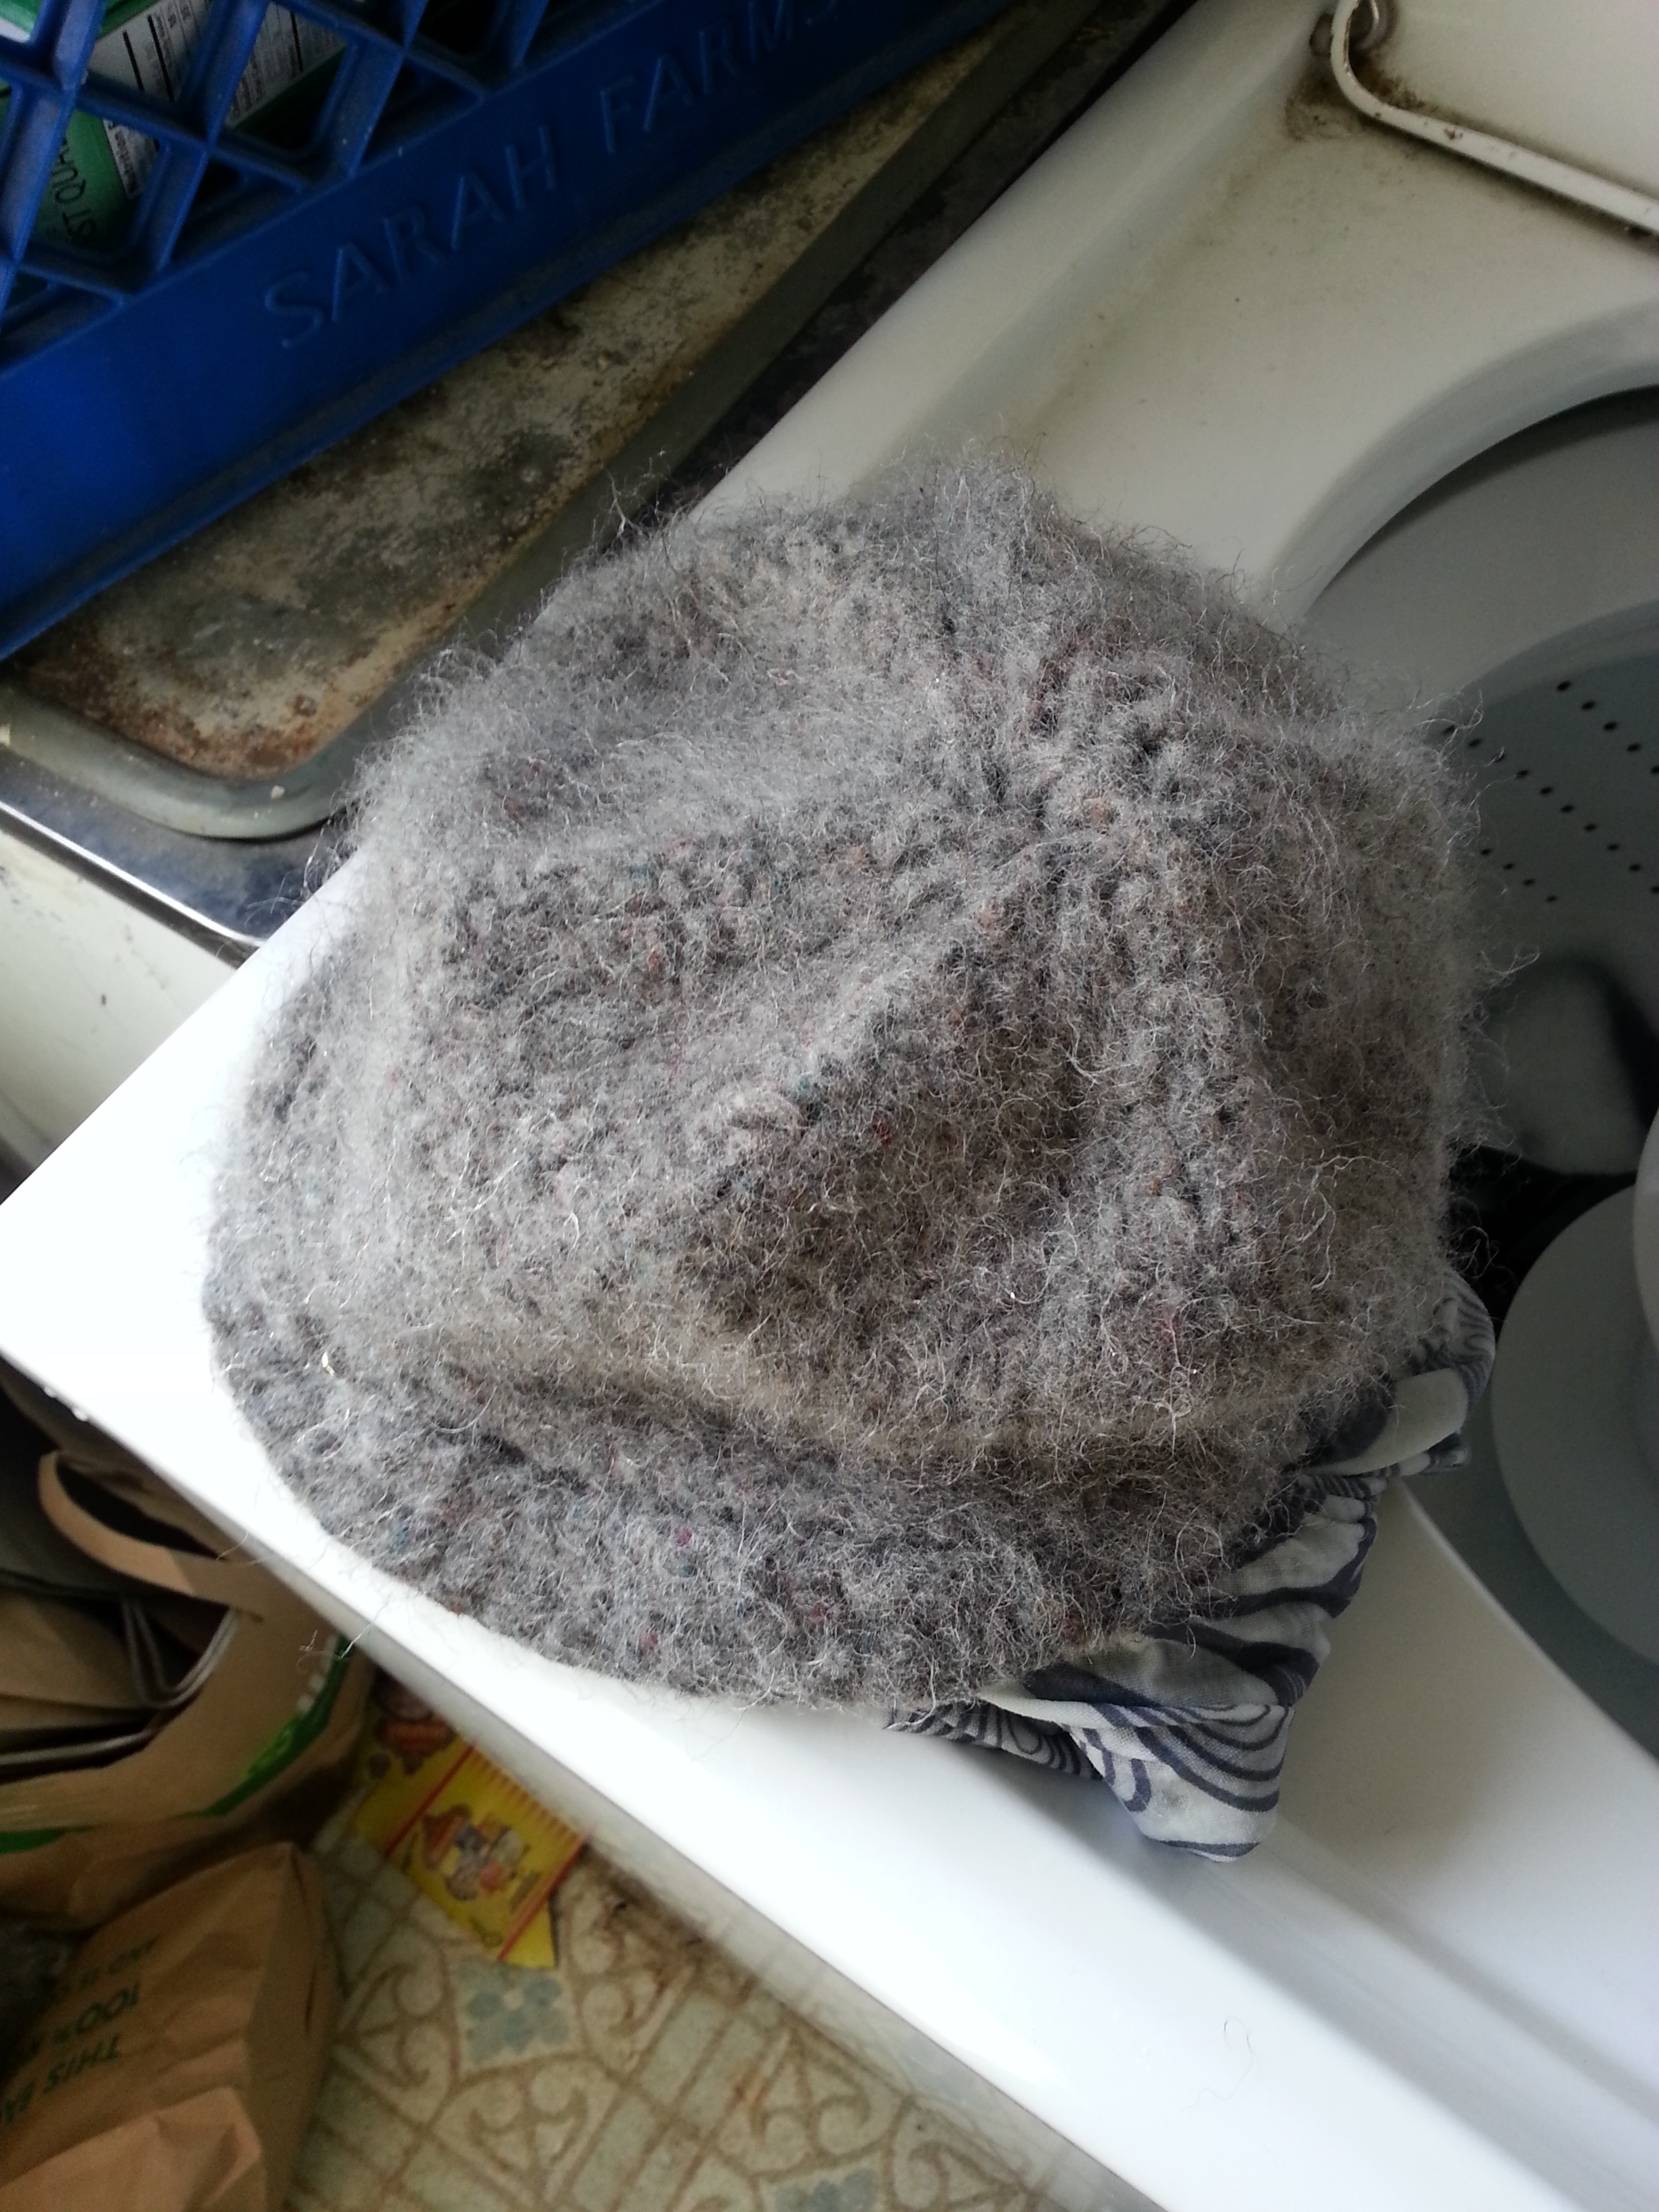
 After 40 min.
Here was the end result! The thickness and the size were now exactly what I wanted. I had a little bit of trouble removing the safety pin however, as the hat had begun to felt around it! That’s why, in the first photo of this post, you can see a little nubbin at the top—that’s where I finally pulled out the safety pin.
To make sure that the hat retained its proper hat shape, I put it over a bowl to roughly mimic my head shape and let it dry that way. I didn’t time the drying process but it was definitely dry in 48 hours.
The Finished Cap

This hat is actually closer to the intended size of the pattern than my loosely knit one. Since it is a little bit smaller and doesn’t have the stretch of knitting, I usually use a bobby pin or two to keep it in place.
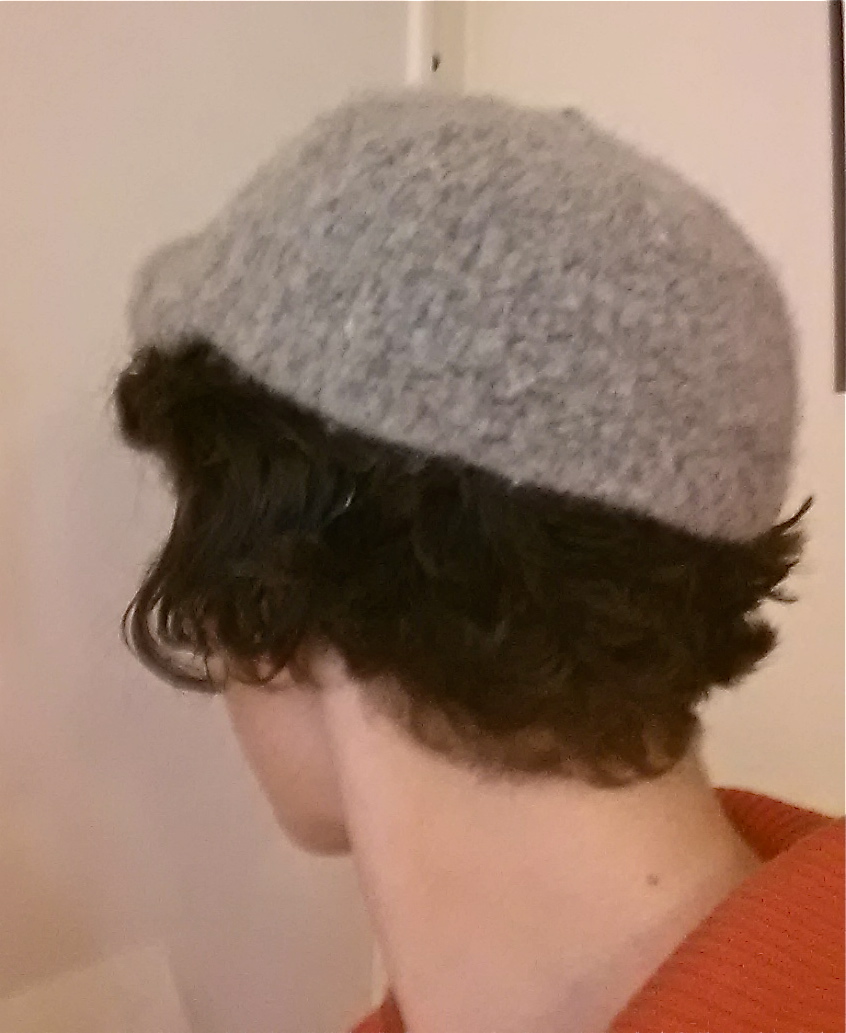
I count this project as a successful retooling of an unsuccessful knit, as I only wore the original hat out once in 4 years, but I’ve already worn this felted version several times.


I had to do this project at a friend’s house, since the washing machines in my complex are expensive and do not have the best settings for getting hot water and low water levels. I will definitely be doing this again though— I already have another felting project in mind. I’m excited to potentially reclaim more of the stretched out finished objects of my earlier Loose Knitting days.
