Holiday Knits & Crafts

Yarn Without Knitting: Wrapped Yarn Objects for the Holidays

With rain and freezing temperatures, it’s finally starting to feel like winter is coming—perfect weather for knitting. I’ve been working on some knitting projects, but I’ve also done a few things with yarn that require no needles or hooks at all. Yarn wrapping items is a great way to use up small amounts of special yarn, large amounts of lower quality yarn, and everything in between. Here’s what I’ve made:
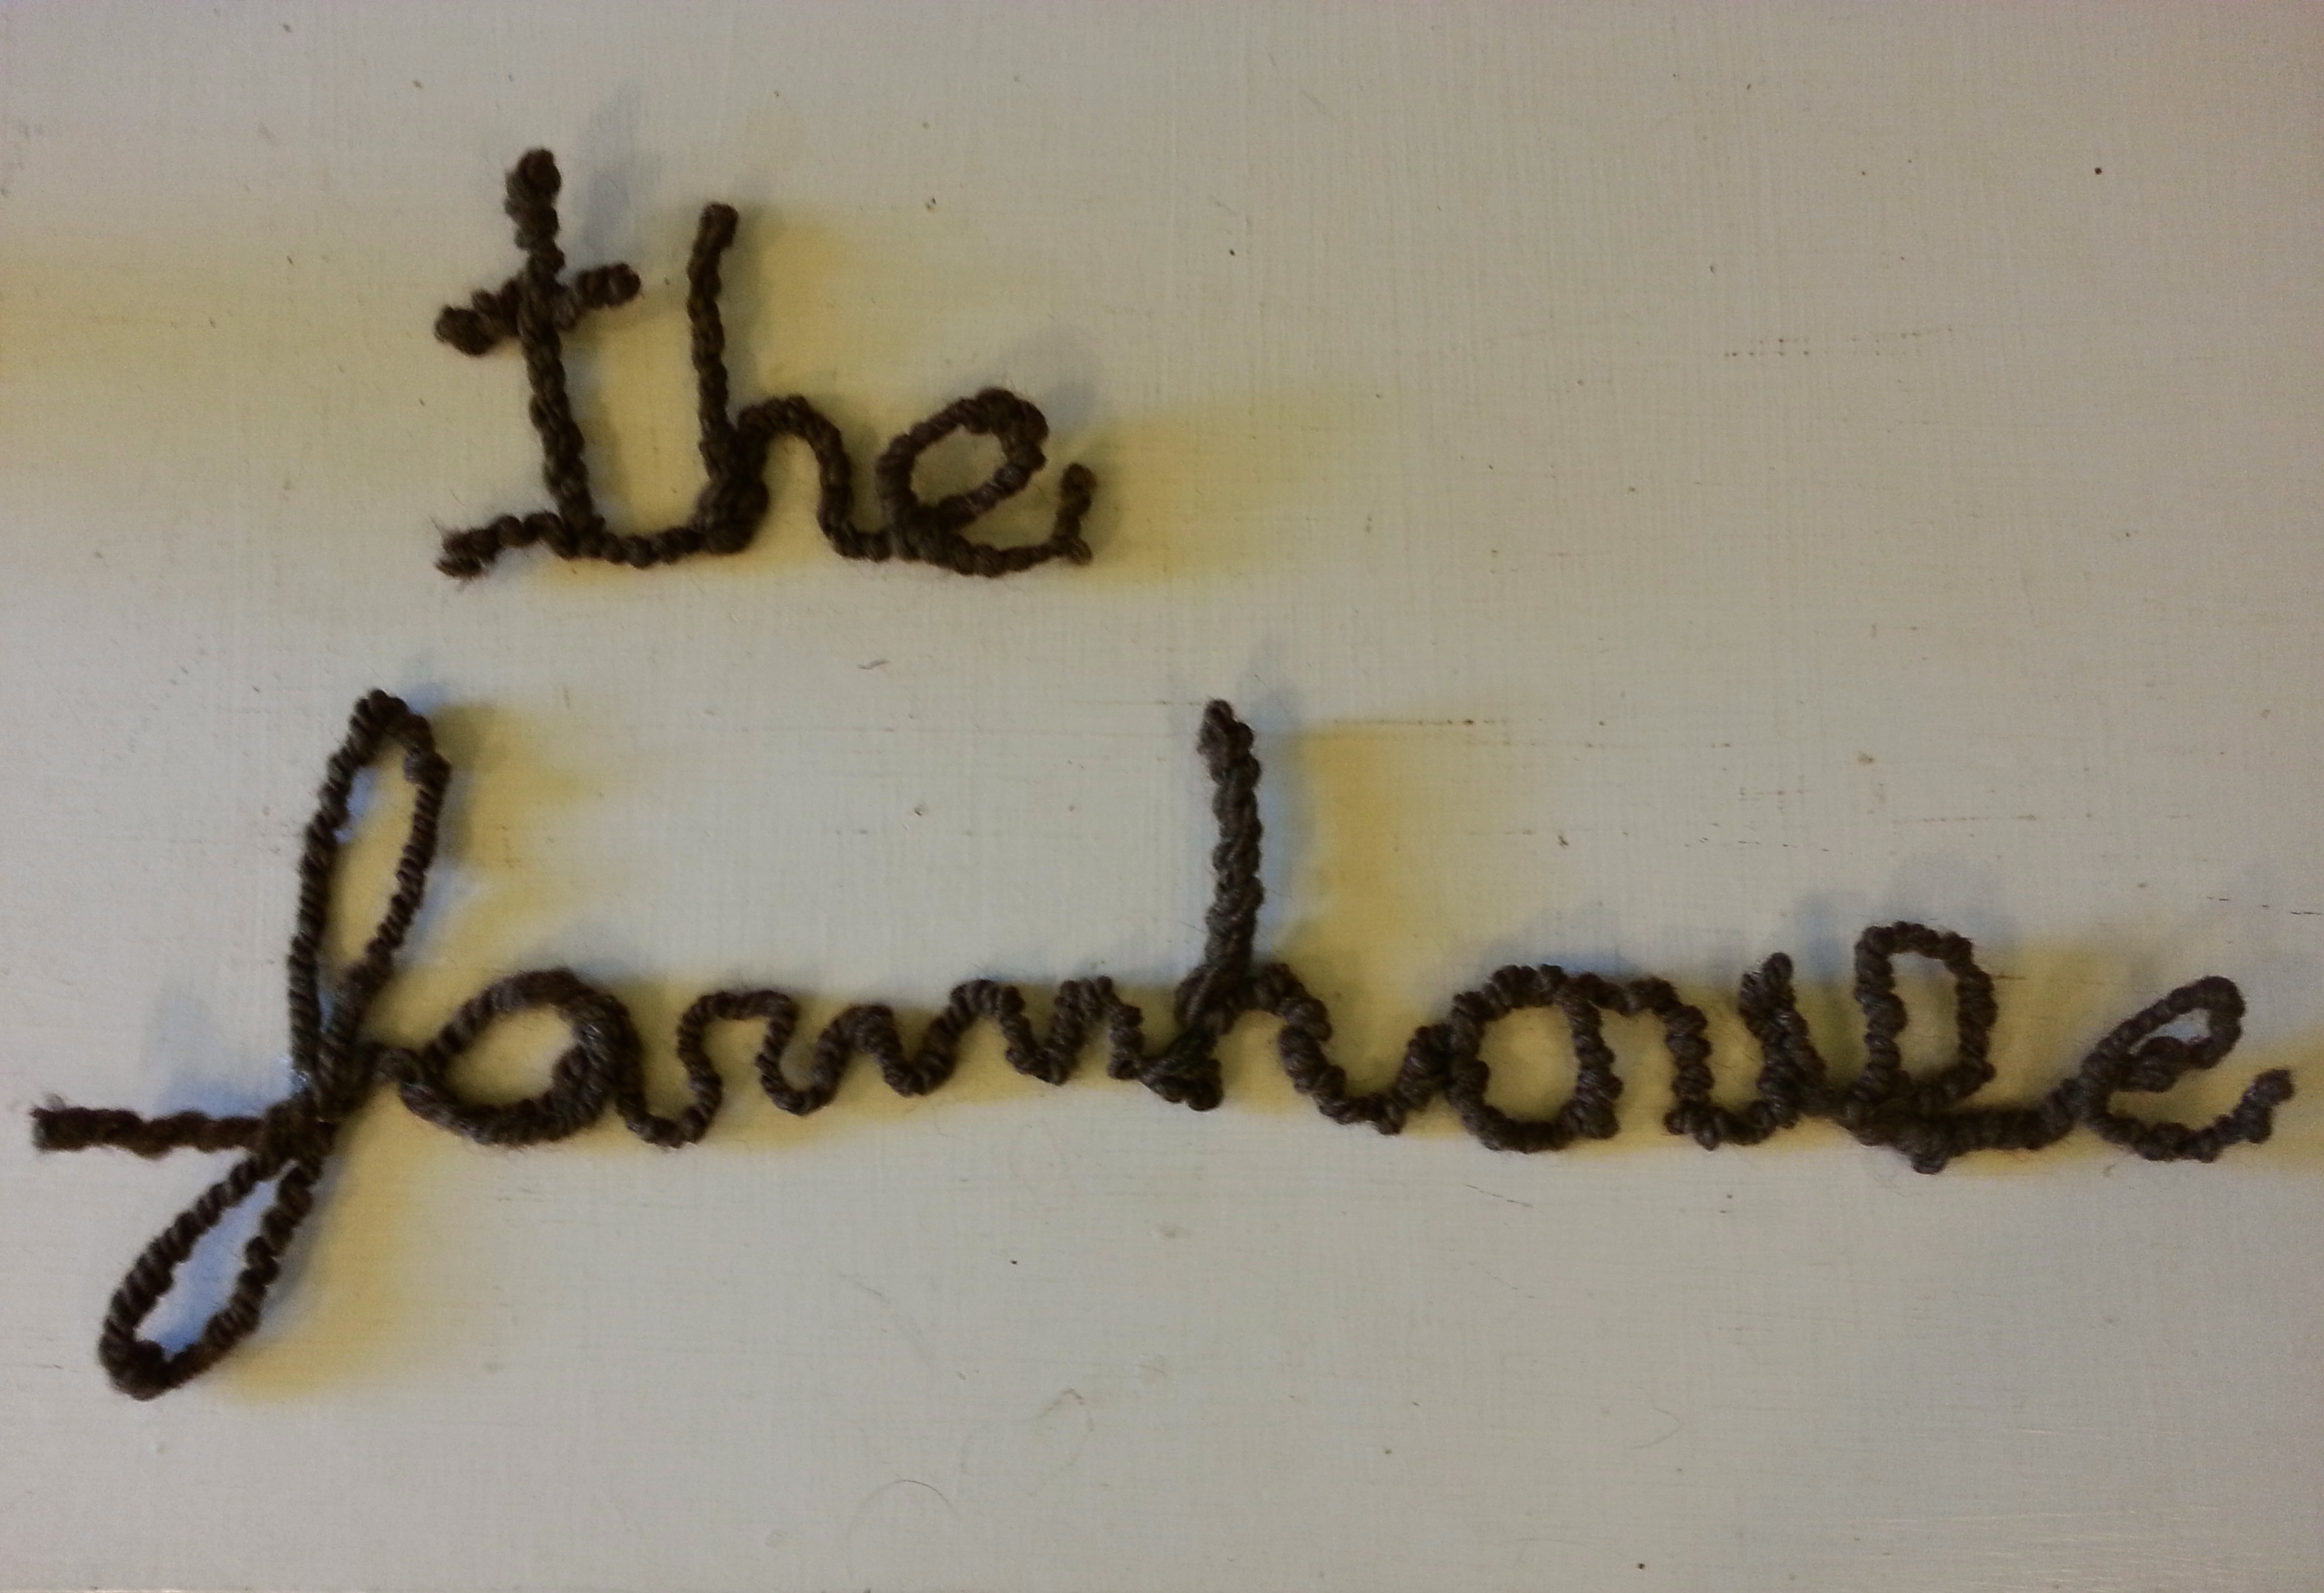
Yarn Words

2013-11-25 12.18.47

materials: bendable wire that will hold its shape, yarn, binder clips, hot glue gun.

I got the idea to do some yarn wrapped words from this blog post. I made this as a a Thanksgivikah gift of sorts for (you guessed it) “the farmhouse,” a house of friends who were hosting a big dinner on that particular holiday. I was excited to finally have a use for the tiny amount of brown handspun yarn I’d made in my craft center spinning class back in Fall 2011!

I didn’t have the wire reinforced clothesline that the blog suggested using, so at first I tried using an old coat hanger. Not bendable enough, it turns out. Then I tried florist wire, which I do have on hand from making wreaths and evergreen boughs out of shrubbery in previous years. It worked! But since it was a little thin and just a bit too bendy, which made me worry that it would lose its shape, I doubled it.

2013-11-24 13.21.53

I strongly suggest writing out the word you want to do in cursive on a piece of paper beforehand—it’s a lot easier to copy from a template than to do it on the fly. And definitely use binder clips to hold letters with a lot of wire overlapped in place. Hot glue the yarn to one end of the word and wrap tightly as you go. Hot glue any spots that seem like they’ll want to come loose. Considering the fact that I got Ds in cursive in grade school (it’s hard to get the slanting right as a lefty!), I’m pretty happy with the results of this project.
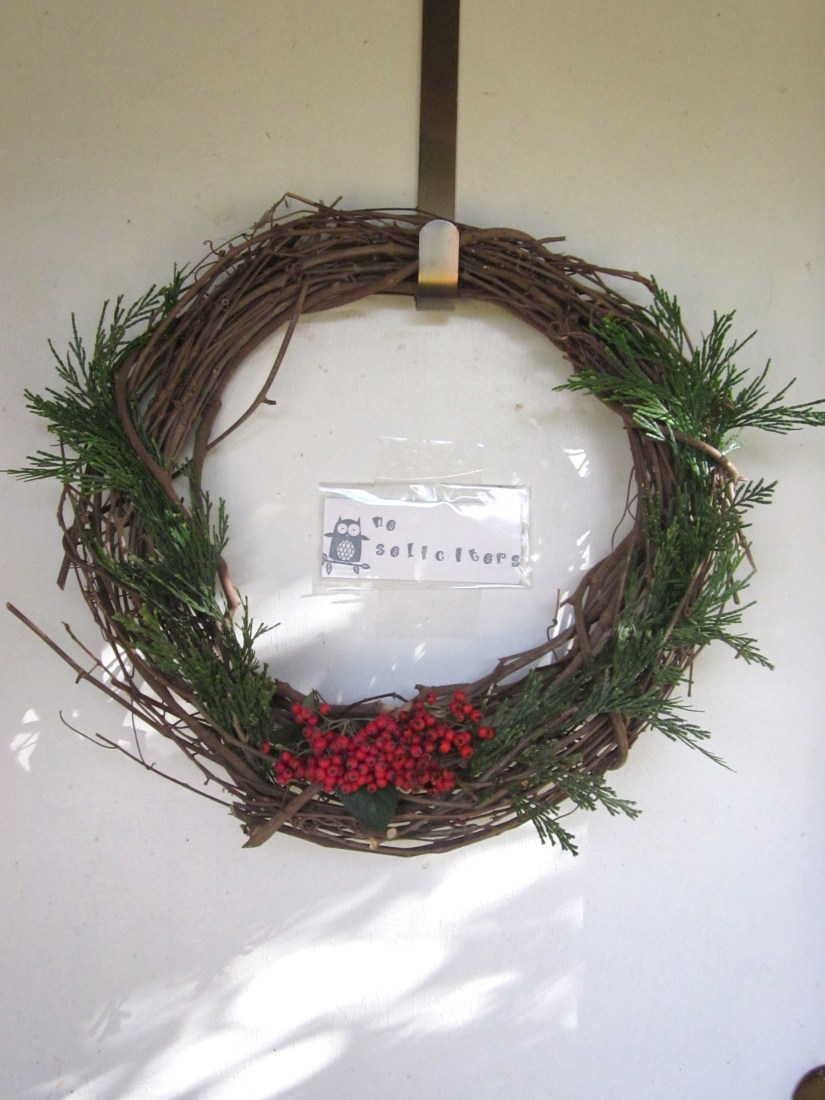
Yarn Wreath

2013-12-03 12.37.55


materials: wreath form, yarn, bobble ornaments, florist wire, wreath hanger.

There are tons of tutorials out there for how to make a yarn wreath, most of them using a puffy, styrofoam wreath form. I didn’t look at any of them before I made this, however. Because this is pretty much the simplest project ever: wrap yarn around wreath form. When you are done, tuck the yarn end in the back. That’s it.

2013-12-01 17.02.22

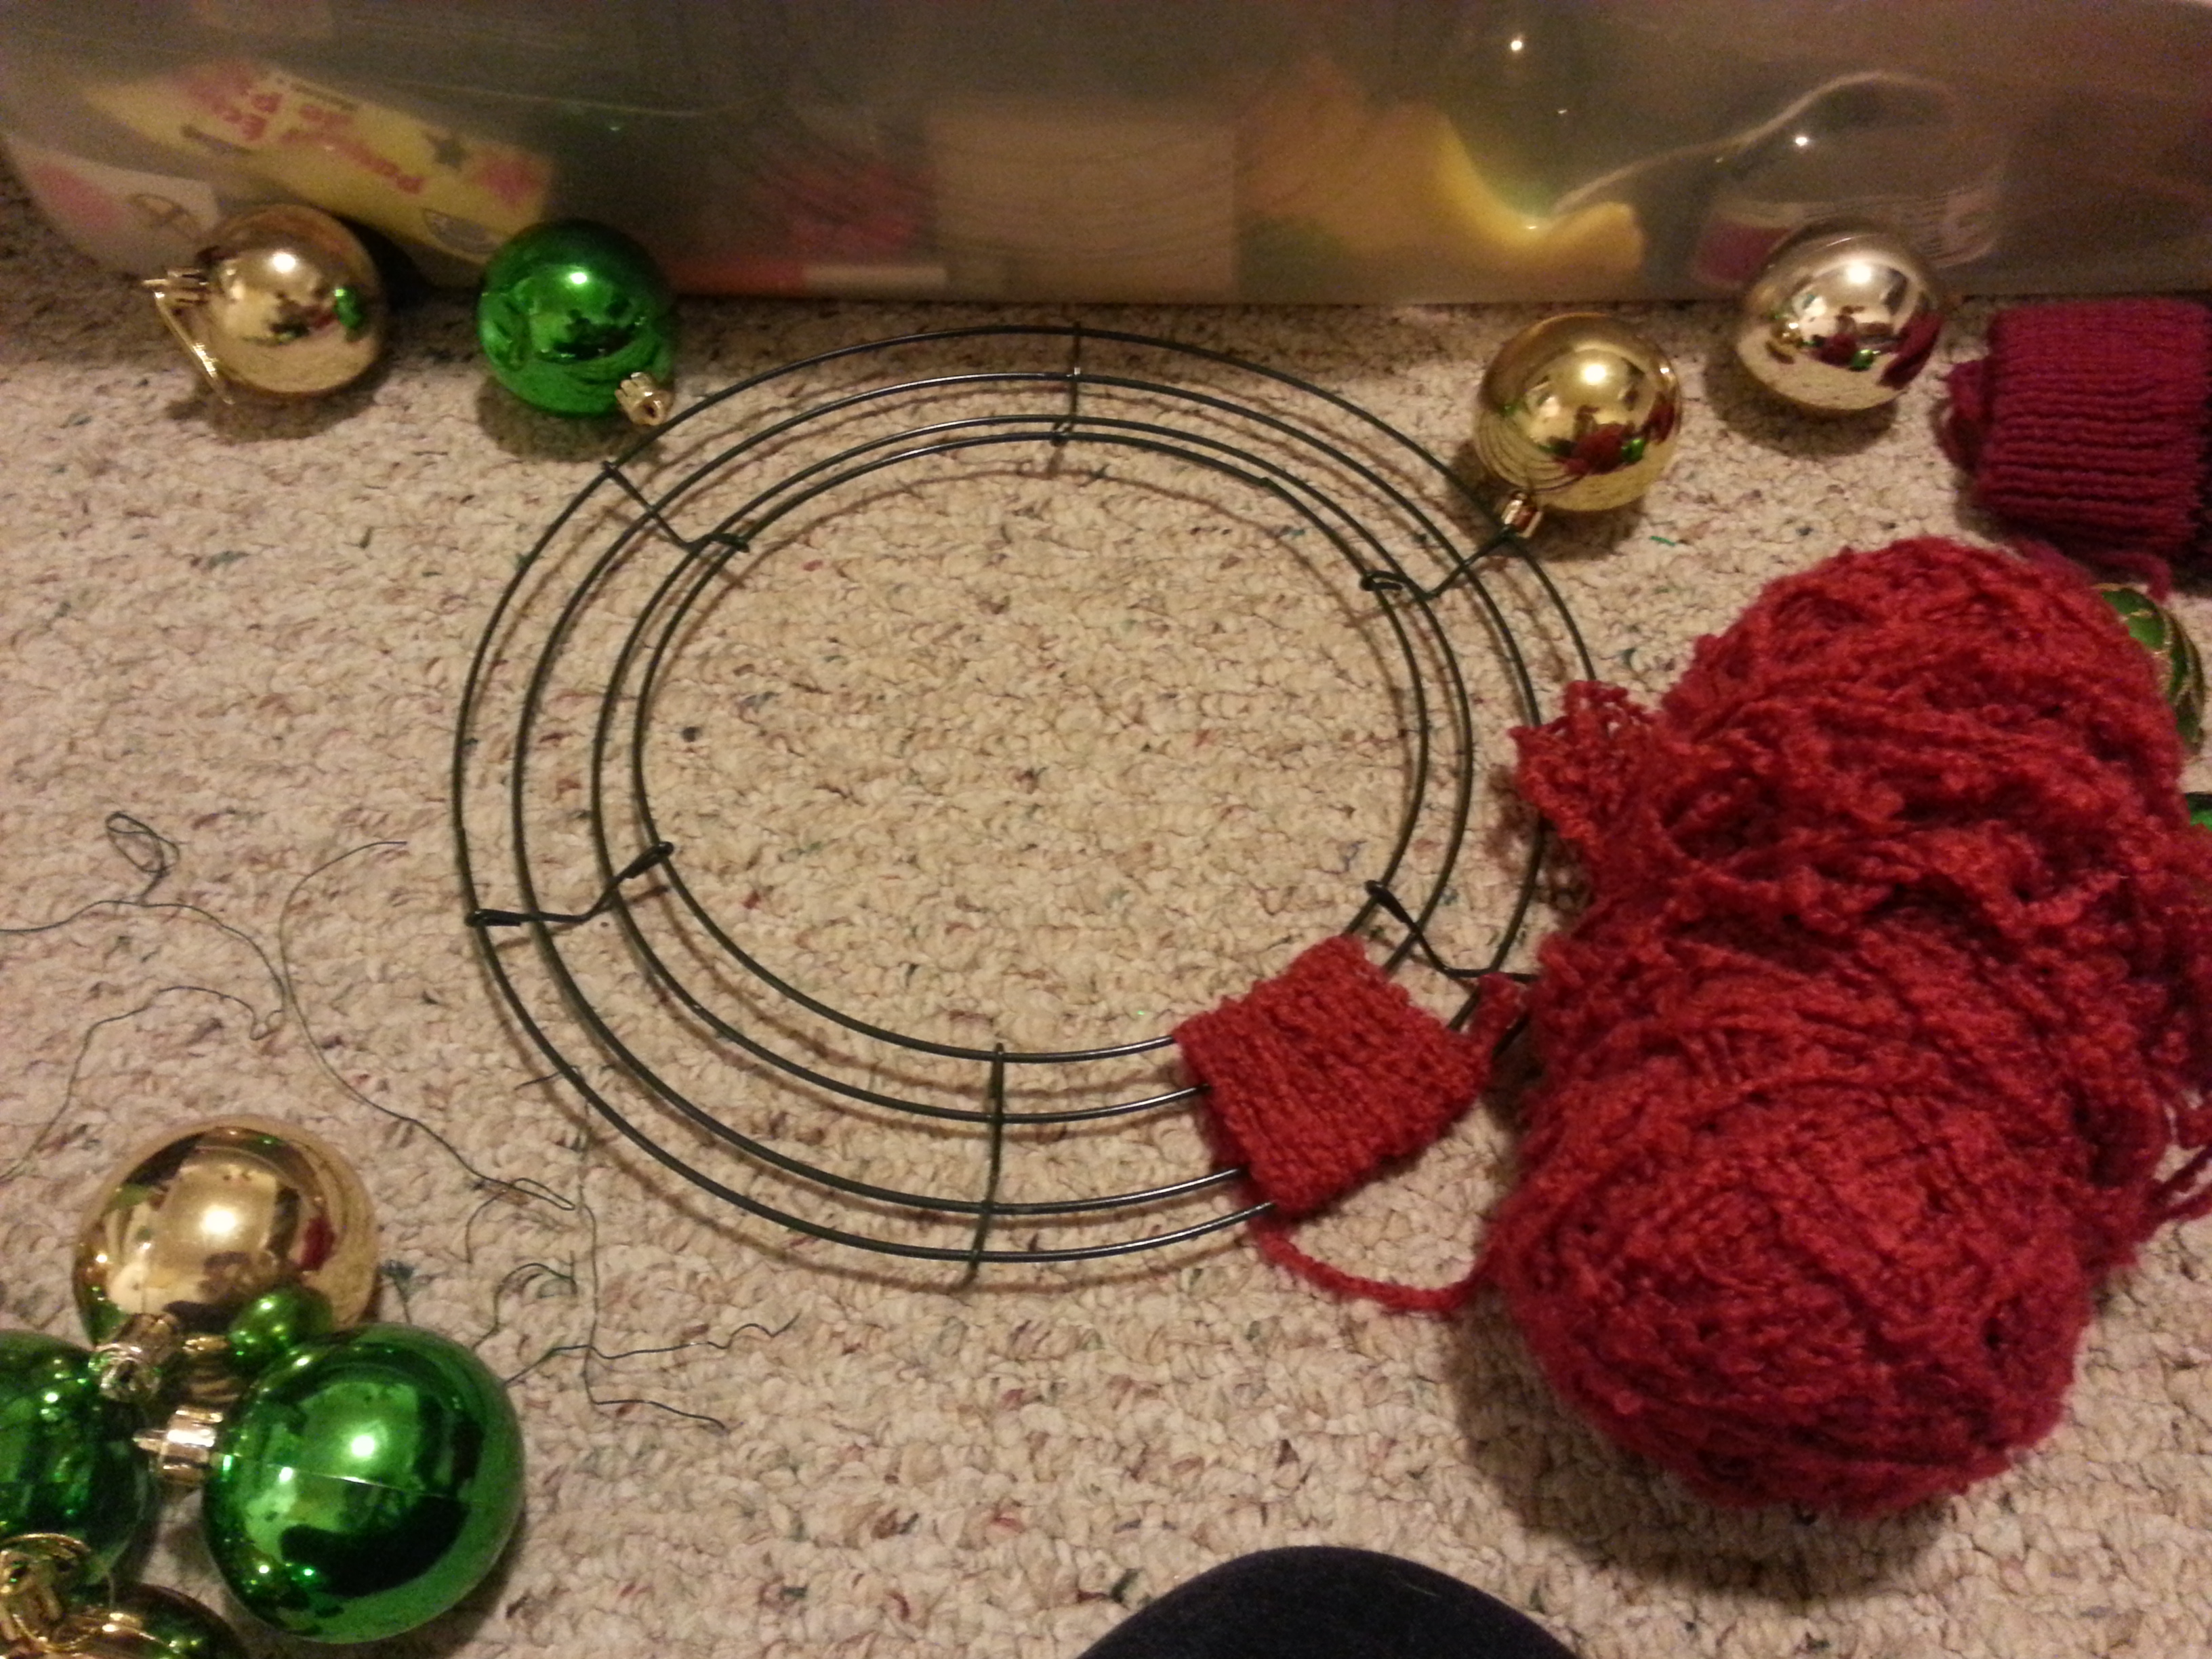
I used this red boucle yarn of unknown origin that was in my stash, which gave the wreath a nice texture. Since my wreath form is flat (it’s the same one I used in previous years to make evergreen wreaths), I added  depth by attaching some bobble ornaments in the same color.

2013-12-01 19.07.39  2013-12-01 18.57.08


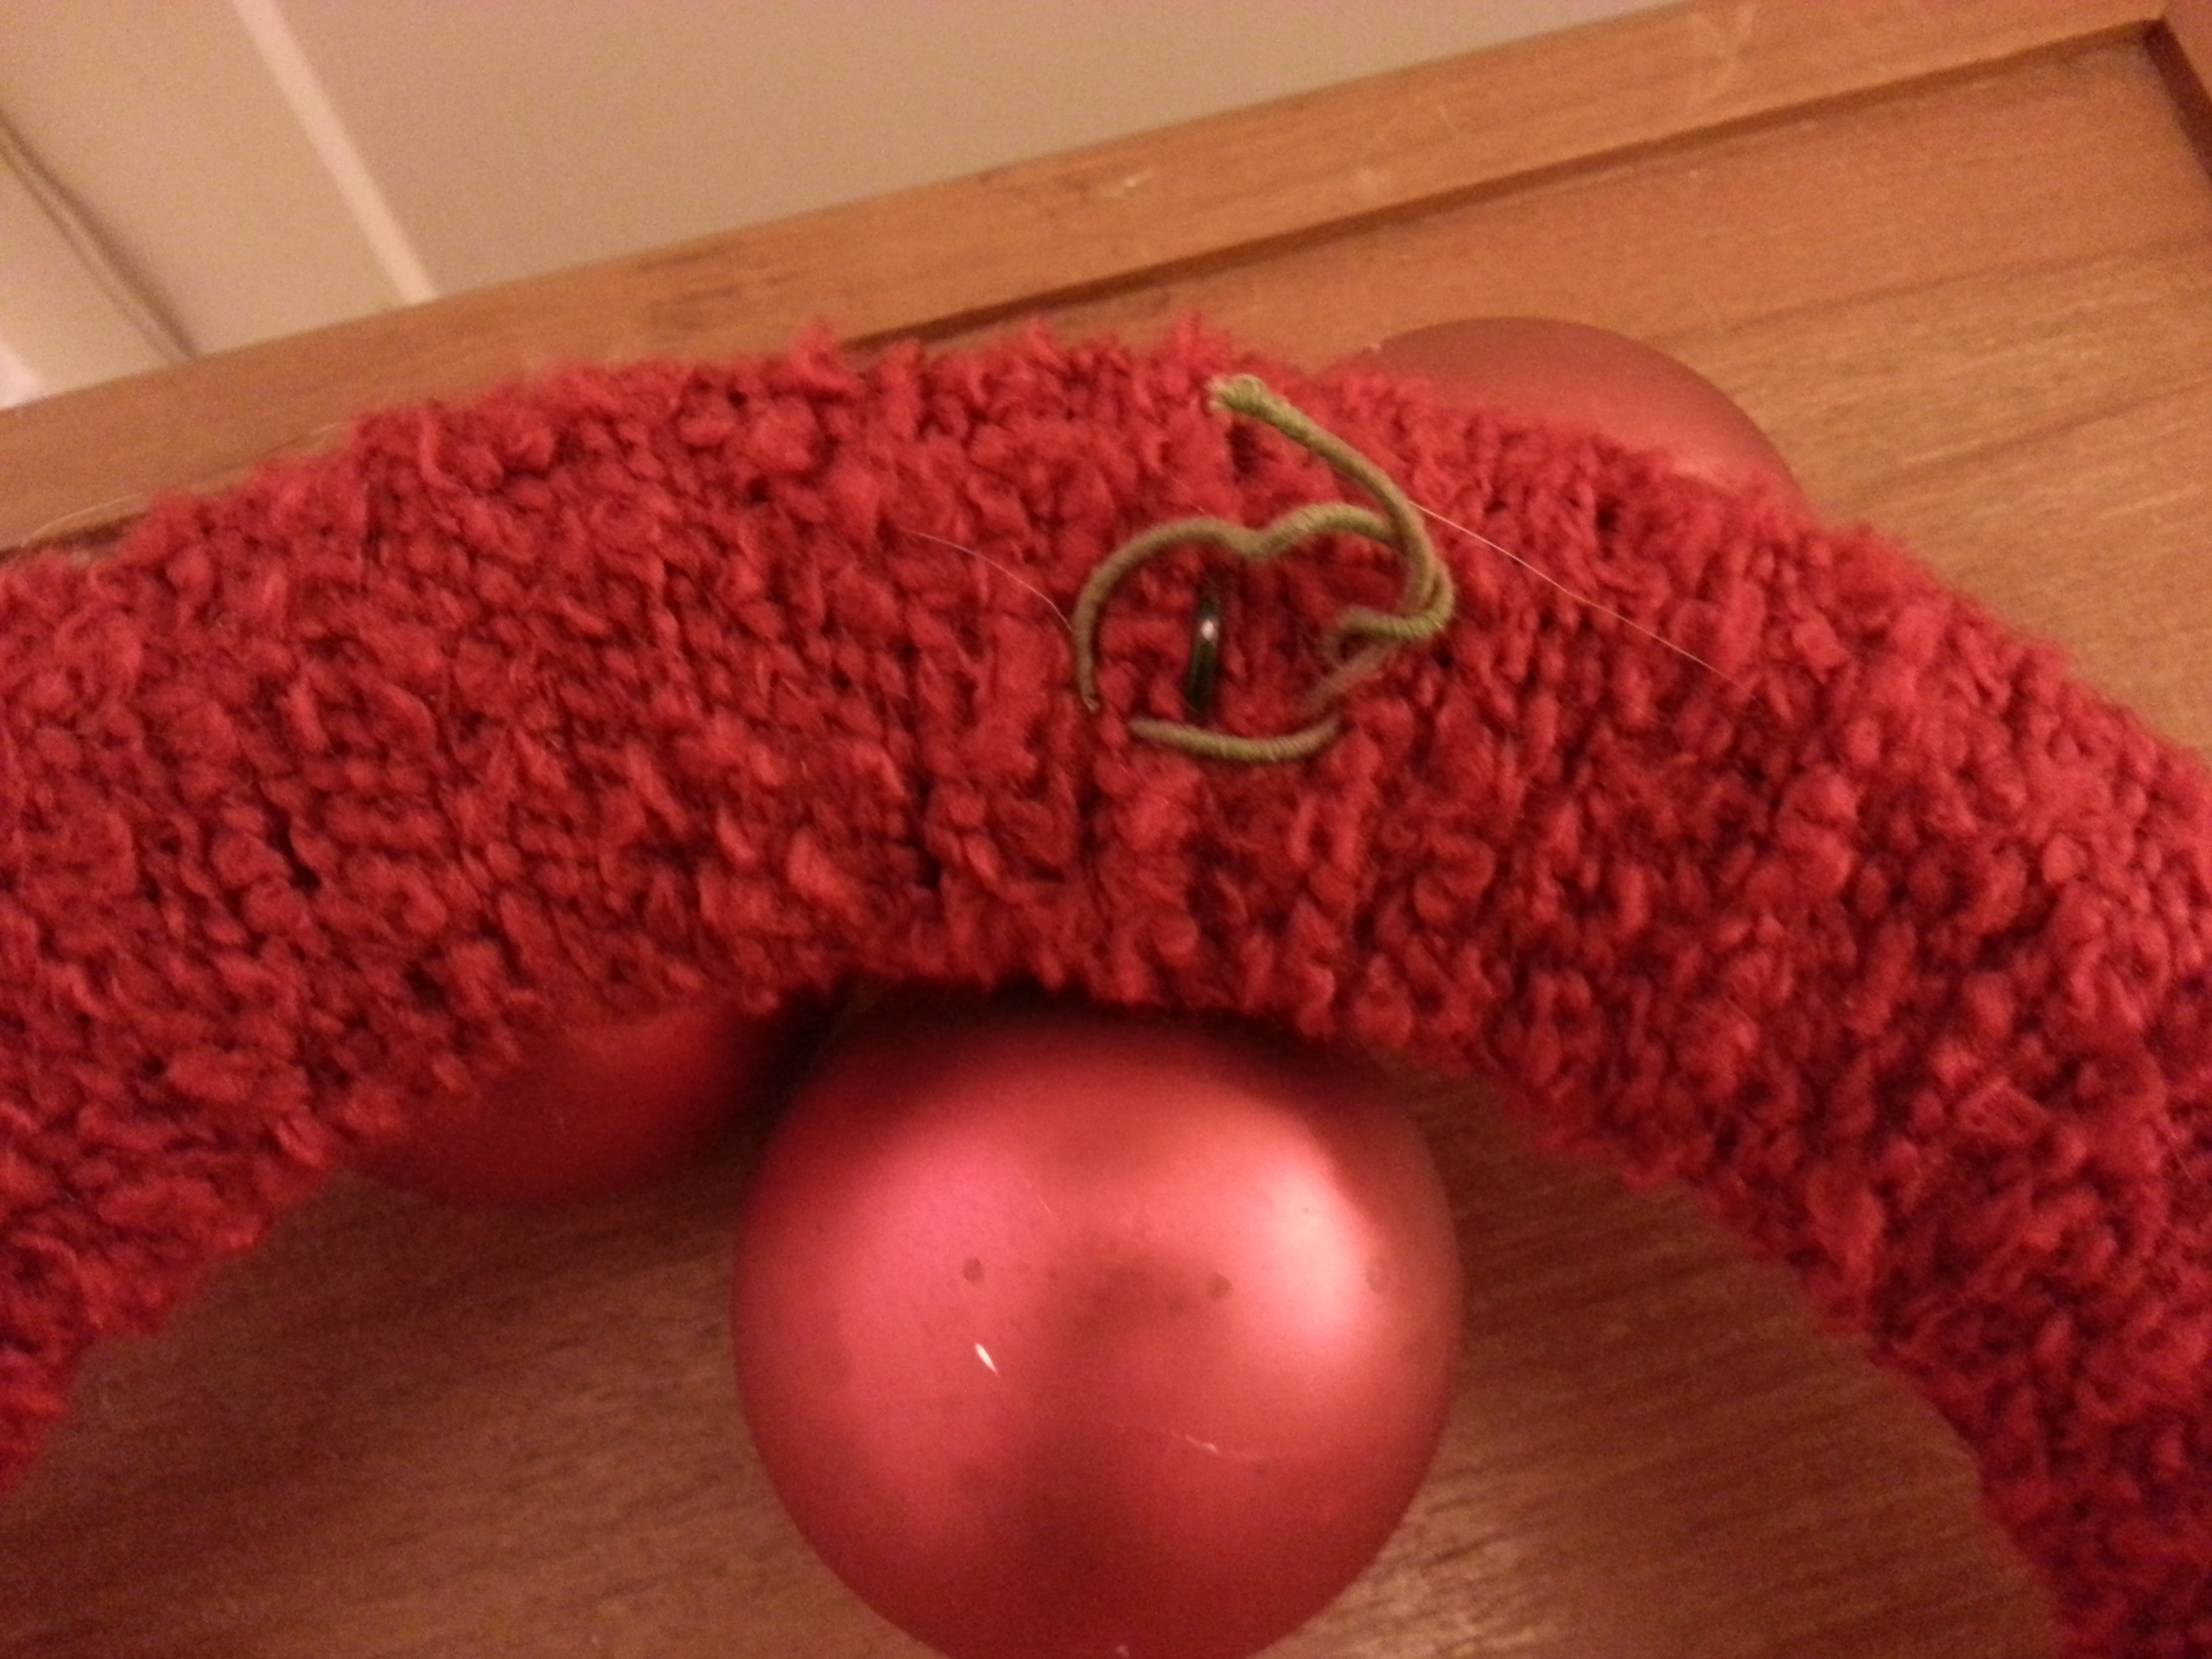
I described how to attach the florist wire to the top of the ornaments using duct tape in this post last year, and these are the exact same ones so they were already prepared. Here’s a photo of what they look like.

IMG_1908


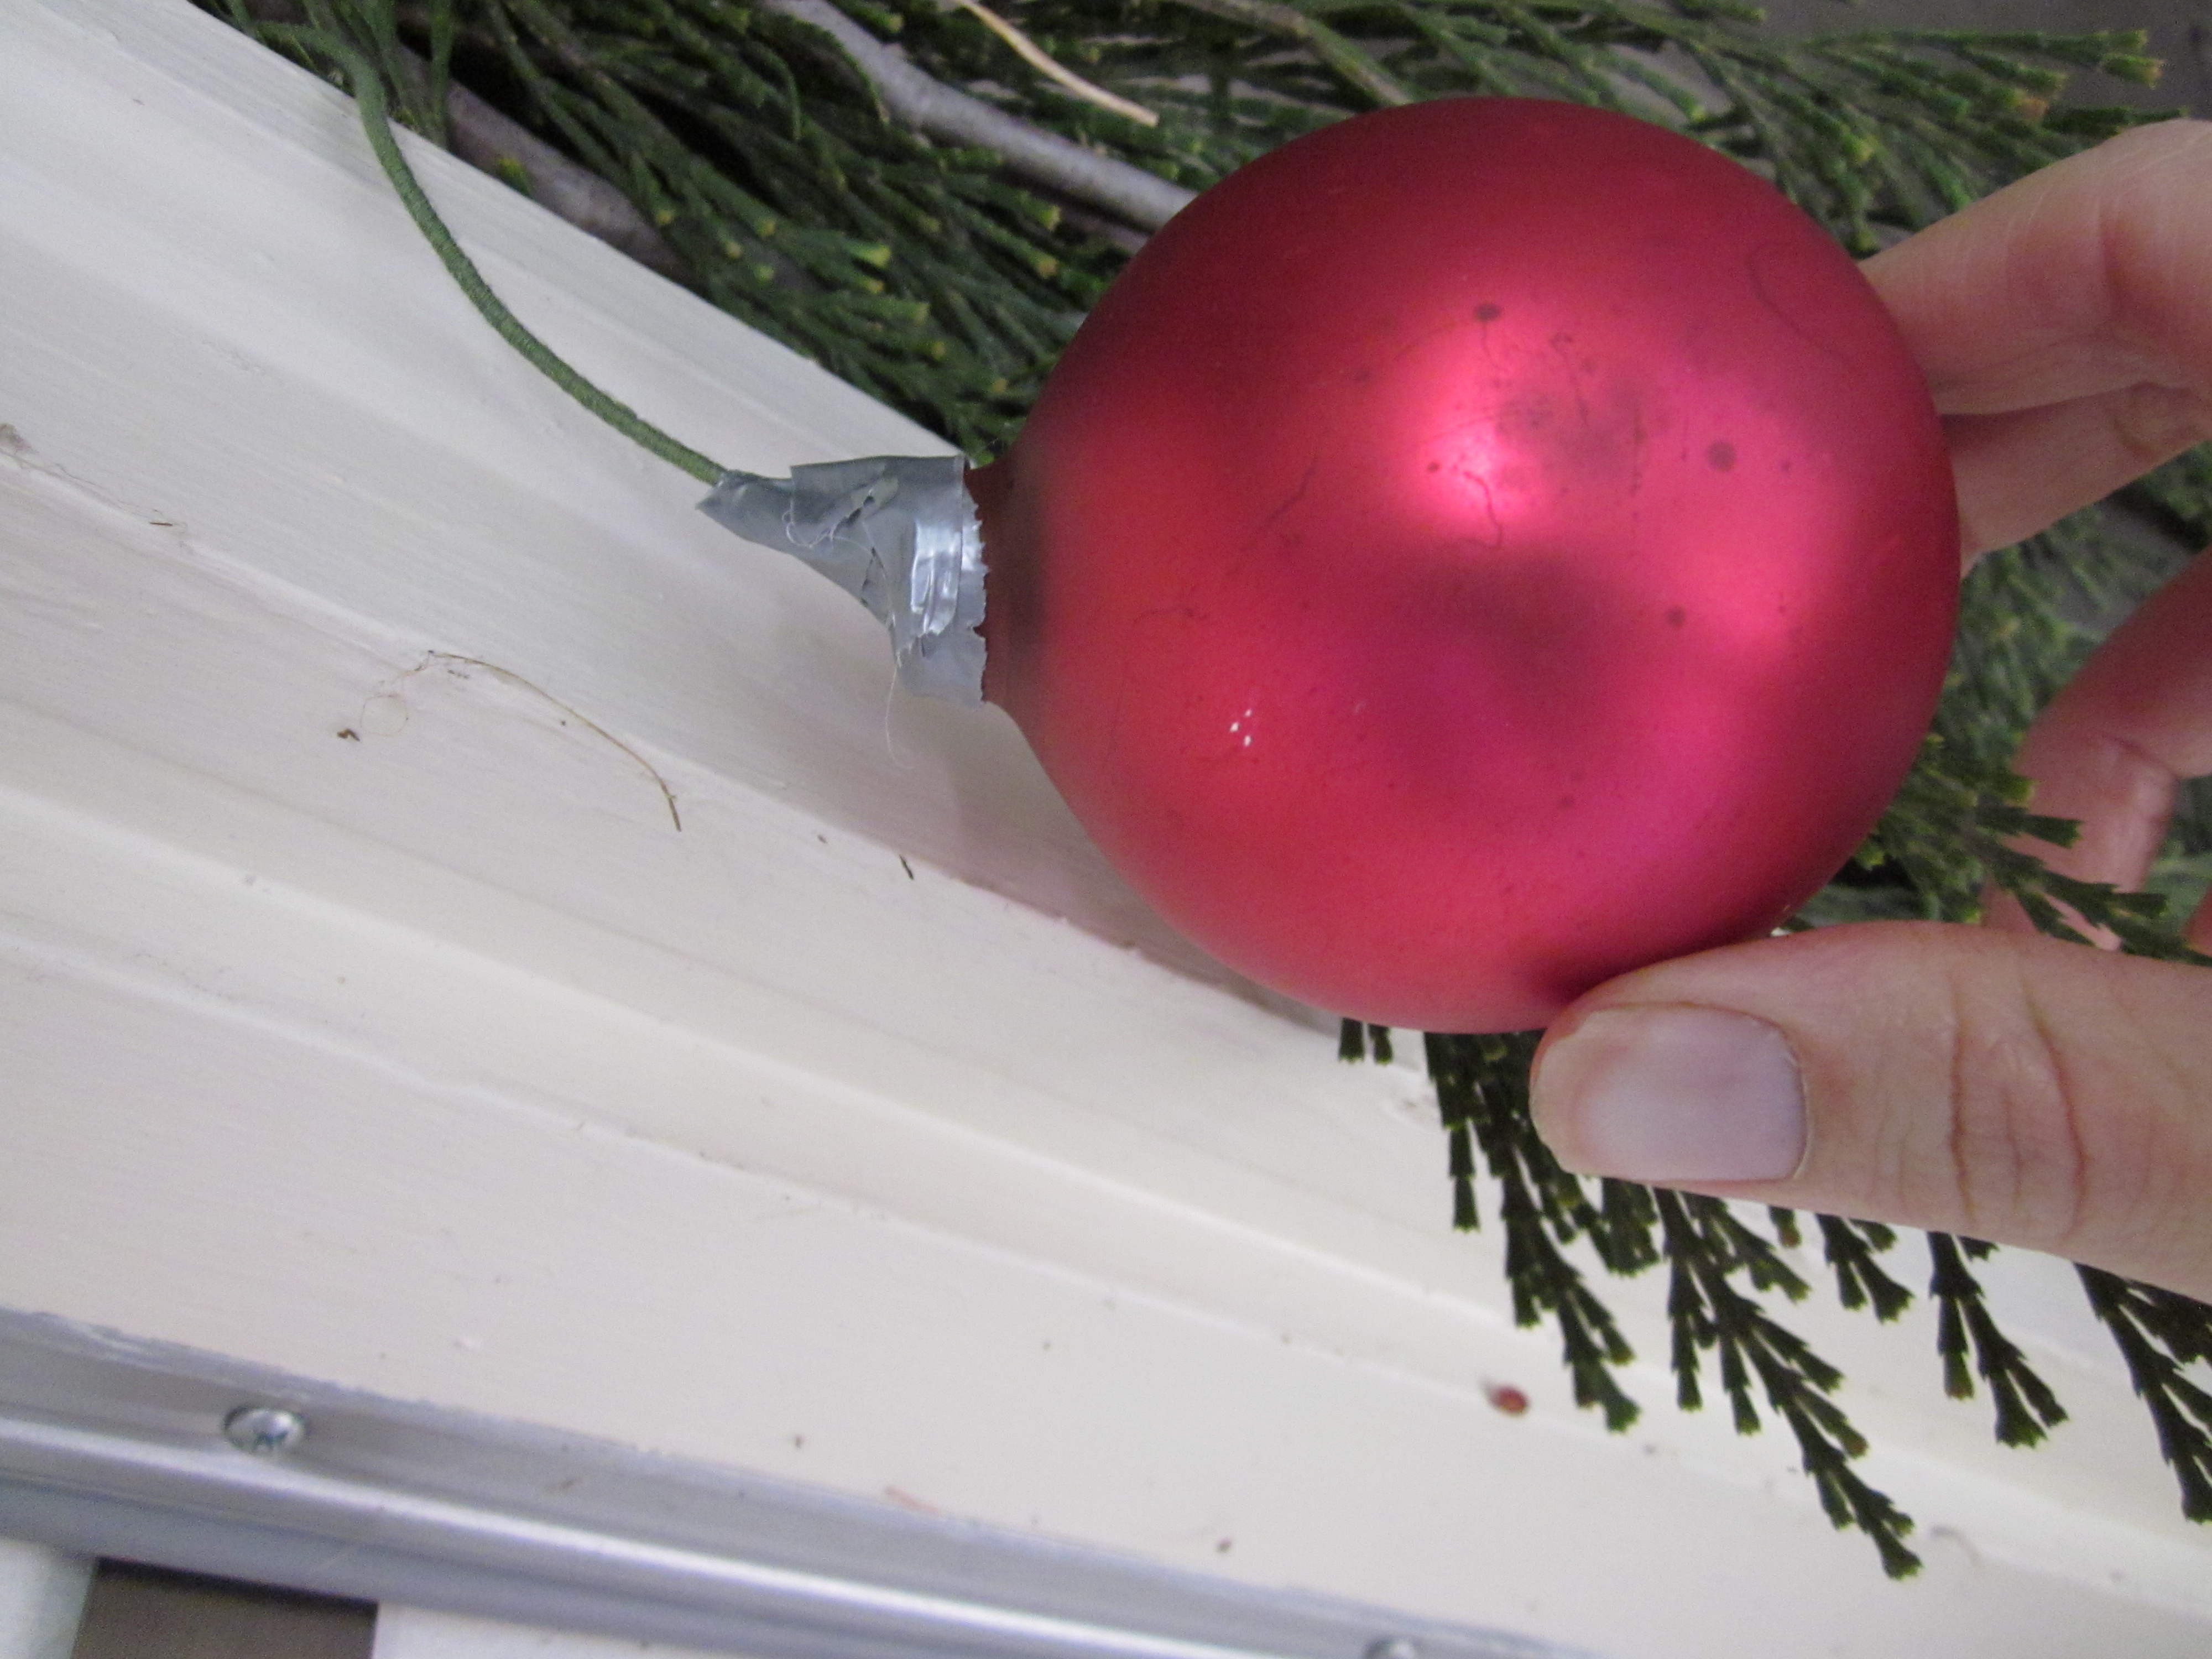
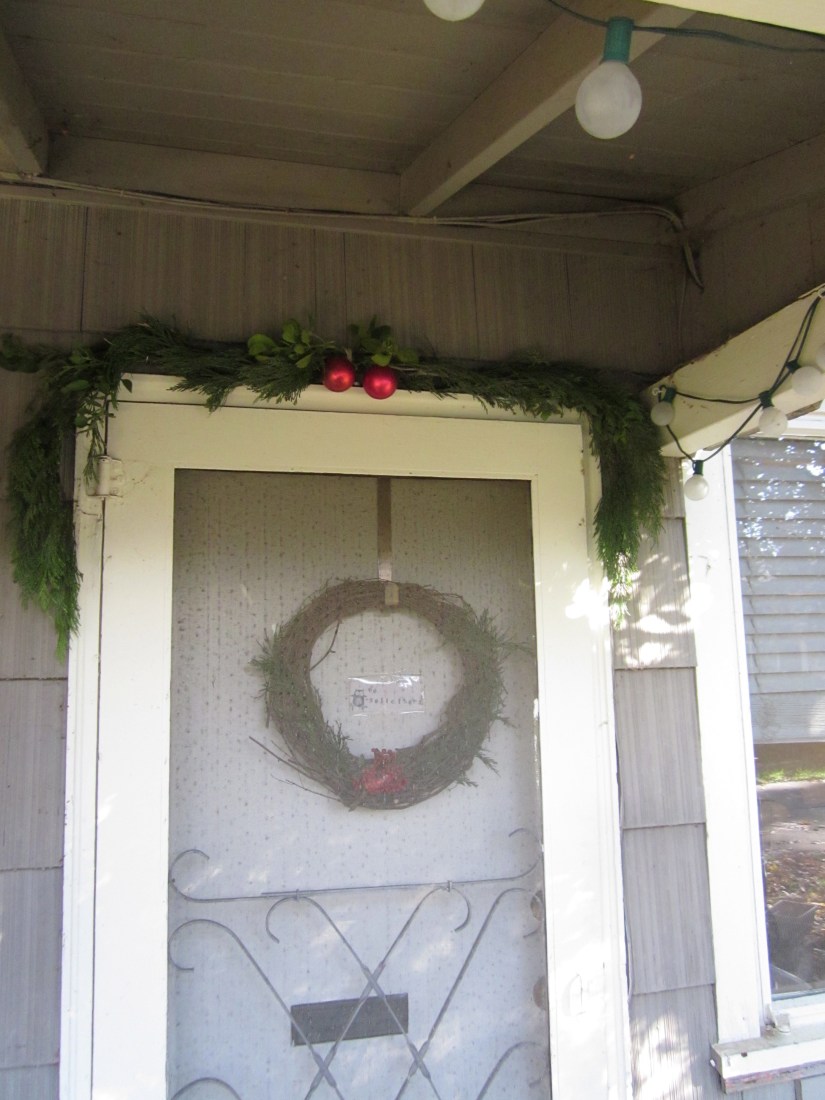
I added some red plastic holly berries mostly to cover up the duct tape that was still visible. The result was a very quick wreath that is really red. Here’s what it looks like on my door when all of my Christmas lights are working ( a rarity!):
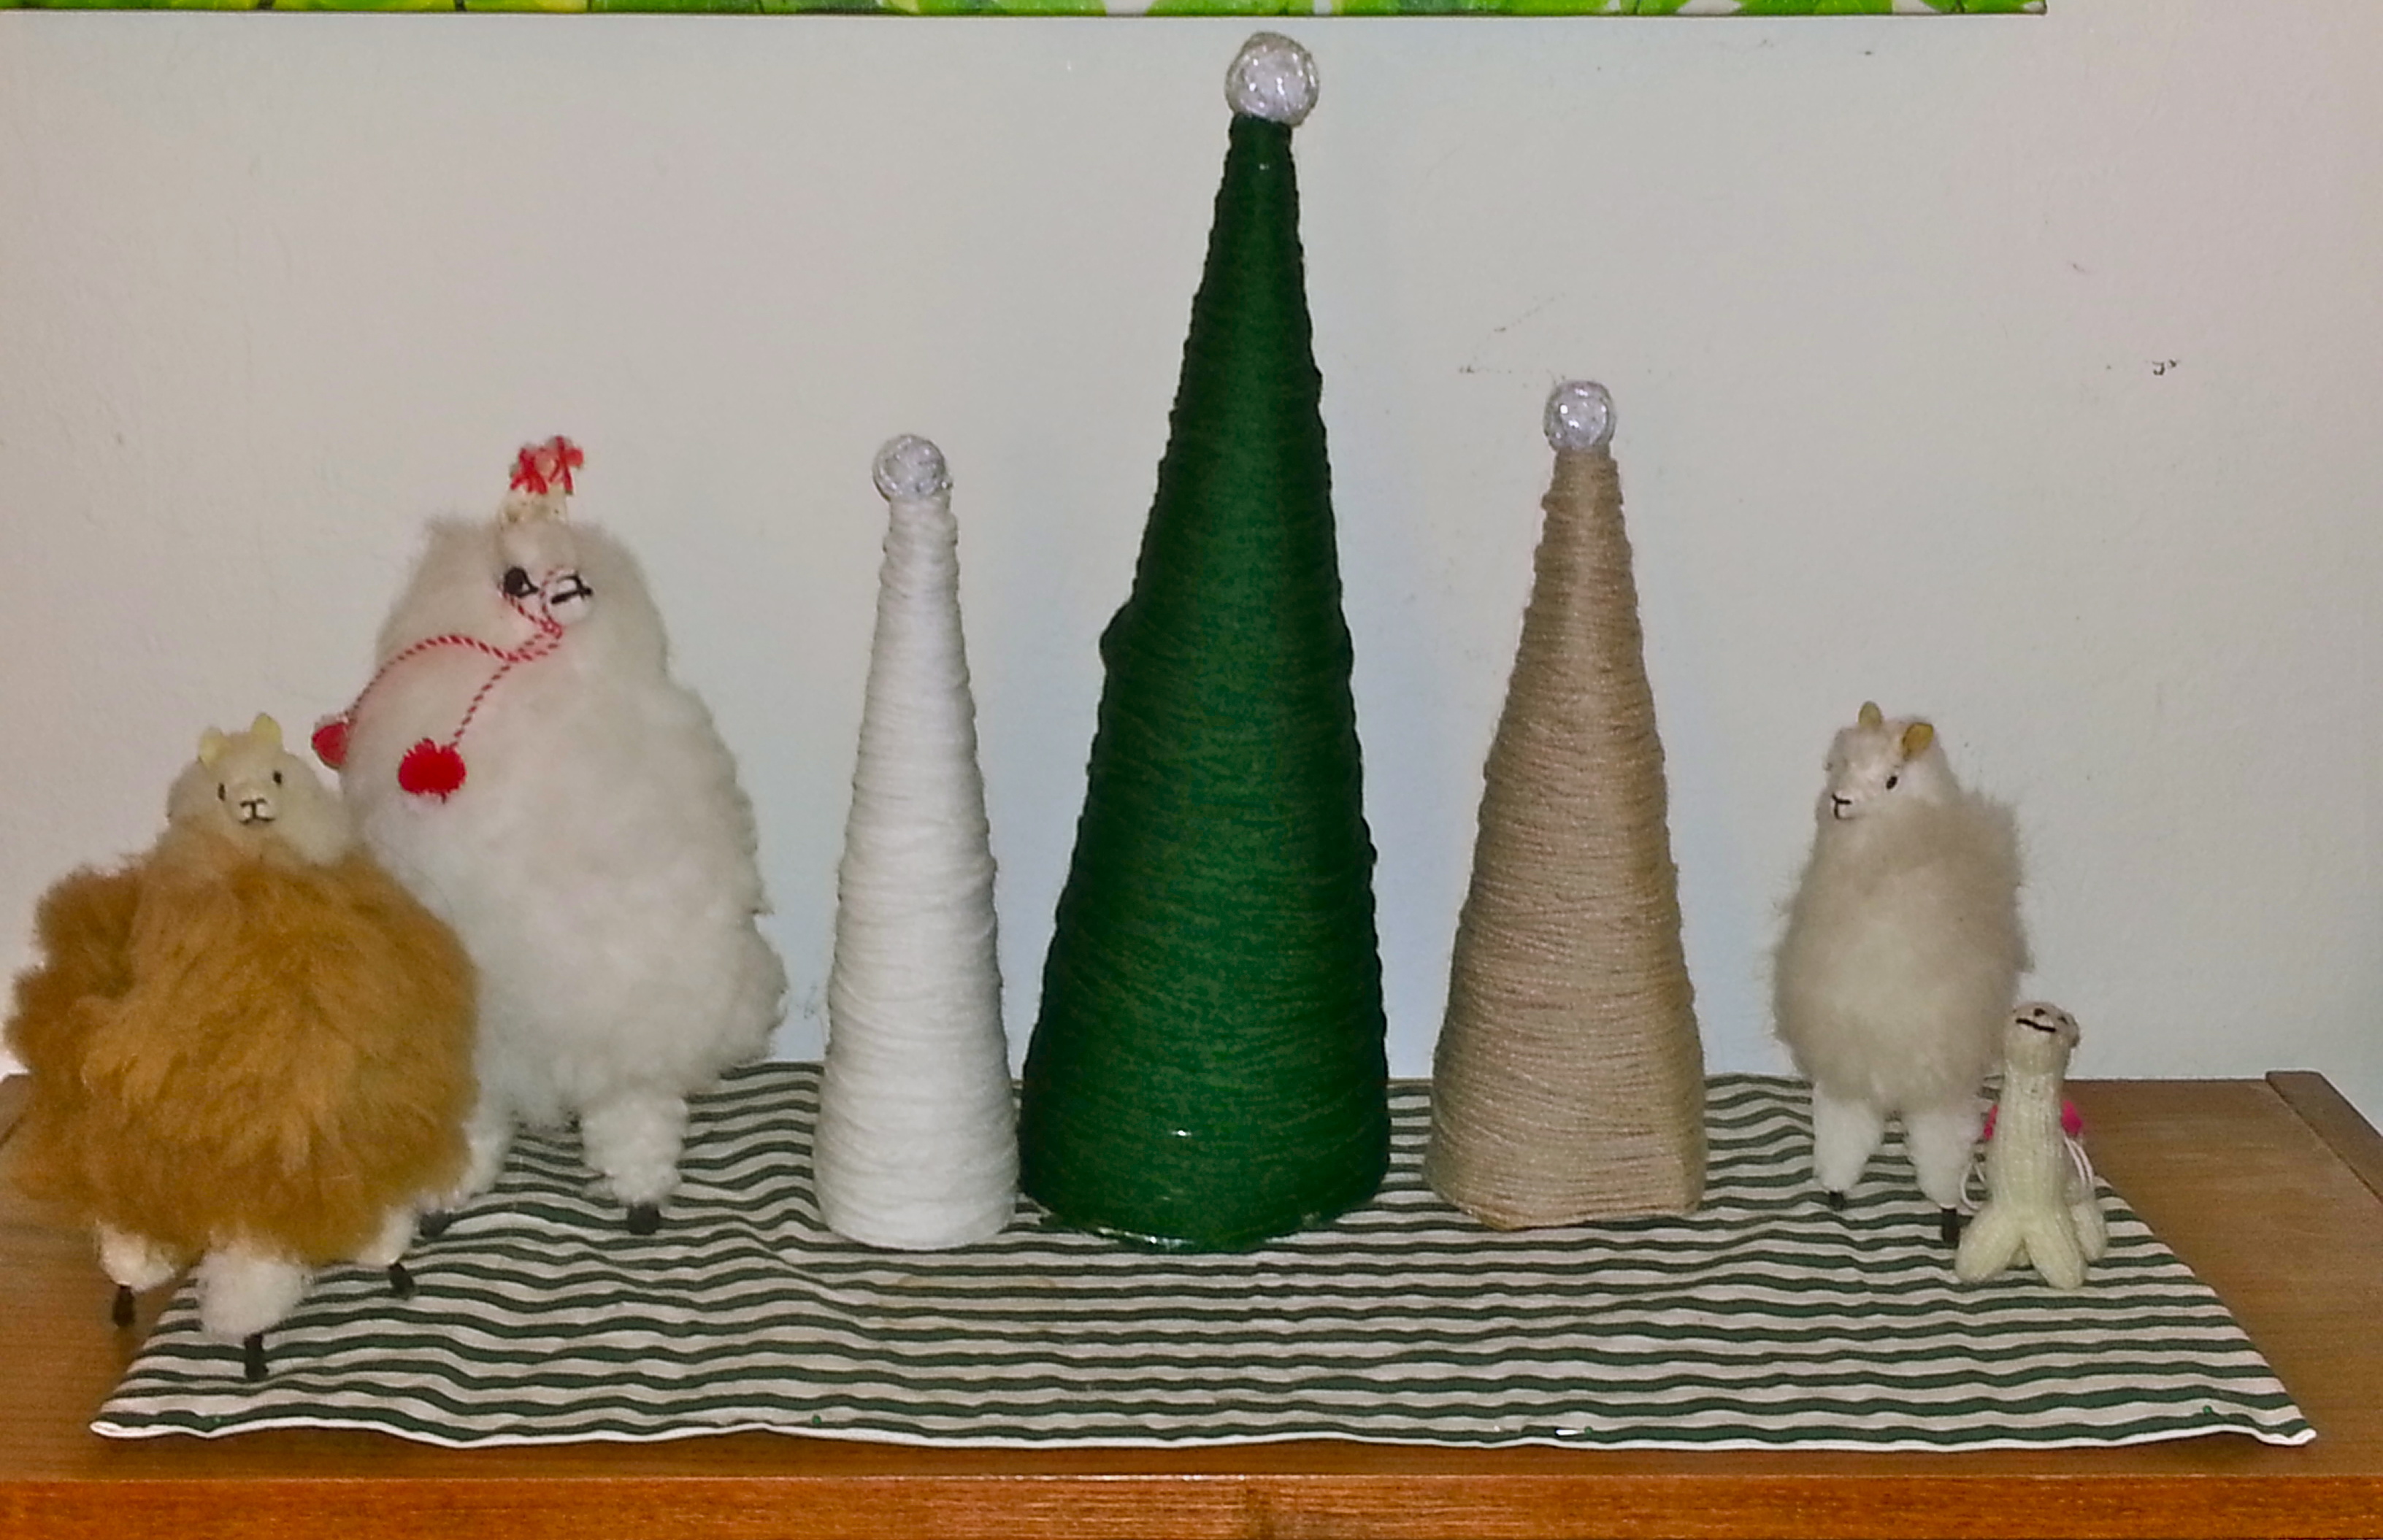
2013-12-04 17.17.40

Yarn Trees

2013-12-04 21.06.07

materials: cereal or other thin cardboard boxes, scissors, tape, yarn, hot glue gun. (optional: llamas or other animals to roam the forest of trees)

Once I did the first two projects, I was really wanting to do at least one more wrapped yarn thing, and I figured it might as well be Christmas themed. So when I saw this blog post, I figured why not? I even decided to do the same colors as the original blogger, though I did make some changes.

2013-12-04 17.58.39

First step is to open your boxes, trim off excess edge flaps and roll them into cones.  To get the come shape, try to pinch it more at one end. I only had one cereal box on hand, but I had two other boxes that were of similar quality and they worked fine. I duct taped mine in place and then trimmed the bottoms until they sat more or less flat on the ground.

2013-12-04 20.28.14


Starting at the bottom, I taped the end of the yarn, wrapped it around to the top, hot glued it there, and then wrapped it all the way to the bottom again, and hot glued it around the very base of the tree. The yarn here is some old acrylic in what seemed like good tree colors.

2013-12-04 20.57.16

Finally, I decided that my trees should have toppers, so I wound tiny balls of this sparkly silver yarn from my stash and hot glued them onto the tops. And, of course, added the Christmas llamas to the forest.

2013-12-04 20.56.59


Holiday Knits & Crafts

Festive decorations that cost almost nothing!

Last weekend I had nothing but lots of work stretching out ahead of me—so to take breaks, I did a bunch of craft projects. And since it’s December, they all ended up being Christmas related. Now my apartment is decked out in a bunch of homemade and repurposed decorations. The best part of all this is that I literally spend $2.50 at the thrift store, total. Let me show you what I did.

Outdoors: wreaths, garlands, and bobbles

IMG_1913

Since my cat eats anything green and growing, all my seasonal greenery has to go outside. Last year I made a wreath out of boughs from shrubbery. This year I already had a grapevine wreath on the door, so I decided to just alter it by weaving in some branches from a nearby evergreen and berries from bushes in my complex. Here’s the result!

IMG_1897

Yes, I left up my “no solicitors” sign because it does seem to deter some of them. Also, it’s also homemade, so it fits right in. I’ll probably have to replace the berries in a week or so, but so far they’ve been holding up.

The next project took more work. I decided to make a garland for the top of my front door using more evergreen branches, mistletoe, and red bobble Chirstmas tree ornaments I got at the thrift store for $1.

IMG_1898IMG_1907I started by wrapping up branches of evergreen and mistletoe with twine. From talking to several people recently, I realize that the source of mistletoe may not be common knowledge. It’s a parasite, and it grows on a lot of deciduous trees around here. If you see a green bush like thing growing straight down on a tree branch on a tree that has lost its leaves—congratulations, you’ve found mistletoe.

486px-MistletoeInSilverBirch

Anyway, I wrapped three separate bundles—one leaning left, one leaning right, one that was just straight.

IMG_1904

Then I attached them above the door frame using what I had on hand. For the left and right leaning bundles, I used cup hooks. I suggest using a nail of slightly smaller size to make a pilot hole, then twisting the cup hook into the hole.

IMG_1899IMG_1900Here’s what that looked like once they were up. Kinda weird without the middle part to connect it.

IMG_1901IMG_1902For the middle part I used what I think is called a fencing staple—basically a U-shaped nail with no head but two points. For some reason I had one lying around. I just hammered it in over the middle part of the bundle and then pulled the greenery over it to over it.

IMG_1905IMG_1906Finally, I added the red bobble ornaments. I was seriously winging it at this point, but I ended up removing the top wire portion, jamming some floral wire into the opening, then securing that with duct tape. I know, duct tape! But the silver looked a lot like the top of an ornament would, I think.

IMG_1908IMG_1910Repeat for both ends of the floral wire, wrap it securely around a branch, and there you have it! I would have done three bobbles but my box of ornaments was missing one and I needed three for the last outdoor project. I still like how it looks! After this photo I trimmed the branches to make the sides a little more even.

IMG_1909

Finally, I decided that I really enjoyed the bats in the window decorations I made for Halloween. So did basically the same thing, but this time, with red bobble ornaments.

IMG_1912

While this was easy to set up (I already had yarn to tie onto the ornaments and nails installed to hang them from), it is also one you have to be careful with. If I did not have a small apartment and a cat that chases all dangly things, I would put these inside. Because when it’s windy, these ornaments tap against the window. If there is a crazy windy storm, I will have to bring them inside because they are ancient and would probably break. But for now, they are looking great.

IMG_1911

Indoors: paper chains and advent calendars

Ok, first of all, I do have some non-paper decorations up on top of my bookcases, pretty much the only free spaces in my home.

IMG_1928

This little tree and ornaments came from my family’s massive stash of Christmas decor. It goes on the tall bookcase every year, where it is hard for my cat to find it.

IMG_1926

I also added some pine cones and a really old copy of A Christmas Carol to the top of the small bookshelf. I was hoping I could find my own pine cones, but no such luck, so these were $1.50 from the thrift store. The book was my grandfather’s—writing in the inside says “Christmas ’44” and the book itself is from 1938. It has some beautiful illustrations.

On to the paper crafts!

IMG_1887

First up—a paper chain. For some reason I loved making these in elementary school. But I decided to ditch the red and green construction paper for strips from magazines and catalogs.  It was a lot more colorful this way. I did try to get some red and green in there though. I didn’t really measure the strips—they were all about an inch by 6 or 7 inches, but it didn’t really matter.

IMG_1889IMG_1888I ended up making 24 chains, because I had this idea that it could be an advent calendar paper chain. But then I decided I didn’t want to put numbers on them or break one of them off everyday, so it’s more of a decoration. I hung it on the entryway to the kitchen. It was surprisingly hard to photograph.

IMG_1891

But the paper chain inspired me to make a real advent calendar. On a whim. With no plan. And so I did. Below are most of the tools and supplies you need (except for the exacto knife and cutting mat, which I also ended up using).

IMG_1896

I started out with an old calendar that I liked and the magazine and catalogs from before. I measured the size of the box under each number, made a template, and then cut out lots of little rectangles for each day and glued them to the calendar. It would be super easy if you had a glue stick, but I used elmer’s glue and a paintbrush.

IMG_1914IMG_1915Once that dried, I worked on the overlay part. I measured an even smaller square for each day, and traced three sides of it onto some strips of nice green stationery paper I had. Using an exacto knife, I cut the three sides of the rectangle out so that each day would have a little door flap to open. When I had enough for all 24 days, I glued them over the calendar boxes, being careful not to glue the flaps down!

IMG_1917IMG_1916IMG_1920Finally, I covered up the days of the week and the year on the old calendar…and it was done!

IMG_1921


I was quite pleased with the results, especially because this was the one craft I did not make for myself—it was a gift for a friend. Because the only thing more exciting than opening those little calendar doors as a kid was not knowing what was behind them.

IMG_1924I think I’m done with Chirstmasing for a while now…at least until my yarn comes in the mail and I can start knitting little gifts.

Botanical Knits & Crafts, Holiday Knits & Crafts

How to make a Christmas wreath from your shrubbery

(That’s right. Your shrubbery. Or, you know. Branches cut from your Christmas tree.)

I helped my mom pick out this noble fir over Thanksgiving weekend. We always go to the same seasonal lot (Hopper Bros.) This year, they went a bit crazy with a craft I hadn’t seen before: wood and branch reindeer.

We got the tree up and decorated before I left that weekend. It looks like a pretty standard Christmas tree, but it was a Christmas miracle that I got a non-crappy photo of it all lit up with my camera.

When my mom had to cut off the bottom branches to get the tree into its stand, and I asked if I could keep them to make a wreath. I do this pretty much every year—but normally, I just cut a few branches of juniper or other evergreen tree/shrub from around my apartment complex. This year, I got to…well I was going to say branch out but that’s a terrible, terrible pun. So I’ll just say I got to use branches from three different kinds of evergreens (including mom’s juniper shrubbery), plus red berries.

I ecently realized that I don’t know anyone else who does this. Even though its easy, very cheap, and (at least in CA) evergreen branches are super easy to come by.

So I made a tutorial.

Rustic Wreath, Made From Shrubbery: A Tutorial.

Things you will need:

wreath form (this one is 12″)

wire (I’m use green 1/4 gauge wire)

clippers (that will cut branches and wire)

evergreen branches (between 6-12 inches is best)

red berries

[not shown: wreath hanger]

There’s no one way to do this, but I’ll show you what I do. First, gather everything outside, as you will make a mess. Then, gather a handful of branches of varying lengths/types together and wrap them together using the wire, about a few inches from the base. Leave a tail of wire at least a foot long to wrap them around the wreath form later:

For my wreath form, I made five of these bundles. Make sure they curve in the same direction. Once you’ve made those, start to attach them to the wreath form using the excess wire. Wrap the first bundle tightly around , using the wire to go over and under branches a few places to secure it to the form. After you do this to one bundles, place the next one so that it overlaps and covers up the wire from the first.

After you’ve placed them all, hold you wreath up and/or place it on your wreath hanger. Chances are you will discover two problems: there’s a few sizable evergreen gaps in the wreath, and there are some crazy branches sticking out way too far.

This is when you go back and add more branches to the bundles that need them (using more wire and arranging the branches as necessary). Once you’ve got that under control, hang it on the wreath form and use the clippers to trip rogue branches. I don’t do a lot of trimming because, after all, this is a rustic wreath made from shrubbery! But I do shape it a little. And when that’s done, I add the berries.

Before trimming and berries:

After trimming and berries*:

*Yes I know most people would place berries, or a bow, at the top and not the bottom. But this is just how I roll.

The wreath forms and wreath hangers are really cheap this time of year (I’ve seen them both for about $1 each), and the wire can be anything similar to the one in the pictures as long as it holds and you can cut it (the green is just awesome for blending it—it’s usually less than $5).

If you don’t have a yard to raid for evergreen boughs, just put the word out—when my mom heard I wanted some branches for this wreath, I ended up with an entire garbage back full of them. I do recommend letting them sit out for a day or two, just to see how well they put up with being cut. The noble fir was actually drying up much faster than the other two (juniper and…I didn’t ask what the other was, I believe it was cedar), so I put it at the back of the bundles.

And that is how I make wreaths from shrubbery!