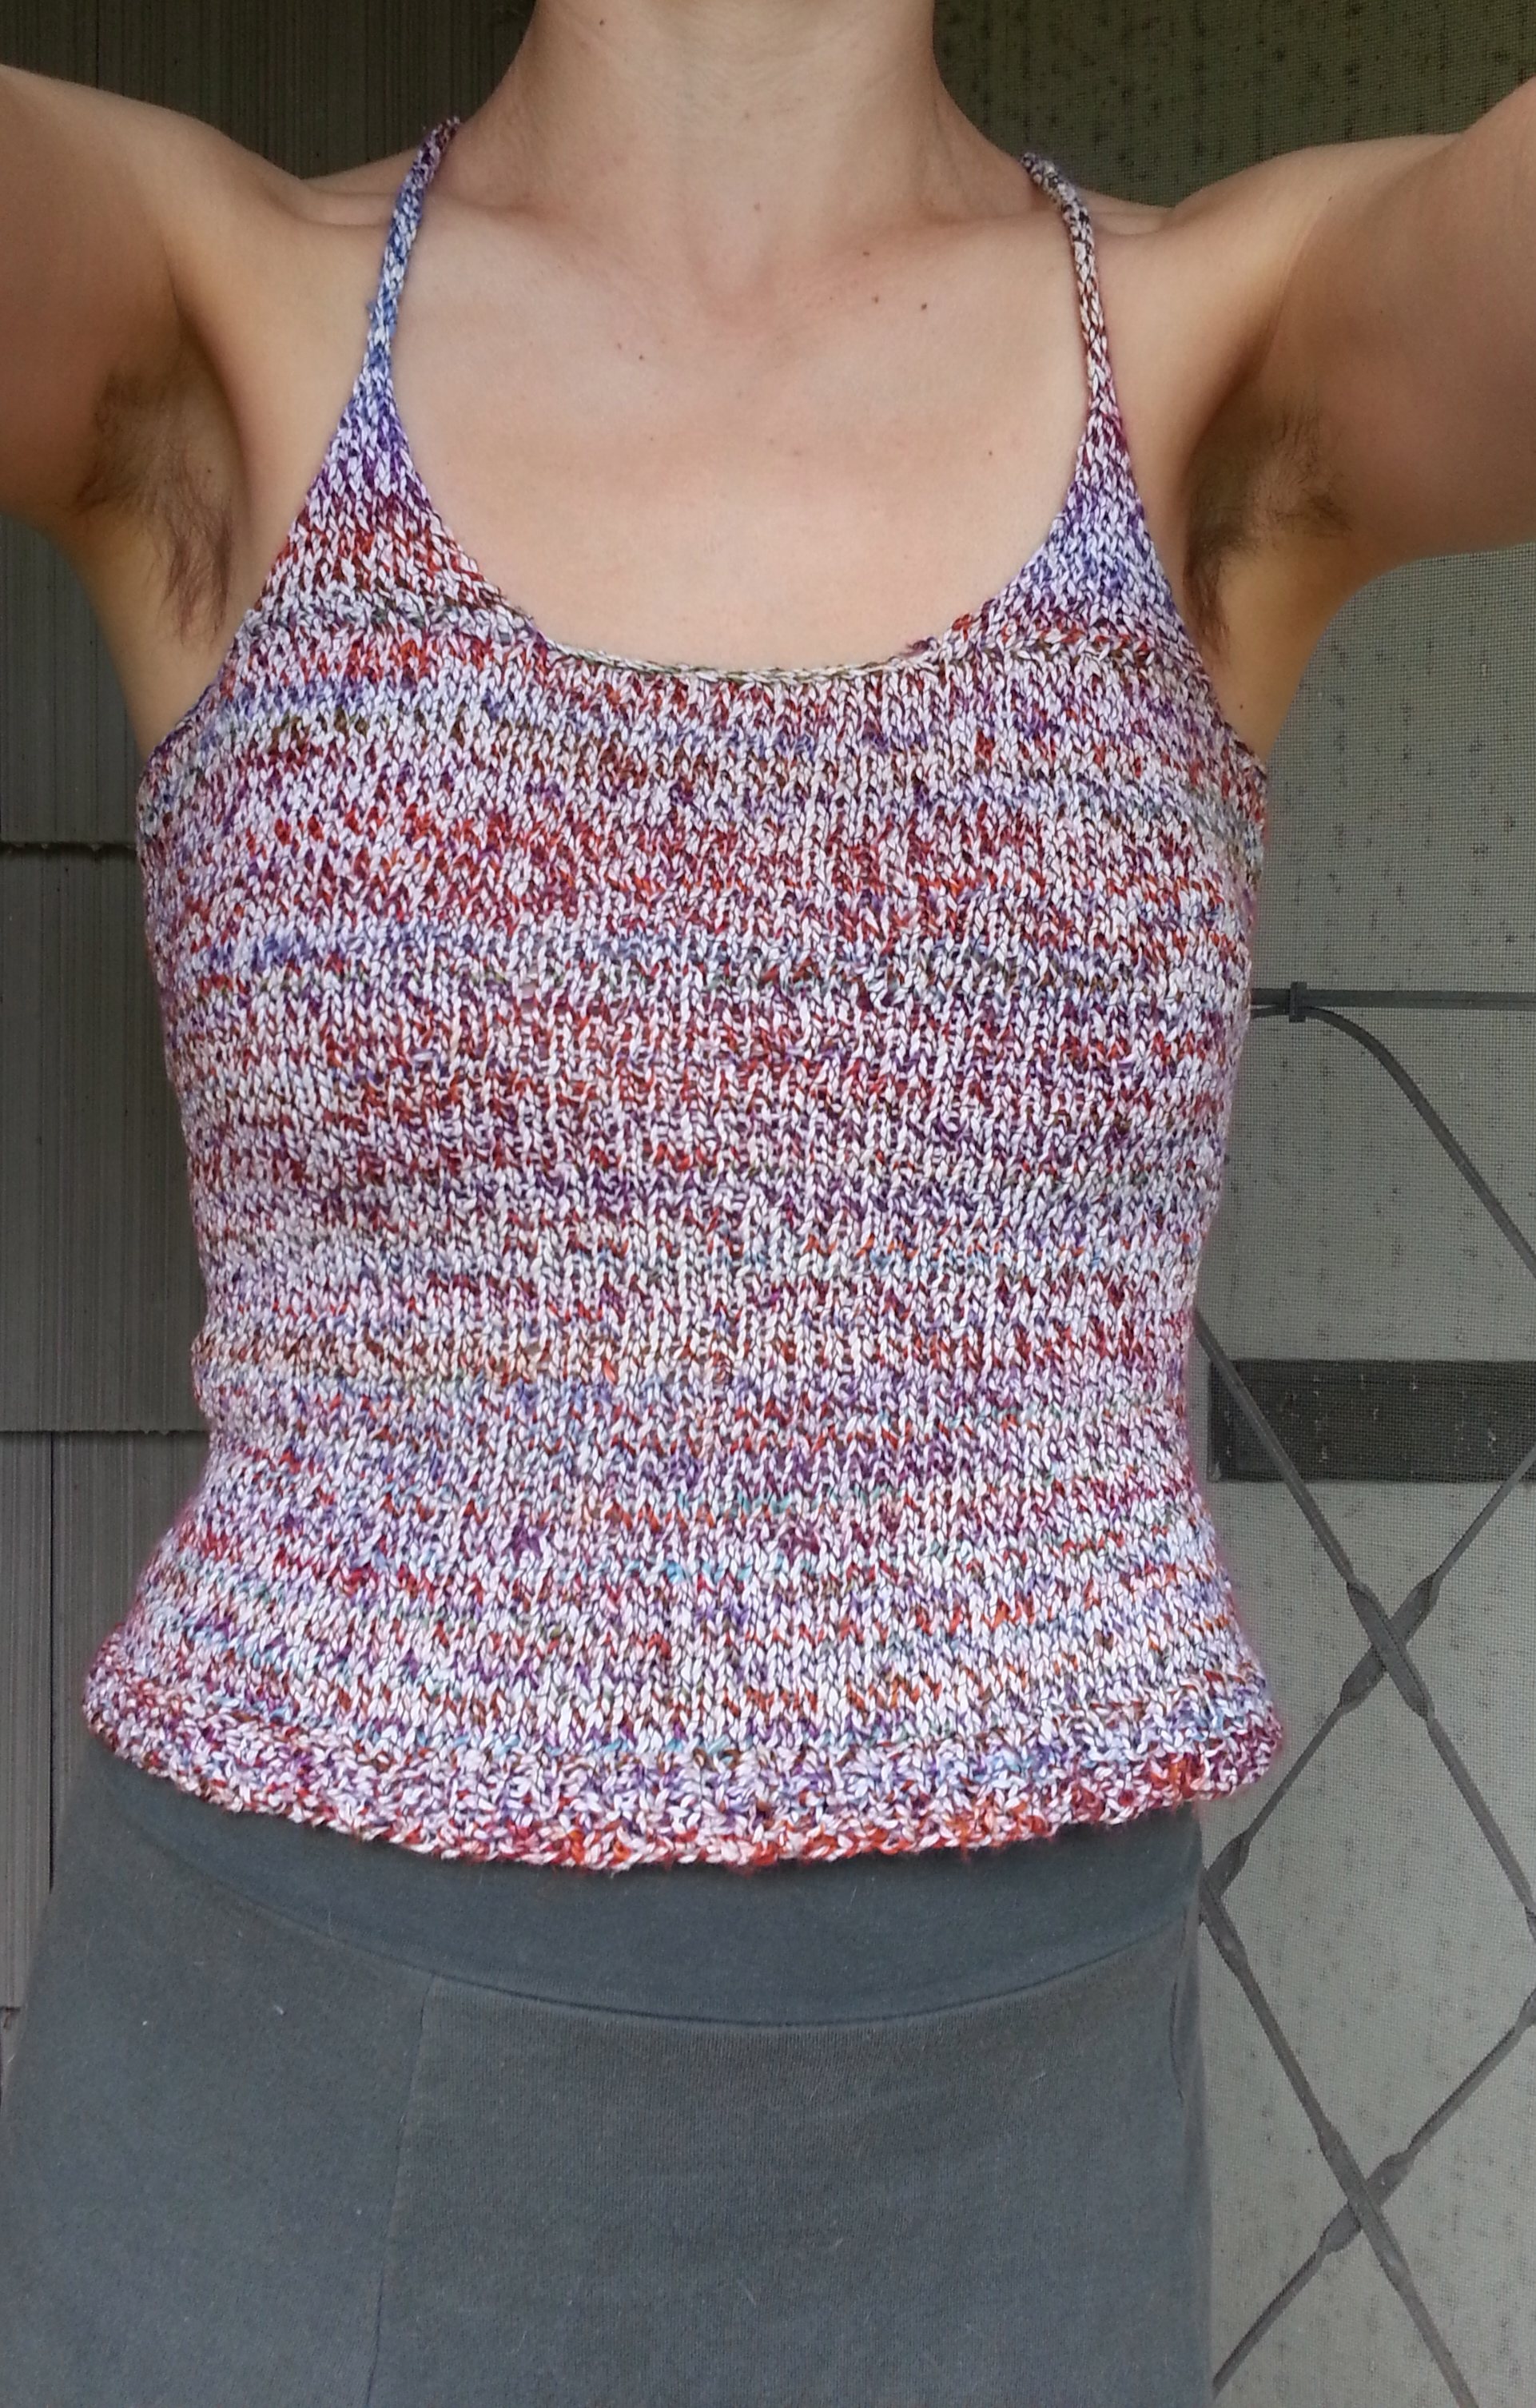
This post is a true throwback—it’s the first complete garment I ever knit! I made this tank top about 11 years ago, after several failed attempts at other items (a not-long-enough scarf, a hat so pointy even Peter Pan wouldn’t wear it). I didn’t even have a pattern! And yet somehow, it turned out well, and I still wear it to this day:

I received this yarn (which has long since been discontinued) as a thank you gift for cat sitting while my hometown neighbors were in Italy on summer. I knit the tank top by taking my measurements, checking my gauge, and making up the rest as I went a long. I remember writing down a few important numbers on a sticky note, which has long since been lost. I have reverse engineered my own work (as best I can) so I can give you a tutorial on how to make it. It’s quite simple, knits up quickly, and shows off a variegated or multicolor yarn well. I’m calling it Piena Estate, which loosely translated means “high summer” or “midsummer” in Italian.
Piena Estate: a Tank Top Tutorial

(Quick note—please ask my permission before reproducing any of the content here, and when you do, cite me as the source! I don’t mind sharing this pattern as long as it’s for non-commercial purposes.)
Materials
Yarn: I believe I used close to 3 balls of Mondial Il Cotone Mexico (50g and 100m per ball), a two ply-yarn that I think was probably sport weight (60% acrylic, 35% cotton, 5% nylon). It looked like this:
My guess is that a variegated sock yarn or DK weight yarn could also work for this top, especially if it is a cotton blend. Yardage will depend on your measurements and your gauge.
One circular knitting needle, at least 24 inches long, size 6 (or size needed to obtain gauge)
Optional but recommended: two double pointed needles in the same size, which will make the I cord part go much faster.
needle and thread
Gauge
16 sts and 30 rows = 4 inch square. Since you calculate the number of stitches based on your gauge, it’s ok to have some variation here. The suggested gauge for this yarn was originally 18 sts and 25 rows for a 10cm (4.5in) square, but I was a very loose knitter back in the day. Don’t knit too tightly on this one unless your yarn has a lot of stretch!
Directions
Casting on:
Take your measurements at your bust, waist, and wherever you want the hem of your tank top to hit. If your yarn has a good amount stretch as mine did, you won’t need to add to this, and you can even have a slight negative ease. Then make sure to measure the distance in length between these points too. I made this top short by my standards (12 inches total length in the body section), and the place where I wanted the hem to fall was about 30 inches, so I cast on 120 sts. I would suggest making a longer top if you think you have the yarn for it! If your cast on number of stitches is odd, add or subtract a stitch so that your ribbing will line up.
Ribbing: Join sts in the round and place a stitch marker (this will be the center front of the top). Knit in a 1×1 rib (k1, p1) for 1 inch (or more if you want a longer ribbing).
Body: After the ribbing, you’ll knit every stitch in each round from here on out.
Wonky math time! This is when you have to decide how to shape the garment if you would like shaping for the waist and the bust, and decide how to spread out your decreases. For example, I wanted to decrease from 30 inches around at the hem to 26 inches around at the waist, and these were 6 inches apart (since I had the 1 inch ribbing, I was now 5 inches from the waist). So I wanted to decrease from my original 120 stitches to 104 stitches (26 x my gauge of 4 st per inch) over 5 inches. I needed to space out 16 decreases. Since I knew that 30 rows was 4 inches in my gauge, 32 rounds would be a little over 4 inches. 32 divided by 16 =2 decreases per round. So I knit a few rounds without any decreases, then started decreasing twice in each row after that until I was 6 inches from the hem of my top.
The math here is only guestimated because I did it so long ago (where did I put the decreases? I think on the sides, far from the center stitch marker, but I’m not certain).
Once you have made it to the waist, you’ll need to do the same wonky math to figure out how spread out your increases between the waist and the bust. By now I’m sure you’re a pro! And remember, the best thing about knitting a garment in the round is that you can transfer the working stitches onto some waste yarn and try it on as you go.
Once you have come to the bust, continue knitting in the round until the piece is long enough to fully cover your bust with the waist in the right place when tried on. (You can add some decreases near the top of the garment if that helps it fit better, I didn’t because I have a broad back and I wanted to keep the width). Cast off, making sure to take note of where your center stitch is.

Straps: I did not have best technique for attaching my straps back then, so I have given instructions for what is the proper way to do it here.
Lay out your garment flat and find your front center marker. To place your straps, I suggest measuring the width at the top of the garment and dividing it into thirds. So if your top is 15 inches across, you have three sections of 5 inches each. The two outer thirds (the 5 inches on the left and 5 inches on the right) are where you will pick up stitches for the straps. The center marker should be in the middle of the middle 5 inches of the stitches. I’ve tried to illustrate this below, with knitting needles marking the 5 inch sections:

Pick up an even number of stitches within that left third of the front of the garment with the wrong side facing you. I ended up picking up 16 stitches which was about 4 inches not 5, because that looked better to me when I tried it on. Knit one row.
Starting with a right side row: k2tog, k to last two stitches, ssk. Continue in this manner, decreasing two stitches in every row until you have 4 stitches remaining.
I cord: To make the strap, do the following, switching to the double pointed needles if you have them.
Knit across, do NOT turn.
Slide stitches to the other point of the needle.
Knit across, do not turn, slide stitches to the other point of the needle.
Continue in this fashion, once again trying on the top as you go to see when the strap is long enough to attach to the back. It will probably about 15 to 18 inches from the picked up stitches (mine is 18 in, but I have a long upper torso). You can either attach this left strap to the corresponding place on the back for a regular style tank top, or attach it to the opposite side of the back for the racer back style. I tried the regular way first, but the I cord straps rolled around too much for my liking, and it stayed in place much better when I switched to the racer back, which is what I recommend.
Once you have enough I cord, cast off, leaving a long enough tail to sew the end to the back of the garment.
Repeat the same process for the other strap. In the back my straps are attached about 7 inches apart. Then if you have made a racer back tank, take your needle and thread and stitch the I cords together where they cross. It’s not required but it really helps them stay in place. Weave in and trim all remaining ends.

Hope you enjoyed the tutorial! Let me know if you find a good yarn to substitute for my discontinued one.


