Recipes. I use them all the time in cooking—I’ll certainly be consulting a few for the Thanksgiving dishes I’m making next week. However, I usually see the ingredients and directions as more suggestions than mandates. And I often combine elements of different recipes to get the final results I am looking for. I like to remix my recipes.
Lately, that’s what I’ve been doing with my knitting as well. It’s finally knitting weather here in California, and I have been working on projects big and small. But I can’t resist remixing the recipes—combining elements of two patterns to get the finished object I really want. It’s one step above following a pattern with a few modifications, which is easy but can only transform the pattern so much. And it’s one step below writing your own pattern, which is great for creating exactly what you want but takes a lot of time and effort to do properly.
I’ve got two remixed knitting recipes for you. Both are small, relatively quick knits. They all involve bits of colorwork, so they are perfect for stash busting. They also make great gifts—and you won’t find them anywhere else!
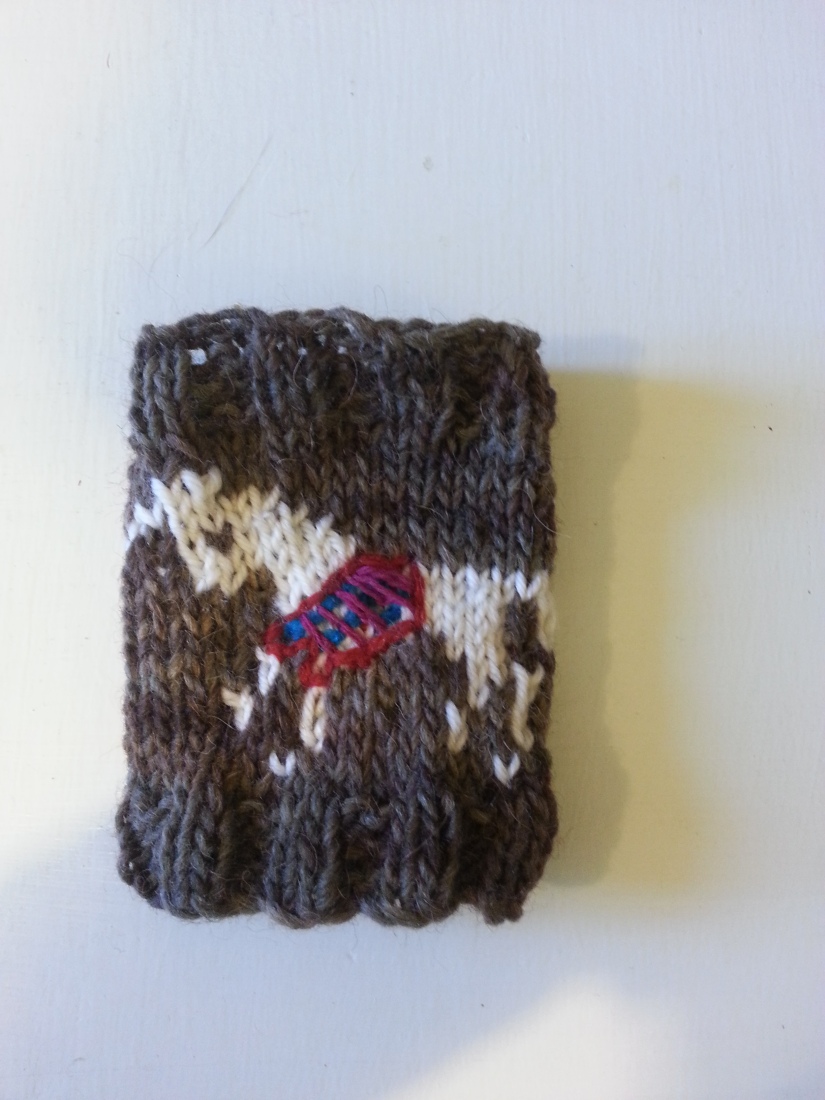
Shetland: The Pony Drink Cozy (ravelry)
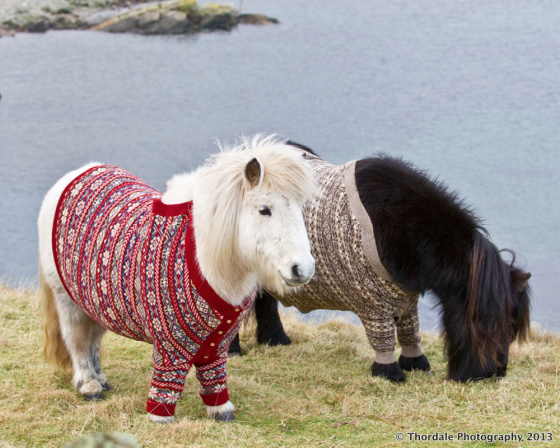
If you have not seen the video of Shetland Ponies Wearing Cardigan Sweaters, you should really go do so now. I’ll wait.
My friend and fellow knitter, who loves shetland ponies and this video in particular, had a birthday recently. This was the gift I gave her.
Ingredients
20-25 yds main color, worsted weight
10-15 yds contrasting color, worsted weight
2-3 yds scraps of three colors for sweater, sock or lace weight
knitting needles (sz 7 or whatever gives you gauge)
tapestry needle (I used metal not plastic)
Patterns Used
f. pea’s beer cozy (raverly, blog)
Jóhanna Hjaltadóttir’s Hestapeysa sweater (ravelry, pdf)
Directions
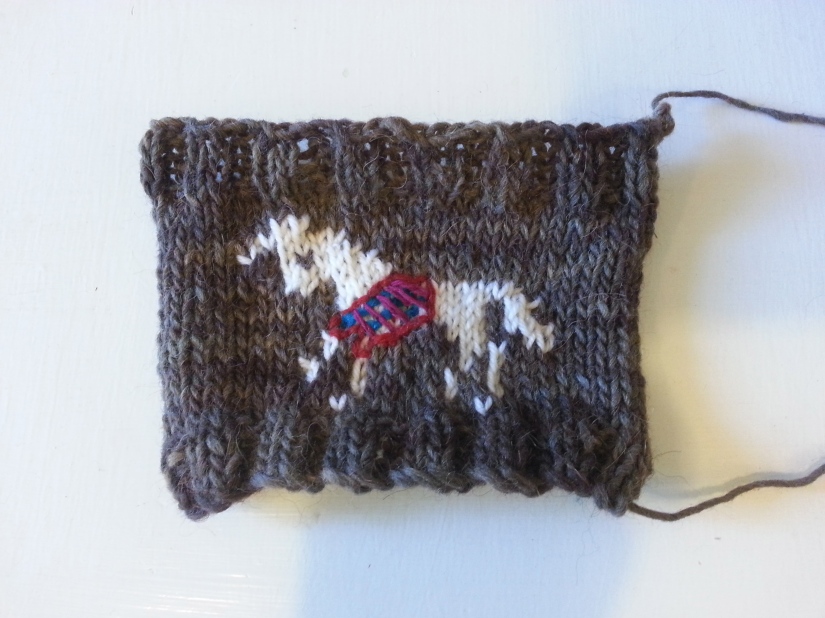
The basic idea is to knit the beer cozy pattern FLAT with the pony chart from the sweater centered in the middle. Cast on 32 stitches and work in ribbing as directed for beer cozy. (I don’t have many in-progress shots but you can at least see how it looks flat):
After work the ribbing from the beer cozy, start the pony chart. To center it, do some basic math:
32 (beer cozy width) – 18 (pony chart width) =14 stitches /2 = 7 stitches of main color on each side
Complete chart (I added one contrasting color stitch extra on the head to give it that shetland mane look). Add 3 more rows, then finish with top ribbing (if you skip these rows, the pony’s head gets squished into the ribbing). Bind off in ribbing and leave a 12-15 inch tail for sewing.
Thread your tapestry needle with one of the sweater yarn scraps (if you have different thicknesses of yarn, start with the thickest). Outline the outer edge of what will be the cardigan, stitching around the lower neck, partway down the front legs, and half way down the back. With the second color, stitch several parallel lines diagonally across the sweater. With the third color, stitch several lines perpendicular to the first set of lines. This will create the illusion of a sweater. Be careful to keep the tension on the yarn as even as possible, because the whole thing needs to stretch over a glass.
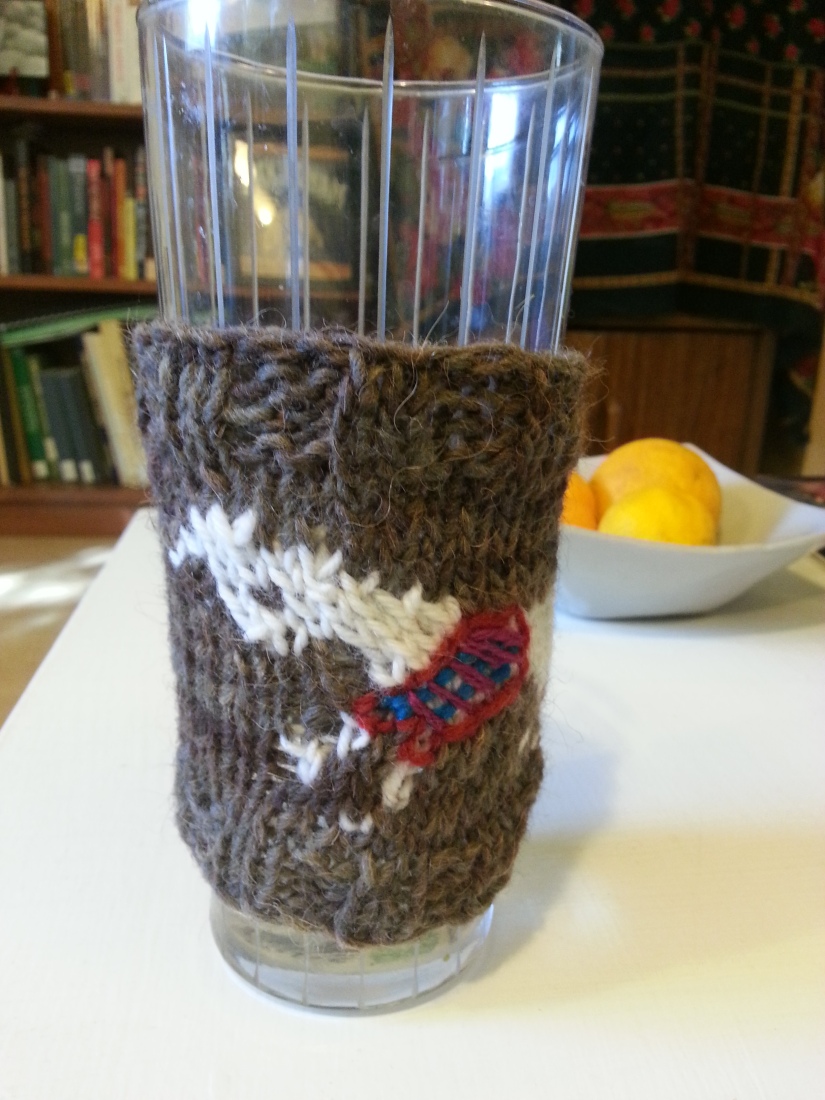
Weave in and cut all the ends except the long main color one at the bind off edge. With tapestry needle, use kitchener stitch to connect the two edges of the beer cozy. Weave in and cut this end, then admire how your drink sweater is a pony wearing its own sweater!
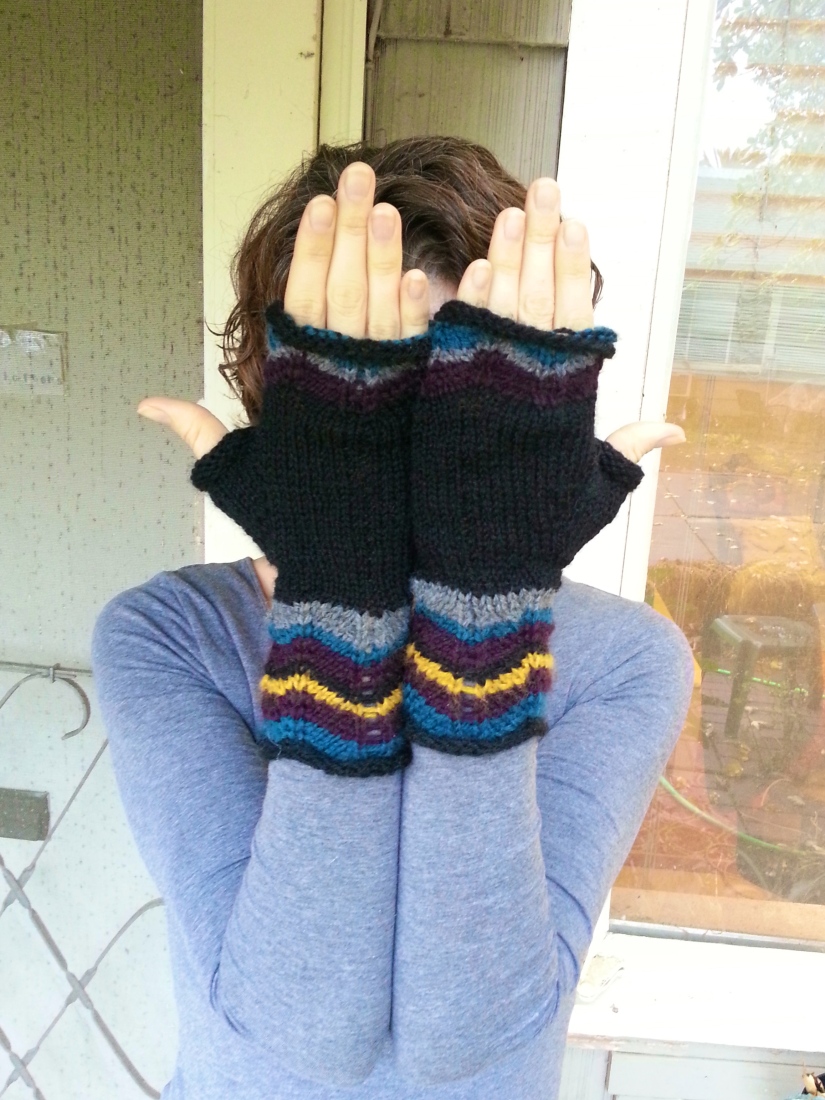
Handbook: Fingerless Chevron Mitts (ravelry)
A few weekends ago, I went to this conference, where all of the presenters were contributors to an upcoming Oxford Handbook. As I listened to the presentations, I worked on these fingerless mitts. Much like publishing a handbook, with these fingerless mitts I had to take a lot of different pieces—different colors, different lengths—and try to blend them into a seamless finished product.
Ingredients
100-120 yds main color, worsted weight
5-20 yds each of four contrasting colors, worsted weight
double pointed needles (size 6 or whatever you need to obtain gauge)
tapestry needle and patience
Patterns used
Maggie Smith’s Fingerless Mitts (ravelry)
Kat Lewinski’s Those Zig-Zag Mittens (ravelry, blog)
Directions
Just a heads up—this recipe involves a lot of weaving in ends! But other than that its fast and satisfying. I had never done a chevron (zig zag) pattern before, and I really enjoyed it.
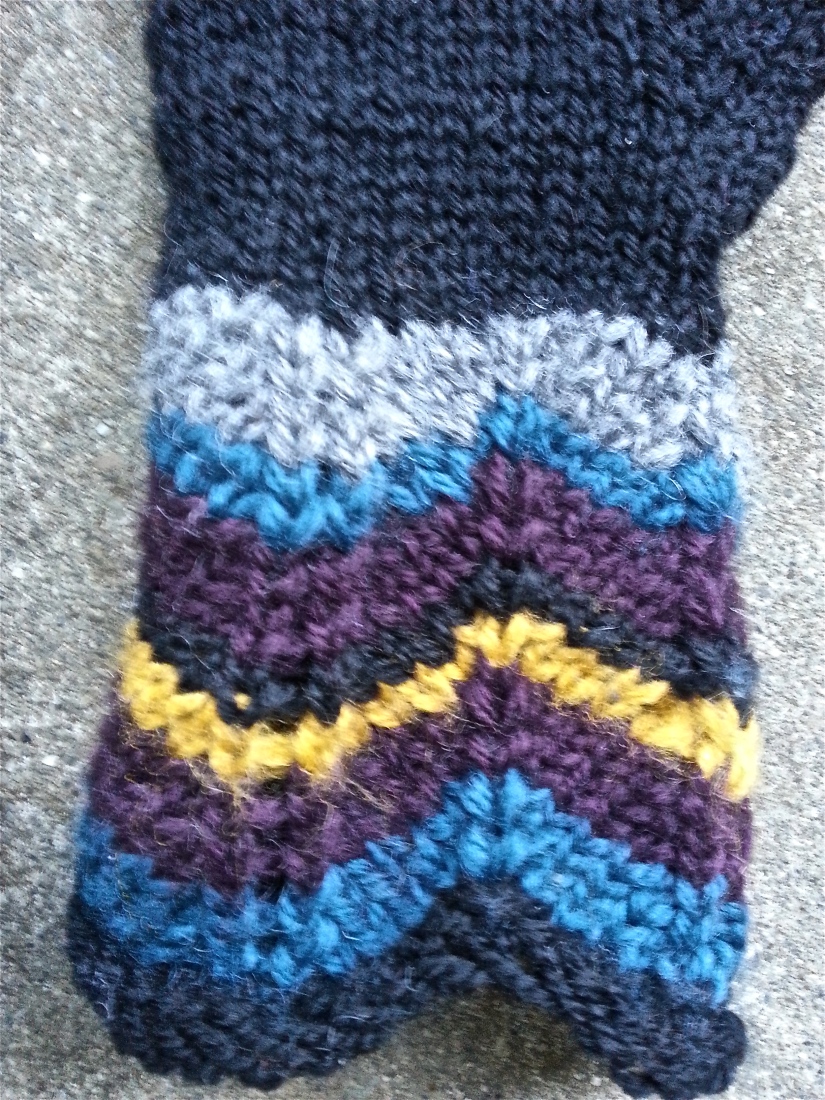
Before you cast on, decide how many chevron rows you want of each color and the order that you want them in. You may want to place strands of each yarn next to each other to see what you like best. Make sure to include at least one section of the main color!
Cast on—you can either cast on 44 stitches as the Zig Zag patterns says, OR you can cast on in a higher or lower multiple of 11 for bigger or smaller hands. Just know that chevron is very snug, so it can’t be too small as it won;t stretch as much as stockinette. I have small hands and I knit loosely, so I cast on 33 stitches and then did only three total repeats of the chevron pattern, not 4: (k2tog, k3, M1L, k1, M1R, k3, ssk).
Important tip! On the end of first round of a new color, knit in pattern to the last stitch, then grab the tail/non working yarn from where you joined the new color, and knit that together with the working yarn on the last stitch of that first round. It will help reducing the hole that tends to occur at the color change. (I didn’t figure this out until rather late in the knitting process.)
After you switch back to main color, do one more round in the zig zag mitts pattern. Then switch back to the fingerless mitts pattern to make the thumb increases. But instead of doing increases until you get to the designated number of stitches as that pattern says, just add 14 to whatever number of stitches you started with. In my case, 33 + 14 = 47 stitches is when I did the bind off for the thumb.
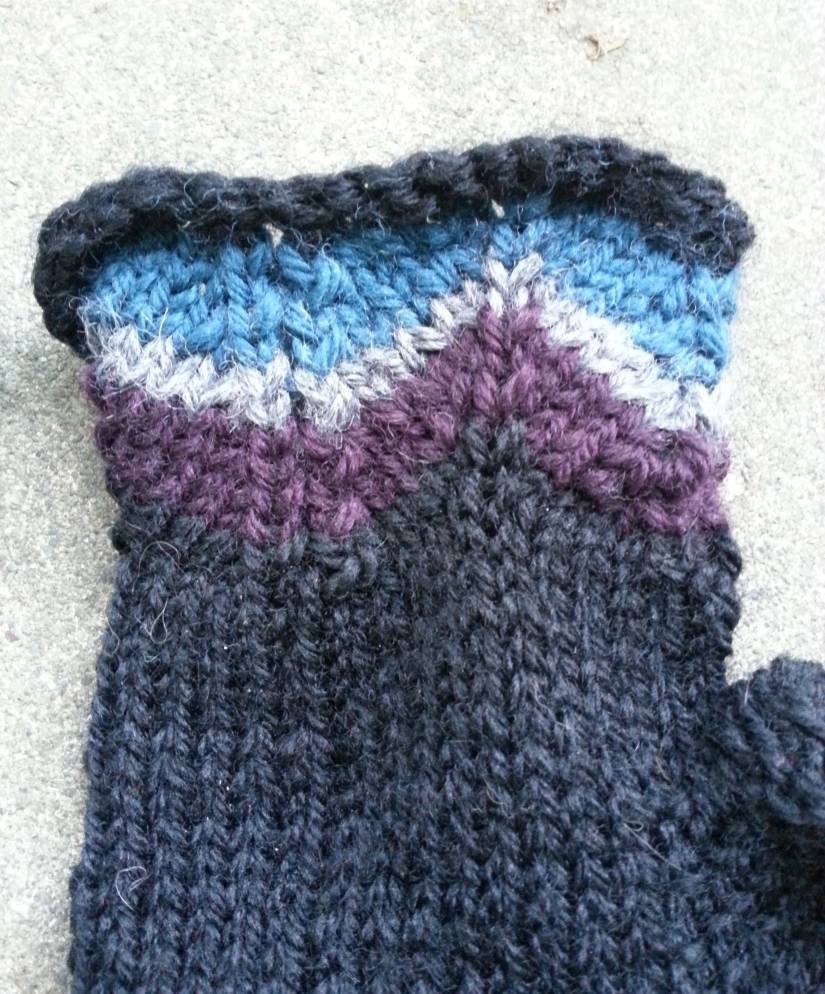
Now you have a choice—you can increase or decrease your stitch count to a multiple of four and then do the ribbing at the top like the fingerless mitt pattern says, or you can keep your stitch count and do a small repeat the chevron stitch at the top instead. That’s what I did.
If I had to do it over again, I might have begun the bind off a bit sooner. Just make sure to do several purl rows before you bind off, as knit stockinette will tend to curl. I haven’t blocked these yet so I’m hoping some of the curl in mine will come out.
Further option:I also added a few more rounds at the thumb—two knit rounds, four purl rounds, then bind off.
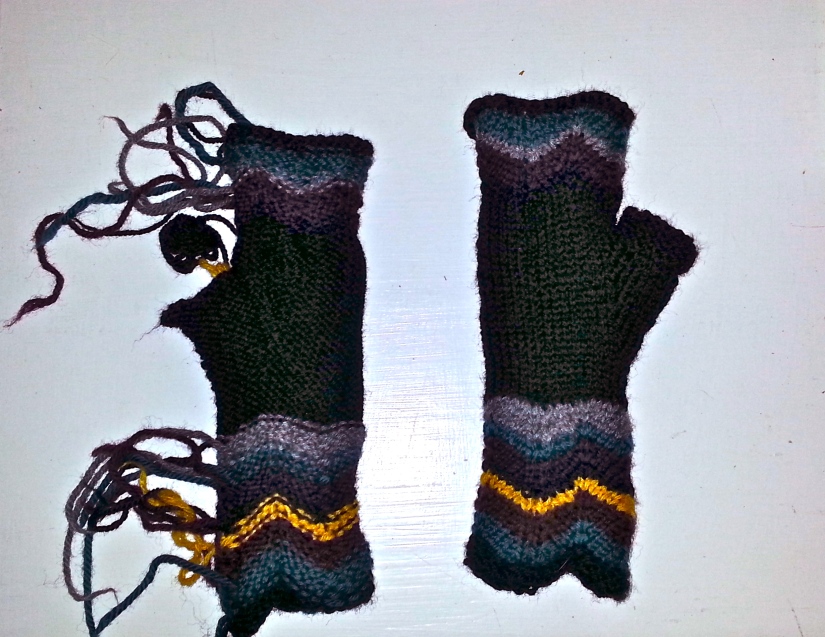
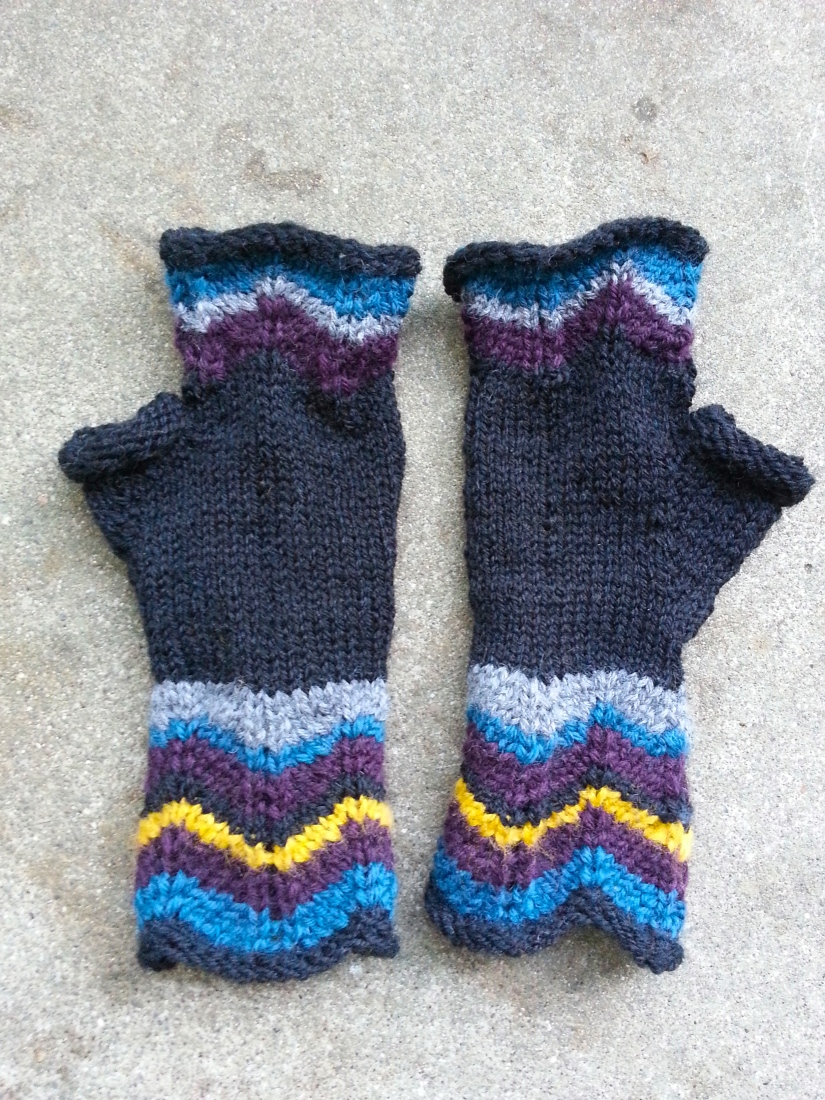
Are you ready for the least fun part? Because While your fingerless mitt will look like this on the outside…
It will look like this on the inside. So: get your tapestry needle and start weaving in all those ends. If there are any gaps occurring where you changed color, now is the time weave through those spots so they are less visible. Have patience, it will be worth it.
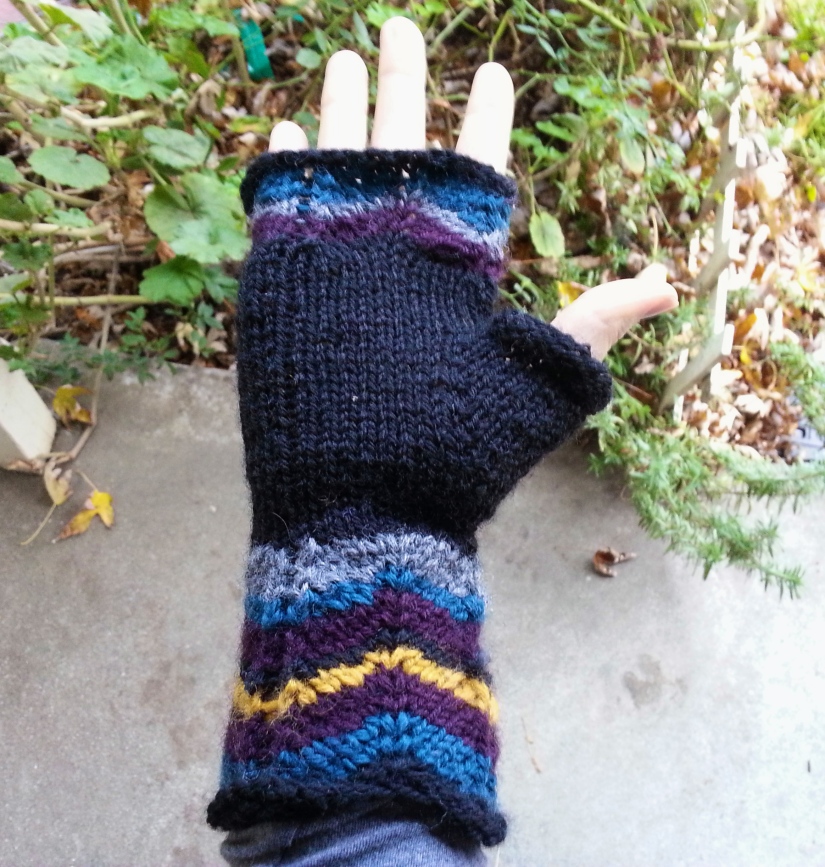
I was too excited and I photographed these mitts before blocking—but look at those lovely colors! There’s something about chevron that looks classier than stripes. It’s nice to have a stash busting project that uses the leftover bits of colorful yarn that I love.
