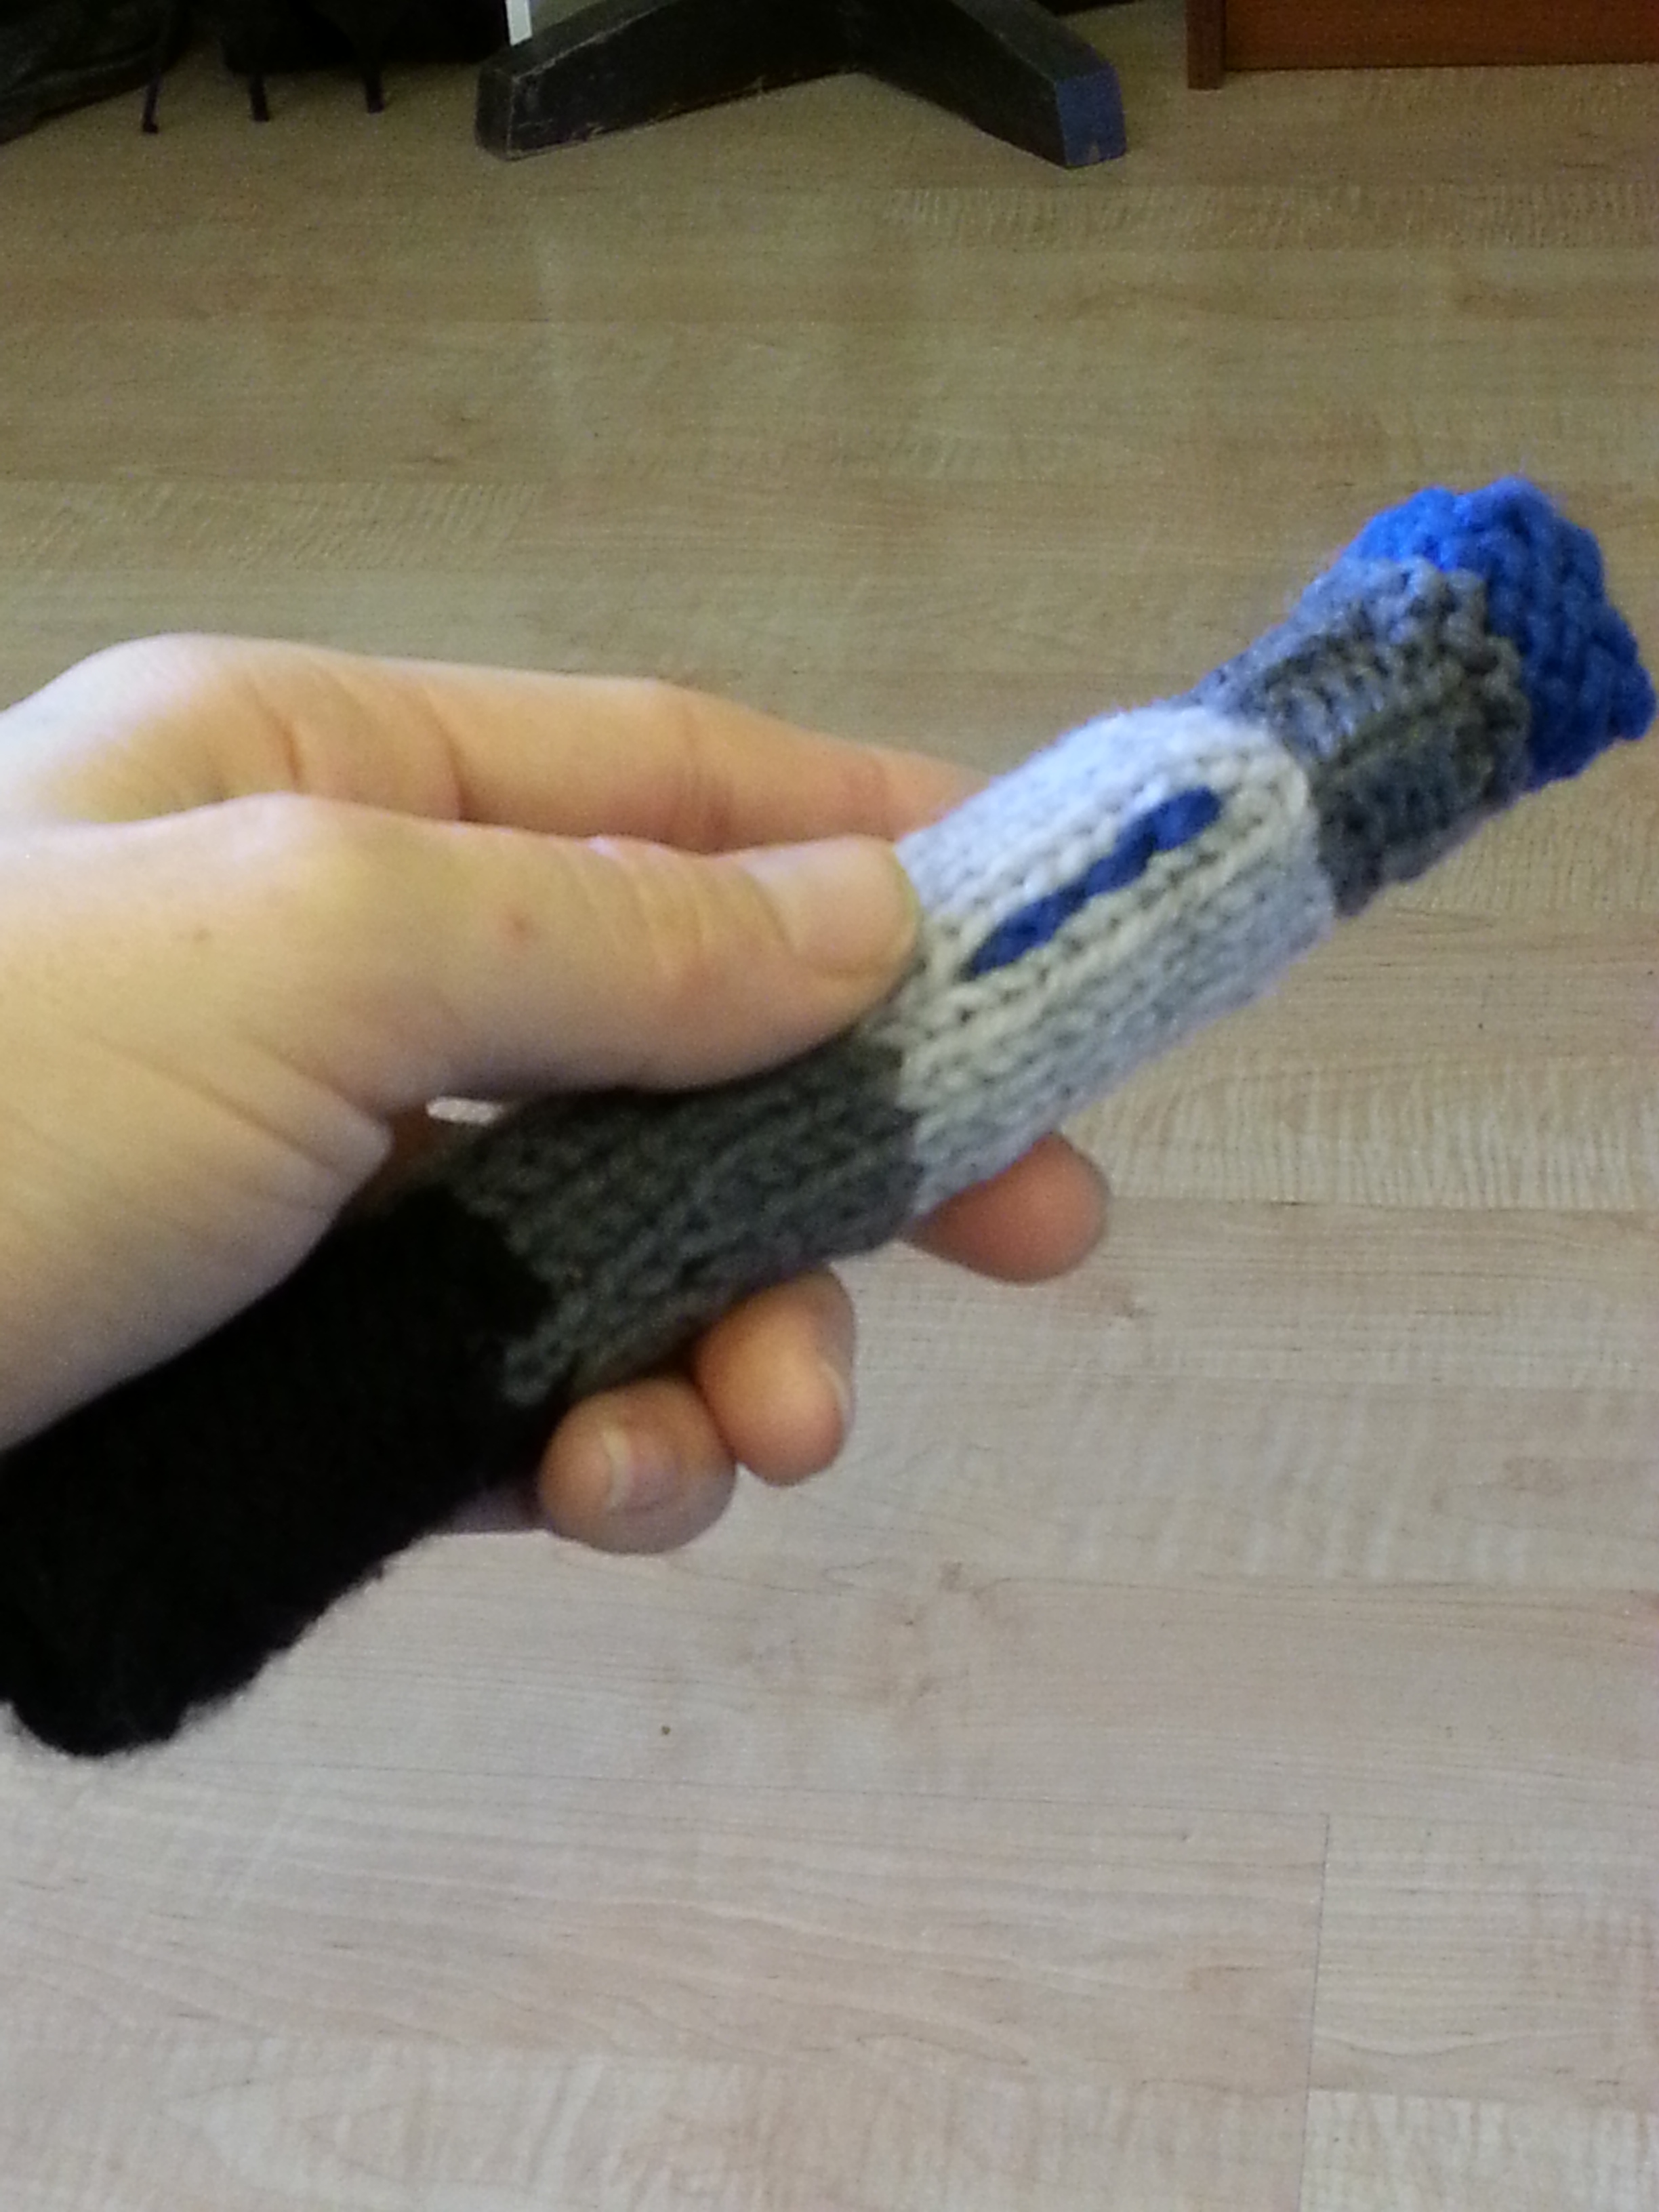
My blog reached 10,000 views today! To celebrate, I’m sharing details about my most recent finished object—the 10th Doctor’s sonic screwdriver, which I have conveniently modified to serve as a chapstick holder!

(Yeah, that’s right, because making a TARRIS pillow was not enough whovian knitting for me…)
This project is a modification of a modification of an original pattern for a Doctor Who sonic screwdriver. That pattern was for the sonic used by the 11th Doctor (Matt Smith), which is different in shape and size. I found this modification from user Cordetta on ravelry that changed the colors and some of the shape to be more like that of the 10th Doctor (David Tennant), which is what I wanted. I have to give a lot of props to her mod for helping me out! But I had to modify it even further to make it shorter and tighter to fit two chapsticks with just a little room on the ends.
To be honest, when I finished this project it was late and I did not record every single detail of my knitting. But I wrote down enough to tell you approximately how I did it.

10th Doctor’s Sonic Chapstick Holder
materials: -size 3 double pointed needles (set of 4), yarn needle. -worsted weight yarn in black, dark gray, light gray, and blue Cast on 9 sts in black, divide over three needles, and join to knit in the round, being careful not to twist stitches. Rnds 1-2: k all stsRnds 3-5: p all sts
Rnds 6-10: p all sts
Rnds 11-12: k 1 grey, p 2 black* Change to dark gray Rnd 13: k all sts
Rnd 14: k1, m1, k to end of rnd (10sts)
Rnd 15: k all sts
Rnd 16: k5, m1, k to end of rnd (11sts)
Rnd 17: k all sts
Rnd 18: k9, m1, k to end of rnd (12sts)
Rnd 19: k all sts
Rnd 20: k2, m1, k to end of rnd (13sts)
Rnd 21: k all sts
Rnd 22: k7, m1, k to end of rnd (14sts) Change to light gray Rnd 23-35: k all sts
Rnd 36: k1, k2tog, k 2, k2tog repeat to end of rnd (11sts)
Rnd 37: k2, k2tog, k5, k2tog, k to end of rnd (10sts) Change to dark gray Rnd 38: k all sts
Rnds 39-44: k1, p1, repeat to end of round
Rnd 45: p all sts* Change to blue Rnd 46: k all sts
Rnds 47-49: p all sts
Rnd 50: k3, k2tog, k3, k2tog (8 sts) Cast off loosely. With blue yarn and yarn needle, stitch a straight line lengthwise up the light gray section.
*if you haven’t done colorwork before, consider skipping these two rounds and going straight to the gray section, it’s kind of annoying to do. If you chose to do it (I promise, it looks cool!), be careful to move the black yarn to the inside of the work at the end of the last round.
**at this point, if you want to weave any of the ends into the inside of the tube, do it now! It will be too tight to turn it inside out after the final section.
As always, remember that my gauge is looser than most—use your own tube of lip balm as a guide. The way I made mine, both ends are open but they are tighter than the middle section, so the chapstick naturally remains inside until I push it out. I’m sure there are ways you could make a closure at the top or bottom, but I found I didn’t need it.
The sonic screwdriver chapstick holder—it doesn’t work on wood or deadbolts, but it does work on dry lips!

4 thoughts on “Sonic Screwdriver Chapstick Holder!”