EDIT: Want to see what I knit with blue yarn? Check out these other posts!
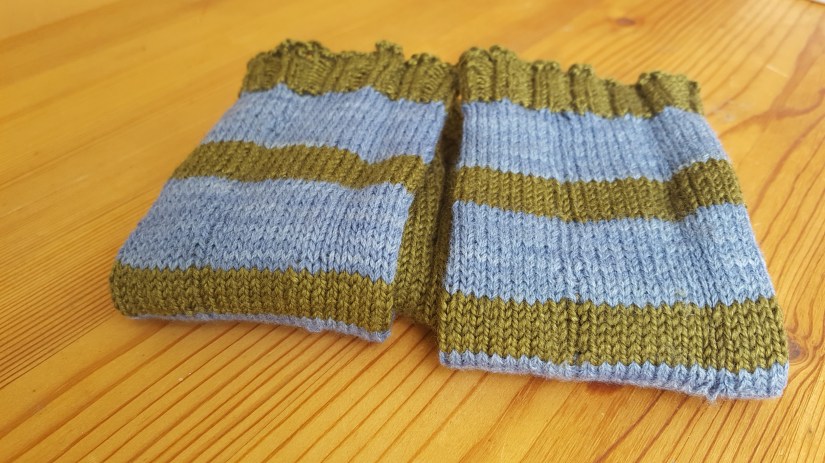
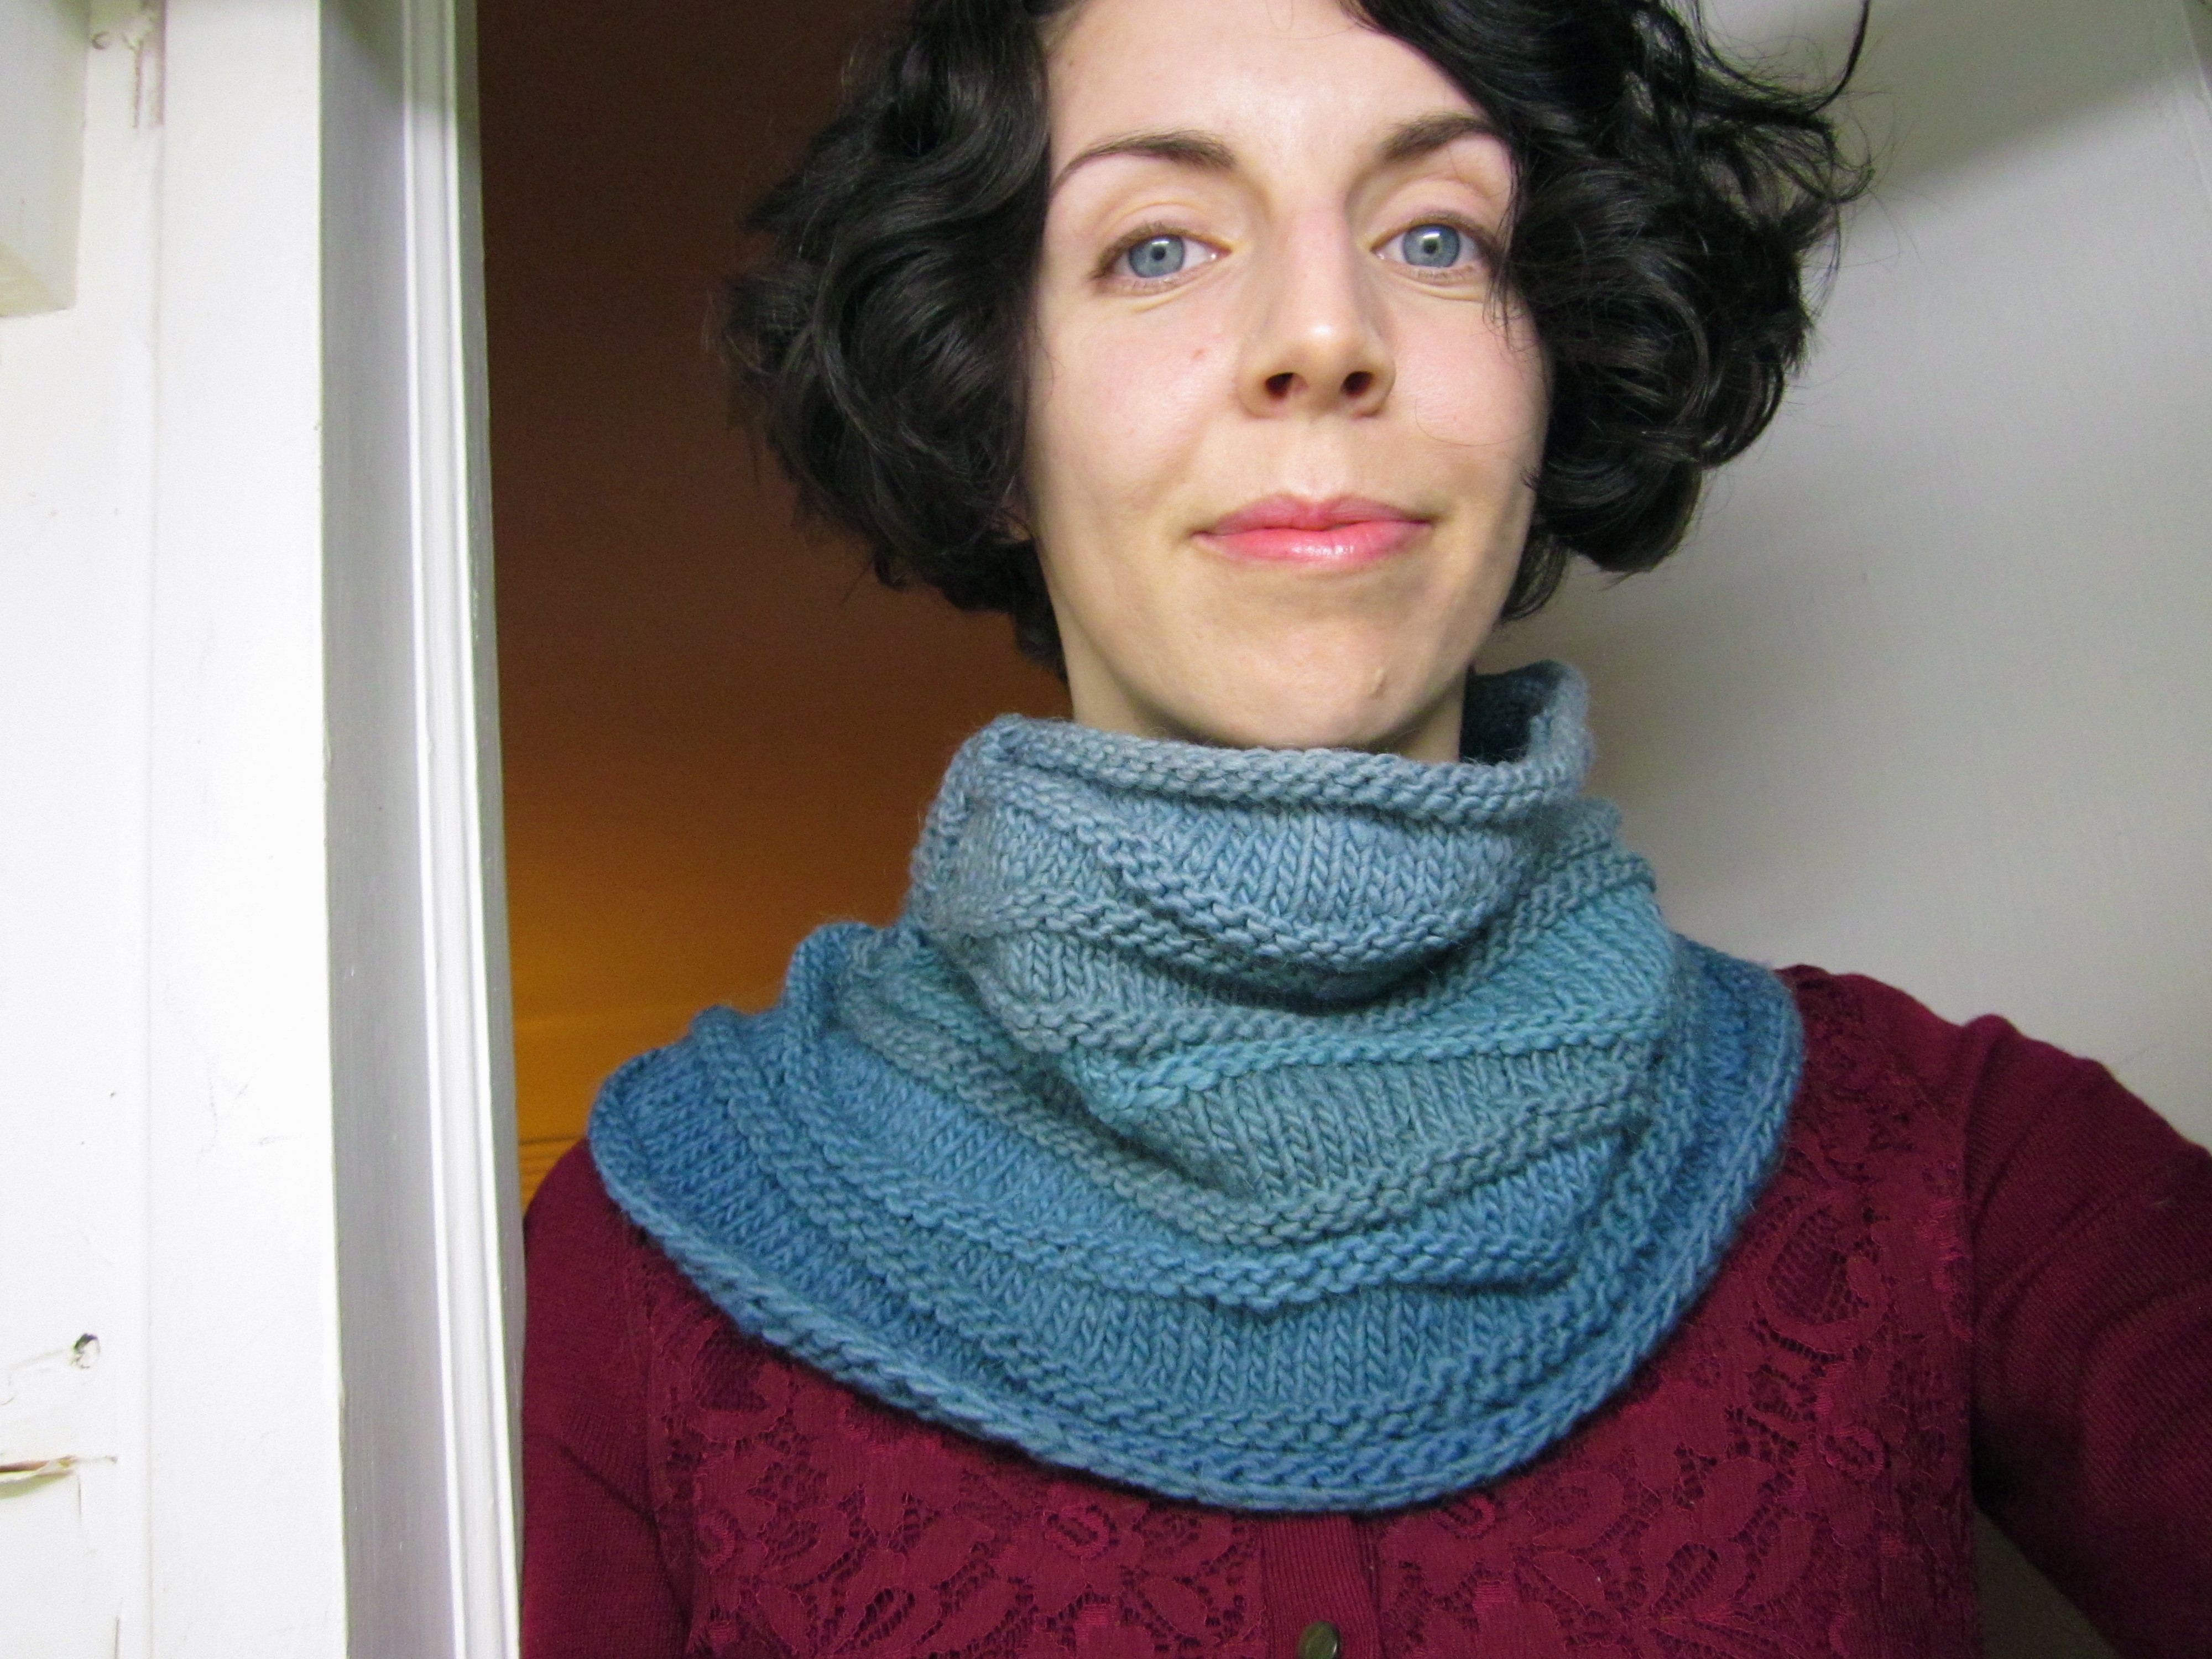
Blue ombre waves cowl Green and blue striped socks


Welcome to my dye tutorial, the most popular post on my knitting blog! This is a cold water dye using regular black beans, designed to be used on yarn made of wool or other natural fibers (it won’t work on cotton, acrylic, etc.). There’s a lot of soaking time involved, so expect to have a finished product after three or four days. If you have a question, put it in the comments and I’ll respond. Enjoy!
Natural blue dye: background
I have a really awesome fiber dye experiment to share! As you can see from above, we got several lovely shades of blue —a difficult color to achieve —in a process that took about four days start to finish.
Now that I have a spinning wheel(!) and some wool, I’ve been wanting to learn about natural dyeing. Since blue is my favorite color, I gravitated toward information about natural blue dyes. Turns out there aren’t that many. Indigo and woad are the main ones, and they sounded like a lot of work for a first time dying project. Then I came across web posts on black beans as a blue dye. My favorites were blog posts at waysofthewhorl and brambleberriesintherain (now defunct), which then led me to the discovery that there is a ravelry discussion thread (login required) that is many years old and has hundreds of posts! Needless to say, I was overwhelmed with information.
At the same time, no one post seemed to describe exact amounts of beans, water, and yarn used, nor exact times for the different steps involved. So with a little help, we set out to do a test run with all the steps and amounts recorded. As a caveat, not everything went as planned, record keeping wise, but we did out best.
Tutorial: dyeing yarn blue using black beans What you will need (amounts will be determined later):
- Black beans
- Water (tap is fine and what we used, but see note at the end of the post)
- Non-reactive containers for soaking and dyeing (we used glass and stainless steel)
- Natural fiber yarn, white or off-white (we used Lamb’s pride, 85% wool, 15% mohair, M-10 Creme)
- Alum mordant (Aluminum Potassium Sulfate—you can find this in the spice aisle of a well-stocked grocery store)
- Cream of Tartar (also in the spice aisle)
- Large non-reactive pot for the stove (We used a large enamelware roasting pan. Technically this should not be a container you’re going to use for food after this, and although alum seems to be non-toxic, I played it safe.)
- Misc. items: additional yarn to tie off your skein in sections, a rack or other place to dry finished yarn, newspaper or something else to protect surfaces from dye
- Optional: food grade tubing
Dye Prep Instructions
First, figure out how much water and beans to use, choosing a ratio from below.
Here are rough ratios of Water to Beans in each of our dye lots:
- dye lot # 1/2 = 7 to 1 (7 parts water to 1 part beans)
- dye lot #1 = 3.5 to 1
- dye lot # 2 = 2 to 1
- dye lot #4 = 1.25 to 1 [furthest hank on the right]
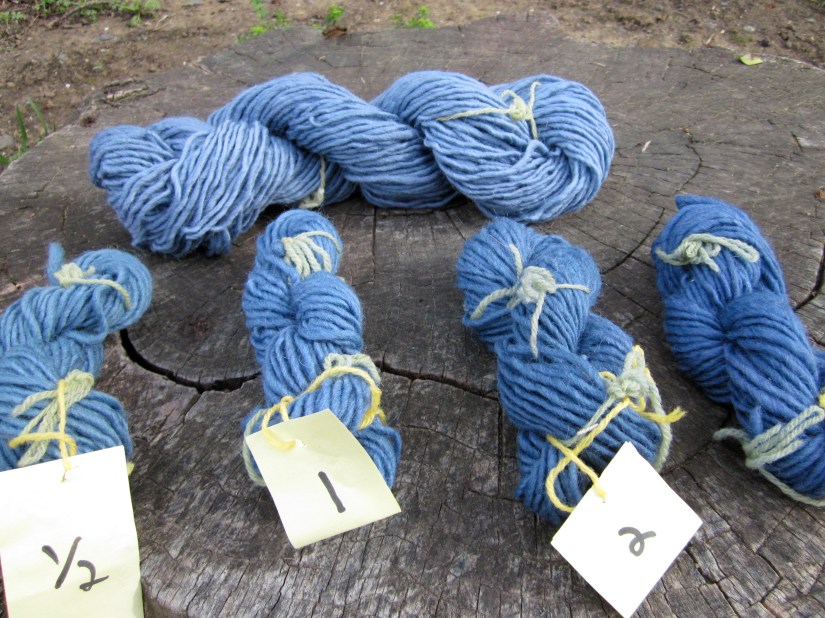
Each of the numbered hanks of blue yarn in the photo above is 1/2 oz (14 g) of yarn.
Make sure that you have enough beans and water to create enough dye for your yarn. I strongly urge to get more than you think you need because beans absorb water at a higher rate than we bargained for. You’ll need enough dye to immerse your yarn.
Ratios work best, because our actual measurements were rather odd :
- #1/2 = 1/2 cup beans and 3.37 cups water;
- #1= 1 c. and 3.4 cups
- #2= 2 c. and 4.125 cups
- #4=4 c. and 5 cups
Let each of these bean and water combos soak for 24 hours. This is a cold water dye, so it needs time. I preferred the glass jars for this.
To get the best dye, you’ll need to get as much of the bean water with as few bean particles as possible. From what I read, the pieces of bean tend to make the yarn more gray than blue.
We strained out the beans, let the dye settle for an hour or two, then siphoned the water off from the top using the food grade tubing so that the bean particle matter did not make it into the final dye. . Other people on the internet suggested spooning the water out and leaving the dregs.
Yarn Prep Instructions
When are 4 hours away from completing your 24 hour bean soak, start preparing the yarn. Alternatively, you can do this part earlier and let the yarn stay soaking in the mordant pot overnight.
First hour: water soak.
I separated my yarn into four 1/2 oz skeins tied with bits of a thinner yarn to keep them from getting tangled, then unwound the skeins and soaked them in water for 1 hour.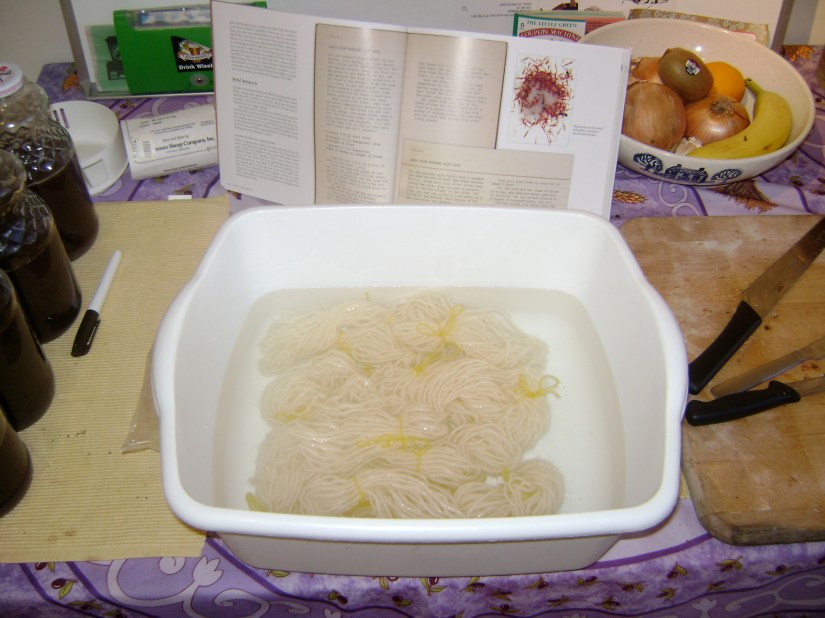
Second hour: Mordant on the stovetop
Mordant is what allows the dye to adhere to the yarn and not just wash out or rub off. After water soaking, I moved my yarn to large stovetop pot to mordant it using alum and cream of tartar. I used Sasha Duerr’s Handbook on Natural Plant Dyes to calculate how much need:
- 8 percent of the fiber’s weight for alum
- 7 percent of the fiber’s weight for cream of tartar
For mordanting 2 ounces at once this comes to about 3/4 of a teaspoon each of alum and cream of tartar. I will admit that I was probably closer to 1 tsp each, because I couldn’t find my 1/2 tsp measuring spoon. It still worked.

alum+cream of tartar

mordanting the yarn
Dissolve the alum and cream of tartar into hot water and add to the stovetop pot along with enough water to cover the fiber. I added the water soaked yarn and brought the pot to a simmer.**Important note: do not change the temperature of the yarn too quickly, it can cause felting** I simmered it for an hour then turned the heat OFF.
Final 2 hours: cooling and rinsing
I waited another 2 hours until it had cooled off, then removed the yarn and rinsed it off with clean water that was the same temperature as the yarn to remove any excess mordant (using a little pH neutral soap is supposed to help).
Dyeing the yarn
Finally, the fun part—adding the yarn to the dyes!  As you can see, some of our dye lots barely covered the yarn, so we turned them upside down or right side up periodically to avoid unevenness in the color. We let them stay in the dye for 42 hours. I’m sure an even 48 hours would be great, but sleep comes first.
During this time, I discovered something that no other blog really mentioned: the color you see immediately can be quite different from the final color. Observe what the yarn looked like about 10 minutes after I put it in the dye: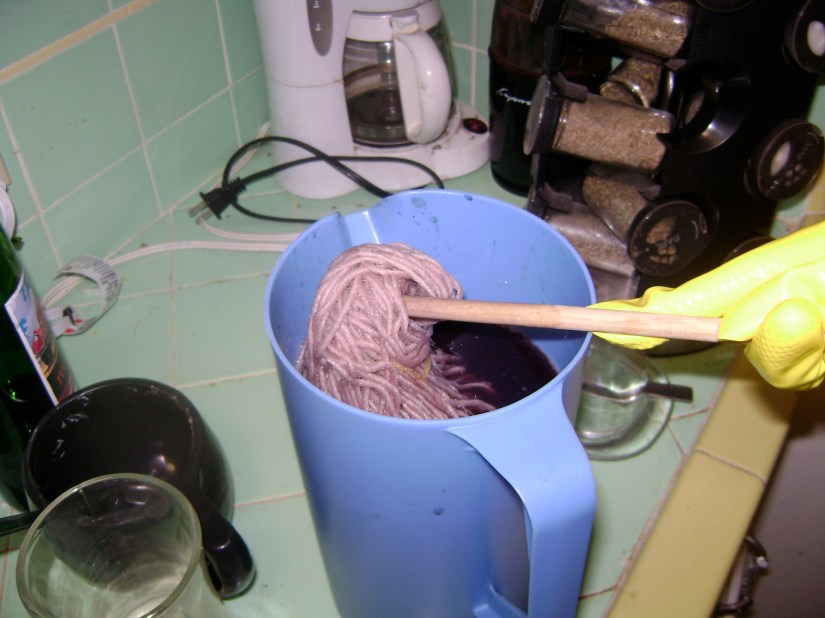 That’s right—it was a light purple color! At first I was disappointed that all our effort to get blue failed, but in an hour or two it started changing into the blue color you saw in the previous picture.
The photo in the blue plastic jar came from round two of dyeing the yarn. After I took out the four small test skeins, I still wanted to dye the remainder of the yarn. So I soaked and mordanted the remaining 2 ounces of yarn, poured all four dye lots into the blue plastic jar, and let it stay there for 48 hours. Not very scientific, although hopefully you can see in the photos that it came out a slightly grayer and more muted shade of blue—one which I still quite enjoy.
Drying the yarn
After removing the yarn from the dye, I rinsed them with lukewarm water and hung them to dry on my laundry rack (I wish I’d taken a picture then!) Here are they are again, left to right from, darkest (1.25 to 1 ratio) to lightest (7 to 1 ratio), plus the extra hank made from all dye lots combined:


The darkest one is a distinctly deeper shade of blue than the rest. The difference between the two lightest shades is less subtle here, but in person you can definitely tell. And the last one of course has a distinctly grayer tone.
A note on the pH of your water
*The pH of your water can affect the final color of your yarn even if you do exactly what we did. I did some research and found out the tap water we used was rather alkaline, with a pH close to 8. I once saw a blog post that said they got a blue green color from acidic water. If you don’t know what pH your tap water is, you can use the red cabbage test to estimate it.
An updated note on colorfastness
Since creating this tutorial, I have gotten several questions about how much this blue color fades over time. The answer is yes, is does fade over time, but it still looks nice.
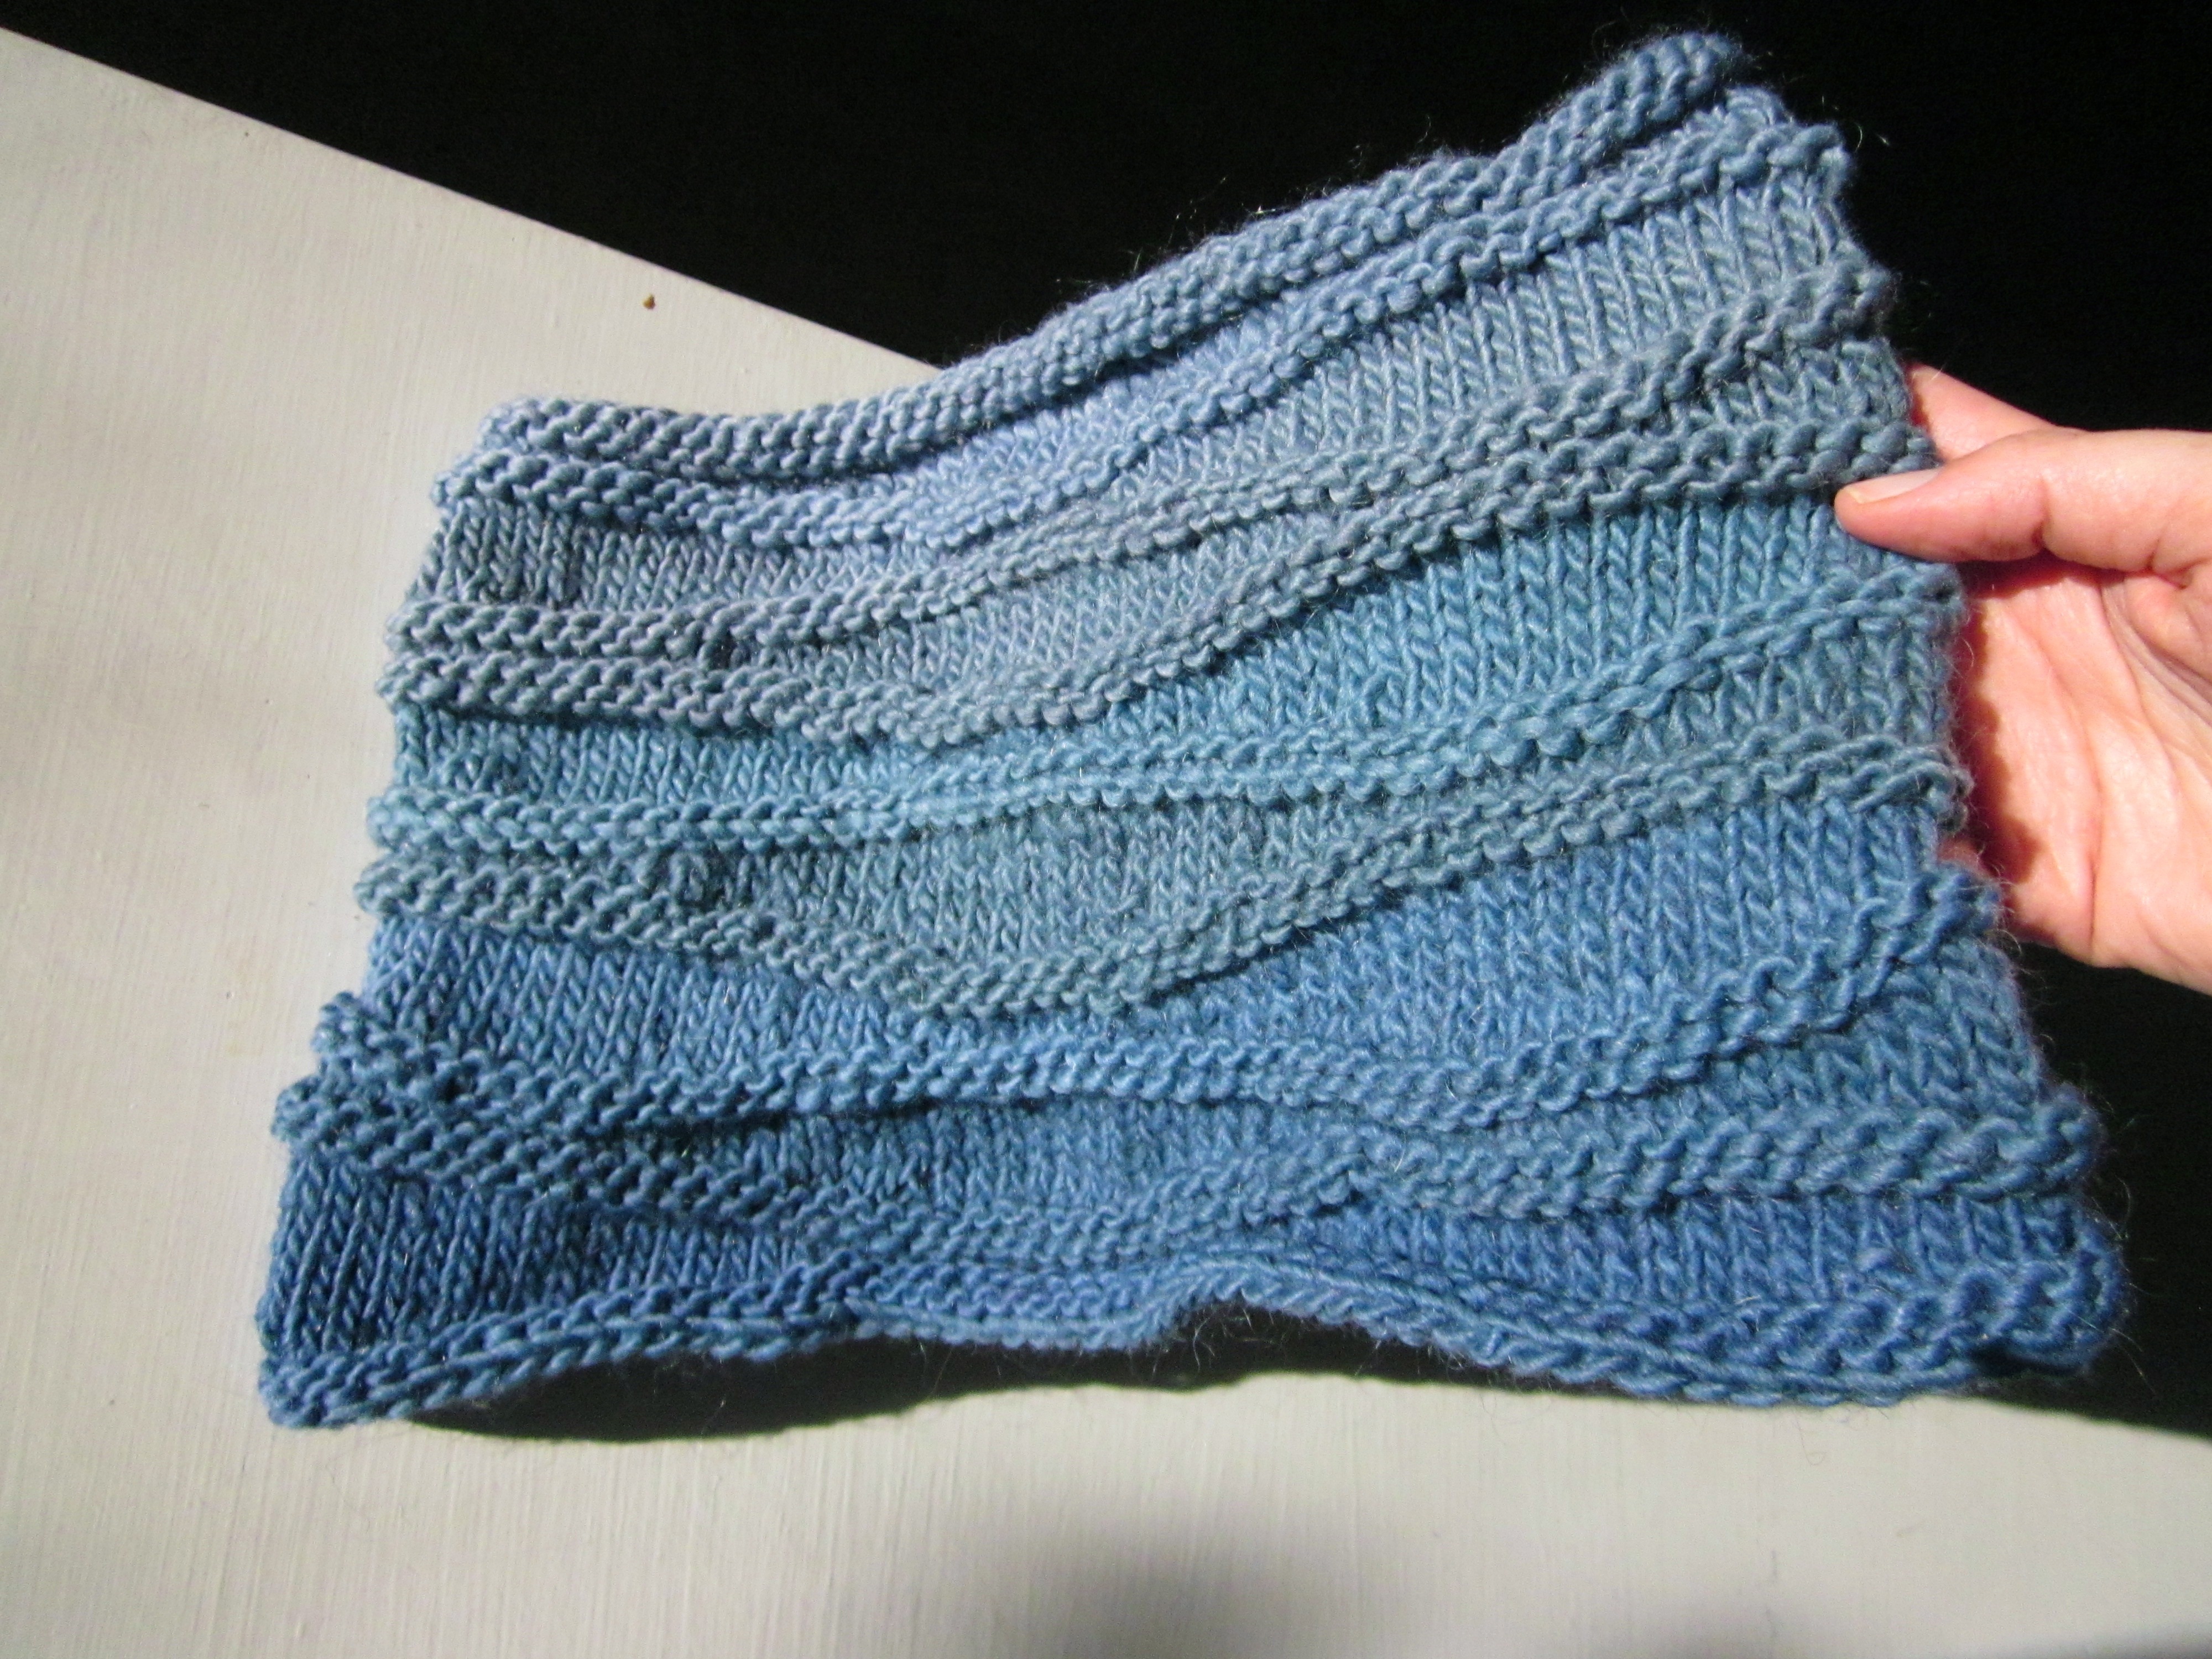
I made an ombre cowl from this blue yarn using this Wave pattern. Here it in 2012:
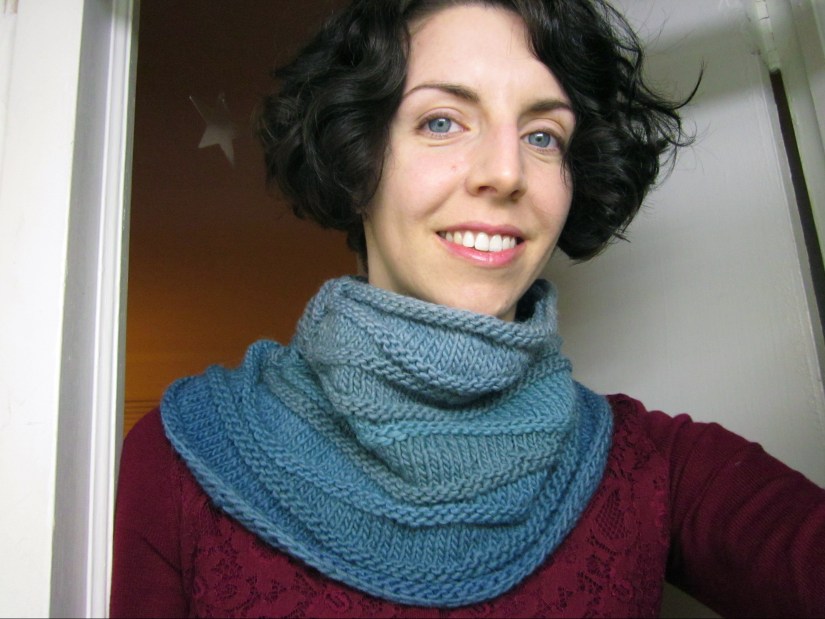
And here it is in 2014:

So yes, the lighter blue yarns that were grayish faded to a blue gray over time. For more on this project, check out this post. I still love this cowl!


 I had started a pair of socks using the free Universal Toe-Up Sock Formula from Knitty, casting on to a very long, size 1 circular needle to knit them both at the same time. I was hoping to use up some forest green wool blend sock yarn I originally intended for another project. But I realized my socks would be quite short with only the green yarn. So I decided to add the blue yarn in as stripes to make them longer.